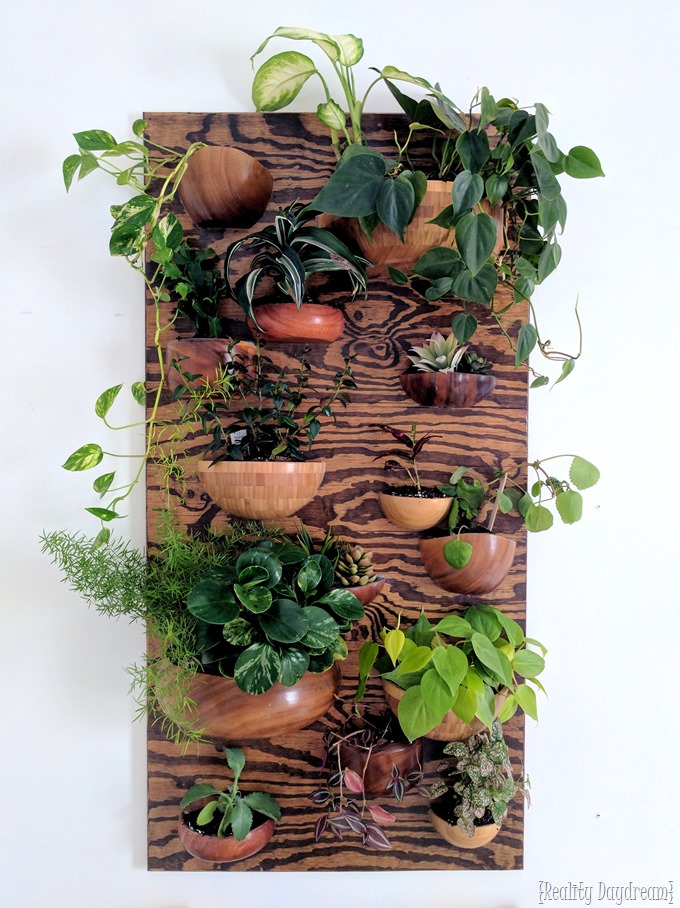
Ever since I made this Vertical Garden DIY Planter thing out of wooden bowls, I’ve had two half-bowls lying around waiting to be repurposed. I knew what I wanted to do with them, it was just a matter of GETTING TO IT. You know?
Well I’m so glad I finally ‘got to it’ because they turned out amazing! Here’s where I started with my wooden half bowls. You can get wooden bowls at yard sales, thrift stores, IKEA, Target… really just about anywhere. And they’re cheap!
 *this post contains affiliate links*
Wall Sconce DIY Planters made from Wooden Bowls
Supply List:
-
Wooden Bowl(s) – find them second-hand, or check out the variety you can get on Amazon for fairly cheap!
-
Slab of wood with a thickness of approx 1”, and wide enough to accommodate your bowl’s diameter
-
Waterproof wood glue (we use this stuff)
-
Saw (we used a band saw, but you could use a table saw or reciprocating saw)
-
Spray paint of your choice!
Using the same techniques I used here, the wooden bowls were sliced in half on the band saw. If you’re fancy and/or a perfectionist, you can use your table saw to get a perfect straight cut.
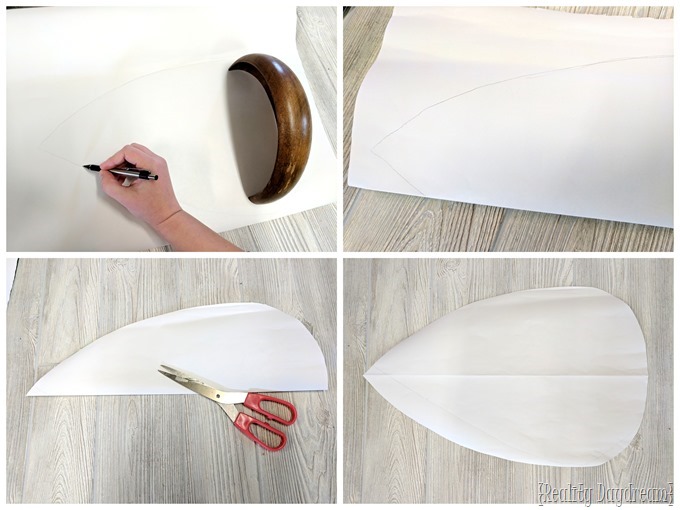
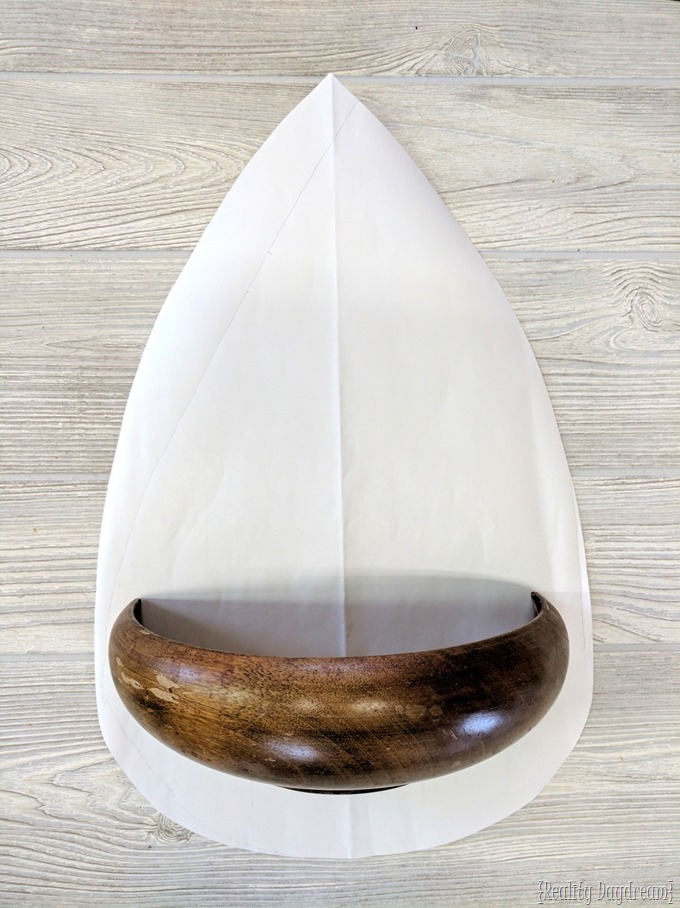
Then I laid one bowl-half out on paper (full disclosure, this is the back side of wrapping paper because that’s what I had) and draw out a teardrop shape around your wooden bowl. It doesn’t have to be perfect, you’re just laying out a general guideline. Take the bowl off and fold the paper in half, and if you’re like me, the peak of your teardrop WON’T be right on the fold. But that’s ok! Just take your scissors and cut along the line and bring the peak right to the fold. This will be your template!
I found a board that was as wide as my bowl, and about 1” thick (ish), and placed my teardrop-shaped template onto it, and traced with a pencil.
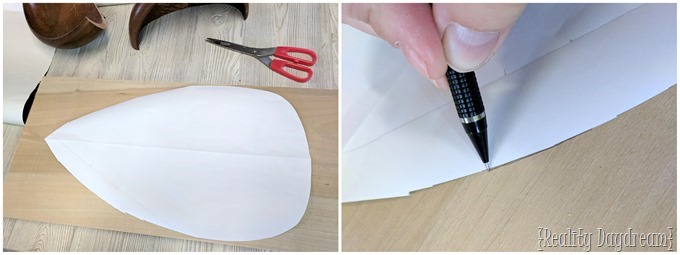
Time to cut this sucka out on your scroll saw!


Set out your bowl on the teardrop shape, and draw a straight line from one lip of the bowl to the other. Then draw a line all the way around the top half of the teardrop trying to keep it the same distance from the edge all the way around (I did about an inch, getting thicker toward the peak). I used a couple pieces of scrap wood to keep my pencil the same distance from the edge while I was tracing around.
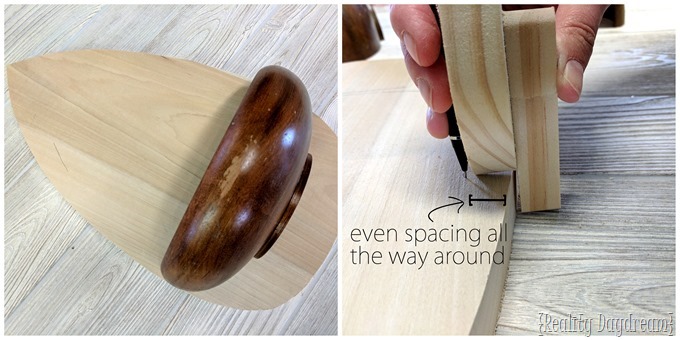
Drill a hole on the inside piece for a place to feed your scroll saw blade, and then cut out the inside ‘panel’! I did one straight, and the other a scalloped pattern (using the lid of a can of spray paint as a template).
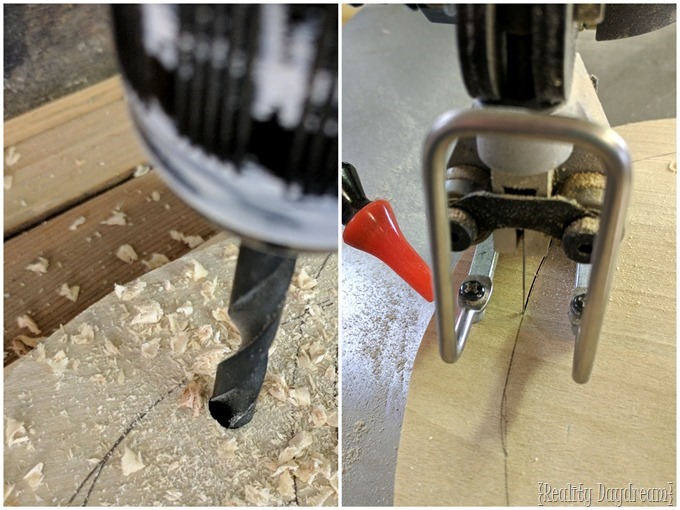
Use a roundover bit to round off the edges, or just sand them down real good so it’s not such a sharp 45* angle. Finally,squeeze a line of glue onto the raw edge of your bowl-half, and press it into place on the teardrop!
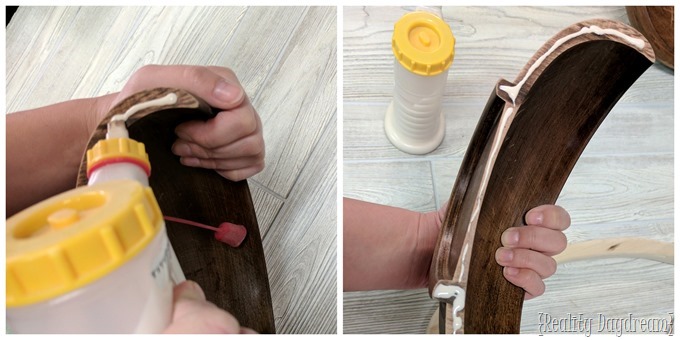
I totally forgot to take a pic of it after the bowl was glued on and before it was painted, so you’ll just have to imagine it! I primed these with Kilz and painted them this pretty oil-rubbed bronze!


We popped these two beauties up on the wall (by simply hanging them over a nail in the top crevice of the sconce) and loaded them up with plants! Since there are no drainage holes, I put some stones on the bottom and lined the inside of the bowl with foil so that I can easily remove the plant and clear out any standing water every couple weeks. I talk about drainage holes in-depth in this post, and I talk about keeping houseplants alive in general in this post!
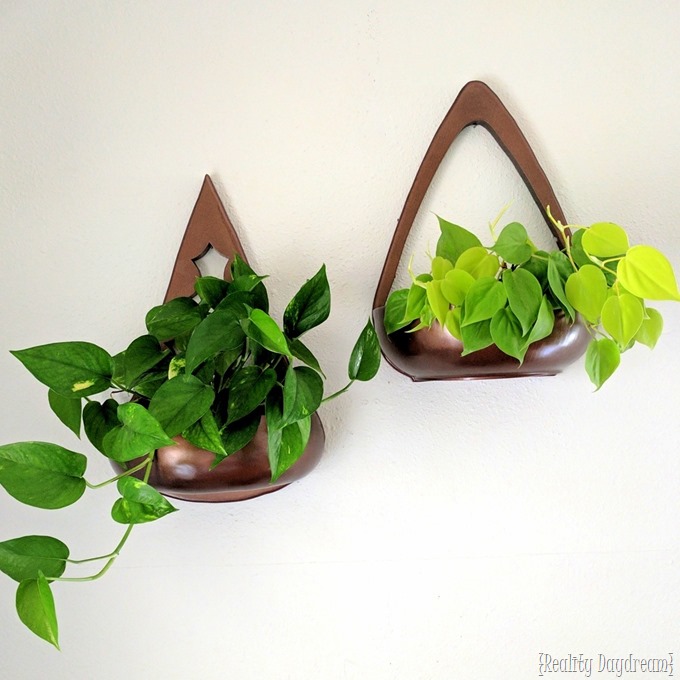
I used a couple different shades from my Pothos plant collection and love the variation of greens!
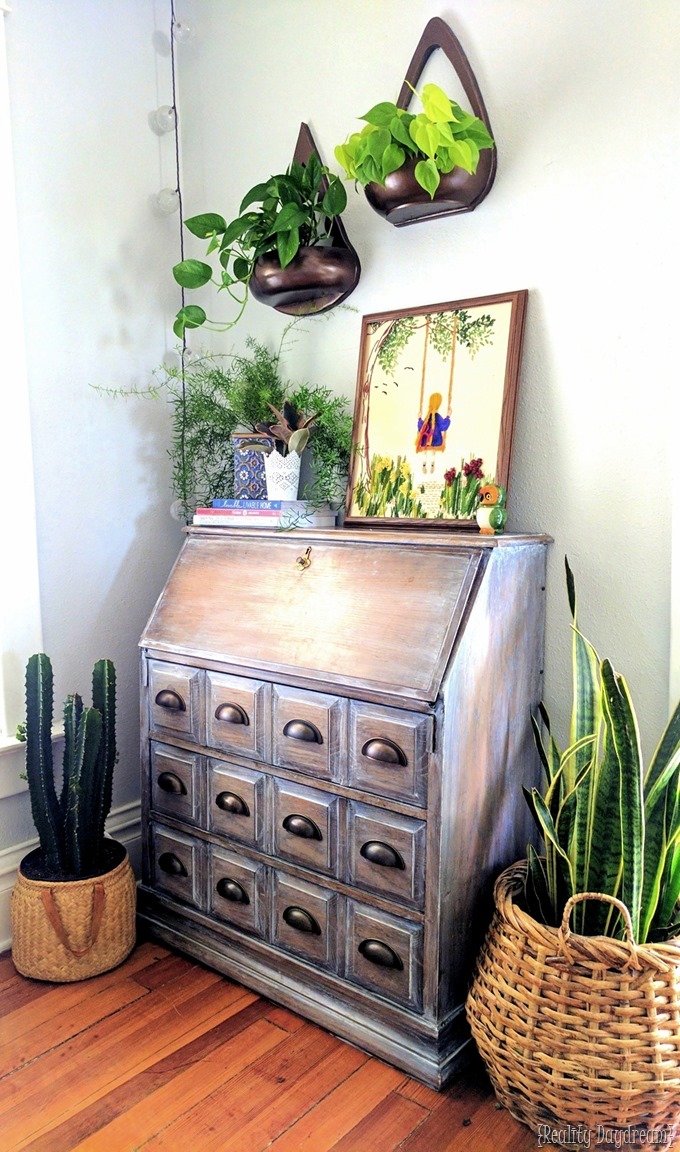
I feel like these DIY planters add a bit of personality to the room, and are also channeling some serious mid-century modern vibes! You know I love a good combo of modern, vintage, thrifted, and sentimental …speaking of sentimental, that framed needlepoint was made by my Grandmother that passed away recently. Cue the tears!
Here are the sources from everything pictured above:
- Secretary Desk: secondhand and I added a DIY Whitewashing Treatment
- Large Basket Planters: thrifted
- Blue Patterned planter: Hobby Lobby on clearance for TWO DOLLARS!
- White doily-esque planter: IKEA
- Hanging lights: Target (a few years ago)
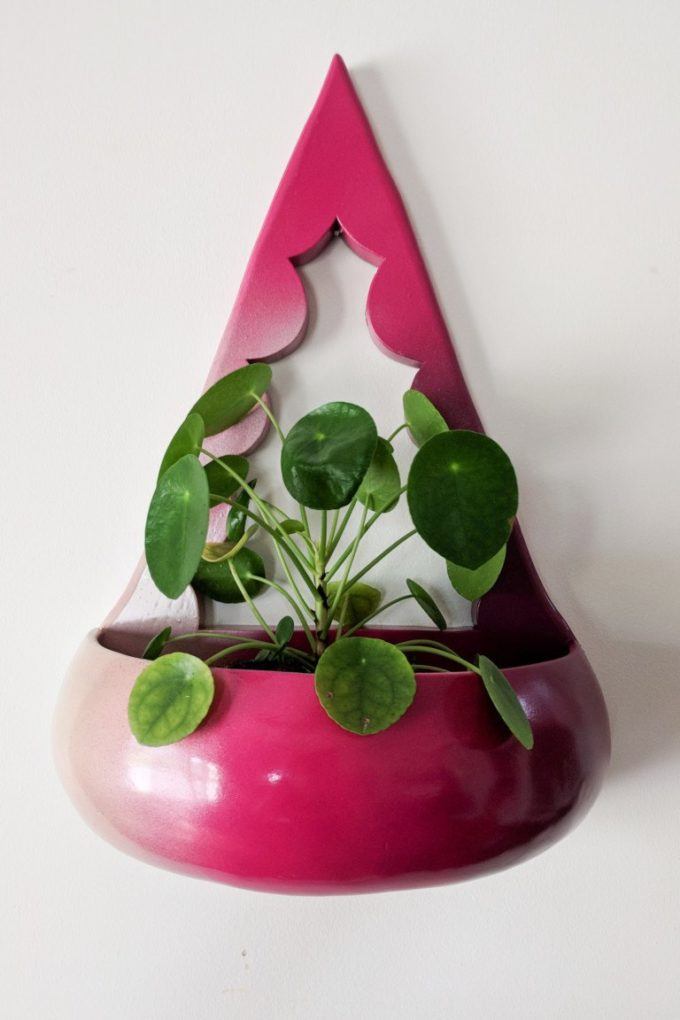
UPDATE! I painted one of these Planter Sconces with a Gradient Spray Paint Technique, and it turned out AMAZING!
~~~~~~~~~~~~~~~~~~~~
Be sure to check out all the other DIY Planter-related projects I’ve done to help get your green-thumb-juices a’flowing!!
Thanks for pinning!



bel lavoro di recupero!
bella idea come sempre;-)
SO COOL!!!! EXCELLENT JOB!
I really like all of your planters, but am in love with the sconce planters. This is something I have to try. Although it may take a little longer as I do not yet have a scroll saw. It is the next thing on the agenda to save up some money to buy. I do fairly well with a jigsaw. As always this is beautiful. Now if I can put a plant in it I cannot kill. :). Thanks for the wonderful post.
Yayyyyyyy! You’ll LOVE playing with your scroll saw once you get one. SO FUN! But if it helps, you could totally use your jigsaw for this project too. GO FOR IT! And send me pics when you’re done!
That needlepoint is beautiful! And I love that it’s sentimental. The planters are great too 😉
Thanks you Courtney <3 My Grandma was amazing, and I miss her!
Those are really cute! I can’t figure out how you keep everything alive! I would have everything dead in a week!
Renee! You must rea my post on keeping plants alive! I used to have a black thumb too 😉
https://realitydaydream.com/a-beginners-guide-to-a-green-thumb-keeping-plants-alive/