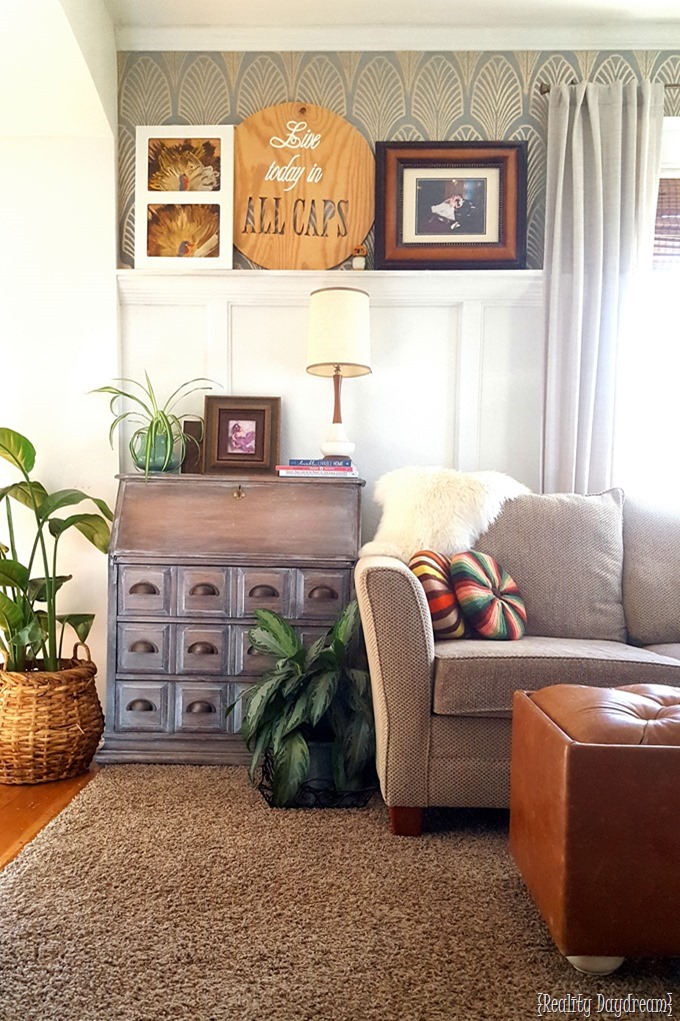
Howdy friends What’s hangin?
Sometimes, we have a piece of furniture that seems like it needs an update, but we’re not sure what?
TELL ME YOU’VE BEEN THERE.
This little secretary desk was given to me by my sister-in-law’s parents, and I LOVED IT. But after living with it for awhile, I decided it needed something. I knew for sure I didn’t want to paint it and cover up all that pretty woodgrain detail. So I settled on whitewashing it. And I’m so glad I did, because it turned out AWESOME. Here’s the before!

You can see that it has very pretty detail, woodgrain, and grooves that need to be highlighted! So I started mixing my whitewash glaze.
Supplies for Whitewashing Furniture
*this post contains affiliate links*
- Water-based primer (we used Kilz!)
- White latex paint
- Technique Glaze
- 220 Grit Sand Sponge
- Rubber gloves
- Cotton rags or cut-up old t-shirts!
- Chip brushes
Before you can jump right into the glazing, you need to rough up the surface a little bit so the whitewash mixture has something to ‘grab onto’. You don’t need to put much effort into it, but just make sure that you’ve taken the sheen off and it has a more matte finish.
Mix 1 part glaze, 1 part white paint, 1 part white primer together with a paint stick. My vessel of choice was a red solo cup. HEHE! Brush on a thin, streaky coat in the direction of the wood grain, and then quickly wipe it away before it has a chance to get tacky… leaving white in all the crevices of the wood. Remember, all brushing and wiping goes in the direction of the woodgrain!

LITERALLY that’s it.
You’re done.
You guys, this was SO EASY. And ended up making a huge difference for this piece!

I ABSOLUTELY LOOOOOVE this look. It’s so organic and beautiful. And it maintains the integrity of the wood, without feeling boring.

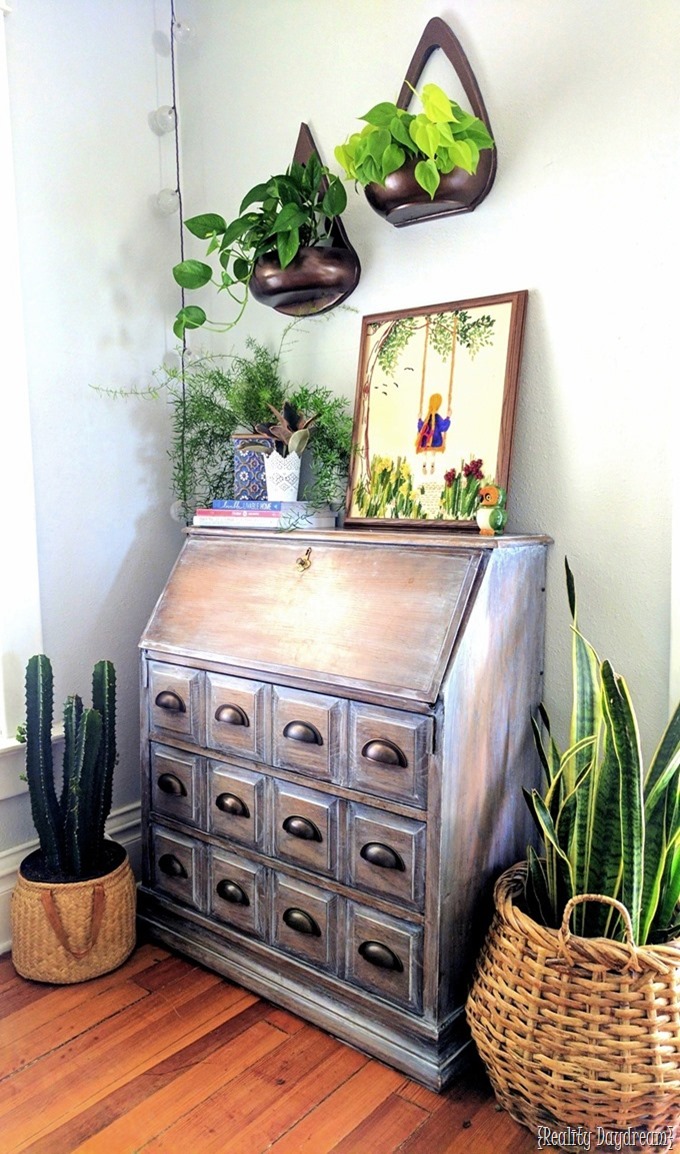
I love how the drawers have individual square sections (that almost look like individual drawers). And since I’ve always secretly lusted over card catalogues (NOT the price-tag), I decided I wanted hardware on each little section… to give the illusion that it has many smaller drawers! My lover drilled the holes, and I put on the new hardware… which was 70% off at Menards. (similar to these)

Isn’t it amazing how quickly wiping on paint and immediately wiping it off can completely change the look of a piece of furniture? It almost has a farmhouse feel now. But I also think this look could go with just about any style of home décor. Like something straight out of Restoration Hardware!

When people ask me what my favorite piece of furniture is, it’s a close tie between this secretary, and our credenza.

I love to move this thing around to different spots in my house, and display it in different ways. Here it is in a corner of our dining room.

Do you have a piece of furniture that could use a little update like this? You should try this technique! And if you do, tag us in your pics on social media (@RealityDaydream on Instagram and Facebook) so we can see! Happy weekend. ![]()
~Bethany
~~~~~~~~~~~~~~~~~~~~~~
Thanks for pinning!


This was so easy – thank you! My only suggestion – & this could be stated above- is that after dipping the brush in the mix- dab it in something before applying it to the piece of furniture. I didn’t & it was heavy in some spots. I
Love the whole thing and that hardware change out was perfect! Smashing job!!
Love how this turned out!! I have two captains chairs with our dining room set that I would like to do this to. I need to pick up a technique glaze to mix with the other paints. Where can I find that? I’m unfamiliar with that type of product. Thanks!
I love this and hope to use it in upcoming projects. Thanks for your awesome and easy DIY posts. I will for sure refer you on my site http://www.theglambubble.com, keep up the good work.
Simply stunning
As a professional designer and furniture junkie, I must tell you that your piece came out fabulous and the hardware is what made it. Great job.
Wow! Love it! Do you think it would work on my honey oak kitchen? Just want to lighten and tone down the orange (might put some blue Tobit in it, just a spec) but love the wood grain.
YES… you could totally do this on honey oak cabinets. In fact I’ve been thinking about doing this to my mom’s cabinets just to show everyone how awesome it looks and how easy it is! If you look at this post of ours (https://realitydaydream.com/2014/08/habitat-home-room-reveals-dining-room-kitchen-boys-room.html) you’ll see a honey oak dresser that we gray-washed for a buffet in the dining room. I wish I had done a tutorial, because I literally just wiped on flat gray paint with a brush, and then wiped it off with a cotton rag. It made it look a million times better. If you go for it, be sure to email us pictures!!
The absolute most beautiful piece ever! I am doing one more buffet and it will be my own and this is exactly how it will be done. Thank you for sharing this is stunning. I am in love with the way it turned out. Thank you for your insight and tutorial.
I just glazed a built in break front and was told by my paint store (they know me well:-) that I need to varnish after the glaze. Do you varnish? I’m trying to talk myself out of it because it’s a rather large piece, and I have other projects I want to move on to!
Ok personally, I would just leave it and skip the glazing. Especially if it’s a large piece. However if something scratches across it, it may take a little glaze off. This isn’t an issue for me, because I tend to wipe all the glaze off except for the nooks and crannies. But some people like to leave a ‘haze’ of glaze everywhere. And that may be where you run into some problems. It’s just really up to you. You’d have to REALLY scrape something hard for the glaze to come off. Hope this helps!!
LOVE IT! AND I WOULD LOVE TO FEATURE IT, IF THAT WOULD BE OK PLEASE LET ME KNOW,
LAUREN
Sure that would be fine! Please send the link when it’s live so we can see! And thx for asking 🙂
I’ve been wanting to get that same look, but wasn’t sure since I have an unusual looking table. It’s still in nice condition, but it’s kind of boring light wood. I think it’s pine, but not sure. I have some stain called white wash. Do you think that would work with a glaze or do I need to use regular paint with the glaze?
I would not use the whitewash stain. That’s meant for raw wood, and still wouldn’t REALLY give you the ‘whitewashed’ look. Just use simple white latex paint and a technique glaze and you’ll be golden! Be sure to send pictures when you’re done!
Hi there! Did you sand this piece first? I am going to try it out this weekend 🙂
Nope no need to sand! Unless the current finish es extremely glossy, then I would lightly sand with 220 grit before you do the whitewash/glaze. Be sure to send pics when you’re done!!
Hi, Beth – I went to Lowe’s today to pick up my supplies to do this technique on some gifted furniture. After talking with an associate in the paint dept., I left empty-handed and confused.
I saw that you used equal parts primer, white paint, and glaze. Do you remember what brands/type? Did you use oil-based or latex? What sheen of paint?
Thanks so much!
Melanie, I used semi-gloss white latex paint, water-based primer, and technique glaze. I’m sorry I don’t remember the brands, but I’ve used them all and they should all work for this project. Let me know if you have any other questions, and please send pics when you’re done!!
You are an artistically creative inspirational Goddess! Love,love,love!
I’ll be honest, I wasn’t sure about the first white wash pictures… but once the drawer pulls were on I loved it! They complete the look…
Looks so awesome! The hardware is fanstatic, I love it!!! Great idea.
I’m not a huge fan of whitewashing, but this looks so organic and lovely! I also like the hardware trick. Really clever! Can’t wait to see what’s up next!
NICE! Love the look. Mary in NY
It looks amazing! I love the RH look so hard. And your header looks sharp!
LOVE IT!!! What an improvement! The cheap handles are very awesome! I have lusted over those handles for some while but do not have anyplace to put them! I also have wanted a card catalog for just as long but have not seen one in my small “price range”. You really hit the nail on the head for my wants all in one piece!
I looks great,love how it truned out. I like how it looks like you have a lot of drawers.
Awesomeness at its finest! I get so inspired by all you have done. Great job yet again!
That looks awesome!! I have been trying to decide what to do to some older 70’s end tables we got that are very chunky and cool. I love the wood, but it is soooo dark. I think I have found my inspiration! Thank you!