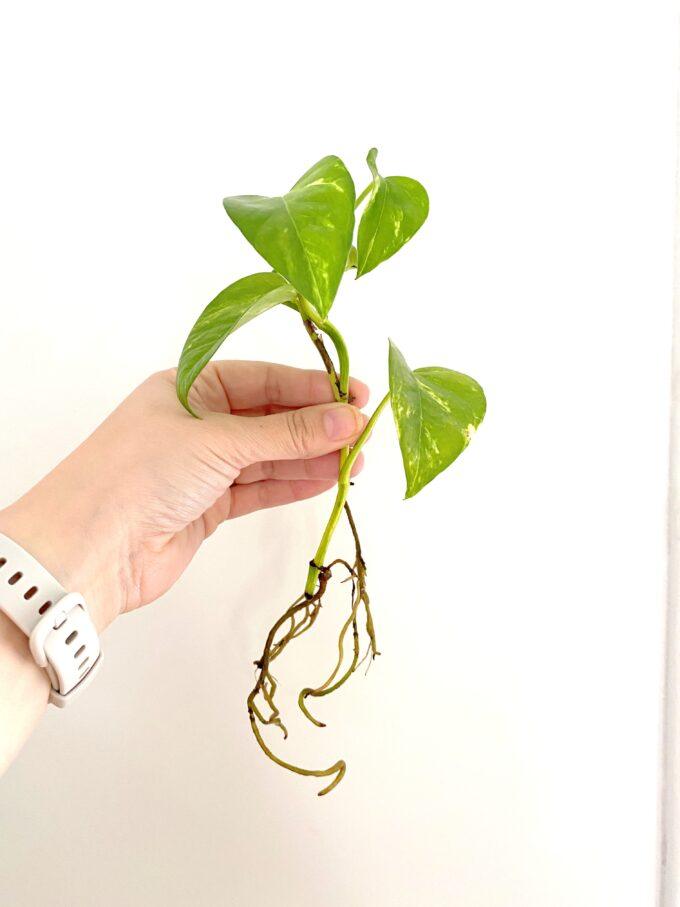
I’ve been needing to figure out a solution for my overwhelming plant propagation situation for some time now. I mean, I always have a lot of plants propagating at any given time, but after I shared the Pothos Propagation Tutorial a few weeks ago, I am OVERRUN with cuttings that are in old jelly jars, drinking glasses, and anything else I can find.
*This post is sponsored by our friends at WorkPro! Thank you for supporting the fabulous brands that make Reality Daydream possible! This post contains affiliate links.*
Rooted cuttings are so beautiful and can (and should) be displayed! I’ve seen a lot of fun ideas, but one of my favorites is when people use test tubes. I ordered my own test tubes recently, and have been waiting for the perfect moment to whip up something gorgeous as a propagation station for all my rooting plants!

Let’s build a little something, shall we?!
Test Tube Propagation Station
Supplies
- Wood (I used some scrap walnut from our bathroom vanity build)
- Test Tubes
- Clamps
- Cordless drill/driver
- Tape measure
- Square tool
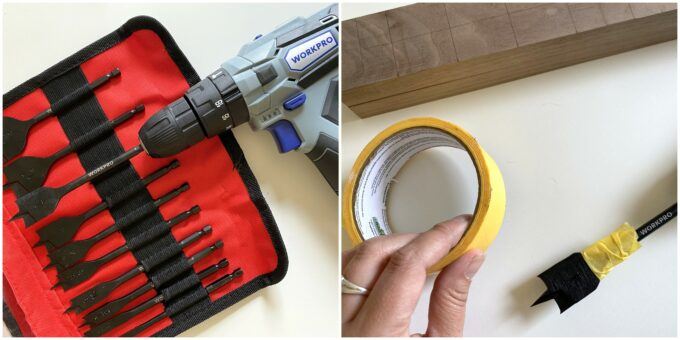
- 1″ Spade Bit
- 7/64″ drill bit
- Painters tape
- Sandpaper
- Scrap piece of wood
- Brass Screws
- Countersink bit
- Linseed Oil
My wood was already about 3/4 of an inch thick, which is perfect! So I cut two lengths of 2″x14″ and two lengths of 2″x 4″ like so.

On one of the longer boards, trace with a pencil the depth of the smaller board on both sides, then mark the center between the two.

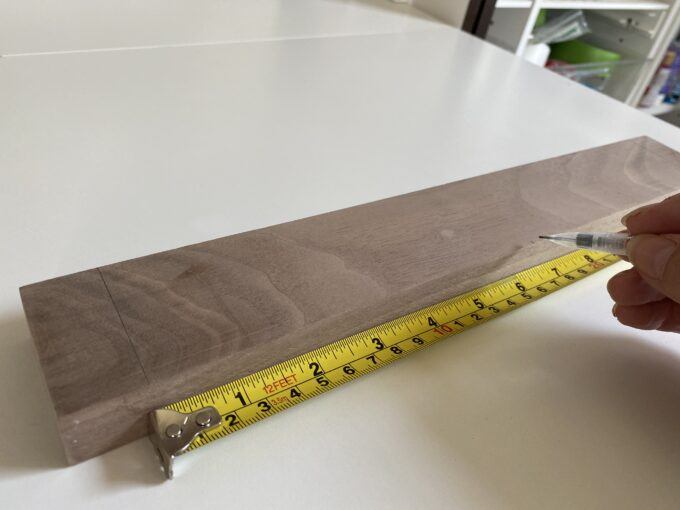
Once you’ve marked the center, measure out 3/4″ in either direction and mark all the way across with your square tool.
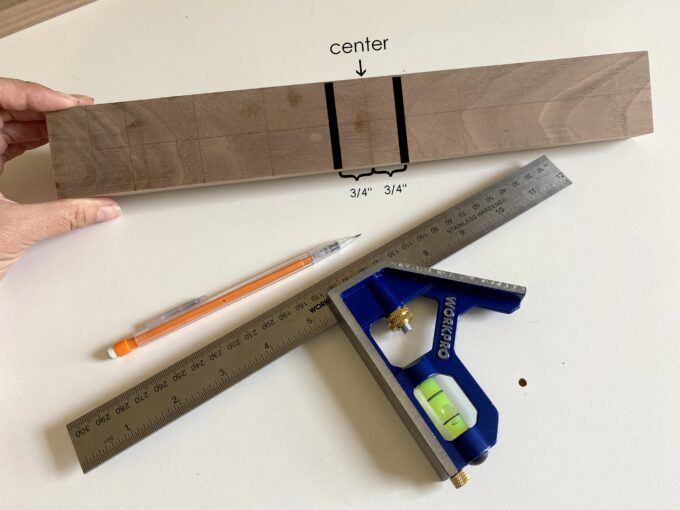
Now, mark increments of 1.5 inches in either direction of those two center lines

Then find the center on the short side and draw a line all the way across.

On all of these line intersections, we’re going to drill a hole for our test tubes! You can use more or fewer test tubes, just change the dimensions of your wood and increments between test tubes accordingly.

Stack your two long boards together (having the one with the markings on top) and a scrap piece of wood on bottom. Make sure your two boards are lined up perfectly, and clamp them all down to your work surface.

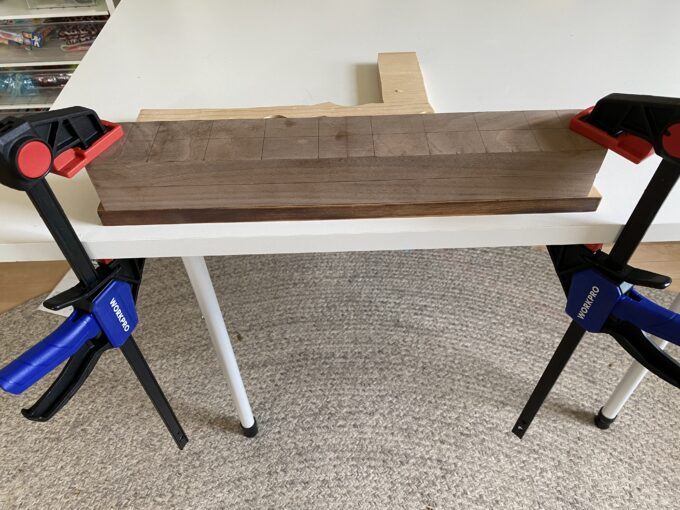
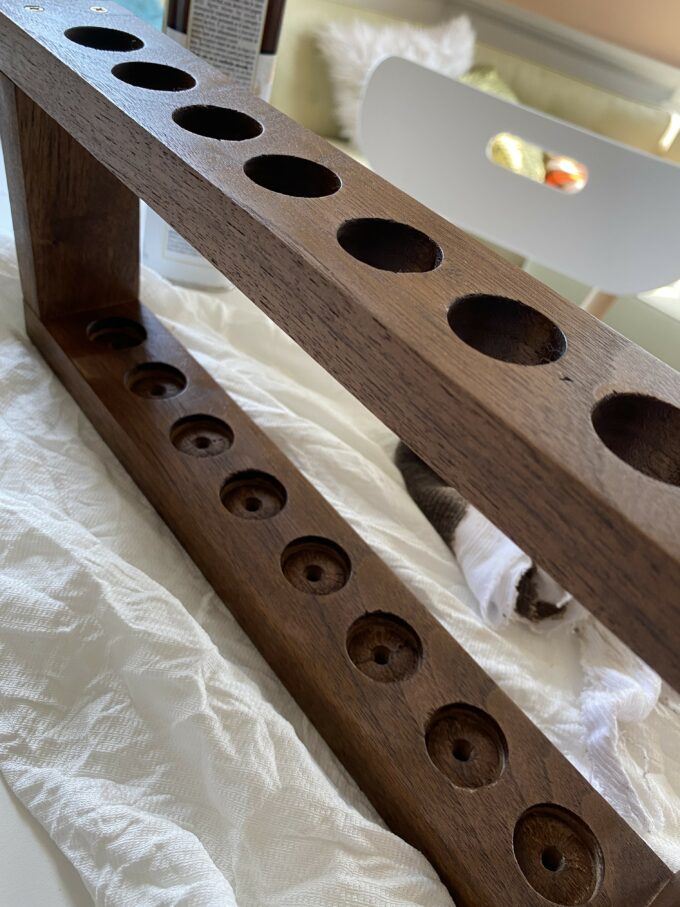
Before we start drilling with our 1″ spade bit, we want to consider how deep we want to drill. For mine, I want to go all the way through the first board, and halfway through the second board. This will give me some little ‘wells’ for the bottom of my test tubes to snuggle into.
In order to make each hole the same, I measured the depth and marked it with a pencil on the spade bit. Then I taped off with painters tape on that line so I would be able to see when I’ve reached the perfect depth.
Do your best to drill straight down, and stop when you’ve reached the depth of your tape. This part is so fun and satisfying!

Take your clamps off and admire your work!

Sand down those circles a bit to smooth them out, and then line them up again and clamp them down with the scrap board still beneath. The only difference this time is that the clamps won’t be right on the edges this time.
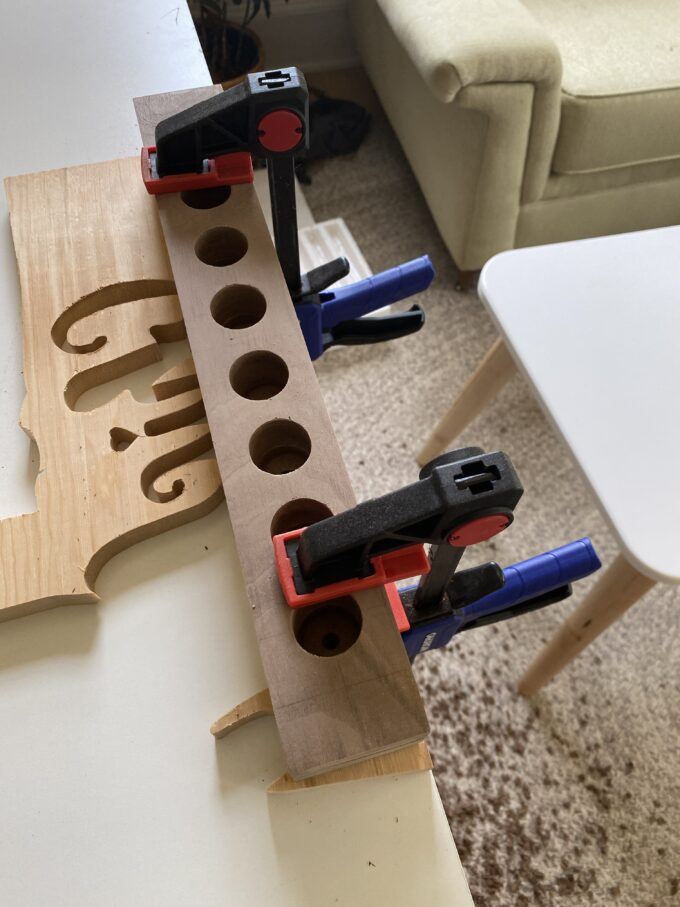
Using your 7/64″ drill bit, drill two pilot holes where your brass screws are going to go, as follows. Try to drill down through both boards. It’s ok if the bit isn’t quite long enough to go into the piece of scrap wood.
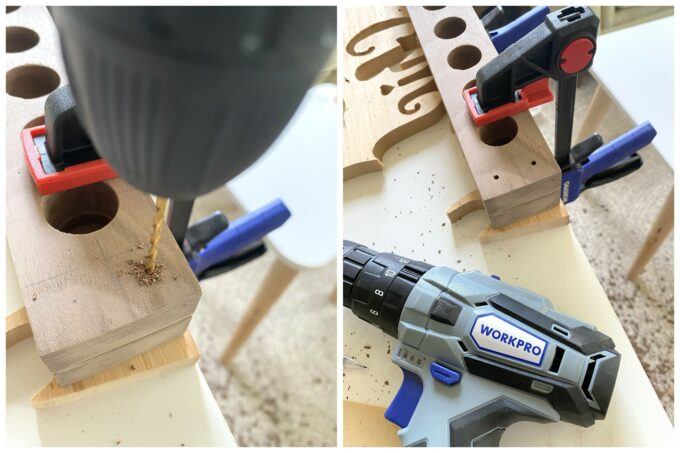
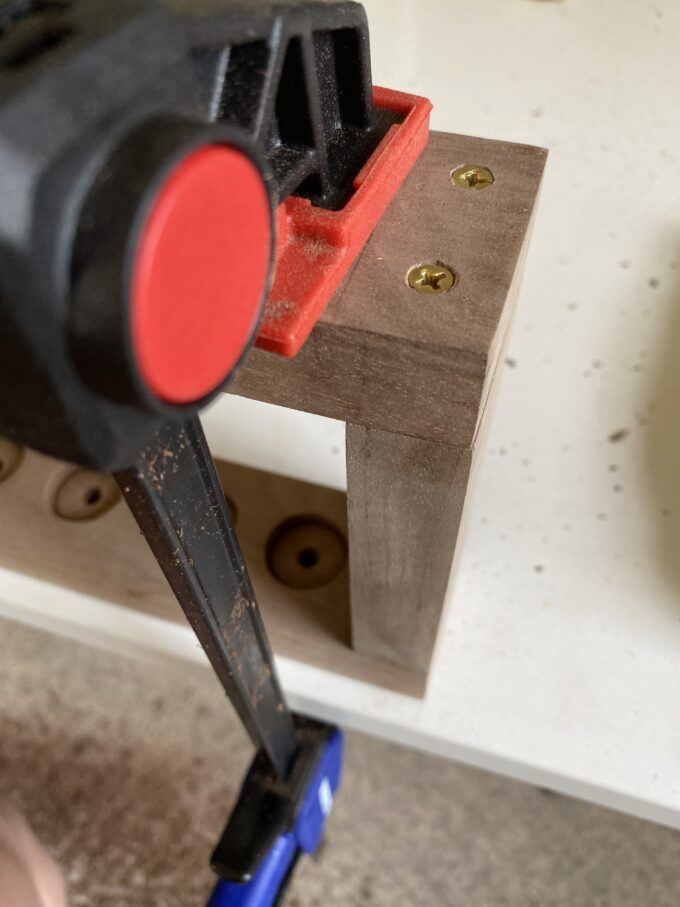
Now we’re going to chamfer the edges of these pilot holes using a countersink bit. This will allow the screws to be flush with the wood instead of sticking up a bit.

Time to assemble! We’re going to put our propagation station together and clamp it into place as pictured below, and screw in those pretty brass screws!
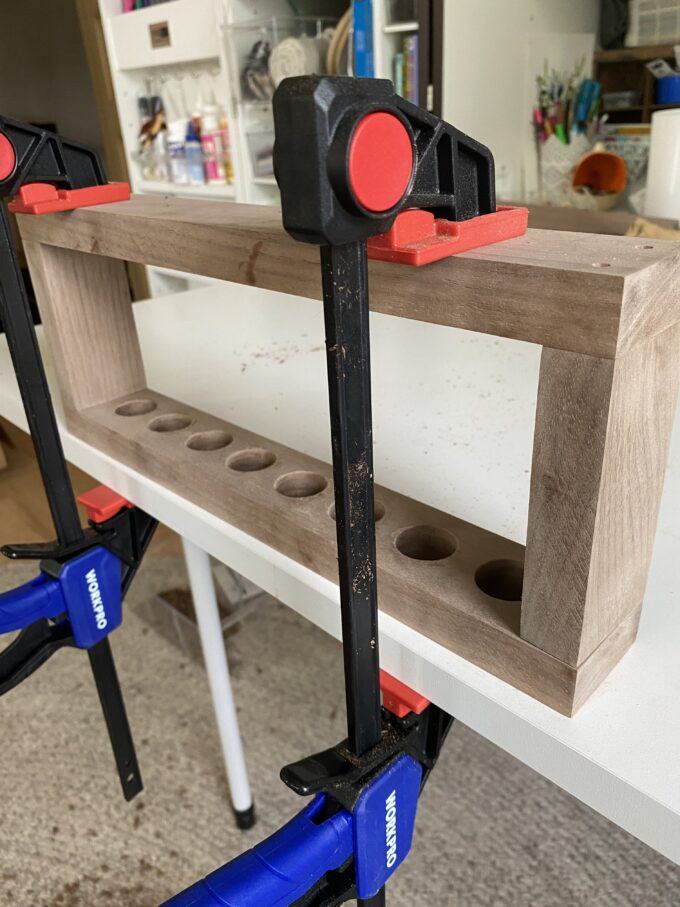

Flip the whole thing over, make sure everything is lined up, clamp ‘er up again, and repeat!
Now it’s time to slather on some Danish Oil with a cotton cloth, and pop those test tubes in!

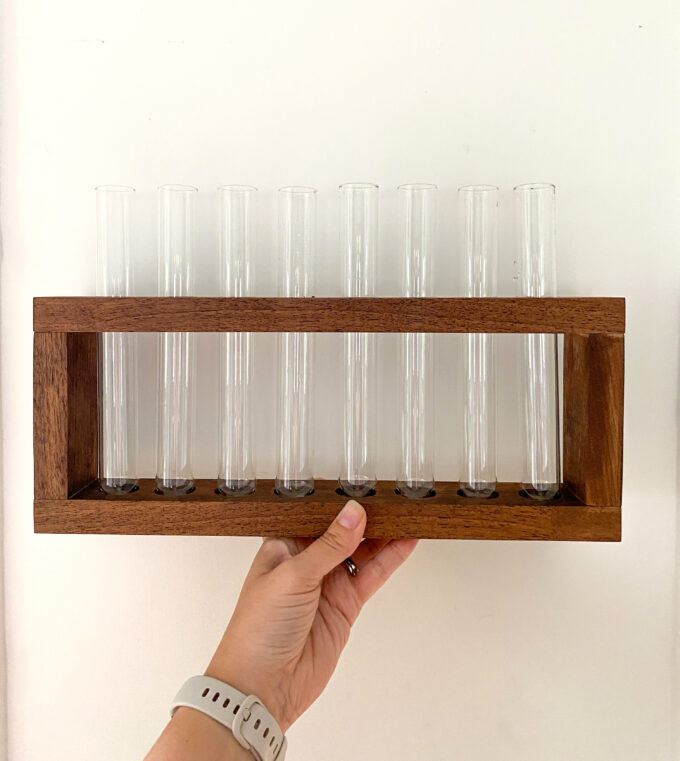
It was SO SATISFYING sliding those test tubes into their new homes.
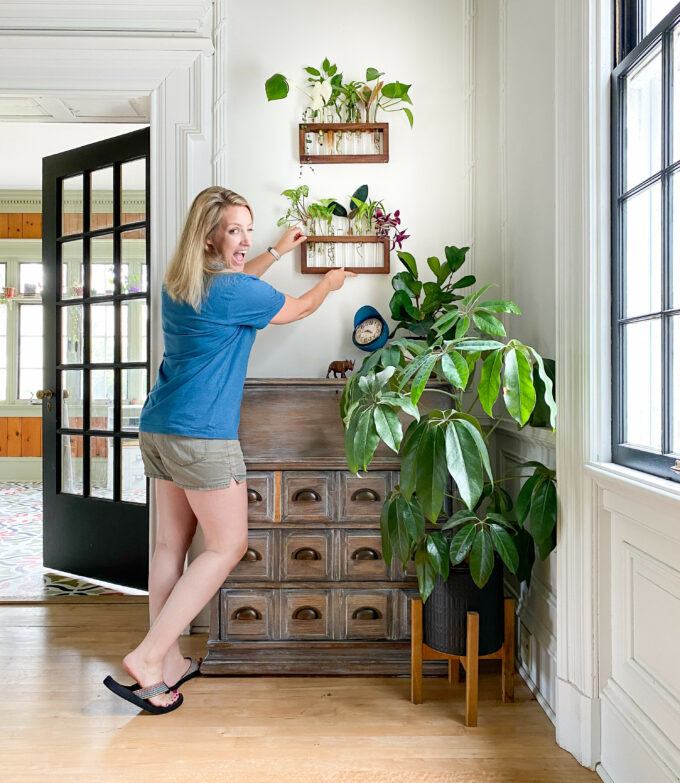
I cannot tell you how fun it was loading this baby up with all my propagating plant cuttings. Those gorgeous roots are ART!


These propagation cuttings in order from left to right are: Wandering Dude, Spider Plant, Scandapsus Pictus, Marble Queen Pothos, Ficus Tineke, Pixie Arrowhead, Ficus Benjamina, Neon Pothos, Mahogany Rubber Plant, String of Heart (but only if you look closely! ;))
This propagation station could be displayed on a shelf or mantel, or could even be hung on the wall by adding a couple hangers to the back!

We hope you loved this project, and make one for yourself or a friend! If you do, please share pics on social media and tag us! We’re @RealityDaydream on Instagram and Facebook!!
Bethany
~~~~~~~~~~~~~~~~~~~~~~
Be sure to check out our master list of DIY Handmade Gift Ideas!

Thanks for pinning!


Oh, I love that. My neighbor is a HUGE plant person. This would make an excellent gift.