I’ve been noticing a pattern in my creative projects… I’m either working on big projects like focusing on a room transformation (like the kitchen or ‘Laundry Suite’), or I’m going through phases where I kick back and work on lots of smallish projects here and there.
Whenever I get comments like ‘that’s awesome, but I could never do that’ makes me feel so defeated. So throwing in some simple projects that you could go knock out in an afternoon does us all some good, right?! Group hug?
I’m glad we had this talk.
Today I’ve got a fun little project that turned out soooo cute!
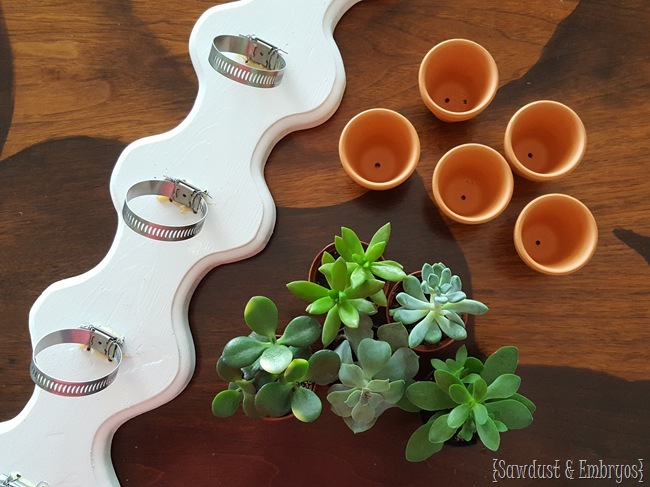
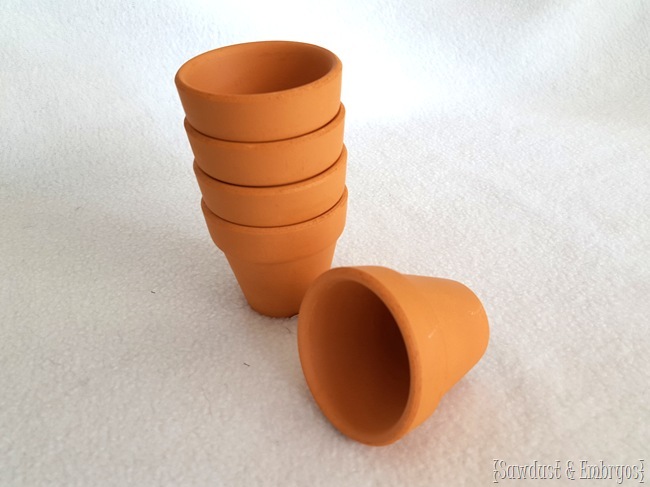
I had found the most adorable little teeny terra cotta pots in the garden section at Walmart about a month ago, and I snagged 5 of them for no other reason than that THEY ARE ADORABLE. I found them on Amazon here too… in a set of 6!
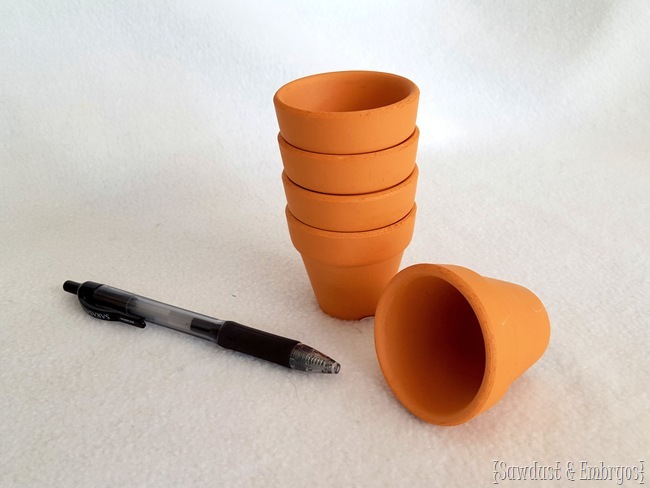
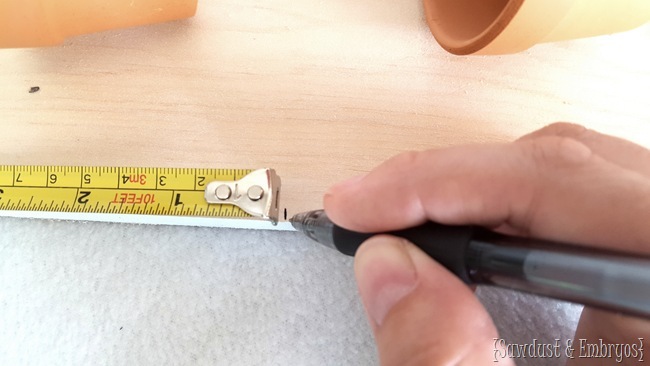
For you to get the full effect of their small-slash-adorable nature, I’ll include a pic with a pen for size reference. You’re welcome!
They sat in despair in my messy craft studio for several weeks before I had an idea for what to do with them! I went out to the garage and grabbed a scrap piece of wood that was ‘about the right dimensions’, and laid out my pots to decide how much distance should be between them. Picture me squinting my eyes trying to imagine tiny succulents.
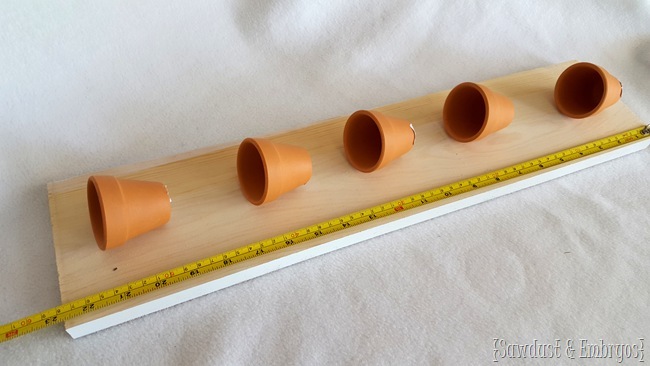
Once I decided I didn’t need to cut my board (23” was perfect!), I divided it equally into 5 parts and marked it.
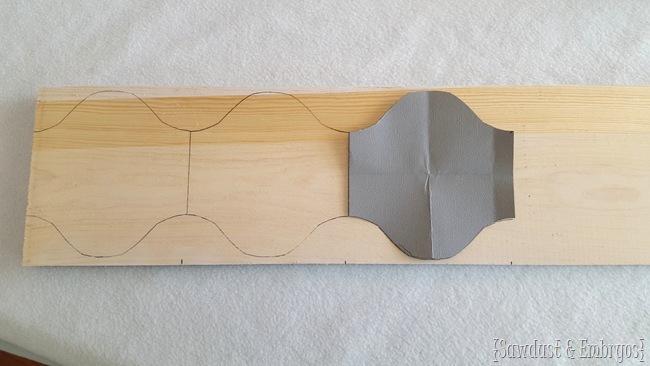
I grabbed a piece of cardstock and cut it to the dimensions of 1 of the 5 ‘cells’ on my board. Then I folded it into quarters and rounded one of the corners to create a little ogee shape. I just traced it onto my board 5 times.
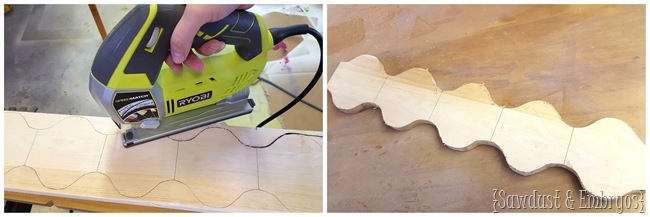
I clamped my board to a sawhorse, and went at it with my jigsaw.
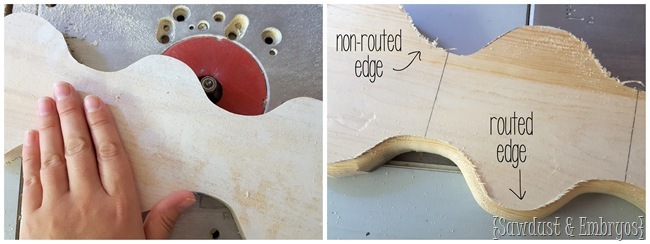
Then, using a 1/4” Roundover bit, I routed the edges to be a little more decorative than just a sharp corner. It’s kinda hard to see in this pic because of the fuzzy edges that need to be sanded.
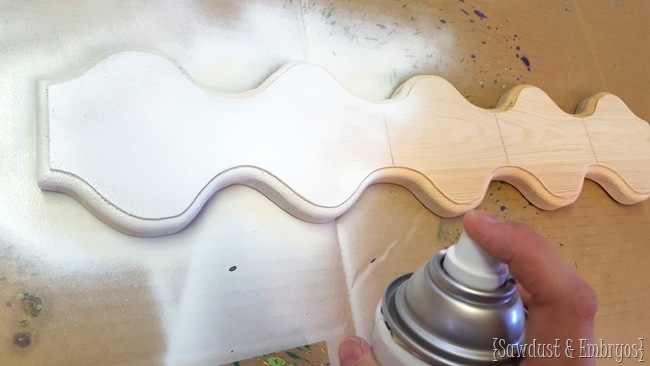
After lightly sanding off the rough edges with 220 grit sandpaper, I sprayed on a couple coats of white spraypaint +primer in one and let ‘er dry for a good couple hours until it wasn’t tacky anymore.
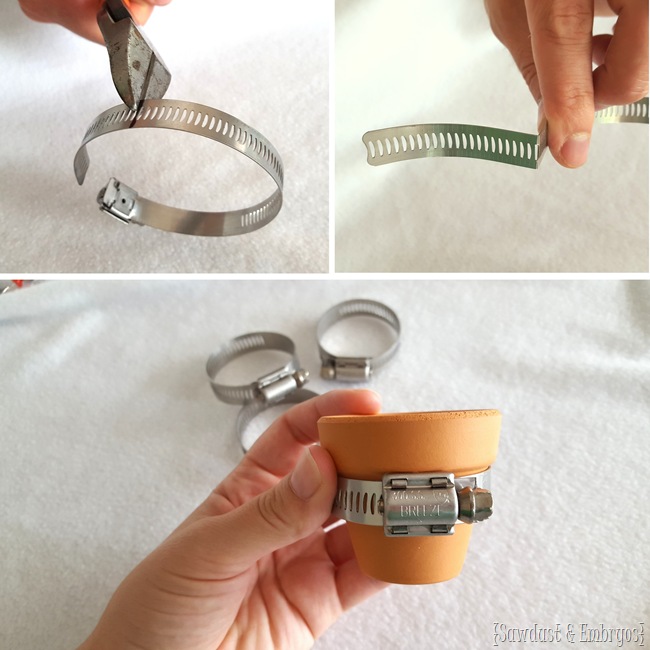
I snagged a few hose clamps at the home improvement store, and snipped them to size with a diagonal cutter.
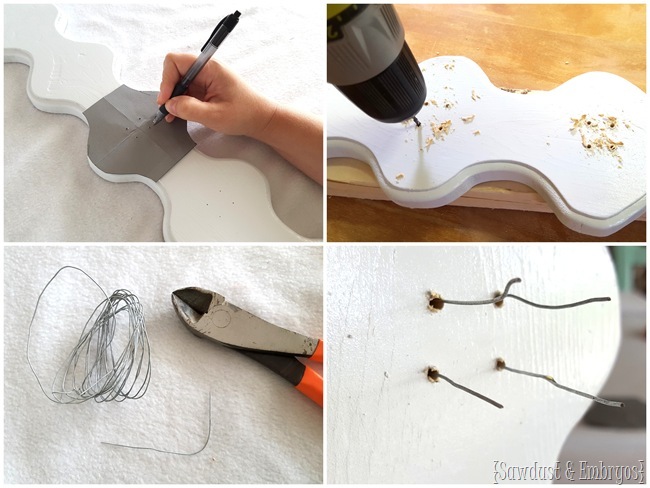
I was planning to gorilla glue these bad boys to the ‘back board’, but I felt like I should go to some extra stability measures for peace of mind. I decided to drill 4 tiny holes in the center of each of the 5 ‘cells’ so I could weave in some wire to hold things even more snuggly.
Then I just squeezed a dollup of the gorilla glue in between…
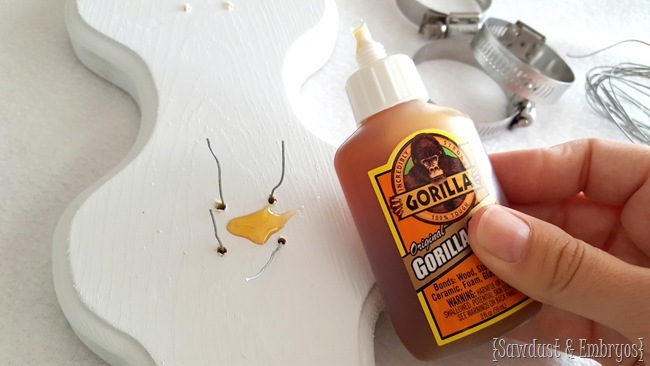
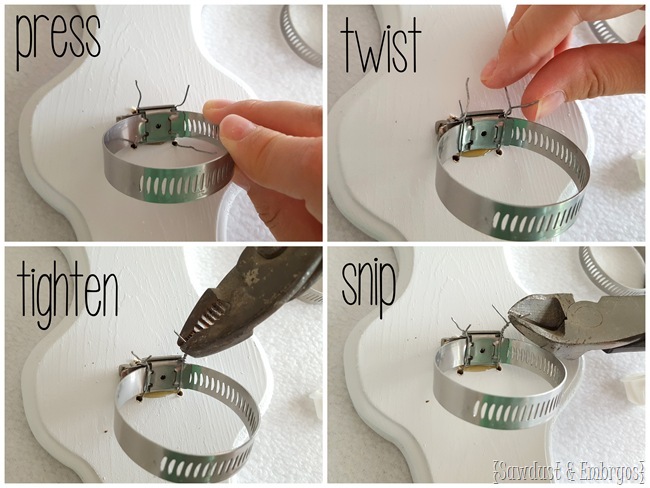
…and pressed on the hose clamp at a slightly downward angle. Then I twisted the wires, tightened with a pliers, and snipped off any excess with a wire cutter. Then I just bent the wires down around the back so they weren’t visible… or pokey.
Now for the fun part! I snagged a variety of cute little succulents at our local nursery… and just popped ‘em into my teeny terra cottas!
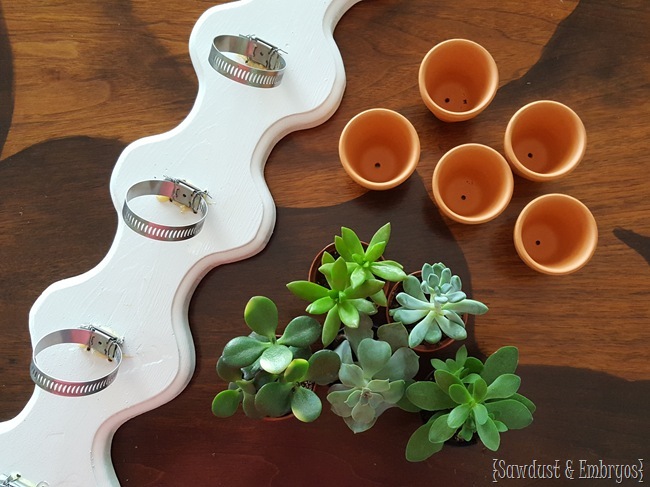
BOOM!
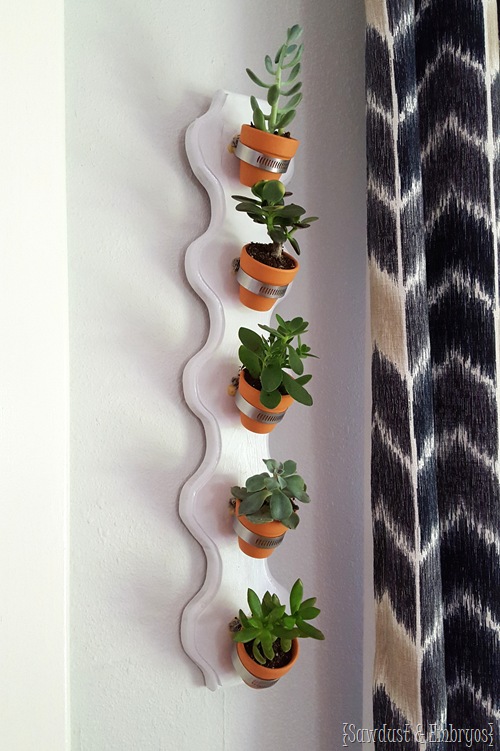
Nick slapped a comb hook on the back for me. This cutie fits so perfectly on so many narrow pieces of wall in my house… I can see myself moving this bad boy around a LOT.
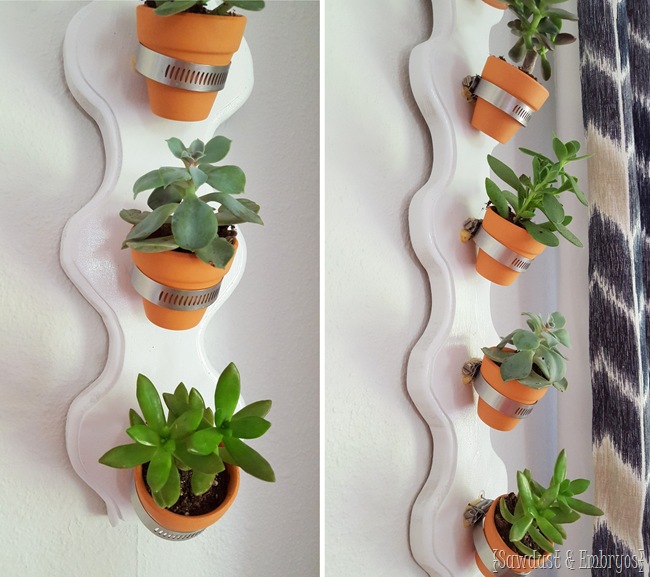
Now that I’m looking at this post I just wrote… it seems like a lot of steps, but I promise IT’S SIMPLE! I love the contrast of the soft green succulents against the natural terra cotta shade, backed up by the crisp white board. I’m confident something like this would look stellar with anybody’s design style.
As usual, please send us pics if you decide to try one of our projects! It’s the best feeling EVER to see our readers being inspired to roll up their sleeves and GO FOR IT!

Thanks for pinning!
*this post contains affiliate links
 (source)


Sarah, for tiny succulents, I always use a dropper to water them, because they really only need a drop or two of water every so often. There’s never enough water going in that it drips out the bottom. I actually use a dropper for all my smallish plants so I don’t flood them! 😉
OOOOOOOOOOOOO super cute!!! With its’ sleek look & fun curves it can virtually go anywhere!! Awesome!!!
Super cute! I wondered the same thing about watering them. They’re so tiny, maybe you could just spritz the dirt with a mini spray bottle. You’ll have to keep us posted on how you work it!
It looks great, but every time I see a planter like this I can’t help but wonder – how the heck do you water them without getting dirty drips running down the wall into the carpet….
Minuet, for tiny succulents, I always use a dropper to water them, because they really only need a drop or two of water every so often. There’s never enough water going in that it drips out the bottom. I actually use a dropper for all my smallish plants so I don’t flood them! 😉
This is awesome – I’ve seen a lot of succulent projects on the web but this one really stands out. I like that each plant is standing by itself. Kuddos!
Carole @ Garden Up Green