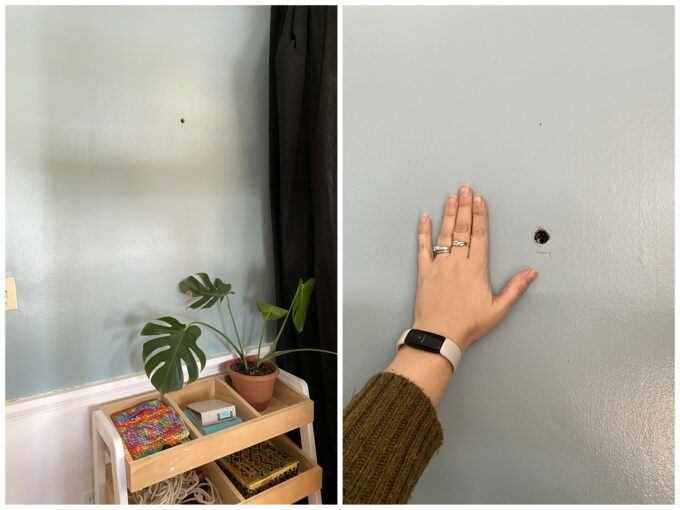
Got a hole in your wall that you wish wasn’t there? We do! When we moved into this house, there was inexplicably a pretty good sized hole on the wall in what is now our twins’ room. It’s about as big around as a nickel. And up until now, we’ve just pretended it isn’t there.

*This post is sponsored by DAP. Thank you for supporting the fabulous brands that make Reality Daydream possible!*
But lately I’ve been giving it the side-eye, and really want to just fix it instead of trying to put up a strategically-placed gallery wall to hide it. Snaps for me!!
I was mentally preparing myself for all that typically goes into fixing a good size hole in the wall… which usually involves some kind of sticky substance, a putty knife, and lottttts of sanding.
BUT!
I found this really cool product by DAP called Eclipse Rapid Wall Repair Patch. This product is SO AWESOME. Let me show you how to use it!

You’ll need zero tools. You’ll spend zero minutes sanding. It’s quick, easy, and can be painted immediately. Let’s do this!
How to fix a hole in the wall
Supplies:
- DAP Eclipse Patch
- Wall paint
- Paint roller/tray
How’s that for a supply list?!
Step 1 – Peel off backing of the patch

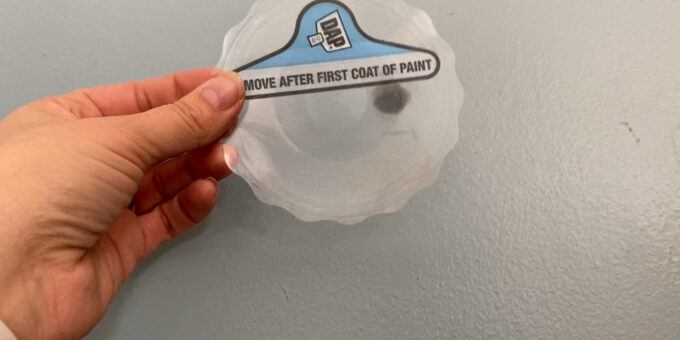
Step 2 – Place patch directly over the center of the hole
If your hole has some rough edges, you many need to spend some time flattening things down, and/or pushing the rough edges in before putting the patch in place.

Step 3 – First coat of paint
Even though there’s that little blue tab that still needs to be removed, go ahead and slap on your first coat of wall paint.

Step 4 – Peel off tab and paint again
Carefully pull back that tab, which will end up being the full size of the patch. Now we recoat with wall paint again, and that hole in your wall is magically gone.

Can you believe that it just DISAPPEARED?! It’s magical!

Here’s a closer look. This photo hasn’t been edited at all!

I popped up some pictures and art, and now the girls have a cute little gallery wall! This has been such a satisfying project!

Since I know someone will ask, HERE is a link for the tutorial on that wooden geometric art in the pic above. It was one of my favorite projects! (AND baby Cypress was sooooo tiny back in those days!).
Thanks for following along on this project. If you try these wall patches, let me know how it goes for you!! I’m confident you won’t be disappointed! 😉
~Bethany
~~~~~~~~~~~~~~~~~
Thank you for pinning!


Great to know! I have to see it to believe it 😜
Wow! I needed this when we moved into our salon ten years ago. We patched about 50 holes.