Yo ho ho! Good morning besties! I’m in a mood today, so you’ve been warned.
My friend Jenn inspired me to ‘put myself together’ a little more in the mornings (even though I’m a stay-at-home mom) because it magically gives her more energy and she feels more on throughout the day. And although today is only day 1 for me trying this experiment, SO FAR SO GOOD. I’ve been more productive in the 3 hours I’ve been awake that I usually am in a whole day! #tryit
It may also be the fact that I’m adding a bit of peppermint mocha creamer to my coffee this morning which subsequently causes me to drink 3x my normal coffee portion.
ANYWHO!

Can we take a moment to chat about these kids’ headboards I made that are upholstered with vintage tablecloths?
When I talked with the girls about their future room before we moved, the only things that they asked for is that it be ‘rainbow’ and have soft headboards ‘like mommy’s‘. The rug and this art we made and are the rainbow-y elements of the room. Here’s computer rendering of what that side of the room will look like. Eeeeeek!!!! (CLICK HERE to see the whole plan for the room!)

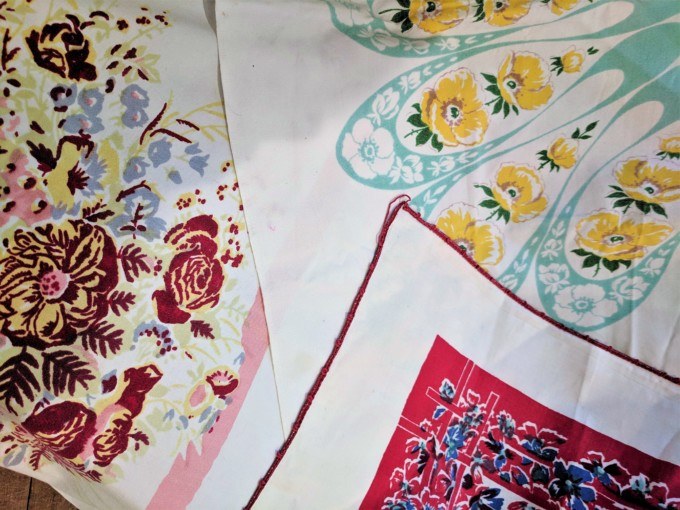
I found a vintage tablecloth from a little online antique shop that I just HAD TO HAVE (the aqua and yellow one). And that was the jumping off point for this project. The red and blue one I found at a local antique store with a friend. And the pink and red one came from my mama.
*This post contains affiliate links.*
Now that I have all my vintage tablecloths, the first line of business is to trace a half-circle on my 1/2″ plywood. I measured the opening of their bunk beds to know how wide the half circle needs to be. Then measured that same distance on the board with a pencil mark, as well as a pencil mark halfway.
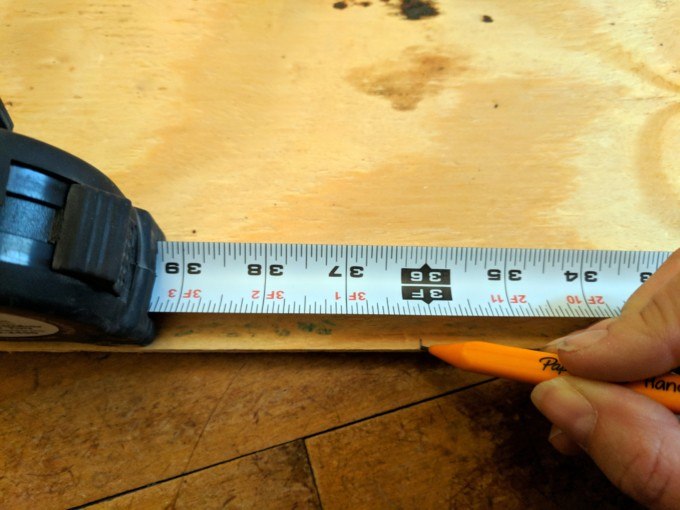
Tie a piece of string to a pencil, and hold the other end on that halfway point mark that you made. Then trace the half circle, doing your best to keep the string taut and the pencil completely vertical.

Can you see that half circle line?!

Time to cut this sicker out with the Jigsaw!
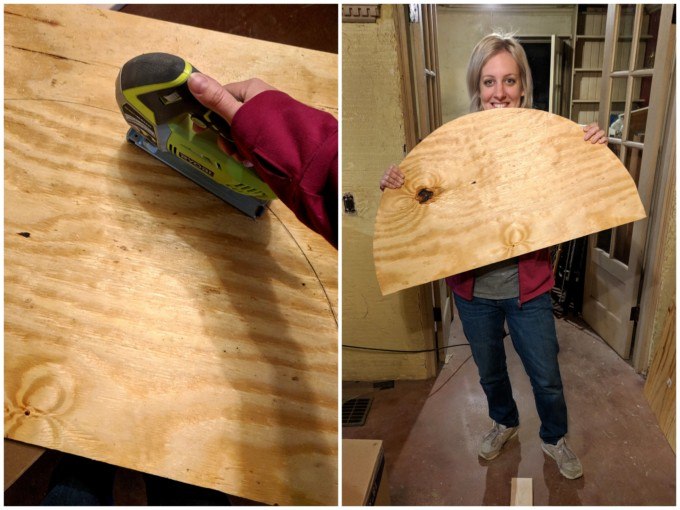
After cutting our my half-circle, I decided to route the edges to round them off a bit. This part is optional, but I think if you don’t do this the sharp edge will rub at the fabric and wear it away over time.
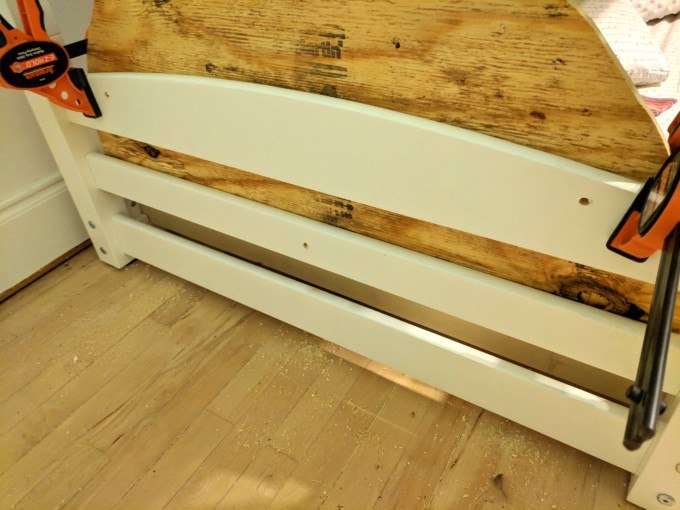
To make installation of these onto the bunk super easy and sturdy, we pre-drilled holes where we wanted them, straight into the bunk rails. We did two on the bottom corners, and one in the center on the top rail.
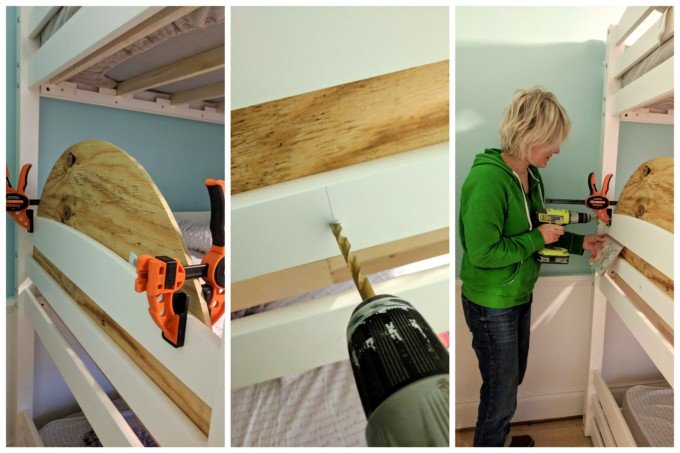
See the 3 holes?
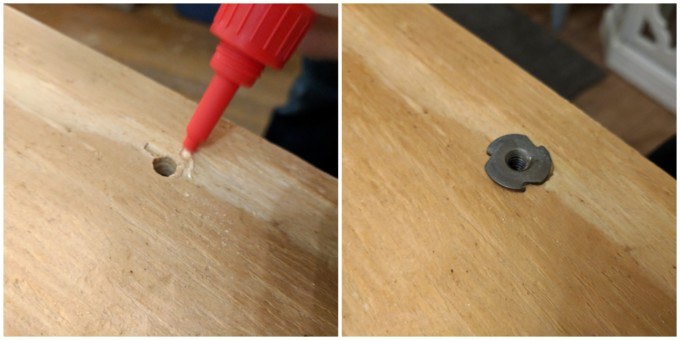
Then we installed some of these T-nuts into each hole. That way after the whole thing is upholstered, we can just put the thing on real easy!
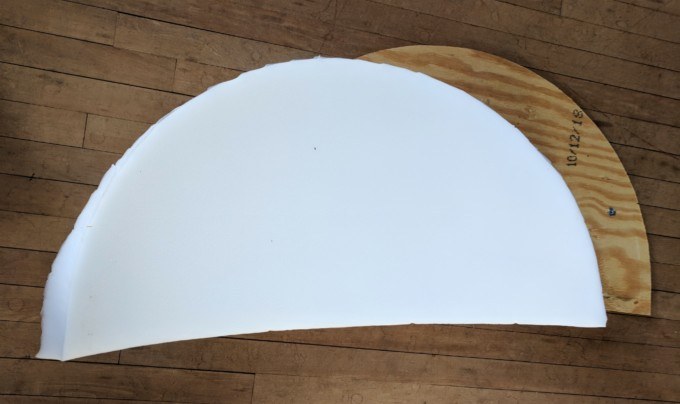
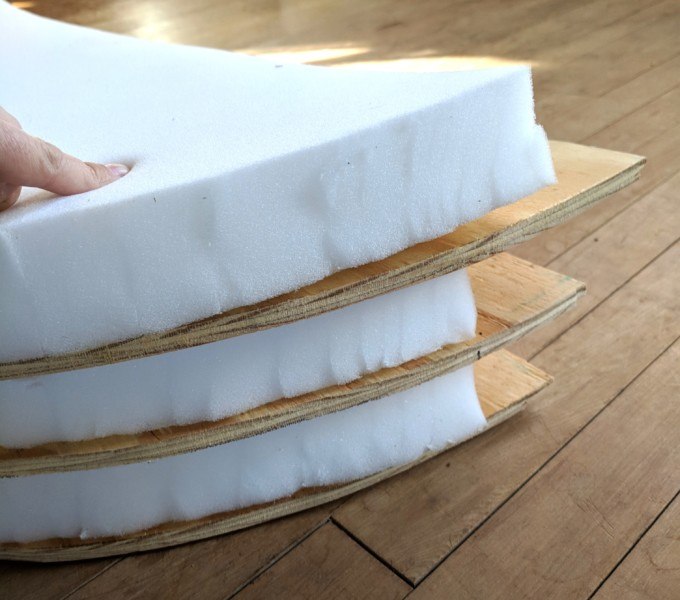
I bought a roll of 3″ foam at Hobby Lobby. Use their app to get 40% off, cause foam can be pricey!

We decided we didn’t want foam on the bottom 3 inches of the headboard because it will be sandwiched between that mattress and the bunk bed, so this saved us foam too. Lay your half-circle board on top of the foam with a 3″ overhang, and trace with a sharpie right onto the foam. Then cut with some sharp scissors!

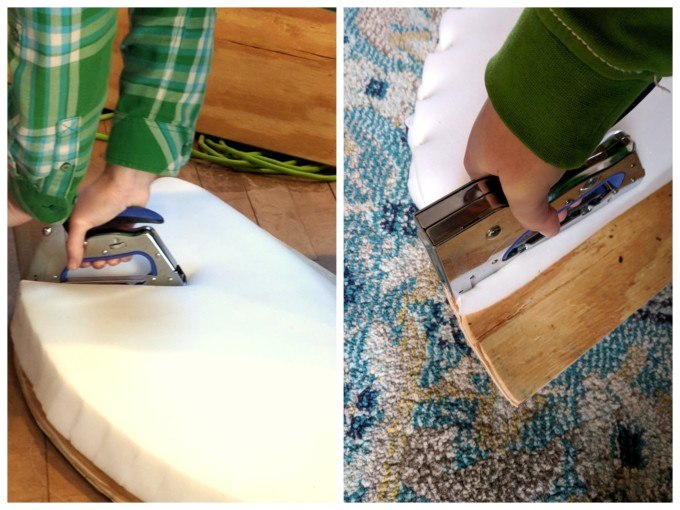
I used my upholstery staple gun, and started stapling the edges down to have that rounded look. Start out by stapling each corner, and one on the top/center of the arch to keep things in place. Otherwise it will move on you as you make your way around. Then staple the centers between those, and the centers between those, etc etc… until you Have staples about every inch.
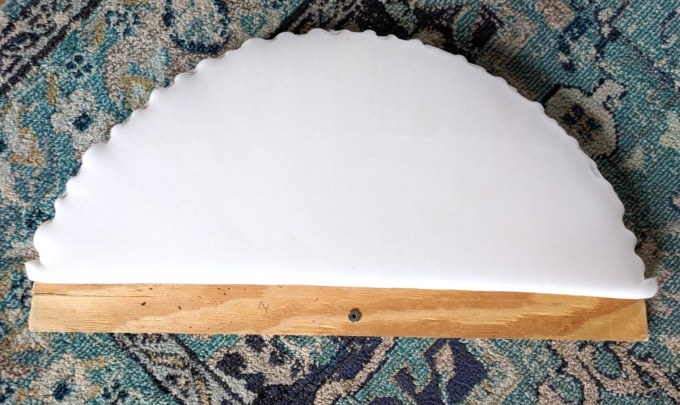
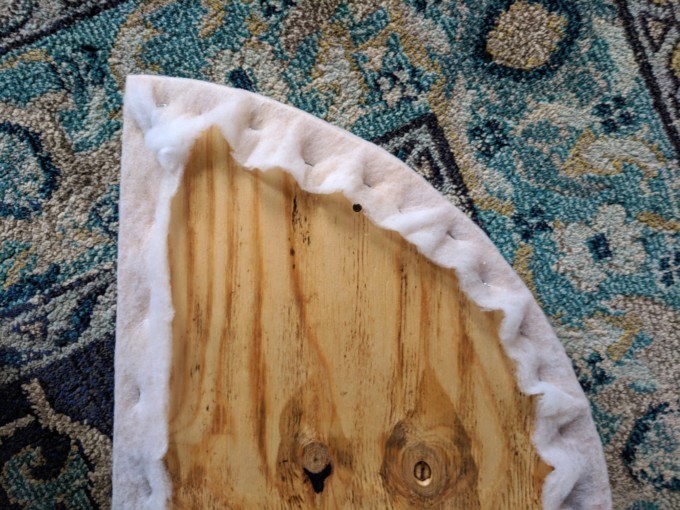
There’s really no reason to staple along the straight part of the foam. Now it’s time to wrap some batting around it! I laid out the batting and put the half-circle on it, and cut about 4″ from the edge all the way around. Then started wrapping the edges around to the back, gently pulling so it’s tight-ish, and stapling into place.

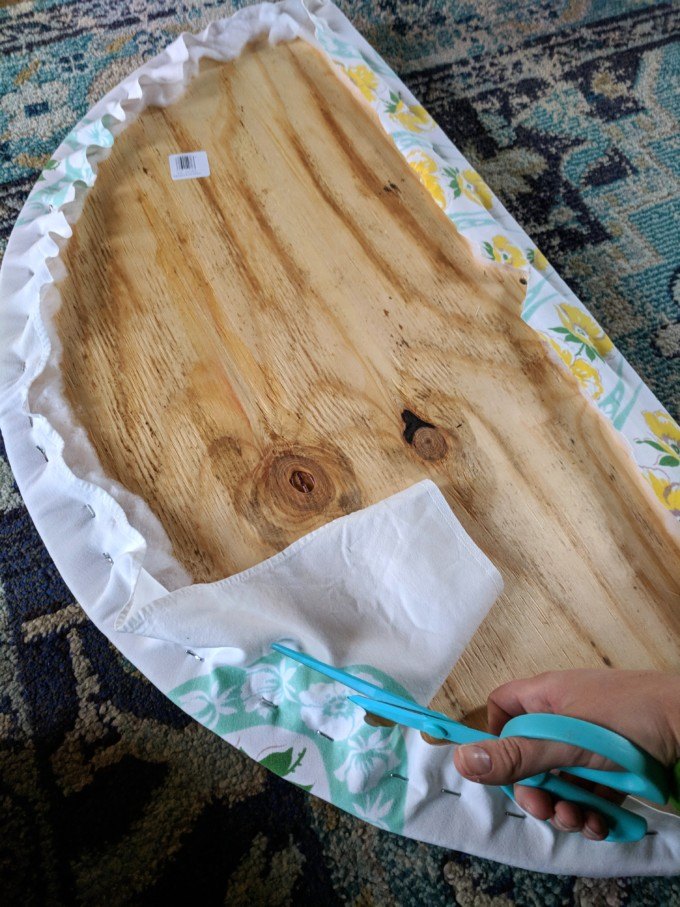
Time to do the same with the fabric (or in our case, vintage tablecloths). It’s important to think about whatever pattern is on your fabric, and make sure that it’s centered if necessary.

Once you’ve got it stapled all the way around, go ahead and cut off all that excess fabric.
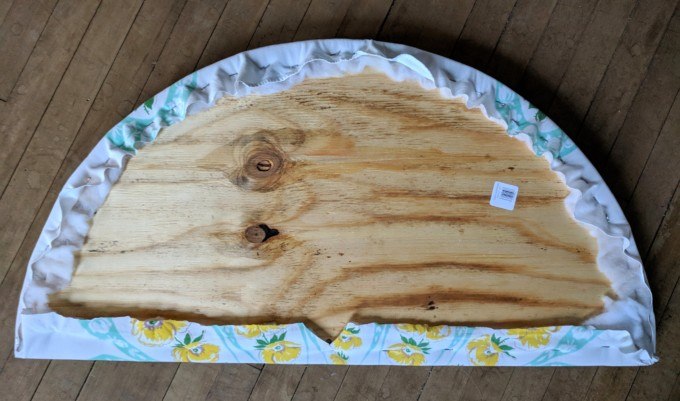
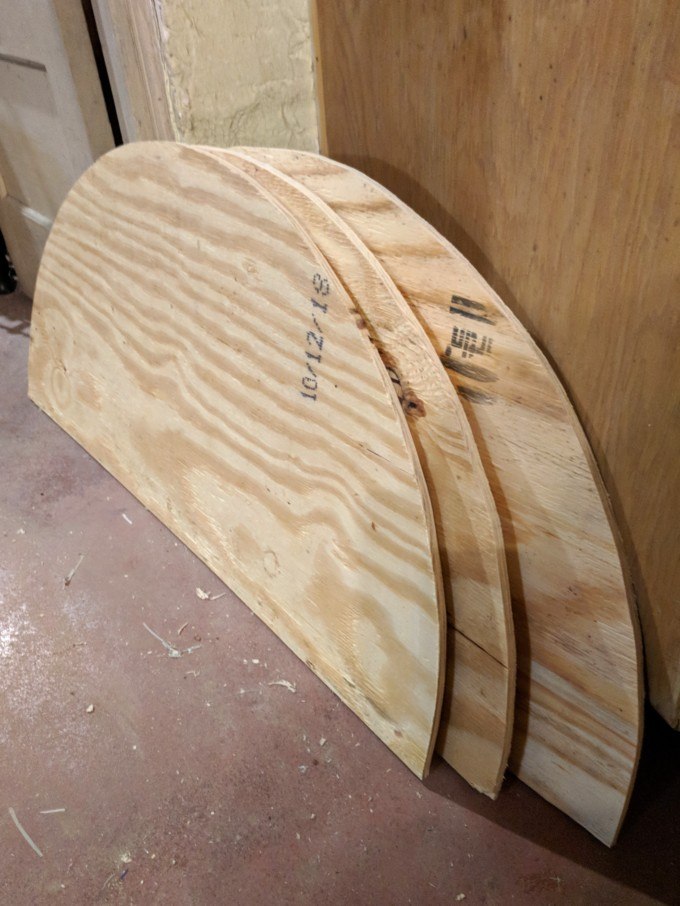
I did the other two headboards the same way, and THESE SUCKERS ARE READY TO PUT UP!
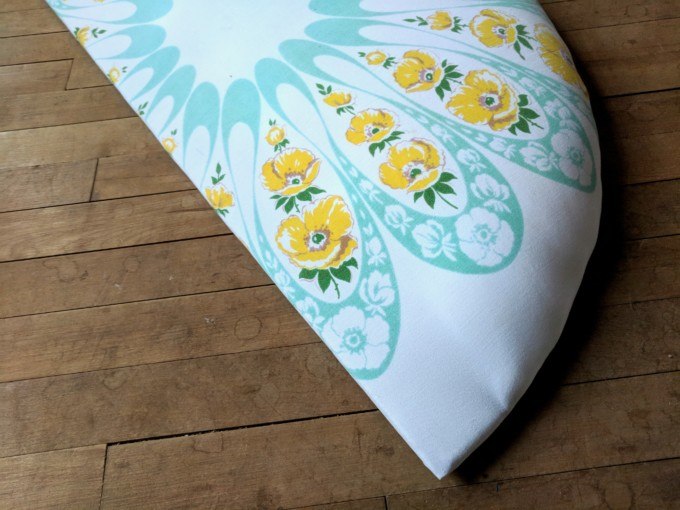

You know the drill (PUN!), just use the bolts and these go up into place in about 30 seconds!
I wish I had taken a picture of all 3 together before installing them onto the bunk bed. But don’t they look amazing in place on the girls’ triple bunks?!
These upholstered headboards are so cushy and soft. Perfect for learning against to read a book! And they’re just plain cute too. 😉

I can’t wait to share the other projects that we have in the works for this room! Although I will say that we’re slowing down on the DIY (and blogging) this month to be with family and casually enjoy the holiday season. So don’t be holding your breath or anything. Haha! NOT THAT YOU ARE.
Merry Christmas!
~Bethany
PSSSSST! Update! I just shared a new upholstered headboard, and let’s just say… this one is UNIQUE. It involves *cough*pool noodles *cough*. Come check it out HERE!
~~~~~~~~~~~~~~~~~
Thanks for pinning!
Related:
-

When the twins moved into what used to be the guest bedroom, I knew I…
-

I have a fun and easy building project for you! And while I do end…
-

My kids are getting to the age where they want to tape pictures, cards, notes...…
Another great project! I know your girls love their soft headboards.
Bethany,
Did the girls pick which one of the headboards they wanted? Such a cool idea.
Maureen