Nick’s been such a champ about plugging away at our kitchen addition, but occasionally I need a small win in the part of the house that we’re actually living in. I’ve been jonesing to prime the living room, because I’m so tired of the fleshy beige color we’ve been living with. And it’s a big enough job that I knew we would both need to set a day aside to get ‘er done.
![]()
I still don’t know what color I actually want it to be (my brain is full of ALL THE THINGS), and white is the perfect blank canvas to help me picture things. And I know what a difference it made in our entryway.

*This post contains affiliate links.*
What a difference, right? Of course it doesn’t hurt that we removed all that nappy carpet too. Anyway, you get the point!
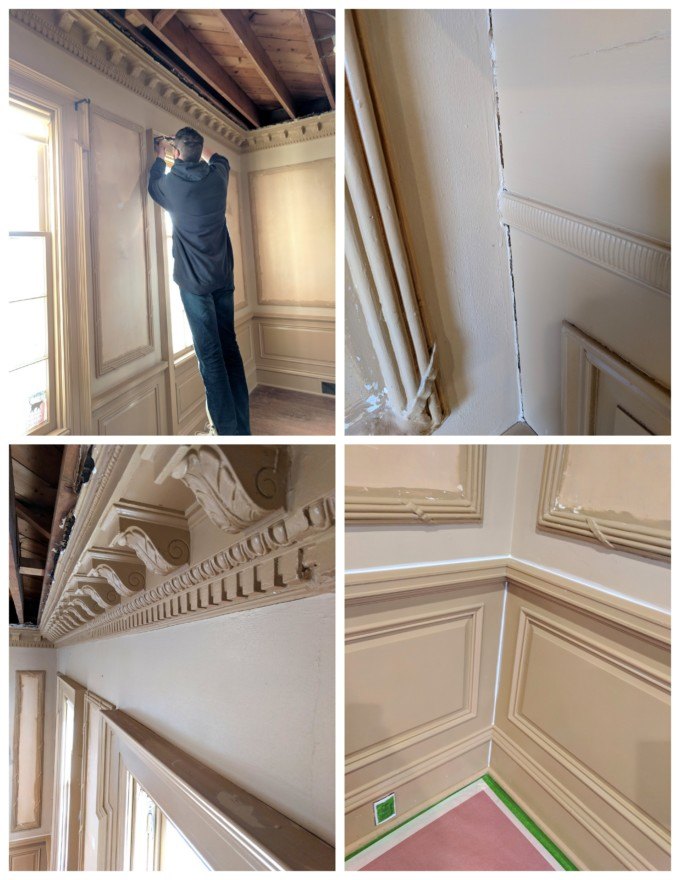
Ever since I spent several dozen hours painting that detailed trim in the solarium, I’ve fully embraced the idea of using a paint sprayer. For rooms this large and with this much detail, it’s SO WORTH all the prep work.
We removed all the outlet and switch plates and old window treatment hardware. We also caulked around much of the trim where it hard separated from the wall over the years.
We moved all the furniture to the center of the room and covered it in plastic (you can get giant rolls of this stuff at your local hardware store!), and rolled out resin paper to protect the hardwoods. They’re nothing to look at, but when we get our floors refinished after the kitchen renovation, we don’t want to have to worry about any overspray to sand off.
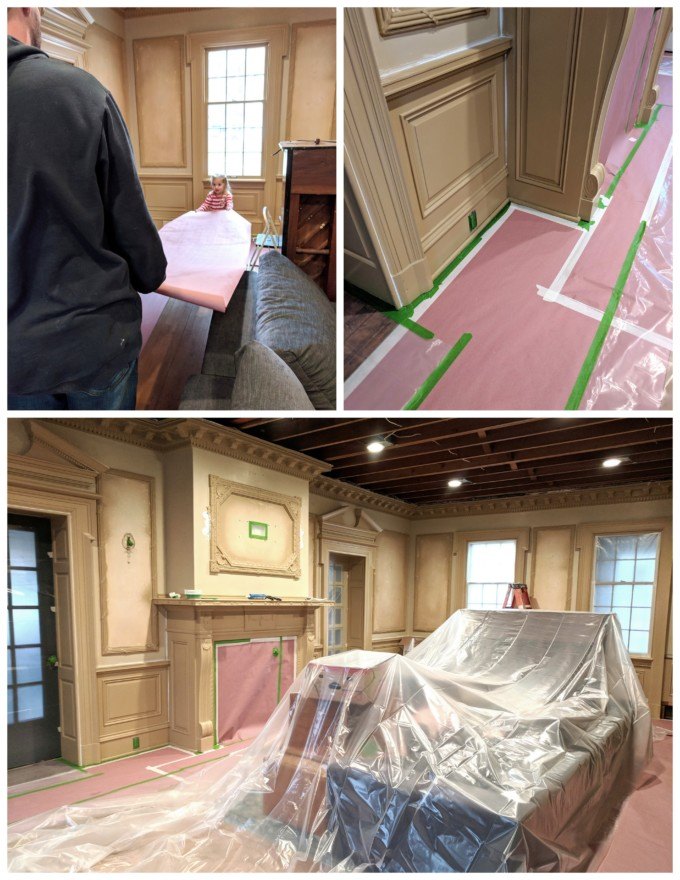
Since our ceiling is…. nonexistent at this point, we didn’t worry about protecting overspray there. But everything else in the room that we didn’t want a crisp shade of white needed to be covered. Including the big arched doorway that leads to the entryway.
The prep work took the better part of a day. But the actual painting took about 20 minutes to apply. We did a coat of this primer and instead of doing a second coat of expensive primer, we just used cheap white paint from Menards in a satin sheen. It was the perfect amount of coverage and went on SO SMOOTH with our Paint Gun.

Nick did the top half of the room, and I did the bottom half of the room. Nick was glad that he didn’t have to hand paint those corbels with a craft paint brush. We had very minimal drips too!

We have two Graco paint guns. One is portable, and the other is hooked up to the air compressor. Nick didn’t want to haul the air compressor in from the kitchen addition, so we started out using the portable one. But having to refill it constantly was getting old. So we finally brought that giant sucker in. Things moved really fast then!

TIME TO REMOVE TAPE, PLASTIC AND PAPER! Y’all, this was so satisfying.
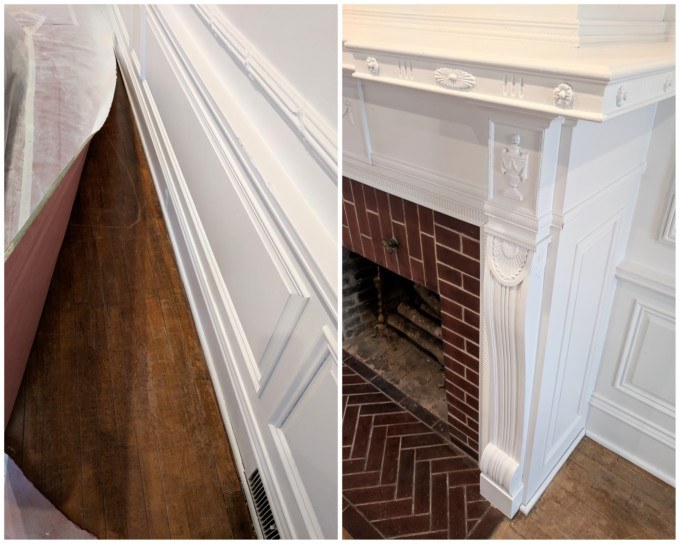
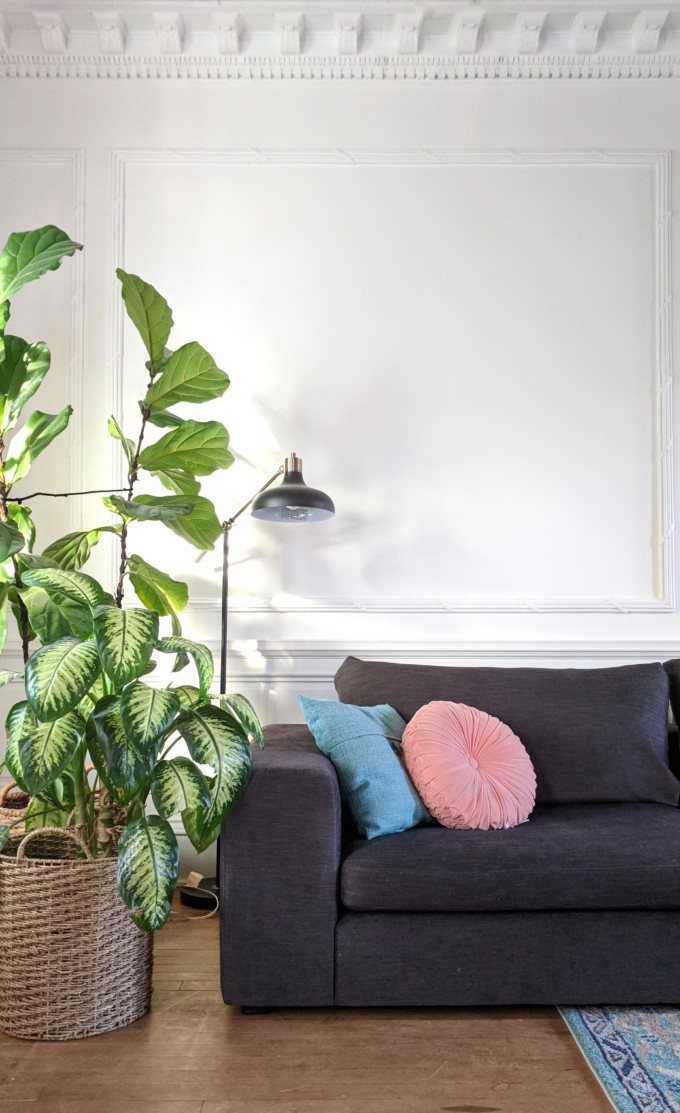
Painting it white transformed the whole room. It’s so fresh and bright and happy!
Can we talk about our couch for a moment? The one we’ve been using for the past 6 years got taken to the dump the day we moved out of our old house. It was looking pretty janky, and it would look so tiny in this giant living room anyway. The pale gray Haro Sofa by Article was also dwarfed by this enormous room, and has since found a home in the library.
I’ve been passively online shopping for a modular sectional for this room ever since we bought this house. Since it’s long and narrow, I wanted an L-shaped sectional that we would have the option of switching the side that the ‘L’ is on. Because I love rearranging and I don’t want to be stuck with one room layout forevermore. Plus, I’m curious to see how the traffic flow of this room changes when we have a functional kitchen with a doorway into this living room. Mama loves options.
I don’t know how I missed it, but our friends at Article have a modular sectional, and when I laid my eyes upon it, I KNEW THAT IT WAS THE ONE. And I was so happy that they were willing to partner with us for this post! This Gaba Modular Sectional could not be more perfect. (it comes in two other shades too, if charcoal isn’t right or you)
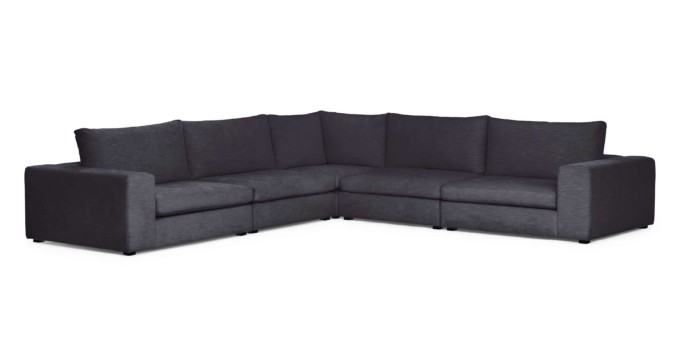
The Petrel Gray color is perfect, and I love the clean lines!
Before we pulled the trigger, we measured out the floor space it would take up in our space and taped it with painters tape so we could visualize it and the footprint it would have in the room. It was bigger than we were expecting, but given that this room is enormous, we knew we could pull it off.
AND WE DID.
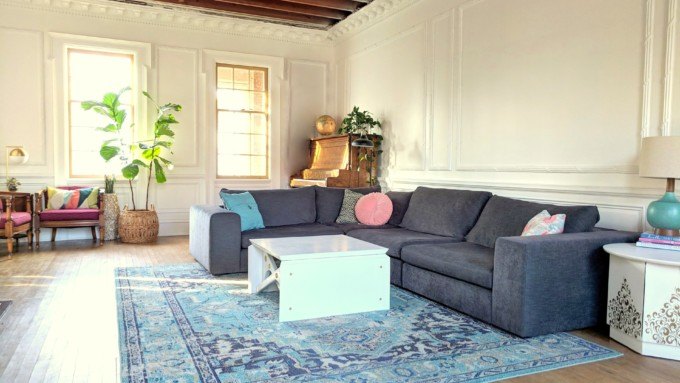
This is the configuration we’ve had it, and it works so well! The piano even fits back behind the arm in that corner. Eventually when we open that window up to be a doorway to the kitchen (the window that isn’t shining as brightly), we’ll change things up and assess flows of traffic, etc.

Pssst… wanna know a secret? I totally photoshopped a huge hole in the wall in the above pic. I’m pretty proud of myself. Here’s how it REALLY looks.

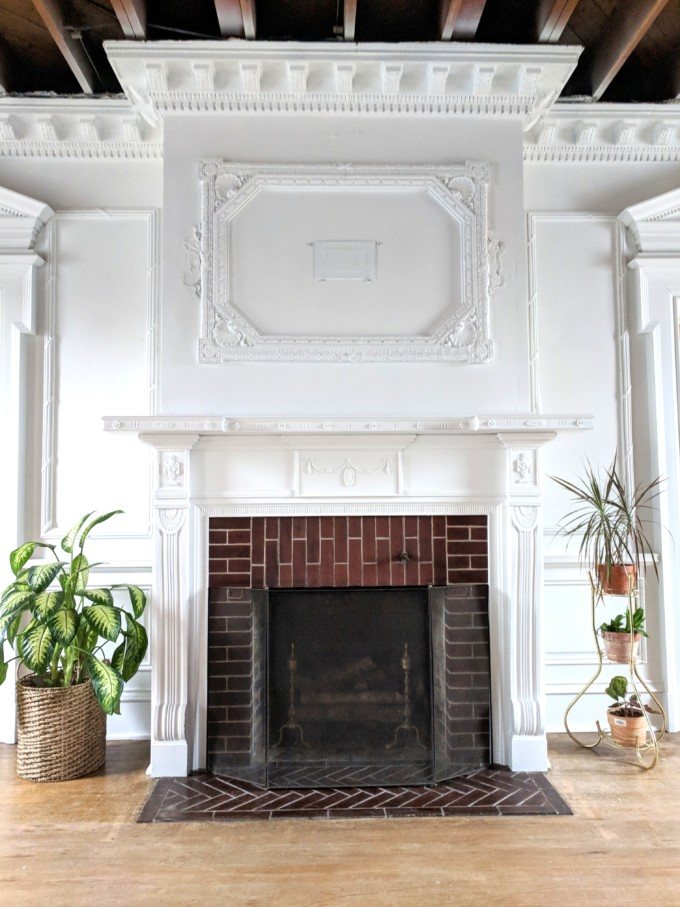
The fireplace is to the left here. And while I’m non-judgy about those that hang their TV above their fireplaces, I really want to hang a pretty piece of art or a giant round mirror above it. So the plan is to put in a projector.

The above configuration is missing one of the middle sections since that puts the ‘arm’ of the couch out WAY too far into our narrow room. If we didn’t have the piano in the living room, we could put that section on the other side of the ‘L’ making the long side even longer!
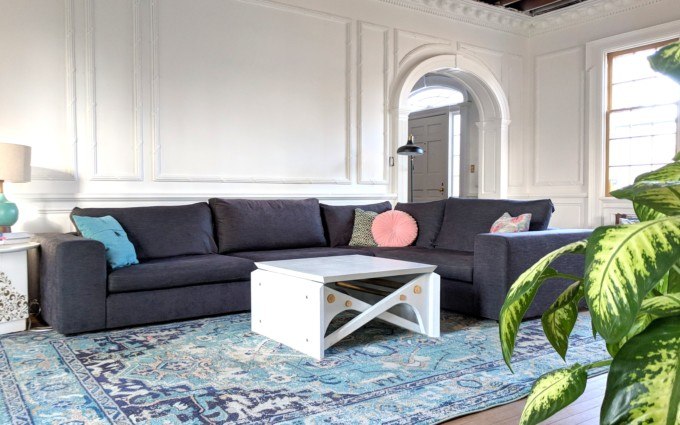
We did put together a few different configurations for you so you could see the versatility and options available. The sky is the limit! Here we put the arm on the opposite side.

I was hesitant to go with a sofa that has the big fluffy cushions on the back because I was worried about sagging issues. But both the back cushions and the seat cushions are super sturdy, and can be flipped! (our old couch didn’t have that option and it was the worst). They also have removable covers that can be washed.
If there was anything we would change about this modular couch, it would be how low it is to the ground. We love how it looks, but our parents have a hard time getting up from it. 😉
We even tried out one lonnnnnng configuration without the corner piece! So fun! (with my fiddle leaf fig tree there, there was NO WAY I could photoshop that hole in the wall. LOL!)

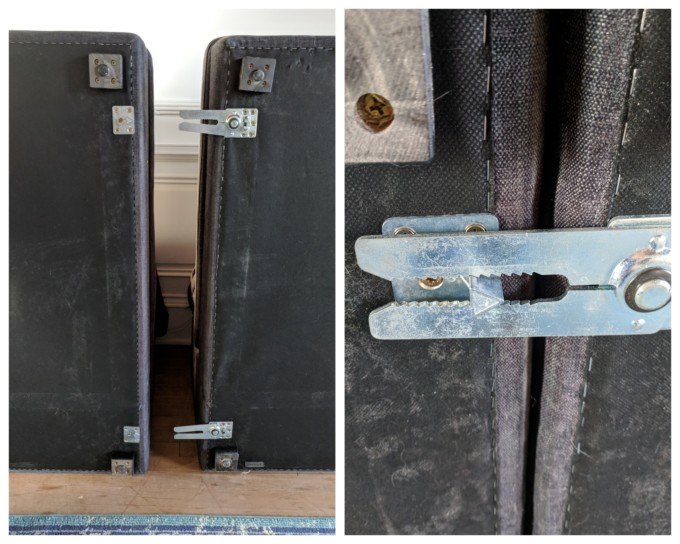
This Gaba Sectional is so simple to click together that we can change it often. We could even switch it up for a gathering to find a layout that would promote more conversation! These pieces of hardware just click together and are very sturdy and secure. It’s such an awesome design!
There’s still so much to be done in this room before I would consider it ‘done’, but I’m loving the process. These changes give me so much joy!
It’s so fun bringing you guys along for this whole process. If you don’t already, follow us one Instagram (we’re @RealityDayream) to see things happen in real-time in our Stories. And some heart-to-hearts in our captions. Lots of great conversations happening in the comments! Thanks for following along guys! <3
Bethany
Related:
-

Got a hole in your wall that you wish wasn't there? We do! When we…
You could build a small platform that attaches to each section of the couch. That way, each section can still move independently of the others and you have flexibility to rearrange. 🙂
It looks great and I love seeing your updates.
Looking good! I stand in awe of how you guys paint a room in the blink of an eye. Agree with the other posters that raising the sofa with wooden legs would help with the height.
DITTO WHAT KELLY SAID. HOME DEPOT CARRIES FURNITURE FEET AND I THINK THEY ARE PRETTY CHEAP. HEY…YOU GUYS ARE WOODWORKERS, YOU COULD PROBABLY MAKE SOME FEET FOR THE SOFA…..
It looks like the sofa has corner blocking, so you might consider looking at various wood leg options depending on the style you want to achieve there is everything available from MCM to Classical carved…this would add height to the couch and most of these legs “twist” or “screw in” so you could remove them and place them differently depending upon your configuration.