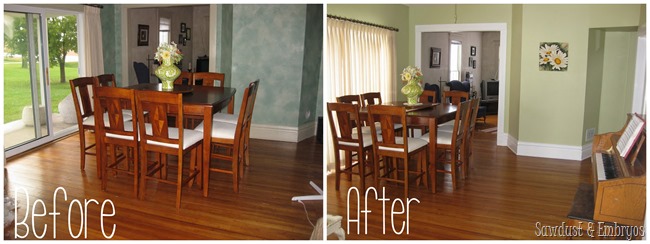
One of the first things we did when we moved into our house was UNDO the teal sponge-painting job in the dining room. At the time, we didn’t really have a design vision for our home yet, we just knew the sponge-painting had to go. Like yesterday. We went with this lovely ‘celery’ shade, and it served us well for several years.
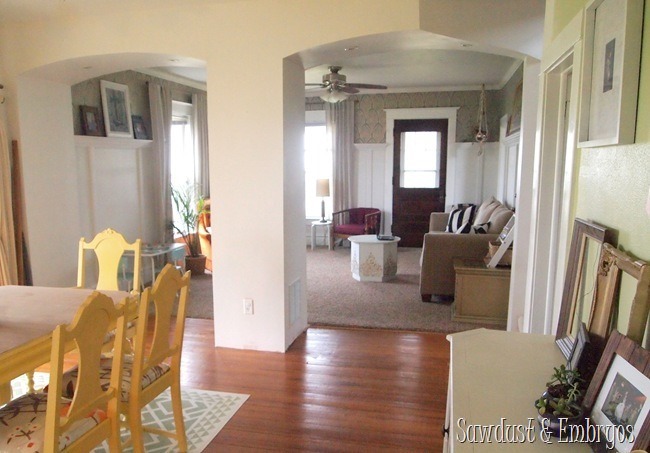
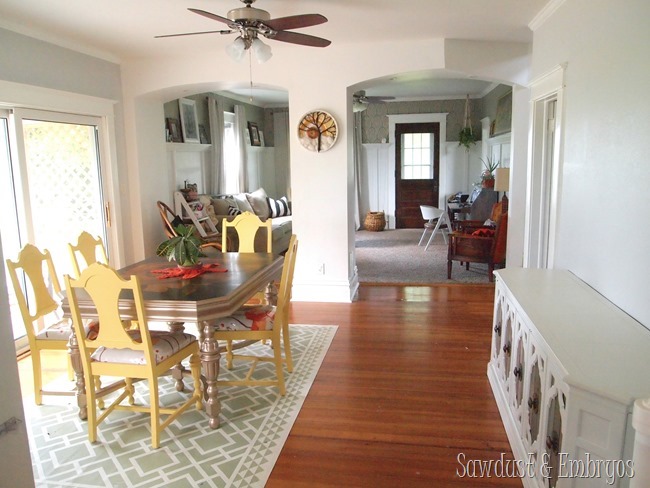
Since then, we removed the wall between the living room and dining room, replaced our dining table, added a linoleum area rug, refinished the dining table, added this credenza, and patched the 114-year-old hardwoods. And since we love how our living room came together with the gray/gold stencil job, we wanted the dining room to jive a little more smoothly with the living room since they flow together now that the wall is gone.
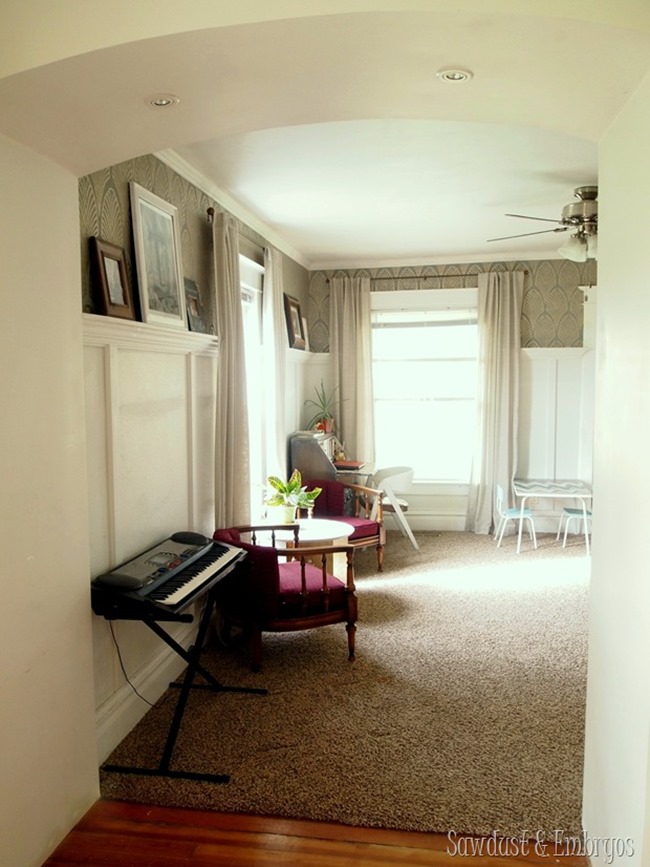
Here’s a closer pic of the living room so you can see the detail in the stencil.
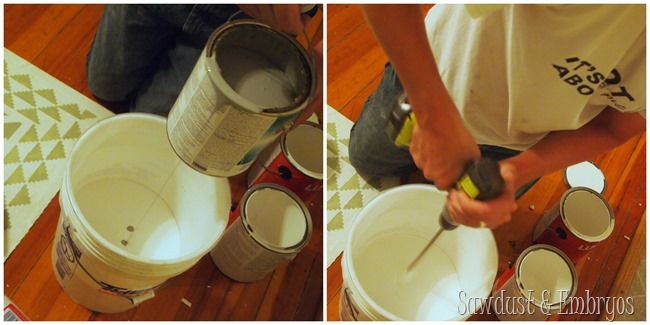
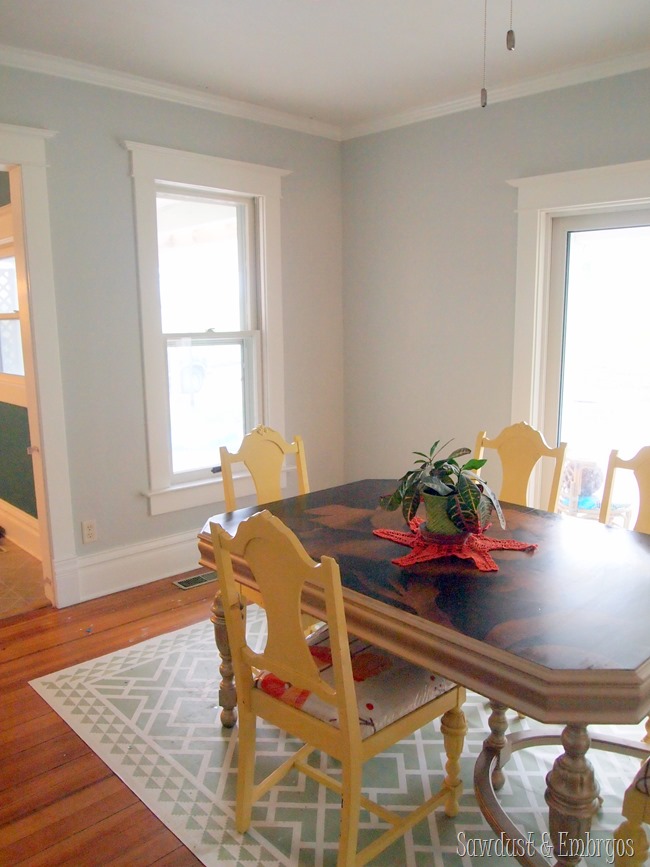
Since we’re not doing the board and batten in the dining room, we just wanted to carry the gray over… only much lighter. And since we had a near-full can of that gray paint left (Sherwin Williams Gray Matters 7066), we just mixed our own shade using two gallons of white (satin sheen) and a few cup-fulls of gray in a 5-gallon bucket. Nick used his mixer attachment on his drill to make sure it was good and blended to a pale shade of gray that we loved! (don’t mind the blurry night-time iphone pics below. Our standards are low.)
As usual, Nick wielded the roller, and I employed the cutting brush… and we got ‘er done in record time. After holding my SW fan deck up to the wall, I’d say it’s pretty close to ‘Site White’ 7070.
We love that it’s light and airy, yet still allows the trim to really pop. Do people still say that? Pop?
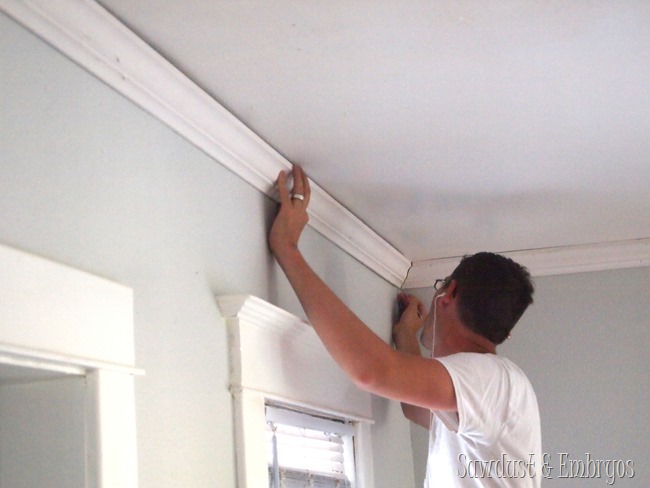
Nick didn’t waste any time slapping on some crown moulding. After realizing how simple it was to install in the living room (tutorial here), he knew it would be a quick job. And it was! He had this done during the girls’ nap!
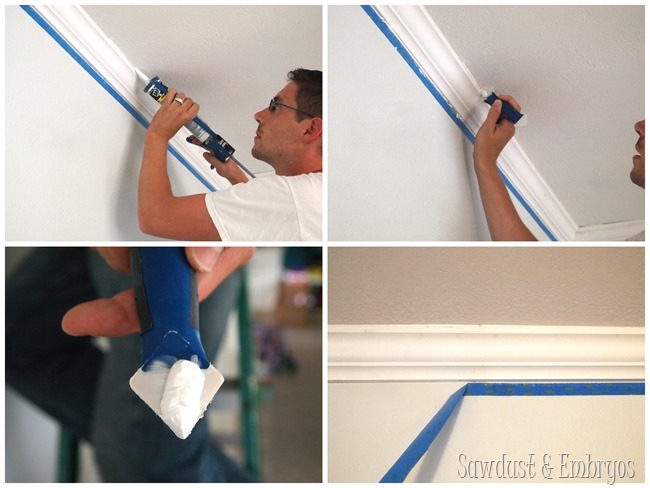
After everything was ‘crowned’, we caulked up all the cracks. Nick had found this handy little rubbery tool to use to wipe off the excess caulk, and it made this job go much faster.
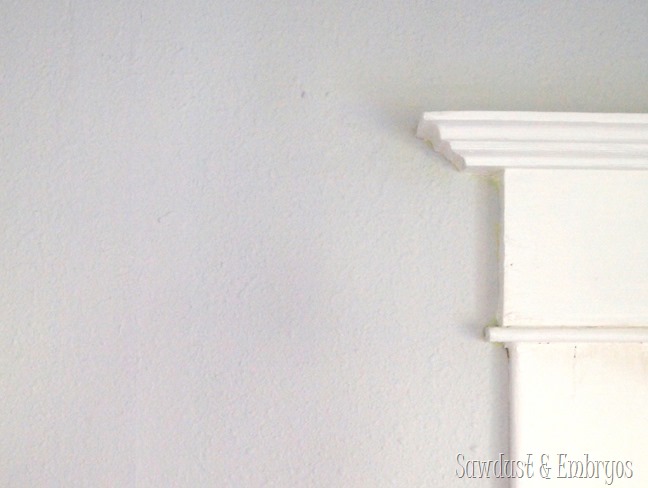
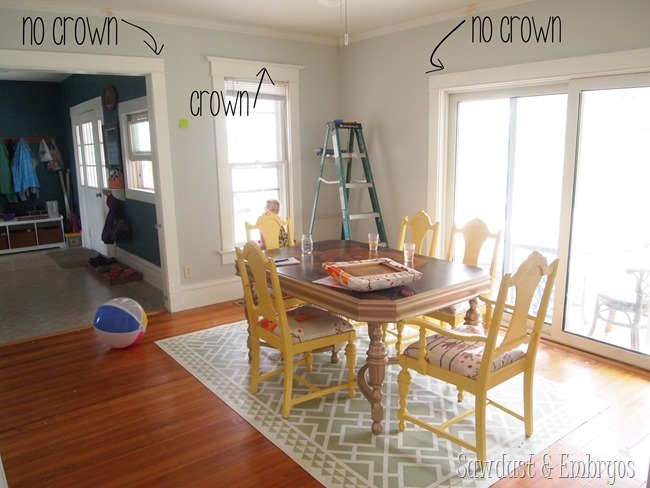
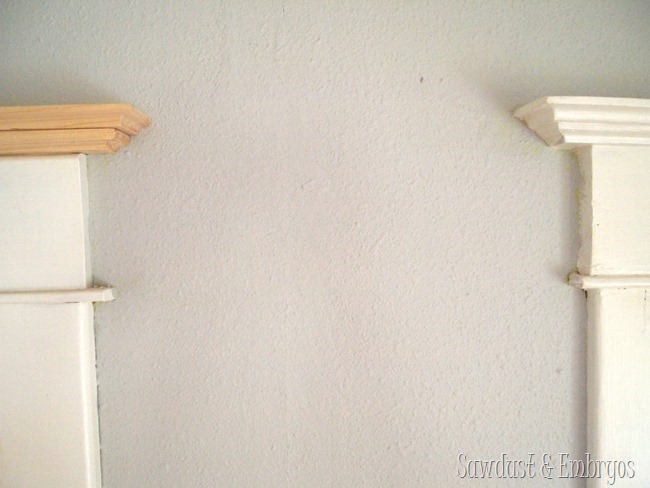
We love all the chunky/original trim in our old farmhouse, but there are several doorways that are missing the very top ‘crown thing’. Here’s an example of this!
We’re guessing they got damaged when being removed years before when previous owners took out the slat/lathe and put in drywall.
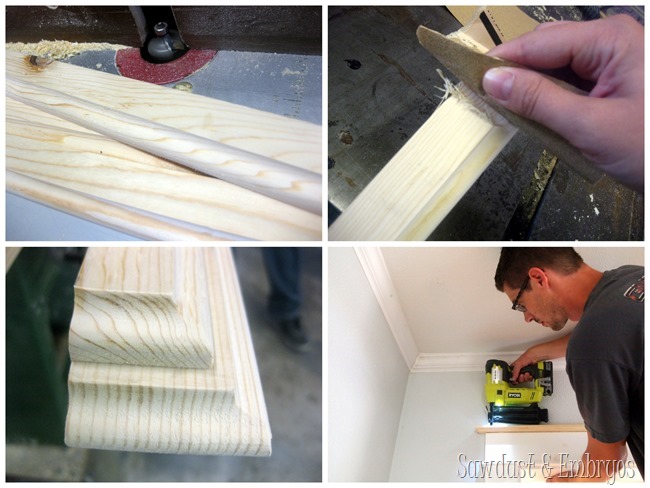
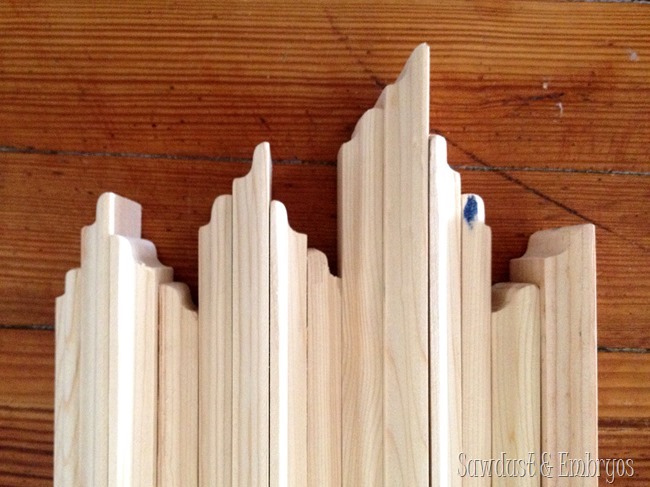
I’ve learned to be very crafty with the way I formulate my words when asking Nick to do a project for me. This is a skill I’ve honed over the years. I should really do a post for all you ladies and help you sucker your man-child into getting on your honey-do list. So this is how it went… ME: I sure do wish all the trim in this room matched and wasn’t missing pieces. HIM: yeahhhhh, me too. ME: it would probably be nearly impossible to replicate those crown trim pieces, huh? (do you see what I did there? A little challenge to his manhood) …he paused to think about this. HIM: I bet I could plane down two strips of 1” pine, and route them each with an Ogee bit, and make them look almost identical. I’ll be in the garage if you need me. ….(!!!!!!!) Imagine me bowing for my well-executed performance.
Pretty darn close match eh?! He’s so good like that. He also replaced missing trim pieces in the kitchen and living room while he was at it. YES!
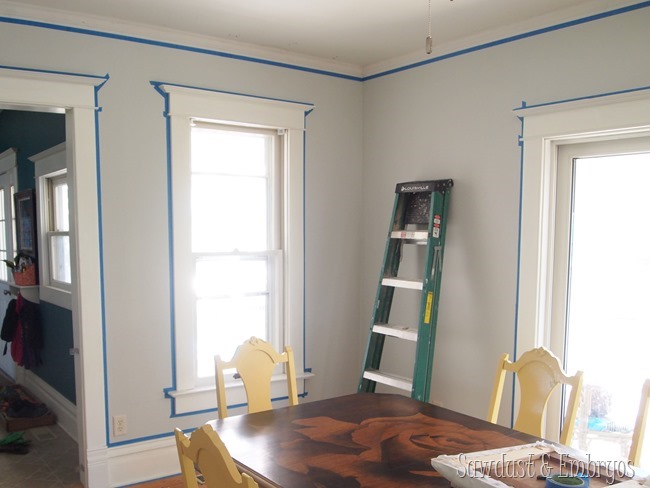
The new pine trim got primed… and since the crown moulding along the ceiling still needed to be painted, we decided to just put a fresh coat of white paint on ALL the trim in the room. Nick decided it would be fun to TAPE OFF THE ENTIRE ROOM for this endeavor. I cringed a little, because I feel that we could have completely painted all the trim in the time it took him to do this. But I praised his efforts anyway. And I admit the actual trim painting went very fast since we didn’t have to be careful.
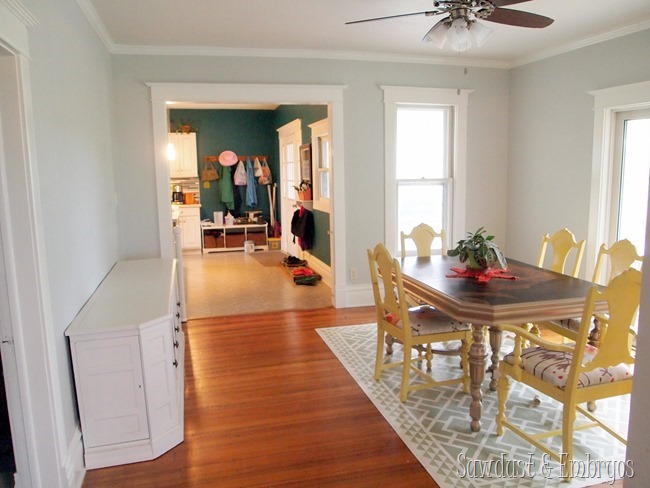
It’s so amazing to me how lightening up the wall color and adding crown moulding/trim makes this room feel so much brighter and more fresh!
Not to mention it flows beautifully into the living room now.
We’re kinda feeling all inspired about this room, and have lots of ideas in the works that we’re going to be tackling in the coming weeks. These ideas include (but are not limited to): reinforcing/painting dining chairs, reupholstering cushions in different fabric (I KNOW, I said I was never gonna do that), add curtains, hang gallery wall above credenza, ETC!
That pic above makes me realize how DARK the kitchen wall color feels now. HMMMMMM! I’ll admit… changing the wall color (and possibly the cabinets?!) is also on my radar these days. Somebody stop me!!!!!!!!!!!!!!!



We recently painted my tween daughters room site white. She wanted a light gray and she loves it. I’m having a difficult time figuring out a SW white paint color for the trim. Ideally we will choose a trim color that works well with many colors so we can slowly switch from the off white/creamy house has now. I’m thinking SW alabaster may be too warm?!? Any guidance or resources you have would be greatly appreciated.
I would get a couple paint chips and tape them to the wall in different parts of the room, and just observe them for a couple days… in different lighting and everything. This should help you make a decision!
I typically go with the SW website says for its coordinating color. For Site White the Coordinating color is Pure white. If your space doesn’t have enough natural light to reflect from you might want to look at extra white or high reflective white for trim. Alabaster is nice but in a low light situation it comes off very yellow. When in doubt go get the big paint chips or buy some sample paint. If they don’t have the big paint chips get 4 small ones and tape them together and hang them on the wall.
It’s so beautiful bright and clean! I love the color, and the trim looks flawless!
EVERY old farm house needs the love and attention to detail that you two are doing. It looks wonderful!
i love it!!! it looks so pretty and clean. 🙂
Love it! x
It really does look sooo great! And you have some good tactics for getting the hubs on board with getting the trim done… like ASAP.
I’m with you on changing the wall color in the kitchen. I think it’s overdue for a change! Don’t get me wrong, it’s nice but I’m loving how bright and fresh your living/dining area is!
Thanks for sharing!
Beautiful. Looking forward to the blog about “how-to” get your man to think he was the one who came up with the idea. I was never good at that! But you have to admit you have a man who already has the “honey do” qualities to start with. He has mad skills with wood, electrical, and most other stuff that has to be done around the house. I can’t believe you changed your dining room table after re-doing the top with stain. I think you should stencil your kitchen so that the main part is (another color) and the rest is the green that matches your back splash. And then make your cupboards that color. Your house is looking marvelous. So glad you are sharing all of this. And hoping you are feeling great.
You guys are awesome!
OMG, I am surprised how much of a difference the crown molding and paint color made. I love it!
Lol! Just start thinking about Baby’s new room – that should stop you temporarily…. 🙂
Love it Beth! However, I do love your kitchen color. I know the trend is to lighten up everything but that room is so unique! Especially with your swirls on the wall. However, I do think that gray cupboards would be beautiful! But then you would have to get rid of yours swirls. One question though – how do you keep your house so clean with two toddlers? I can’t with no kids at home!!
It looks beautiful and fresh!
Great job! love it. Honey Do List, grew for 7 years, no lie. So I hired someone todo it. 2.5 hours later it was all done!
I LOVE the new color! Thats what I’m leaning towards in my own home.
Gaaaah! It’s gorgeous!