Tuesday greetings my fun-loving people! I’ve done ransacked the computer from Beth for two full days. Just kidding… but seriously your stuck with me for the next two days to talk about crown molding and shelving! Molding? Moulding? Who really knows how to spell it. Google says both are correct.
Part of our vision of the living room was to have it crowned. So this last weekend was a busy one as we purchased, cut, installed, caulked and primed crown molding in the living room!
Today we’re going to discuss the basics of crown molding, with an emphasis on the inside corner joints. Tomorrow, we’ll discuss the outside corner joints!
Let’s get started – WAIT! Did you let your lumber acclimate to the room? This is a important step that if ignored will wreck havoc on your crown molding. You need to store your trim in the room it will be going in for at least a few days. The reason being that they need to be at a similar moisture and temperature level as the room. Therefore if the moisture level is higher when it is installed it will shrink and leave gaps when the moisture draws out. if it is lower it will expand and bow between joints and nails. This is not good friends, Don’t hate, acclimate!
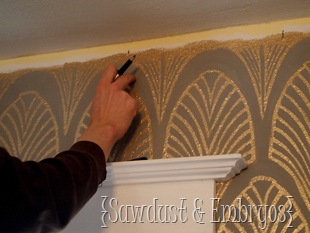
First thing first, We gotta find them studs! Typically I use my tried and true finger tapping method, but since there is slat and lath behind the drywall (as with many OLD houses), there are too many layers to hear the difference where the studs are located. So I decided to give this stud finder a try… it worked!
 |
 |
After seeing what we did with our wall-removal and building the arches, RYOBI contacted us and wanted to team up with us on our molding project, and provided us with some tools for the task! More on that in a minute!
There are three main techniques when it comes to cutting Crown Molding.
- The first is to hold it up against the fence of the saw at the angle it will be installed or use a Kreg Jig for a little more accuracy. This is a good option if you do not have a sliding compound miter saw. YHL has a good tutorial using this method here.
- The second is to to use butt seams on the back wall and then cope the joints to meet the crown molding. This requires mad coping skills. I am not going to lie I tried this method and failed. My crown molding looked like the remnants of a beavers mid-morning snack. If you’re up for the challenge and want a stellar miter joint, Home Depot has a good tutorial here.
- The third is what we are talking about today: using a compound miter saw you can create any angle you dream up and we cut mad miter joints out the wazooo.
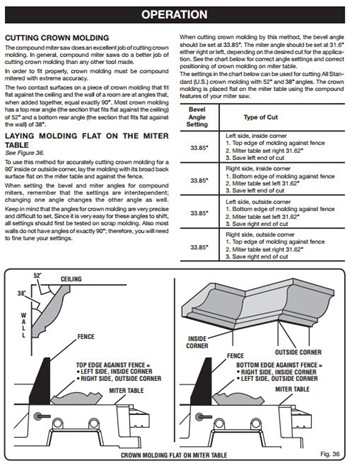
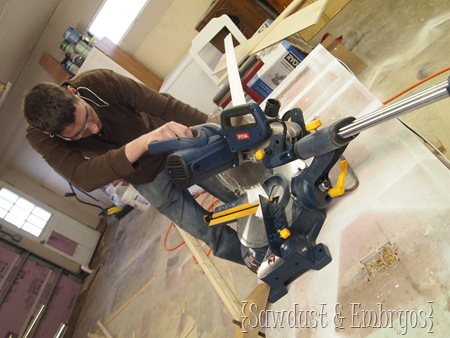
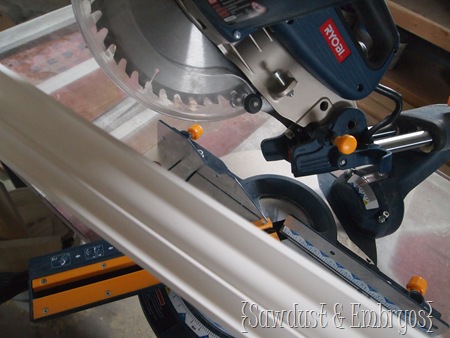
With our most recent acquisition of a sweet RYOBI sliding compound miter saw, we used a technique that uses compound angles while keeping the peace of trim flat on the table. Why would you want to do this? You will get a cleaner more precise cut.
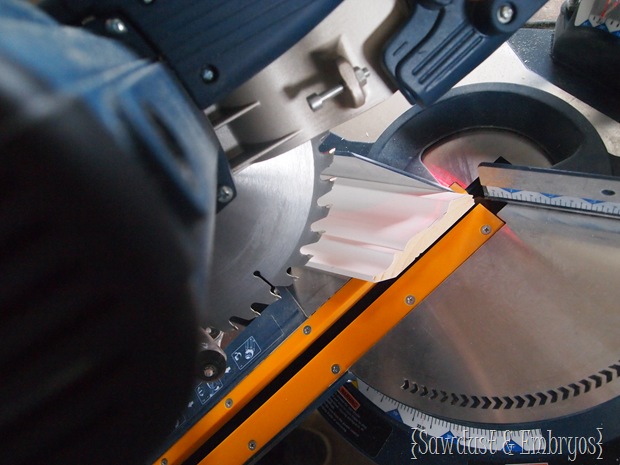 The miter saw makes it easy because you find the angle you want in the number bar, click it in place, and cut! RYOBI most have known that individuals would most likely be cutting crown molding because they highlighted those angles and dedicated a page in their user manual specifically for crown molding. What’s that, a guy that reads user manuals? This guy does! And I’m not afraid to admit it. This RYOBI miter saw even has a laser that shows you right where your cut will be for added confidence.
Below is the specific page outlining the important points of using this tool for cutting molding joints. I found it very helpful. (Click to see larger)
 |
 |
Check out this sexy beast. (Not me, the tool… LOOK AT THE TOOL!).
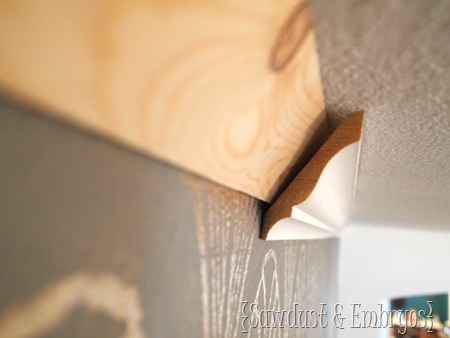
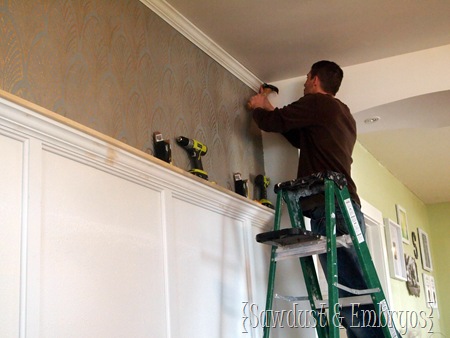
Alrighty, back on topic! I ripped down some 1X4’s to the same angle as the crown molding and screwed them to the studs using 2 1/2 inch torque screws.
When you rip the 1X4’s be sure to cut them short enough that there will be approximately a 1/4 inch gap between the crown molding and the back board. The reason for this is because you want the crown molding to spring against the wall and ceiling. Minimizing gaps and imperfections on your wall and ceiling.
Just in case your separation anxiety has set in, here is a picture of my sweet new RYOBI Miter saw. Beth may have to sleep on the couch tonight… since I will be found cradling and caressing my sweet new saw; just kidding, but seriously? In our experience, RYOBI manufactures very high-quality power tools, with lots of extras for convenience. This miter saw made this project simple and fun! We’re so honored that they wanted to team up with us!
I try to mark the angles on each piece by holding them up to the wall (as to help my visually challenged brain). Every time I thought I had it down and decided to bypass the marking, I ended up with a mis-cut. Judging by the pile of scraps this happened a lot… luckily, when it mattered, I was subconsciously smart enough to mark the board and didn’t have to bust into any of my extra molding.
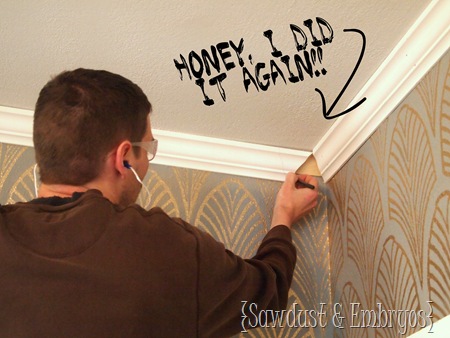
Tip! On inside corners the bottom will always point to the corner. Seems simple, but this helped me out more than once.
Time to install this sweet, succulent, crown! Holding it tightly, I drilled a pilot hole and nailed the crown in place. I leave the nail sticking out about a 1/4 inch and then hammer it in the rest of the way with a nail set. Don’t forget to set the nails about a 1/16 inch below the surface of the crown molding.
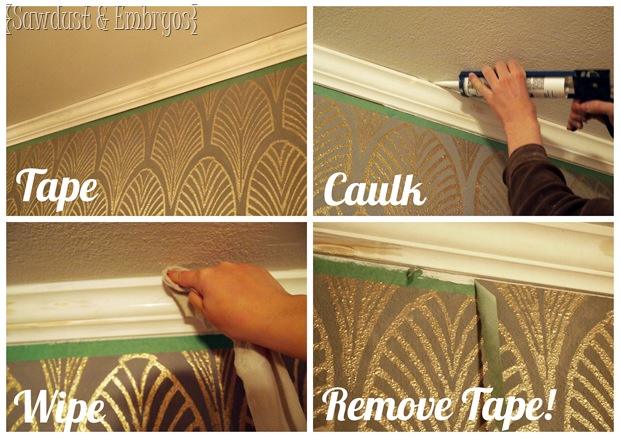
Bing, Bang, Bong, just like that the crown molding is up and it is time to get out the caulk! It is really hard not to joke about this. Beth and I spent a lot of time throwing around ‘caulk jokes’. It made for a hilarious and fun pleasant caulking environment. But really, you do need to be gentle and precise when you’re handling caulk.
I think the pictures explain thing well enough here, as I am about to fall over from laughter!
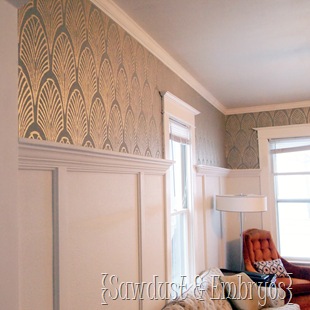
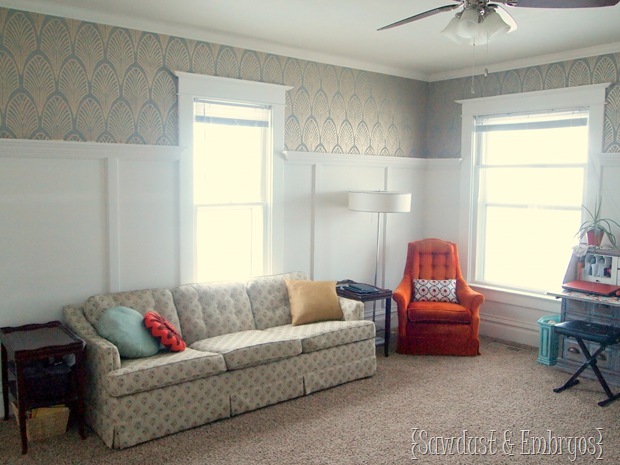
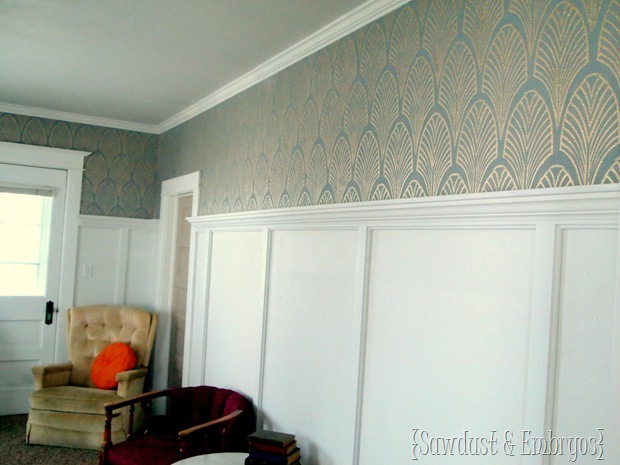
Below are some reveal pictures! The lighting wasn’t great… it’s been cloudy for several days. But I think you’ll get the picture! The molding really finishes the room off and makes things feel crisp and fresh.
 |
 |
We hope you’ll come back tomorrow for instructions on molding an outside corner joint on the little shelf we made, as well as a price breakdown for this project.
If you’re interested in how we did the ‘board and batten’, click here! And for details of Beth’s tedious stenciling project, click here!
~This post is sponsored by RYOBI! And although we weren’t paid, we were provided with product to review. All opinions are 100% our own! You know we tell it like it IS ‘round these parts!




Well this is awesome post and written very well. Your point of view is very good.
Such a great tutorial. So, I am totally going to order the stencil for this wall from the link you left me on your tutorial about building your own frames. One of the last photos on this tutorial makes your walls look like the dusty blue color we just painted our living room and my husband is TOTALLY sold on the idea of copying you shamelessly. Thanks guys for the great inspiration!!!
now, where did you get the wall paper?
It’s not wallpaper… it’s actually a stencil! here’s the post were I talk about that: https://realitydaydream.com/2013/02/operation-stencil-living-room-complete.html
You guys crack me up! Love to read your blog and of course Ryobi wants to team up with you….you’re awesome!
That miter saw has me drooling all the way from Salt Lake City. I love this post. this is actually the first REAL COMPREHENSIVE POST on crown molding i’ve read. Aaron and I have dabbled with crown molding. We put it on the top of our cabinetry in the kitchen, and it was a million times more difficult than I anticipated.
You and Beth are the bee’s knees. Keep being awesome.
I want a RYOBI compound sliding miter saw!!!
A big congrats to you on your job of putting up the crown moulding. Your bravery and courage in this daunting endeavor is to be commended:)
Maude
I wish you had posted this last week before my husband and I tried to cut a simple frame from some molding. It would have saved us from screwing up twice and having to re-cut! (It would have also saved us from a few choice words that were muttered under our breath also!) Your living room is turning out to be drool-worthy and I (we) look forward to your next tutorial on the dreaded crown molding!
this is seriously the most in depth crown molding post ever! thanks!!!!
This is gorgeous. Love the glitter in the paper too.. So pretty!
Pinning for down the road when we have a house.
Thanks Jodi! And it’s actually a stencil instead of wallpaper! We used Martha Stewart metallic paints, and it looks so shimmery and awesome!! 🙂 Thanks for pinning!
Excellent tutorial … that totally obvious tip about the bottom corning pointing out on an inside corner is definitely filed away for future use.
Two dumb questions for you:
1. What is the purpose of the 1x4s? Is that so that THAT goes in the studs and you don’t have to worry about where to nail the molding?
2. We have super skimpy molding (it’s not even real crown molding) in our kitchen that we were planning to go right over the top of (the new molding fits right over it). Can we just use the old molding to serve whatever purpose the 1×4 serves?
Thanks! Pinning this and looking forward to tomorrow’s tutorial.
Erin,
Those are great questions that I totally forgot to address! Because this room was dry-walled right over the slat and lath I wanted to make sure that I had a good anchor. Typically you would only need to install the backer boards on the walls that are parallel with the joists… to have something to anchor your crown to.
I would probably tear out the old molding for two reasons, the first is that who knows what it is anchored to and the second is for pride. Whenever I work on a project I want to know that the next owner whether it is 5 yrs or 50 yrs down the road will look at it and say “man whoever did this must have been a good carpenter”.
Thanks for asking, I would hate for you to invest all your time and energy into something and then have to fix it a year later. Good luck!
That is truly a stunning makeover. Love it!
Thanks – I want to do crown moulding in my made over bedroom – Now I have proper instructions, including pictures, on how to do it!