A few months ago, we were fortunate to have a gorgeous and newly-restored piano passed down to us from my uncle and aunt. I’ve played the piano my whole life, and have always wanted a piano in our home ever since we got married for us all to tinker on. I was even more excited when I found out it’s the same piano my mom learned to play on… you know how sentimental I am!

The only place we could put it in our home is the big open wall in the dining room. Of course that’s where my favorite credenza ever lives, so I had a bone-chilling moment of feeling like I might have to CHOOSE. But I did some problem solving and furniture maneuvering, and found the perfect spot for it in our living room below the wall-mounted TV. It actually looks awesome! I’ll show you soon when I do a living room update post.
But today, I want to talk about the ins and outs of putting together a gallery wall… specifically around a piano! Most of my tips work for any gallery wall configuration, but I want to specifically inspire those trying to decorate behind a piano. I did some Pinterest searches for gallery walls that incorporate a piano, and there wasn’t really much to go off of. And I know I’m not the only one!

This post is sponsored by Stas Picture Hanging Systems. Thank you for supporting the fabulous brands that make Reality Daydream possible! This post contains affiliate links
Gallery Wall Tips
Step 1: Gather up all your wall Décor
That’s right, bring them all together from all the corners of your house! I have a couple different stashes of random garage sale frames and what not, and various wall art that I’ve made or purchased. And don’t discount other various sentimental things that could be framed (or not!), maps, quotes, printables, etc!

Step 2: Decide on a Color Palette
I do love the look of an all white-frame gallery walls, or all black-frame gallery walls, but it just doesn’t feel like ME. Although I do like things to be cohesive to a degree. My first instinct was to do a variety of wood frames and sprinkle in some white frames. But after giving it more thought, I decided that the wood frames and the wood piano and the wood floor would just be too much wood. If the piano were painted a bright color it would totally work. But alas.
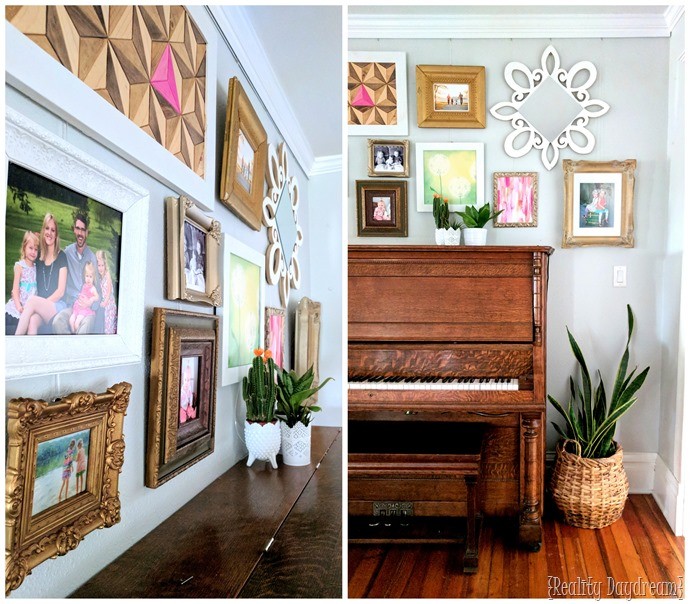
I decided to go with white a combination of white frames and gold frames. Since almost all of my frames are garage sale finds, I have no problem stacking them up and heading out to the garage for some spray paint action. I used this white spray paint, and this gold spray paint.
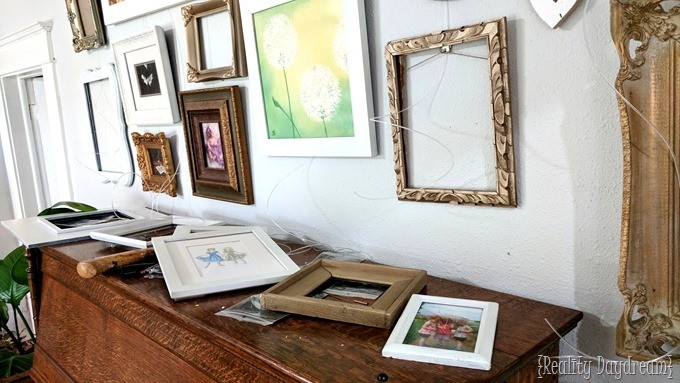
Step 3: Start Hanging!
I stumbled upon this company called STAS Picture Hanging Systems that has amazing and easy picture hanging systems. Since I was in the process of figuring out this gallery wall situation, I reached out to them to see if they’d like to partner with us! Their products are GENIUS! They use a rail system that’s easy to install, and makes hanging pictures soooooo easy and dare I say fun!

Just install the rail along the very top of the wall (or in our case, just below the crown moulding) using the included hardware and anchors, then simply hook the cords on wherever you like! They’re so easy to slide around until you have things just right, and the hooks are easily adjustable and hold up to 44 pounds (wha???).

Play around with configurations until you find something that looks right. The beauty of using STAS Picture Hanging Systems is that it’s so easy to change things around and try different things without pounding a top of holes in your wall. IT.IS.GLORIOUS.
At this point, you’re not worried about whether things are level and perfect, you’re just getting a FEEL. Plan on ‘standing back’ to look and see if things feel balanced and even. Sometimes I find that if I take a picture and look at it I see things that I might not see in person with my raw eyeball. It’s so easy to adjust until you have everything just right!


Step 4: Print Pictures
I’m fortunate enough to have an amazing photo printer that I highly recommend. But you can obviously go to Walgreens or Costco or wherever you like to get your prints. It’s so fun scrolling back through family pictures from the past couple years and finding the perfect ones to fill these frames. So grateful for my family and THESE CHUBBY FACES!

Step 5: Level
Friends, don’t skip this step. I’m a pretty free-spirited person, and even I will start twitching if I see frames all wonky, uneven and disorderly. Sometimes things will look perfectly straight when you’re right up close, but when you stand back it looks off. Do yourself a solid and use a self-leveling laser level. So handy! Do you see the red lines below?

At this point, we also took the opportunity to roll up any excess perlon cords that were sticking out the bottom, and tape them to the wall behind the bottom picture on each cord. We could have just cut them, but we want the freedom to change things up down the road and be able to use the full length if we want. I’ve already got ideas spinning in my head for a Christmas gallery wall!
The Wooden Texture Art that I made awhile back is still one of my faves, and between that random pink triangle and the fact that we have 3 little girls that wear pink all day er’ day, PINK weirdly became a sort of an unintentional accent color to our gallery wall. At some point during our gallery wall installation process, I decided to just embrace the pink, and bought/printed that gorgeous pink watercolor art from this shop. I’m not really a pink kind of girl (I always thought I’d be a boy-mom), but I’m digging this look!

The scalloped mirror is also a DIY, the tutorial is here!

Isn’t that piano just so dreamy? Side note, Nick has been trying to teach himself how to play ‘All of Me’ by John Legend on the piano all week. It’s pretty cute.


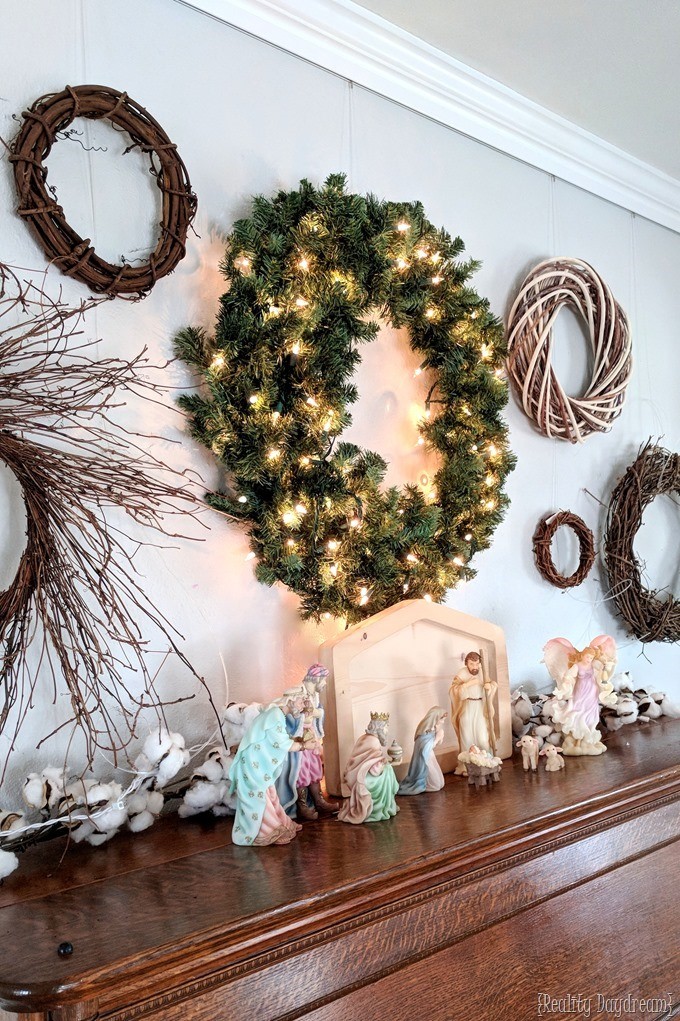
UPDATE! It’s a few months later now, and we’ve changed up our gallery wall for the holidays! The STAS picture hanging system makes it so easy to take things down and hang new things up with such little effort! I got these wreathes on clearance at Hobby Lobby, and set up my nativity on top of the piano. When a girl doesn’t have a mantle to decorate, the piano steps in!


I hope this takes some of the intimidation out of gallery walls! Now go get some stuff up on your walls!
~Bethany


This is beautiful! May I ask what paint color your walls are? They really let your piano pop!
LOVE IT!
Beautiful and thank you for all the tips
So, what happened to the wall mount TV?
The wall mounted TV is in the same place as it was (in the living room) it just has the credenza under it now! 🙂
That piano is GORGEOUS!!! I have also played piano most of my life and would love one for my home, specifically at Christmas 🙂