• Home
  • About
  • Tutorials
  • Recipes
  • Furniture
  • Contact
    • Contact
    • Infertility
    • Disclosure
    • Privacy Policy
  • Shop
    • Facebook
    • Instagram
    • Pinterest

Reality Daydream

The Dream is Free, The Hustle Sold Separately

  • Home
  • About
  • Tutorials
  • Recipes
  • Furniture
  • Contact
    • Contact
    • Infertility
    • Disclosure
    • Privacy Policy
  • Shop

Scrolly Scalloped Mirror Tutorial

June 27, 2014 by Bethany Sy

Now that I’m pregnant (omg I still can’t TRULY wrap my mind around that) there are a lot of things I can’t do DIY-wise. Fumes are no-bueno for this mama, so that means no painting, staining, polying, adhesive-ing, etc. ‘Sooooo what does that leave’… you ask? Well sewing, but… for the most part: NO THANKS. Although I did make these adorable wrap-around blouses for the girls that I’m pretty darn proud of.

So if I’m not sewing, that leaves WOOD. And power tools. And these new restrictions are actually redirecting my creativity and I find myself pondering ideas and projects that I may not have before. I’m in the process of building something pretty substantial (me-substantial, not Nick-substantial). I hope to finish up soon and post that early next week!

But today, I’m going to share a little project that involves me and my bestie (the scroll saw!)… This is the one I use and it’s A.M.A.Z.I.N.G. But if you’re looking for a more mid-range (read: less expensive) then this one is also great quality and handles well! Whatever you do, don’t buy a scroll saw in the $100-$200 range. You’ll regret it for sure.

DIY Scalloped Scrolly Mirror... can be used as a centerpiece or a starburst mirror! {Reality Daydream}


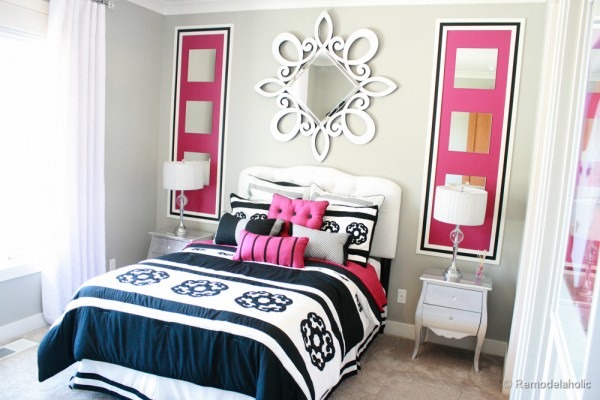
While I pride myself on having mostly original ideas… sometimes I see something awesome and think I CAN MAKE THAT. And that’s what happened when I saw this mirror on Pinterest.

Inspiration photo by Remodelaholic

The photo was miss-pinned, but it had my girl Cassity’s watermark on it (Remodelaholic)… so I asked her permission to share (Post HERE)! She snapped this pic at her local Parade of Homes, and the source of the actual mirror is unknown. So I felt that it was fair game to recreate that FABULOUS MIRROR! Since I’m not selling this, my conscience is clear.

But before I could even get started, I had a problem. Since the angle of the photo places the mirror at a slight angle instead of head-on, there was NO WAY I could just eye it and hand draw it. I needed to trace it with my overhead projector…. so naturally, I contacted my friend Dana (my Vinyl Dealer) to ask if she could somehow recreate this image on her software and make it front-facing and symmetrical. Her skillz are mad.

Scolly pattern used to make gorgeous DIY Mirror! {Sawdust and Embryos}

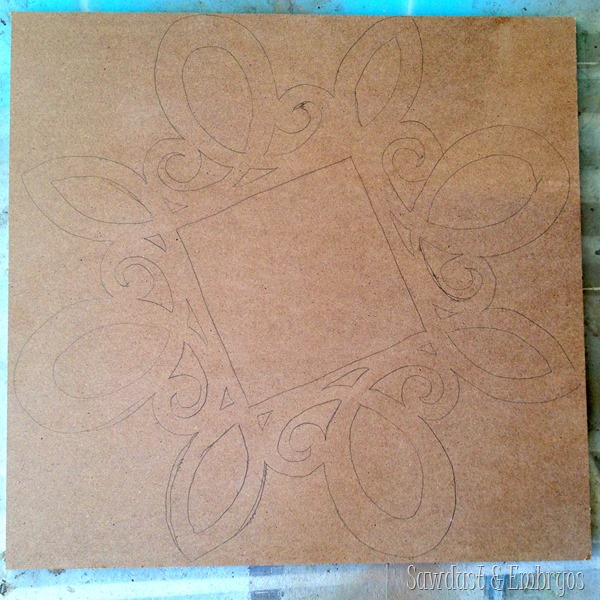
I printed this image onto a transparency, projected it onto a slab of MDF.

How to make a DIY Scrolly Scroll Saw Mirror! {Sawdust and Embryos}

(NOTE! Since MDF has an adhesive in it that holds the fibers together, I was still wary of working with it while pregnant and took all the precautions to be safe… including gloves, safety glasses, and a respirator mask)

I hauled this bad boy out to the garage and started cutting away on my trusty scroll saw! This is the one I use and it’s A.M.A.Z.I.N.G. But if you’re looking for a more mid-range (read: less expensive) then this one is also great quality and handles well! Whatever you do, don’t buy a scroll saw in the $100-$200 range. You’ll regret it for sure.

DIY Scroll Saw Decorative Mirror {Sawdust and Embryos}

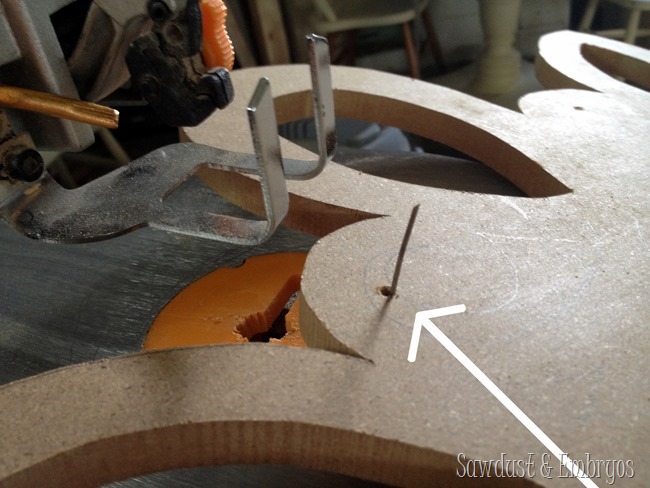
After I cut around the entire outside of the design, then drilled holes in each of the inside parts that need to be cut out. This way, I can fish the scroll saw blade through the hole and slice out the inside pieces!

How to use a scroll saw to make a swirly Decorative Starburst-esque Mirror {Sawdust and Embryos}

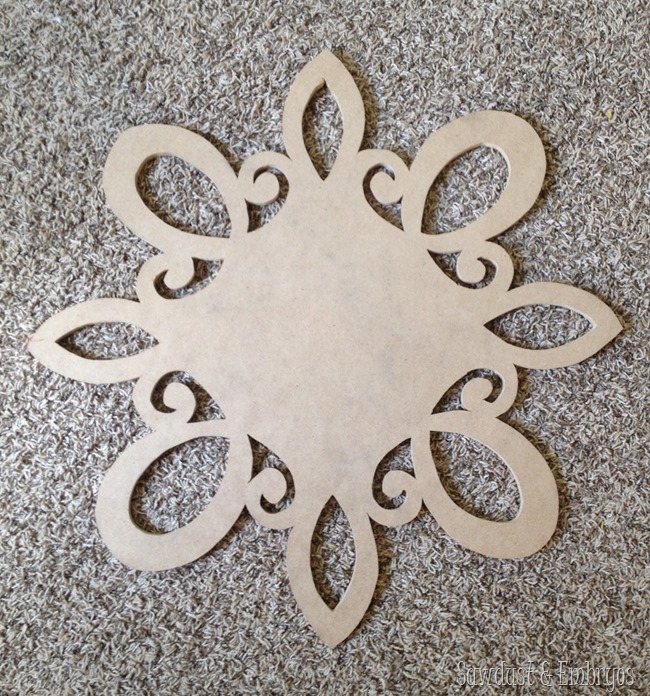
How to make your own swirly starburst-esque mirror! {Sawdust and Embryos}

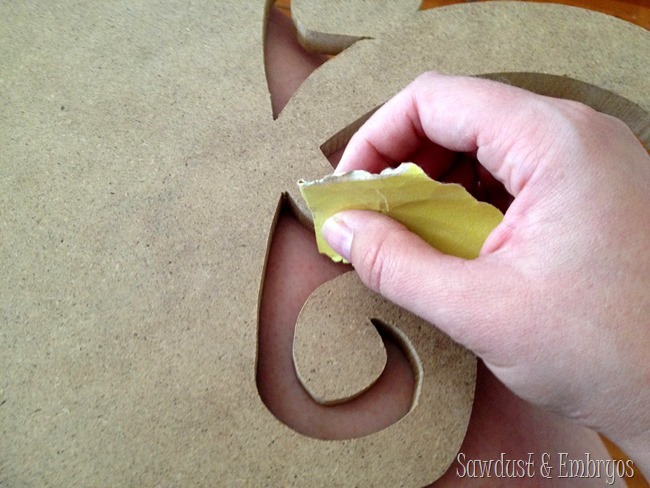
The scroll saw cut the MDF pretty smoothly, but I still lightly sanded down the edges with 220 grit just to make everything crisp and perfect.

Make your own scrolly mirror with a scroll saw! {Sawdust and Embryos}.JPG

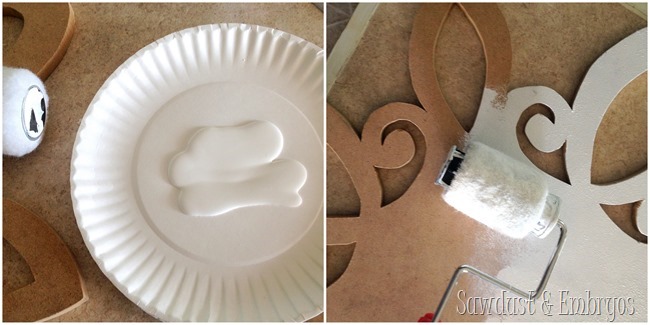
I used a little roller to roll on some white paint… leaving the edges exposed (because let’s be honest, it would NOT be fun to paint in all those crevices! I just used white acrylic craft paint, and even though it’s non-fumey and ‘supposedly safe’ for those cooking a human being, I still wore a respirator.

scrolly scroll saw mirror {Sawdust & Embryos}

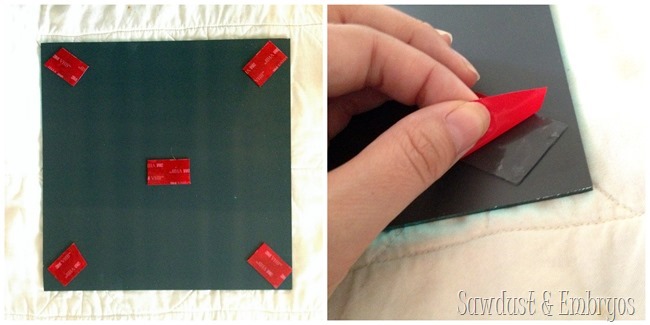
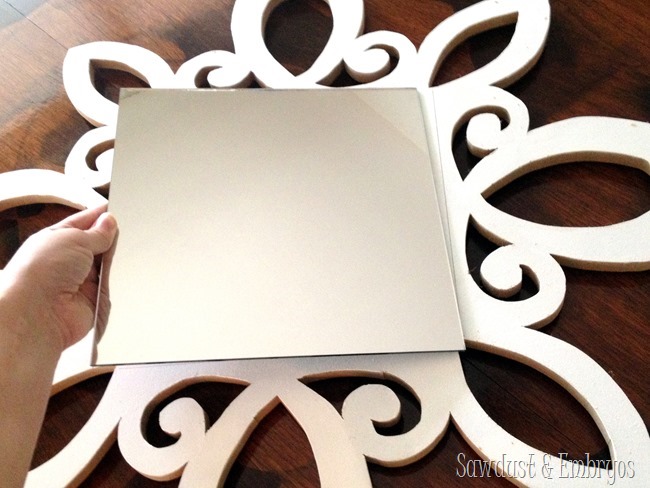
Nick spray-polyed the whole thing for me to seal the edges (since the adhesive in the MDF could leak toxic fumes), and we affixed our 10” x 10” mirror on with Scotch 3M Clear Mounting Tape. This stuff is so strong that we definitely don’t need to worry about the mirror ever crashing down.

Scalloped Mirror DIY {Sawdust and Embryos}

Make your own scalloped decorative mirror! {Sawdust and Embryos}

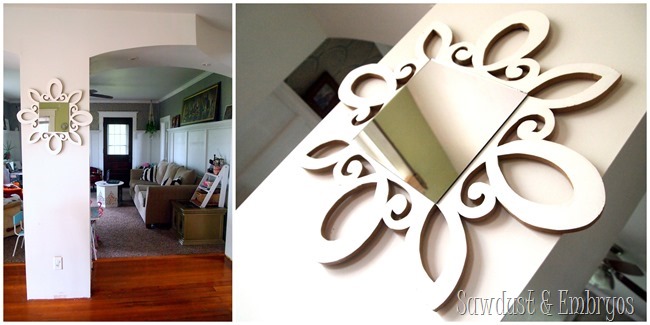
Voila! We just popped it on the wall by simply hanging one of the loops over a nail! We’re classy that way. Can you imagine how much one of these beauties would cost in a store? We literally spent less than $10 for ALL the supplies.

DIY Scalloped Starburst-esque Mirror... using a scroll saw! {Sawdust and Embryos}

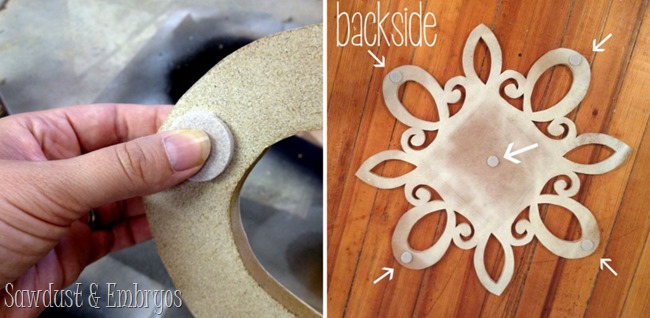
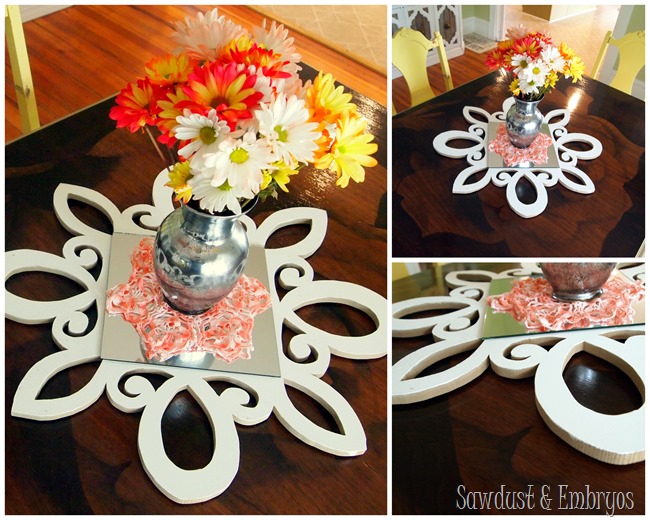
Then, at the exact same moment, Nick and I both had the idea to use it as a part of a table centerpiece. We pressed on some of those little furniture pads… one in the center, and for on the outer corners of the loops.

Sawdust and Embryos

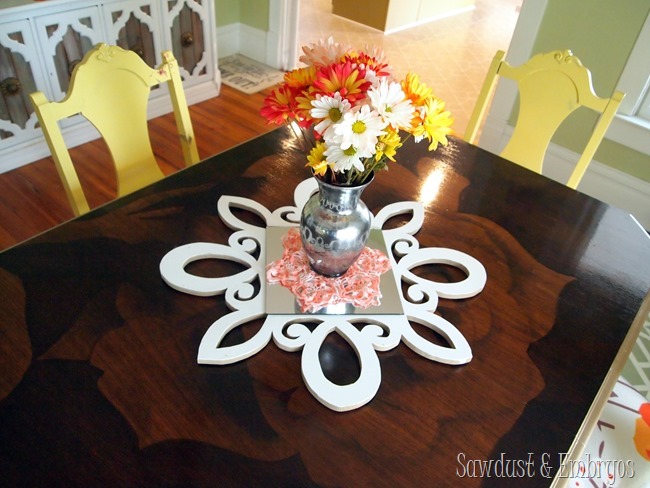
This was WAY too much fun to stage, with these gorgeous flowers that my friend Dana brought me to congratulate me on being pregnant. Isn’t this just the best little arrangement? The colors! The scallop-y mirror! My newly stained glossy table top!

Scrolly Scallopy Starburst-esque Mirror used as part of a centerpiece! Click through for the full tutorial! {Sawdust and Embryos}

DIY Scalloped Scrolly Mirror... can be used as a centerpiece or a starburst mirror! {Sawdust and Embryos}

I love a quick project! And love even more that this little beaut can be used in several different ways! Score! Be sure to check out all our other scroll saw projects by clicking on each image below!

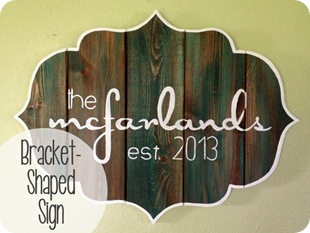
United States {Sawdust and Embryos} DIY-Bracket-shaped-Barn-Board-Sign
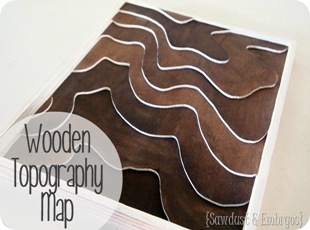
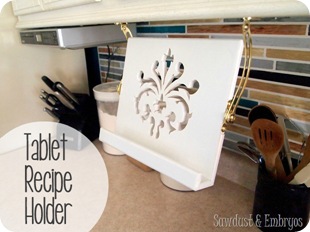
Wooden Topography Art {Sawdust & Embryos} Build-your-own-tablet-or-recipe-book-holder-to-keep-your-iPad-off-the-messy-counter-
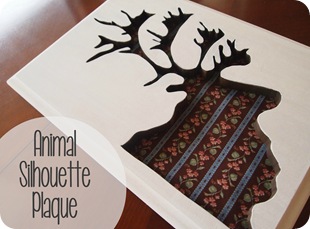
'House Divided' Broken Bracket-Shaped Sign {Sawdust and Embryos} Scroll Saw {Sawdust and Embryos}

Have a great weekend everyone!
Sawdust & Embryos

Related:

  • Wooden Centerpiece Tray Tutorial

    I have a fun and easy building project for you! And while I do end…

  • DIY Fabric-Covered Bulletin Tutorial

    My kids are getting to the age where they want to tape pictures, cards, notes...…

  • Test Tube Propagation Station Tutorial

    I've been needing to figure out a solution for my overwhelming plant propagation situation for…

About Bethany Sy

Nick and Bethany Sy are the creative free-spirits behind DIY/Lifestyle blog, Reality Daydream. They recently purchased a historic mansion and have been documenting the ups and downs of renovation and making this home their own... all while sharing tips and tutorials along the way! When they found themselves in the trenches of infertility, they started a journey that would prove to be their most important DIY project ever, and have 3 beautiful girls to show for it. <3

« Bad news and good news…
Little dresser turned ‘LITTER’ Dresser »

Comments

  1. 9

    Kenz @ Interiors By Kenz says

    July 15, 2014 at 10:30 pm

    This pattern screams BETH! Your execution of this was flawless. I’m right there with you. I love having original ideas, but it’s also a bonus to see something you like and know you could make it. Well done my friend!

    Reply
  2. 10

    Stephanie @ Sandpaper and Glue says

    July 1, 2014 at 11:34 am

    this looks awesome, I’m so jealous of your scroll sawing prowess! haha

    Reply
  3. 11

    Cindy says

    June 30, 2014 at 5:32 pm

    Nuh-UH! You have mad skillz. Love it. xo

    Reply
  4. 12

    Victoria says

    June 29, 2014 at 8:30 am

    Oh please sell these in your Etsy store!!!

    Reply
    • 13

      Bethany @ Sawdust and Embryos says

      June 29, 2014 at 8:55 am

      Sorry Victoria! We’re taking a break from our Etsy shop for now. Our summer is overwhelming, and, you know… I’M PREGNANT! Not that that has anything to do with it. But I just like saying it! 🙂 If/when we reopen our shop in the fall, we will absolutely be adding this scalloped mirror to our listings!

      Reply
  5. 14

    Kiara says

    June 29, 2014 at 4:21 am

    Thank you! I think I have found my ceiling medallion.

    Reply
  6. 15

    Nicole Goodwin says

    June 27, 2014 at 7:22 pm

    So pretty!!!! I think this is one of my favorite things you’ve made.

    Reply
  7. 16

    Renate says

    June 27, 2014 at 6:04 pm

    Love this…thanks for the great tutorial…and pattern!

    Reply
  8. 17

    dana s says

    June 27, 2014 at 12:32 pm

    SWEEEEET!!!! EXCELLENT JOB!!!!

    Reply

Trackbacks

  1. 40 Creative Scroll Saw Projects for Newbies and Pros + Free Patterns says:
    July 14, 2019 at 3:41 pm

    […] See guide | Download Pattern | Photo: Bethany Sy […]

    Reply
  2. 25 DIY Ideas with Mirrors - Flux Decor says:
    September 10, 2015 at 1:48 am

    […] If you are a fan of scroll saw projects, this fantastic mirrored table centerpiece will be a must-have accessory to make for your living room. source […]

    Reply
  3. Palm Branch Inspired Art Panels - Sawdust and Embryos says:
    July 24, 2015 at 7:22 am

    […] / 2 / 3 / 4 / 5 / 6 / 7 / 8 / 9 / 10 / 11 / 12 / 13 / 14 / 15 / […]

    Reply
  4. 25 DIY Ideas with Mirrors - Hative says:
    May 18, 2015 at 12:43 am

    […] If you are a fan of scroll saw projects, this fantastic mirrored table centerpiece will be a must-have accessory to make for your living room. source […]

    Reply
  5. Scrolled Wall Mirror and Centerpiece says:
    July 25, 2014 at 6:00 am

    […] Beth from Sawdust & Embryos was inspired to create a gorgeous scrolled mirror using one of her favorite power tools – her scroll saw! Beth traced the design onto a piece of MDF and then cut it out with her handy dandy saw. A little paint and poly later, Beth attached the mirror and hung the pretty lady on the wall. It was at that moment that Beth and her hubs both had the idea to use the mirror as a table centerpiece instead. VOILA! […]

    Reply

Leave a Reply Cancel reply

Your email address will not be published. Required fields are marked *

  • Facebook
  • Instagram
  • Pinterest
  • RSS
  • YouTube
We are Nick and Bethany! Welcome to our blog, Reality Daydream where we share our DIY adventures!

realitydaydream

If ya just need a slab of wood, grab a cutting boa If ya just need a slab of wood, grab a cutting board when you’re at Target or Walmart! They’re made of hard wood!

I used this cutting board to experiment and make some prototypes for a large-scale piece of art I’m doing for our church. It’s got me EXCITED!

Follow along for that project- happening soooon!

@dapproducts @dremel @jet.woodworking
You’ve all seen the video, but here’s some sti You’ve all seen the video, but here’s some still shots of the kitchen wall in all its glory!! 

The Aksel Radius Floating Shelves by @shelfology were the perfect finishing touch! 

Should I do a house tour of our main floor this week?!?! 🙌🌿

#sponsored #floatingshelf #radshelfie
Sometimes we just need to draw out a perfectly sca Sometimes we just need to draw out a perfectly scaled rendering of our design plan to get the hubs on board with our vision. He just couldn’t see it otherwise!

We’re SO THRILLED with how this kitchen wall project turned out. There will be a blog post coming soon with all the details and sources!

What is your MOST FAVORITE FEATURE of the finished wall?!
Do y’all know what room this is now? Comment you Do y’all know what room this is now? Comment your guess below! I’m so glad to have it FINISHED! What a labor of love. 💜

SHARE with a friend that’s renovating so they know they’re not alone!

#renovation #renovationmaison #historichomes #historichouse #historicarchitecture
Load More Follow on Instagram
View of our entryway of our historic mansion that we're slowly renovating and making our own.
Click here for lots of art projects using only wood stain on furniture!!
Please feel free to share or pin my posts! You're welcome to use ONE of my images (no collages or pinnables) with a link back to the corresponding post. Please do not edit or crop that single image in any way. Improper use of my photos, ideas or words is a violation of copyright. Thank you!

Categories

Attention: Almost any do-it-yourself project involves risk of some sort. Your tools, materials, and skills will vary, as will the conditions at your project site. Reality Daydream has made every effort to be complete and accurate in the instructions of the plans on this website. Reality Daydream will not assume any responsibility or liability for damages or losses sustained or incurred in the course of your project or in the use of the item you create. Always follow the manufacturer’s operating instructions in the use of tools, check and follow your local building codes, and observe all commonly accepted safety precautions.


Copyright © 2023 · Modern Blogger Pro On Genesis Framework · Customizations by Sweet Theory Designs · Privacy Policy · Log in