So if you’ve been following my blog for a bit, you know that we overhauled the twins room and DIY’d pretty much everything in the room (including that stenciled wall and those fainting couch beds!).

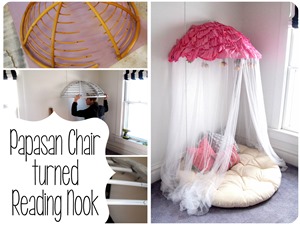
Naturally, we made our way around the room, giving it our touch. You can see why this is my favorite room in the house. That papasan chair turned canopy? I still hang out in there, ok?
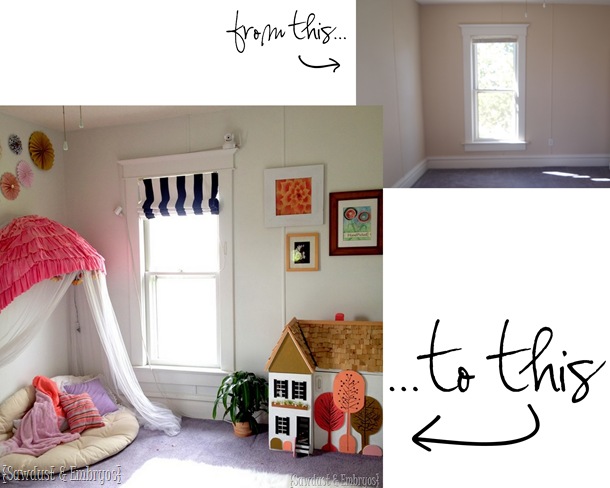
There’s one wall in this room that has remained unchanged, and looking a little neglected. Since their closet is fairly small, I thought about placing a smallish armoire here.
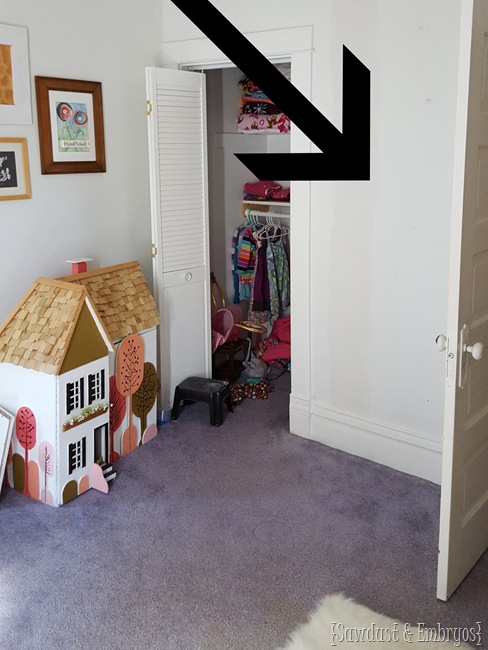
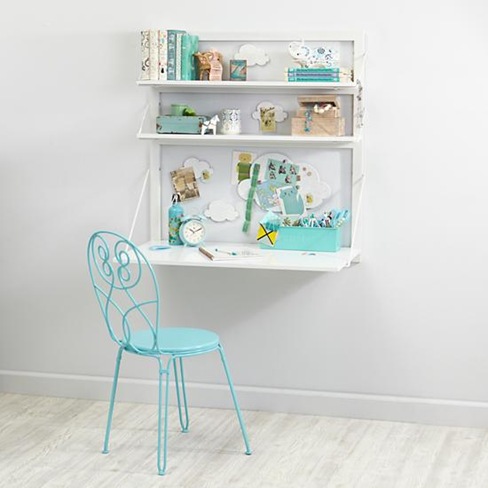
But after making some serious organization tweaks (like these) to their closet, that was no longer necessary. And given their love for drawing, I thought it would be perfect to put a little desk on this wall with some shelving above. I loved this inspiration pic I found of a wall-mounted murphy desk… and knew I could build something similar!
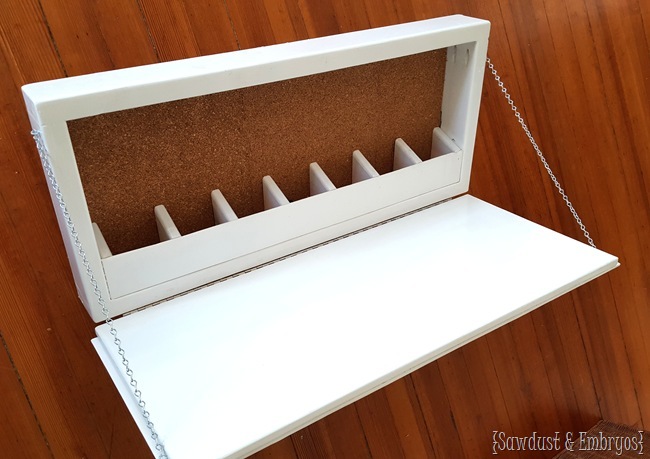
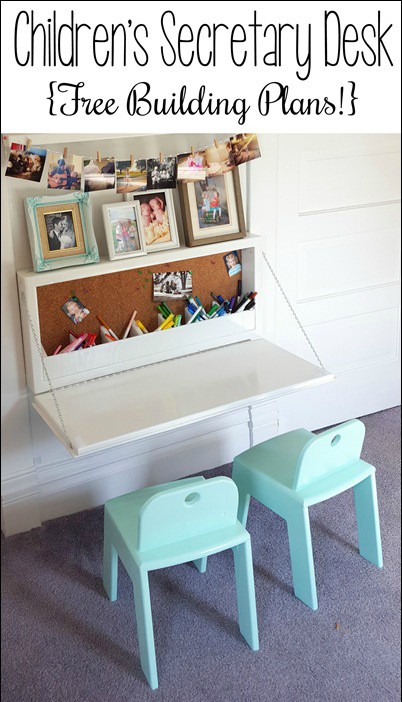
There were a few things that I wanted to be different though. I wanted there to be some depth to the desk so there could be a little storage inside, and I wanted there to be a bulletin board on the back wall… among other little tweaks. So I designed this Wall-Mounted Secretary Desk:
We had some leftover 2×4’s that had been sitting outside ever since we build this, so they were pretty grody-looking. So I planed them down a tiny bit, and they looked like brand new pine! Then I rounded the corners a bit with the router (optional!) and cut my boards to size. The dimensions I used are in the building plans above, but you can use whatever dimensions fit for the space you’re wanting it!
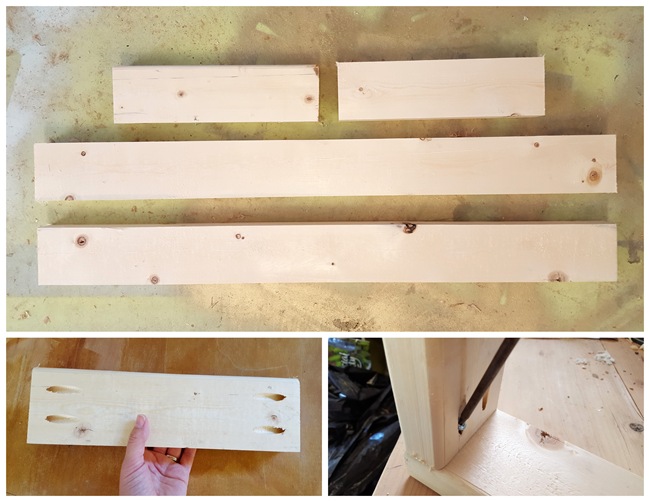
I drilled some pocket holes and assembled the frame of my desk!
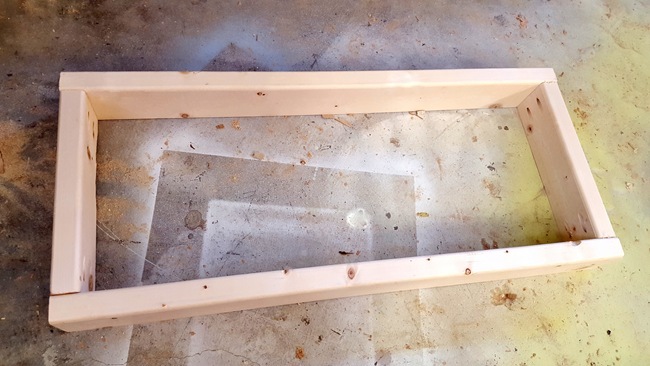
Then I cut down some 1/4” plywood (cheap mahogany underlay) to size and glued / stapled it onto the back with my AirStrike. I didn’t have a piece big enough to cover the whole back, so I did it in 3 smaller pieces. I wouldn’t normally do this because the back isn’t very sturdy. But since it’s going flush against the wall (and will have cork covering the seams on the front) it’s no biggie!
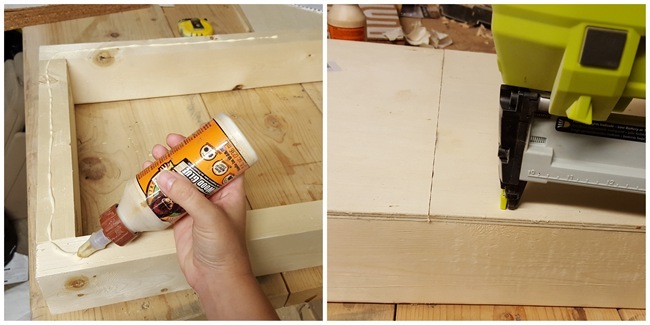
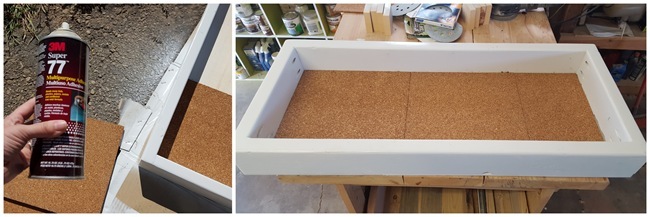
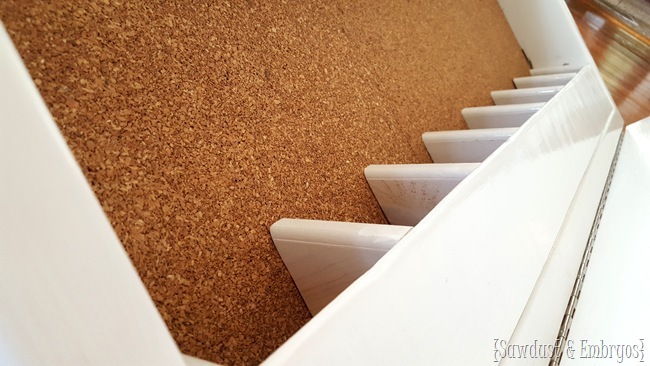
I sanded the whole thing down real good, and applied some wood putty here and there to make everything smooth. Then I painted white (RustOleum paint’/primer in one) and I affixed some cork squares to the back with this 3M spray adhesive. This stuff is FUMEY, so use it outside (and still wear a mask).
I cut some 1×4’s down and added a slight angle on them to make the shape of a ‘Trapezium’. I totally just googled that… I have NEVER heard of that shape before. But it totally is! You thought I was SO SMART for a sec, didn’t you?!
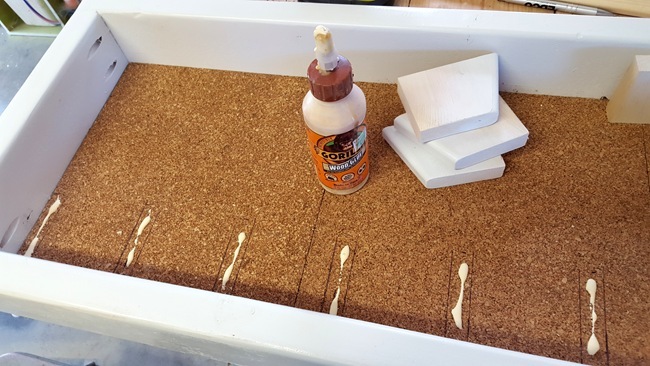
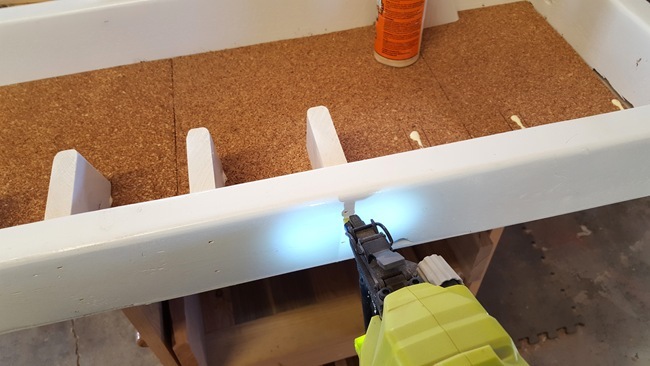
If I had to actually do my own math, I would probably never build anything of substance. So the obvious fact of the matter is that Nick measured out those evenly spaced Trapeziums and conveniently marked them for me. Then I glued them onto the back and bottom of the ‘desk’, and finished the deed by putting a lonnnng brad nail or 5 up through the bottom of each.
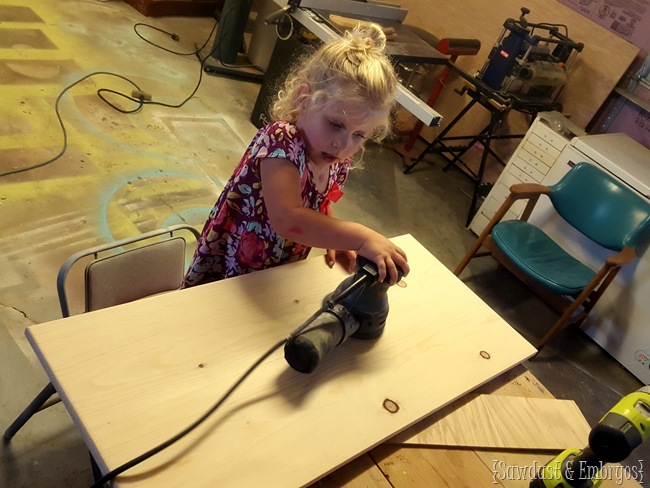
Finally, I cut the actual desk part to perfectly fit the same dimensions as the outside of the frame of the desk! As usual, I recruited one of the littles to do some sanding. Because they don’t know that sanding sucks yet.
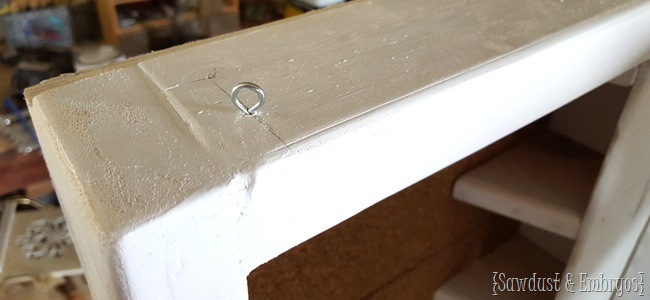
Then we simply attached the desktop to the frame with a piano hinge, and put eye hooks on either side with a tiny chain. We made sure to cut the chain length so that when the desk is open, it lays at a perfectly right angle with the frame, making the desktop completely level.
I painted the bottom face of the desktop with chalkboard paint, and nailed on a simple frame (2×4 that get ripped to 3/8” thickness, and routed edges). I didn’t get a photo of this process, but it’s pretty straight forward. Here she is all assembled and ready to be affixed to the wall!
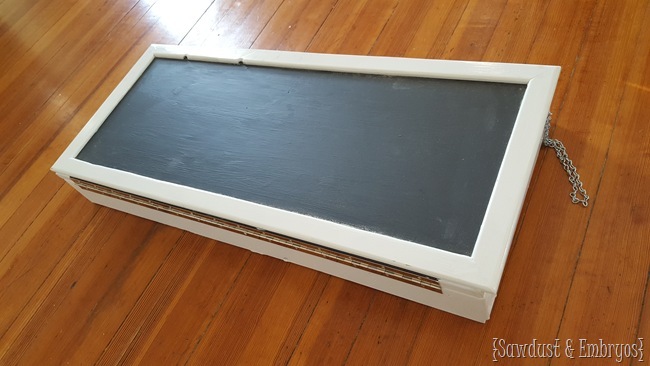
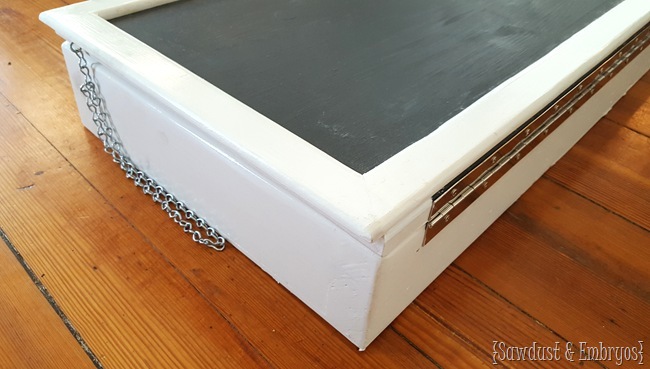
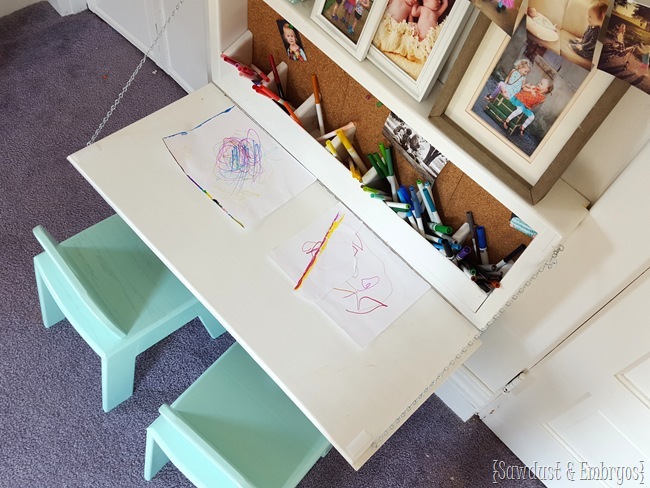
And here she is open!
UPDATE! If your kids are liable to lean or climb on this desk, you might want to opt for a beefy-er chain or use a rope maybe? Our girls are a little more ornery than we thought I guess. 🙂
To affix this Wall Mounted Secretary Desk onto the wall, we put 3 pocket hole screws on the bottom ledge, and 3 went straight in through the cork just under the top ledge. This thing ain’t goin’ nowhere! We mounted it 20″ from the floor, and this height is perfect for our girls who are almost 5. I used Velcro on the top corners to keep the desk closed when it isn’t in use.
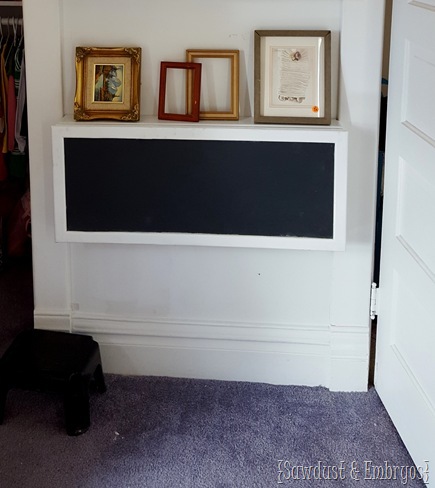
I propped up some garage sale frames from my stash on top, and loved how it looked… so I added 2 more 2×4 shelves above it that span from the closet trim to the doorway trim. We routed a ridge in the top side of each shelf for a little nook for the picture frames to settle into and make them less likely to fall off….and affixed these to the wall with 3 pocket holes.
I took all but a couple frames out to the garage and gave ‘em a good coat of white, and popped some pictures in to see how they look!
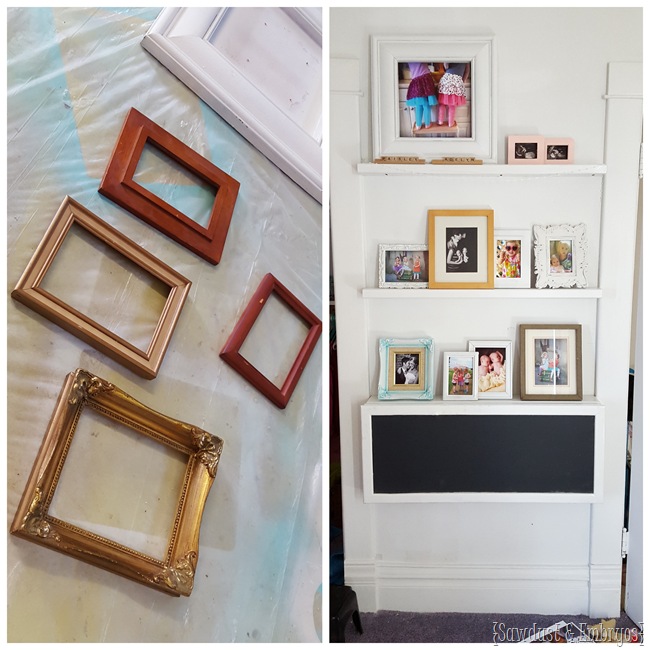
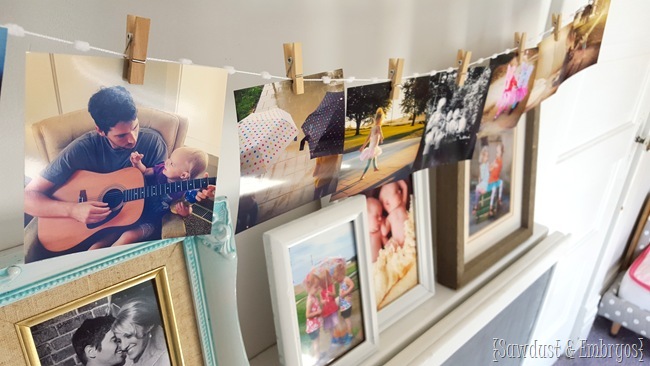
My friend Chelsea from Two Twenty One added a string of Instagram shots of her little guy below the picture ledges (here), and I loooooved that look! And I have so many instragram pics that I adore but haven’t gotten printed yet. So I went for it! These tiny clothespins are from the scrapbooking section at Walmart.
And here’s the reveal of the full wall! I’m obsessed with everything about it!
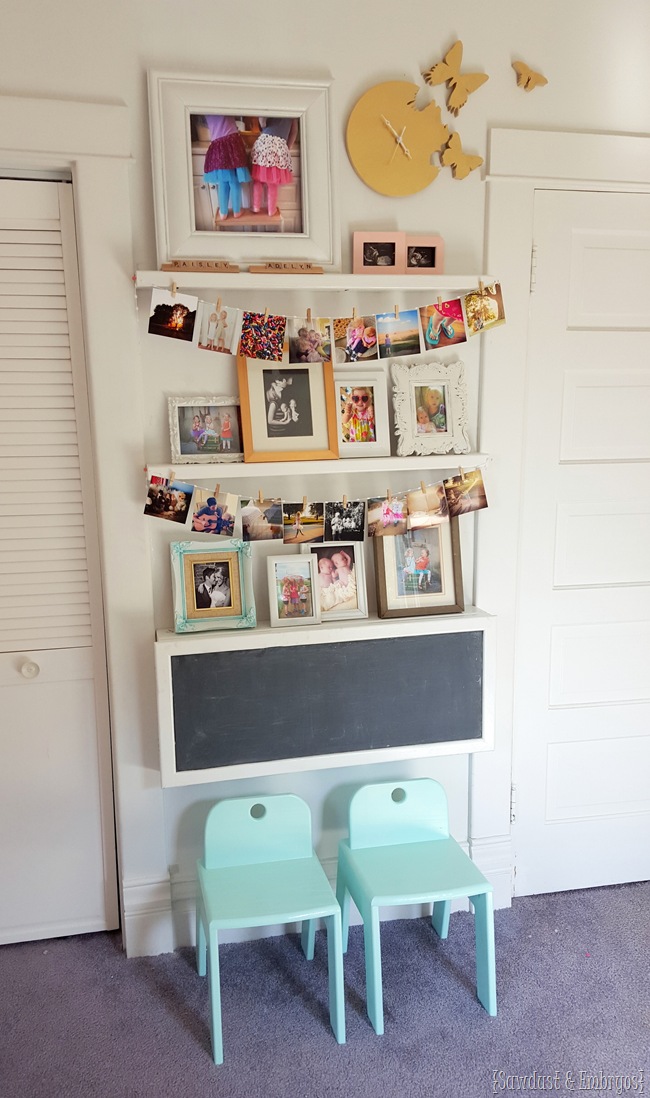
I’ve got tutorials coming for that DIY Butterfly Clock and the cute kid chairs… but for now, let’s look at this fold-down Wall-Mounted ‘Secretary Desk’ for the littles. I love that all the messiness just folds right up inside… out of sight when it’s not in use! Although that color-coordinated messiness is awesome too.
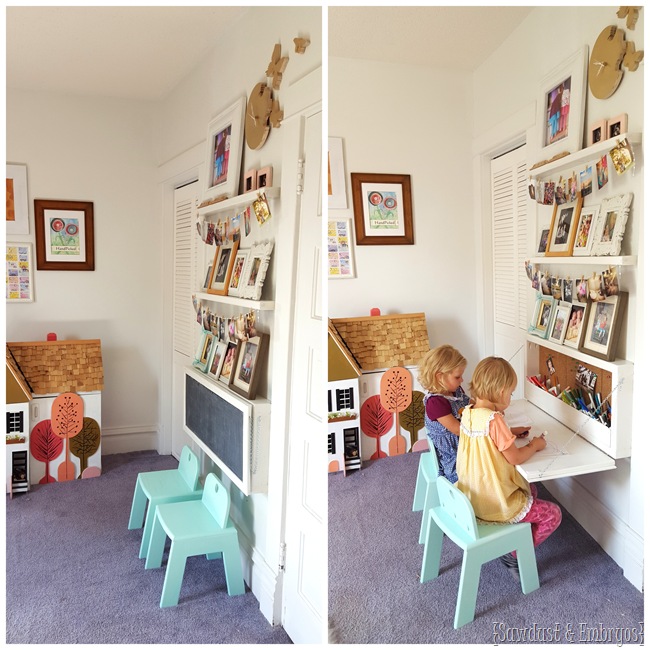
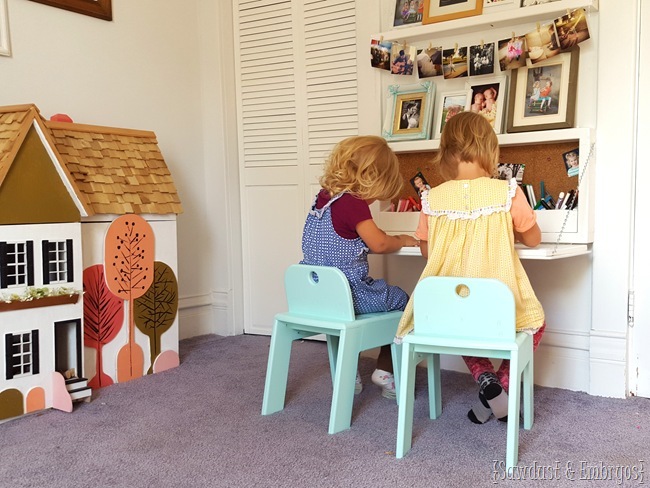
Here you can see how it fits in with the rest of the room. Don’t mind the crooked rug.
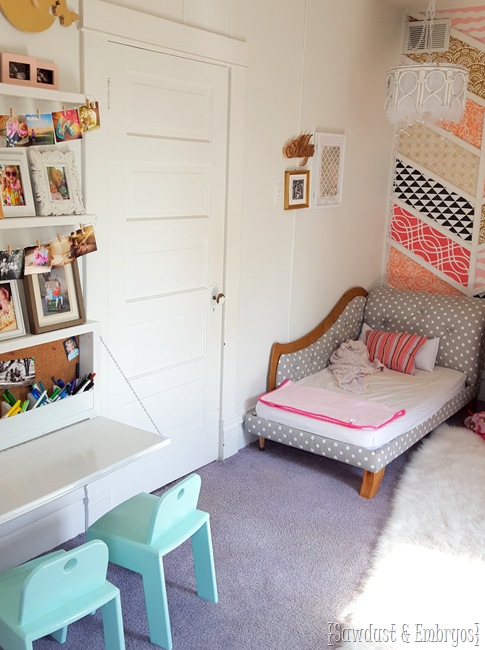
You know I love it when beauty and function collide, and I feel like this wall has both to the extreme! And our girls love to spend many hours sitting here making art and chatting together. It’s the best to listen to their 4-year-old conversations through the baby monitor.
As always, if you build something similar with our building plans above, be sure to send pictures!

And be sure to check out all the other fun DIY’s that went into making this room perfect for our twins. You can see why it’s my favorite room in the house!
 |
 |
 |
 |
 |
 |
 |
 |
And thanks for pinning!
 source


These wall mounted desks looks beautiful. Nice collection.
Hi! For the bottom of the desk, did you also use 1/4 plywood?
Yes!
How can I make this work for my teenage daughter’s bedroom? She has a small bedroom with parallel walls that can’t be used, so her bed is in the center which makes it hard to find a desk that won’t take up a lot of space! How much bigger should I make it and any ideas on how to make it able to hold a monitor and keyboard?
You can modify this desk to be whatever size you want! As for the computer, I would only use a laptop on it. If you’re looking for something sturdy enough to hold a monitor and keyboard, I would get a desk with actual legs. Hope this helps!
Hi! Love this desk. Where did you find the small chairs?
Hey Ashley… we actually MADE the little chairs. Here’s a link!
https://realitydaydream.com/childrens-chairs-land-of-nod-knock-off/
I love this and can’t wait to make one for my kids’ room. I didn’t see the building plans – could you post a link to them?
Hey Catie, try this link:
https://onedrive.live.com/?authkey=%21AM9_Kr0kBODN7v0&id=4C14E425EF6F1055%21188&cid=4C14E425EF6F1055
Any chance you build and sell these?? ????
Hey Maria! Unfortunately, we don’t sell any of the items we share here on the blog. We just share instructions to build them yourself. So sorry!
Hi Bethany, I love this desk and we are thinking about making it for our girls’ room, but we have absolutely no skills when it comes to woodworking…Lol. Can you confirm the length of the desk? Do you think it is big enough for your girls to sit side-by-side or would you make it longer if you were to do it again? Thanks!
Great ideas for creating art desk for kids. I like it. I have to make it for my kids. I think they love it. It will inspire their creativity. Thanks for this idea.
Nice transformation!!!! I love the desk!!!
Thank you! It gets LOTS of use!
Was it not too heavy for the wall. Would love to try this but I’m afraid it would break the drywall in my sister’s room and fall. Would appreciate your insight. Thanks
As long as you either use drywall anchors OR make sure you attach it to the wall studs, you should be fine! Ours is still going strong, and gets LOTS of use 😉
Hi! I am a newbie at these types of projects but am attempting to build the desk for my little one. Can you describe in more detail how you anchored it to the wall? Did you use wall anchors?
Yes we used wall anchors in the spots where there was no stud. Does that make sense?
Yes, that helps! One more question… for the 2x4s was it construction limber or wood that is better for fine furniture?
Thanks again!
I started the project just using construction lumber, 2x4s (not knowing any better).
I’m pretty sure we used construction lumber… because it’s cheaper and we don’t mind the knots and imperfections. Just make sure you get boards that are relatively straight and not too warped! <3
Hi! Me again… I can’t find any YouTube videos on installing piano hinge on the outside of a cabinet. What width piano hinge did you use? Any tips for putting it on?
i could just imagine using something like this and have it fold open over a bed for all those teenagers that just must do everything sitting in bed. just given me another great idea.
Hello 🙂 Just wondering approximately how high off the ground you mounted this? 🙂 I would love to know the distance from ground to base of the desk. I JUST LOVE IT!!!! Think it will be my project this weekend 🙂
OK, we mounted the kid’s murphy desk 20″ from the ground. Our girls are almost 5 and this height fits them just right. Hope this helps! Send pics when you’re done!!!
How does the foldable desk stay closed when it is not in use? did you use magnets?
We used velcro!!
LOL I just said the exact same thing
I need to take this and find a way to turn it into a bedroom makeup vanity for the wife that has lights and a mirror on the inside with places for her makeup
I love this idea! Thinking of tweaking it a little bit to make it smaller, putting a mirror and maybe a sensored light inside to make it a play makeup table for my daughter…we will see if that happens, but thanks for the inspiration!!
Thanks Sarah! YES their room is very small. For some reason it usually photographs much larger than it really is… so I’m glad I was able to capture the scale better in these pics. 🙂
This is beyond cute. I just love seeing everything you come up with, I think you guys need an HGTV show, I just want to hang out with you and see everything in process. I’m going to email HGTV right now haha.
LOL… you do that! I’ve actually NEVER wanted to be on TV (I’m super awkward in person), but Nick would LOVE it. 🙂
Being awkward is adorable and endearing ( at least this is what I tell myself). E-mail sent 🙂
That is SO CUTE! I love it!
I love this desk and everything about this wall! I’m already thinking where I could put one of those. Love your blog and all your fun ideas. Keep them coming 🙂
Thanks Jasmin! It gets used a lot already! If you go for it, be sure to send pics!!
Great project, Beth and Nick!! Love their space to be creative, and all the photos!! There is something about banners or photos hung on a string that speaks “FUN!!” And I must tell you I love that turquoise chair in the background of the picture where your daughter is helping with the sanding!!
Yay Kathy! I’m glad you love it! And I AGREE about banners and bunting that just gives such a fun vibe. At first I wasn’t sure about it because I thought it might make the space feel too cluttered, but then I said MEH! I like it! And the girls can change out the pics whenever they want. I ordered a whole stack of Instagram pics! PS we missed you at Laura’s shower last weekend!!
You are so creative! I love their room!
So functional and adorable! Those pics really show how small their room is; you’ve made great use of the space!
O M GEEEEEEEEEE SUPER CUTE SPACE!!!!!!! love the butterfly clock too!!!! awesome!!!
Spanks Dana! 😉 And spanks for printing out that pic! Doesn’t it just MAKE the space?! That tutu pic is my all-time fave.
YW! I’ll enjoy while they like to share space…. wonder what age they will start wanting their own spaces 😉 I think I would have been a tutu girl if we had tutu’s back in the day;)