Happiest of Fridays to you! Did you awaken feeling refreshed and ready to tackle the day? If not, you probably have either a) small children b) Hypothyroidism, or c) you stayed up far too late …for me, definitely a and b. But nothing a little coffee can’t take care of.
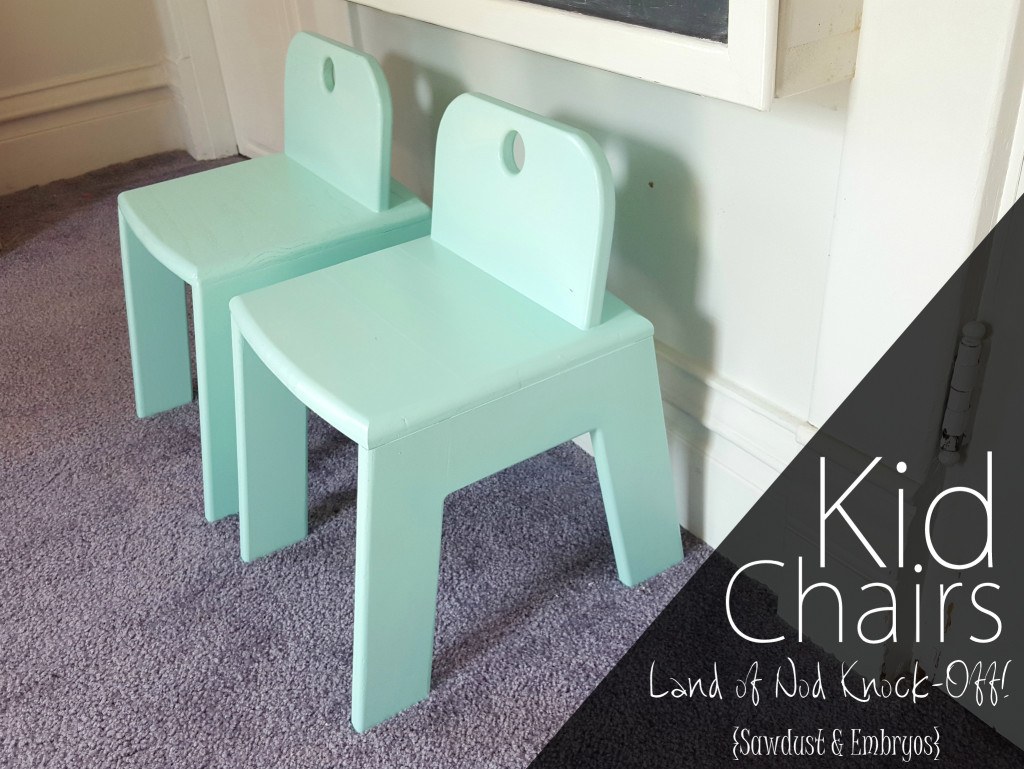
Today I’m overjoyed (that’s the coffee talking) to share all the details for how to build these adorable kid’s chairs!! They’re classic and sturdy. And perfect for so many different applications!
In hindsight, the only thing I would change about them would be for them to be stackable. If they were, I’d probably pump about another half dozen of these just to have on hand when the cousins come over or we’re hosting a gathering or whathaveyou. Maybe I’ll make it my personal challenge… nay, my MISSION, to talk Nick into figuring it out and building a few more.

The actual building plans for these chairs are over at BuildSomething.com… which is an awesome website and database filled with so many awesome building plans and and DIY inspiration!
But right now I’m going to throw down some details and process pics here so you can have an insiders view of how these gems go together.

You can see the full cut list here, but I wanted to show you a view of where your pocket holes will go.

Before I get ahead of myself, let’s talk about the chair back. I used a 1.5” forstner bit to drill that big fat hole. Then rounded off those two top corners by tracing around the lid of an oatmeal container, and lopped them off with a jigsaw.

The last detail I want to address on these chairs is the seat and how we rounded it off. Because it’s only a slight curve, we couldn’t use the same idea of tracing something round like a lid this time. So we snooped around our garage until we found something bendy enough to pull a stunt like this.

It could be anything really, but we use a thin piece of wood that had been sliced off of something else. It worked perfectly, and allowed us to pretty much replicate the Land of Nod Kid Chairs.
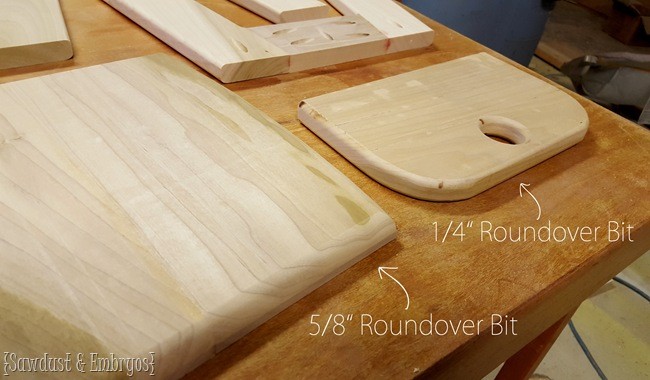
Once everything was cut and ready to assemble, we drilled all the pocket holes with our Kreg Jig, and then rounded off the edges of everything but the seat with a 1/4” Roundover routing bit. The seat we routed with the 5/8” Roundover bit so if would be more comfortable to sit on.
Once everything was sanded smooth, we assembled by gluing and screwing (LOL!), and then we stood back to look upon this cuteness.
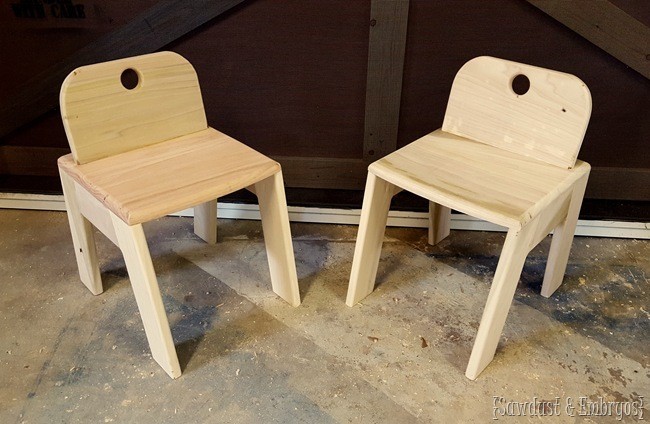
You wouldn’t believe how SOLID these little bad boys are. Nick could use these as a stepstool if he wasn’t already 6’8” and never in need of additional height, ever.

If you missed our post on how to build that Children’s Secretary Desk or ‘Murphy Desk’ pictured above, be sure to go check it out! The girls LOVE coloring, and spend a lot of time sitting on these chairs… making memories and artistic 4-year-old masterpieces. Makes a mama’s heart proud!
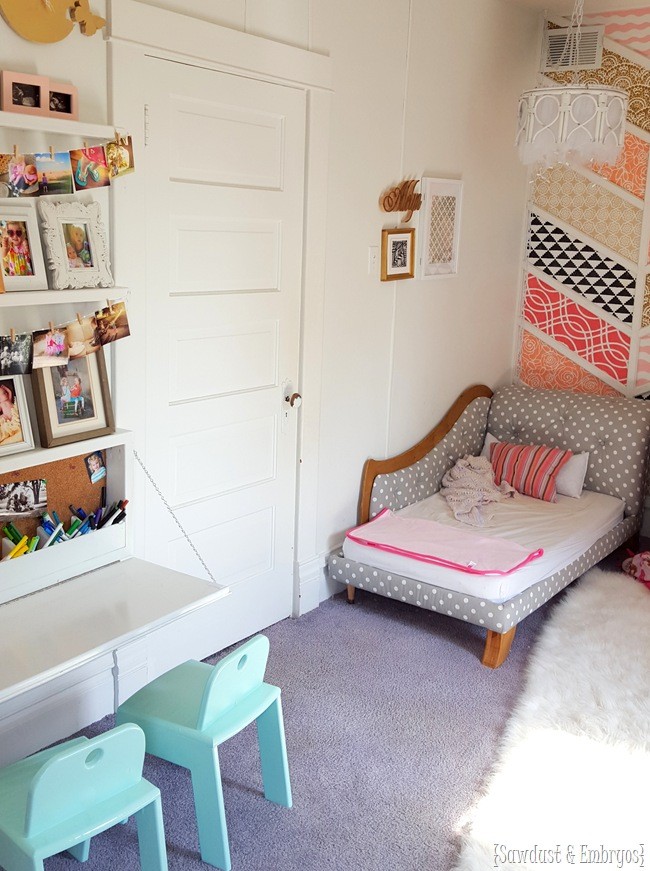
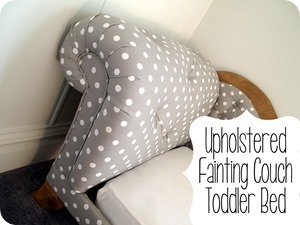
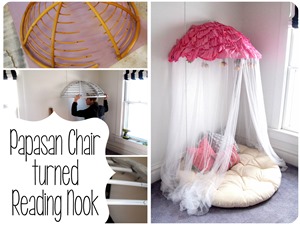
The twins’ room is hands-down the cutest and MOST FINISHED room in our entire house. Every little thing in here is DIY’ed… right down to those Fainting Couch / Toddler Beds. I would love it if you clicked around on all the different projects that went down in this room!
 |
 |
 |
 |
 |
![How to make your own butterfly 'cutout' clock... where it looks like the butterflies are flying out of the clock! (Sawdust & Embryos].png How to make your own butterfly 'cutout' clock... where it looks like the butterflies are flying out of the clock! (Sawdust & Embryos].png](https://reality-daydream.s3.amazonaws.com/wp-content/uploads/2015/11/22183650/How-to-make-your-own-butterfly-cutout-clock...-where-it-looks-like-the-butterflies-are-flying-ou.jpg) |
 |
 |
 |
 |
Thanks for stopping in here to my little piece of the internet, and have SUCH A GOOD WEEKEND!

Thanks for pinning!


Amazing! Thank you for your cleverness.
Has there been any ideas as to what adjustments need to be made for these chairs to stack?
Sorry Rob, we never did get around to modifying the design to make them stackable.
Hi,
I stumbled upon your site this morning and have been here the rest of the day!
You are very talented. I see that someone else asked, but didn’t see a reply. Can you please tell me the paint color for the “Land of Nod” chairs?
Thank you! :}
Hey Dawn! I definitely should have documented the color in this post… oops! It’s been a minute since we did the project. But I’m PRETTY sure it’s this color: (aff) http://amzn.to/2FbgIK9
Awesome job. I love the color you chose for these chairs! What is it called?
Oh my…. 6’8″??
Since your house is super old, I was wondering why you don’t rip the carpet up in the girls room for some wood floor beauty? Is there wood under there? Just curious…
I LOVE their room and as soon as we build our house I am totally using their room for color inspiration!
We really wanted to tear that carpet out, but when we pulled up a corner, it was just gross underlayment rather than beautiful original hardwoods. We considered laying new hardwoods or fresh carpet, but in the end it just wasn’t in the budget. We’re pinching pennies over here! Haha!