A few weeks ago, we shared the slow but steady… ok fine, JUST SLOW… progress of the playhouse we’re building from scratch for our girls.
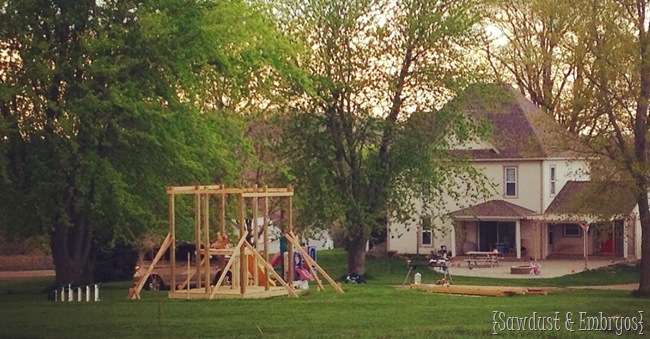
As usual (at least for us), it’s turned into one of those things that’s taking 3 times as long as we originally planned. How is it August already? It feels like summer’s gone by like a time-lapse.
We’ve found time here and there to put a few hours in on this sucker. And by ‘we’ … I mostly mean Nick since it’s his design/vision. And, somebody has to watch the minions.

I left you last time with the progress we made on getting all the support beams in place, and both the main and second level flooring.
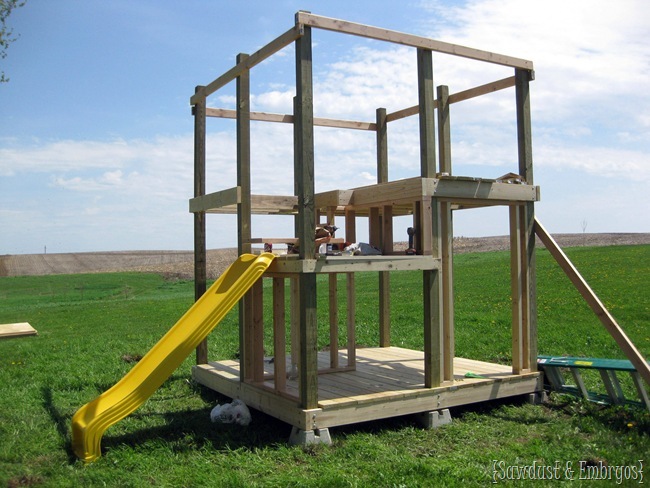
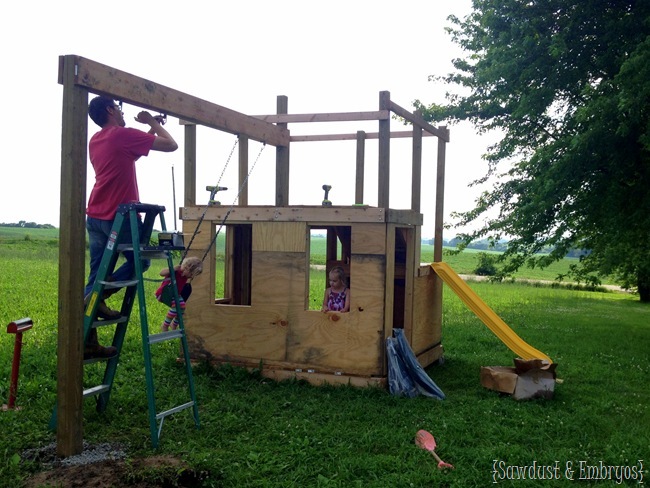
Next order of business was to get some walls in place. We cut full sheets of 1/2” plywood to size, including cutouts for windows and doors, and screwed them into place.
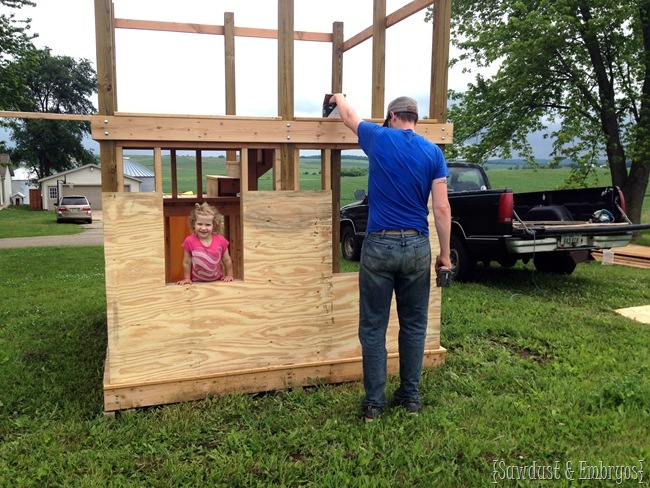
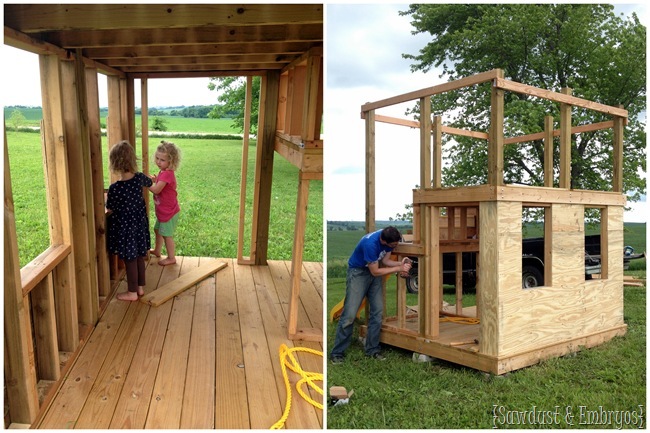
Remember how I was lamenting to you about how complicated Nick’s designs are, and how unnecessary stairs are in a playhouse? Well I’ve gotta say… it’s pretty nice now that it’s done. And it didn’t even take that much more time. I’m learning more and more that I just need to trust his vision!

The girls found lots of creative ways to have fun on this structure as-is. But one thing they kept begging for was the swings. For some reason, summertime whining is worse than whining other times of the year (can I get an amen?). So the swings became the next thing on the priority list.
Nick borrowed this manual auger-thing from our neighbor, and got digging for the support post for the swings.
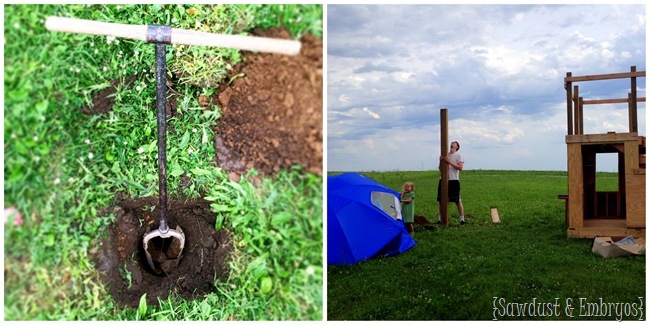
The reason to auger a super deep hole is because Nick wanted a single post for the swingset opposed to the typical A-frame. His reasoning for this is because it’s one post to mow around instead of two. But I think he just likes the challenge… and clean lines.
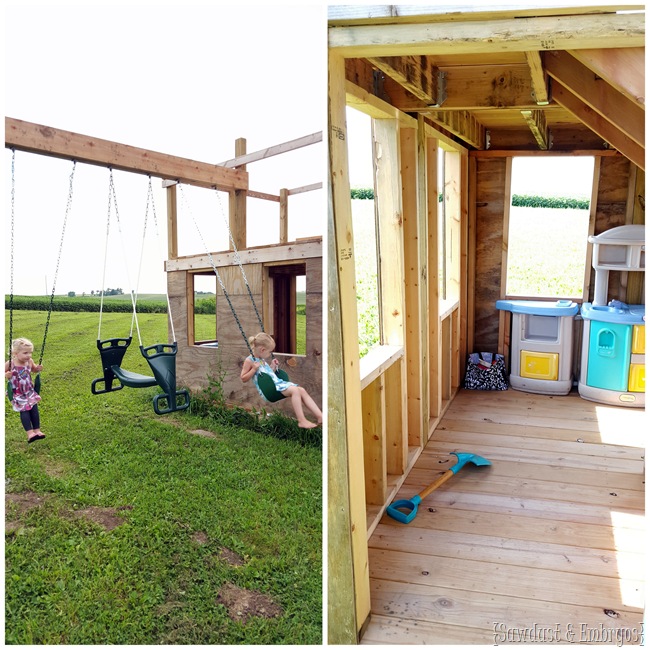
The swings we bought on sale at the end of the summer last year on sale, and the tandem glider swing (which the girls can’t quite figure out how to use) is a Lowes find here. The girls are constantly wanting us to push them on their swings, but we’re also trying to help them learn how to pump so they can swing on their own too. You know the phrase: give them a fish and feed them for a day; teach them to fish, and feed them for a lifetime. I think this principle applies to swinging too, right?
OH. And I found a cheap/crappy plastic play kitchen at a yard sale for $5 buckaroos. They spend so many hours using their play kitchen indoors, I figure their vacation home could use one too. Spoiled much?
The next order of business will be getting some railings on the ‘fort’ above the playhouse part. We’ve got a start on it, and you can get an idea of what it’ll look like in this pic.
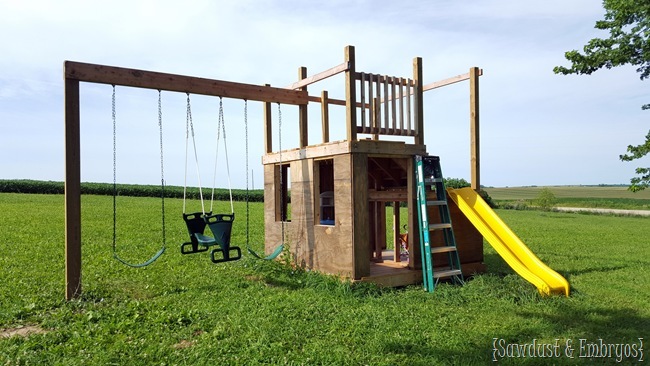
It won’t be long now! Translation: I HOPE THIS GETS DONE BY THE TIME IT SNOWS.
But really? Sometimes the girls would rather dig holes and collect sticks then play on a designated ‘play area’ …so that contributes to our slow-and-stead philosophy. It’ll get done when it gets done! High fives! Chest bumps! Group nap?
Do you guys have any projects that are taking an eternity? Or just seem completely stalled? Well know that you’re not alone!

Disclosure! As mentioned in Part 1 of this build, we partnered with our friends at Lowes for this project! We weren’t compensated for our time, but they did generously provide the slide, glider swing, and much of the lumber… and we’re so grateful! All opinions, designs, experiences are our own.


I want tofollow the same one pole design. Did you use 2 2×10 for the beam or did you laminat 4 2x10s
John,
On this design, we laminated four 2X10’s.
This design worked, however, we recently moved and rebuilt using this set of plans. This swingset just went through a storm sustaining 140 MPH winds and didn’t budge. These plans use a 4×6 for the beam and support legs.
Nick is so talented! And I can’t wait to see what cuteness you bring to this project. You have a lovely family. Thanks for the update!
Back in March, we picked up a play set from one of my coworker’s who gave it to us for free. We drove two hours to pick it up, only to find that half the wood was rotten. We went ahead and brought it home and planned to salvage what we could. It has mostly sat in our yard until this weekend. A friend drove by and stopped to ask the hubbs if we were going to ever do anything with it. This motivated him into completing most of the frame, getting the slide and swings on, and much of the railing on the second level. Apparently, he just needed some encouragement. I completely feel your pain of how quickly this summer has passed, and how slowly some of our projects are going.
Oh man… I’m glad you were able to salvage some of the wood!
That is an amazing play structure and yes—the kitchen was a must! 🙂
Haha exactly! They’ve had that outdoor play kitchen less than a week, and already logged at least 10+ hours making gourmet ‘faux’ meals. WIN! 🙂
Your girls are going to love the finished product! We have the same plastic slides climber that you have and we’re ready for a wooden set as well. What kind of wood are you using? I mentioned to my dad that we need to borrow his truck and he warned us about using pressure treated wood because it’s bad for the kids. So now I’m all confused!
Candice, I’m super paranoid about chemicals and pressure-treated wood too… especially when it comes to my kids! We just used treated wood for the vertical support beams, and everything else is just your basic 2×4 and plywood. We will definitely need to paint or seal it so it won’t rot out, but we haven’t thought that far ahead yet. 🙂
do you have any ideas swirling around for painting it? siding? cant wait to see the finished set!
Oh man Maria! My ideas have run the gamut. Some days I want to side it and put on shutters and cute little window boxes, and do some landscaping… the whole bit. But other days when I’m not feeling as inspired (or energetic), I think it looks pretty darn good as-is. LOL! In other words, to be decided! I’ll admit that it crossed our minds to put in doors and actual glass windows. And then there’s drywall? Light fixtures? Plumbing? Where do we draw the line?! We’re trying hard to keep it a healthy balance fun/functional without the frill. 🙂
Story of my life!!! You know there is something about a “tree house” made from wood that makes my heart smile… never hurts to leave room for them to have an imagination of their own about what it looks like in pretend life.
NICE!!! oh the fun the girlies will have!!! next up, window a/c & heat for winter 😉
Riiiiight?! I can’t say it hasn’t crossed out minds. 🙂