Time for another installment of our Kids Crafts Series! My mom sends the twins a craft each month… complete with all the supplies (like a subscription box! only from Grandma ;)) and they look forward to it SO MUCH! And I look forward to it, because there’s minimal preparation and maximum creativity from the littles! This month? Painting with Marbles!
 *This post contains affiliate links*
Painting with Marbles Kids Craft
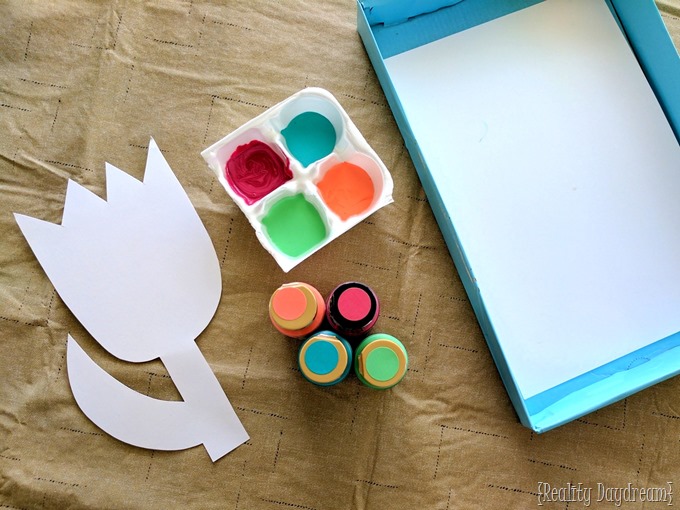
- cardstock (some whole, and some cut into shapes)
- acrylic paint
- clean styrofoam egg carton (or something else to hold small amounts of paint)
- marbles
- plastic spoons
- shoe box lid
- scotch tape

Squeeze a Tablespoon or two of each acrylic color into it’s own little reservoir. Make sure it’s enough that a marble will sink right in and be immersed.

Place a full sheet of cardstock in the lid of the shoebox (you might need to trim the edges to make it fit perfectly). Roll a couple pieces of tape sticky side out and use them to keep your cardstock shape on the full sheet of cardstock.

Using one of the plastic spoons, fish out your first marble, and PLOP it onto your prepared shoebox lid! Let the littles tip and turn it all around… the marble makes a little paint trail everywhere it goes! Once it runs out of paint, time to plop the next color on. Repeat repeat REPEAT!

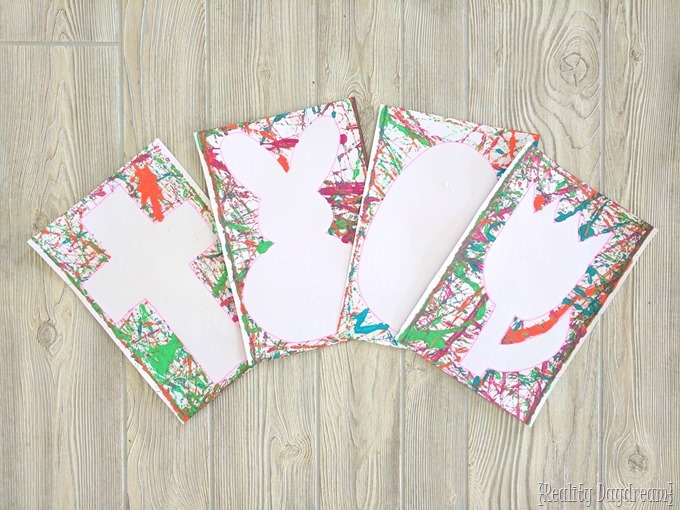
The point of this is to get enough ‘paint streaks’ that when you remove the cardstock shape, you will be able to clearly see where it used to be and what the shape is! Feel free to go back and use colors a second time if necessary. Or put some watered-down paint in a spray bottle and give it a little misting if necessary.
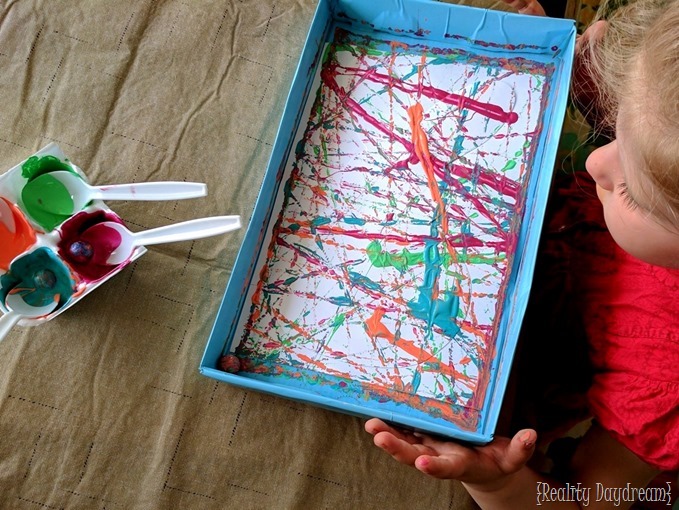
Either let the art dry right in the shoebox lid, or carefully pull it out and lay it flat to dry. Then peel off the cardstock shape, and mount it on some colored construction paper! Or you could put them in one of these picture frames for kids art that makes it SO EASY to change out their masterpieces and display them like a gallery! This time around, I opted for these wooden picture frames because I happened to have 4 of them.
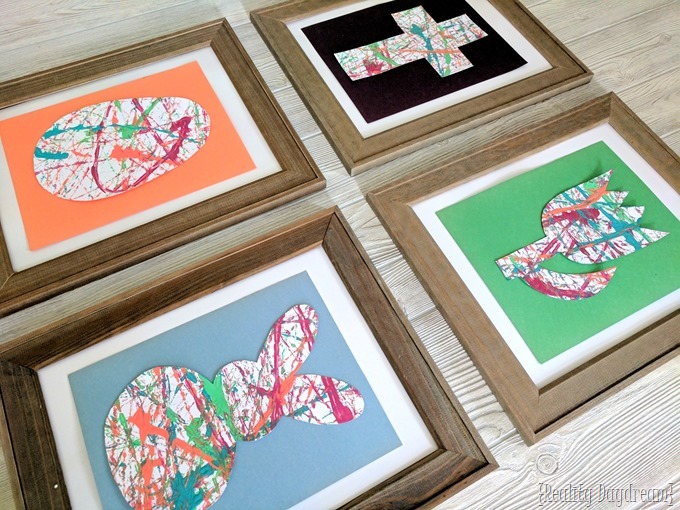
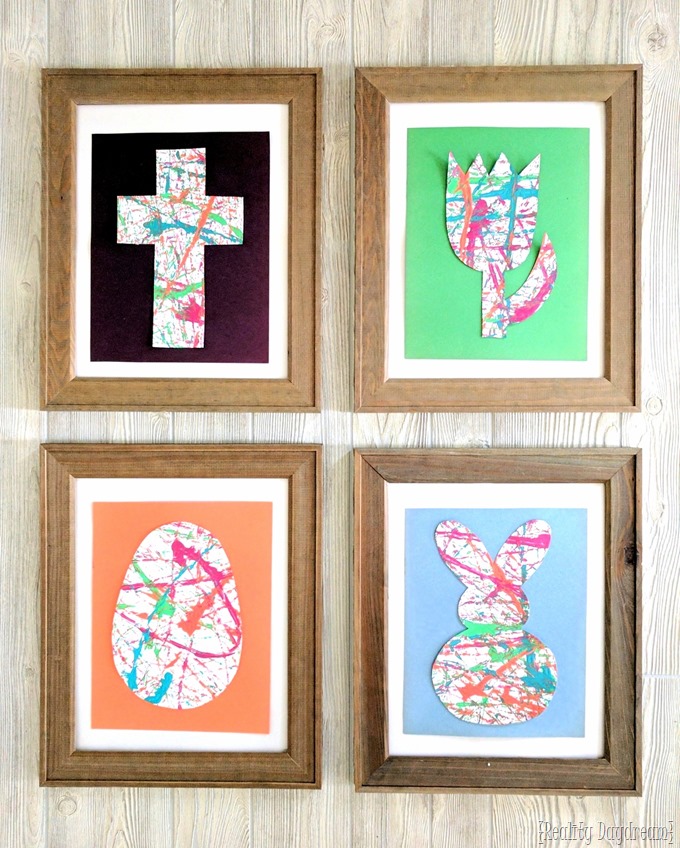
It’s so fun that the kids ultimately end up with two pieces of art… the cardstock shape, and the silhouette the paint makes on the full sheet of cardstock!
And while you’re in the Easter mood, check out our tips on blowing out Easter Eggs for making an Easter tree!
~Bethany
~~~~~~~~~~~~~~~~~~~~~~~
Check out some our other kids craft ideas from our archives!
 ‘Falling Leaves’ Watercolor Craft
. Teacher’s Appreciation Succulent Craft
 Beginner’s String Art Kids Craft
Thanks for pinning!


 Finger Painting Thanksgiving Turkey Craft
 Embossed Foil Christmas Ornaments


Leave a Reply