Our girl Paisley has been a ‘performer’ since she was a wee toddler, and I’ve always thought it would be so fun to build a stage or ‘theatre’ in our house somewhere for her to share all her plays, concerts, and magic shows.
This wasn’t an option in our old house, but after we moved into our enormous historic home, I’ve been plotting to make a blank wall in our basement into a stage!
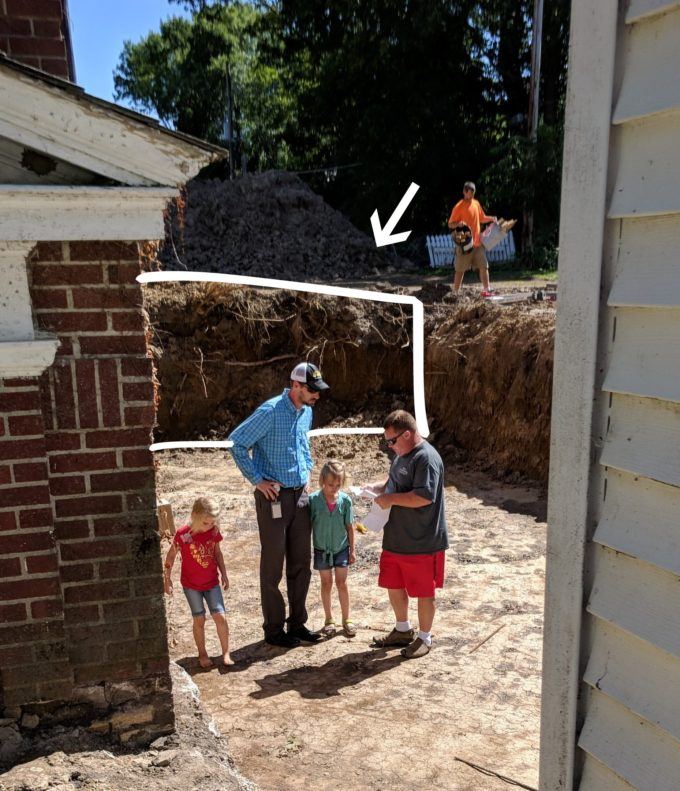
Doesn’t this space just scream at you with potential?

Sorry what was that? You don’t see it? Let me highlight the wall I’m talking about.
OKAY… I reckon I’ll explain.
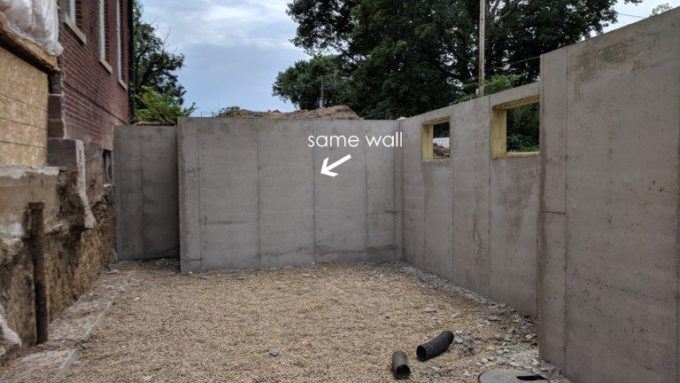
We tore off the teeny kitchen from our house, excavated a new basement to build a kitchen above, and then finished the basement below to be a family room!!
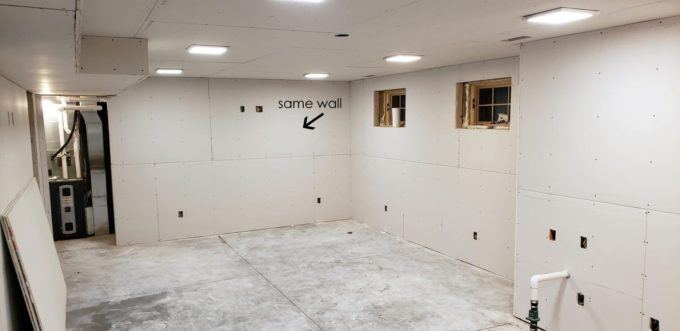
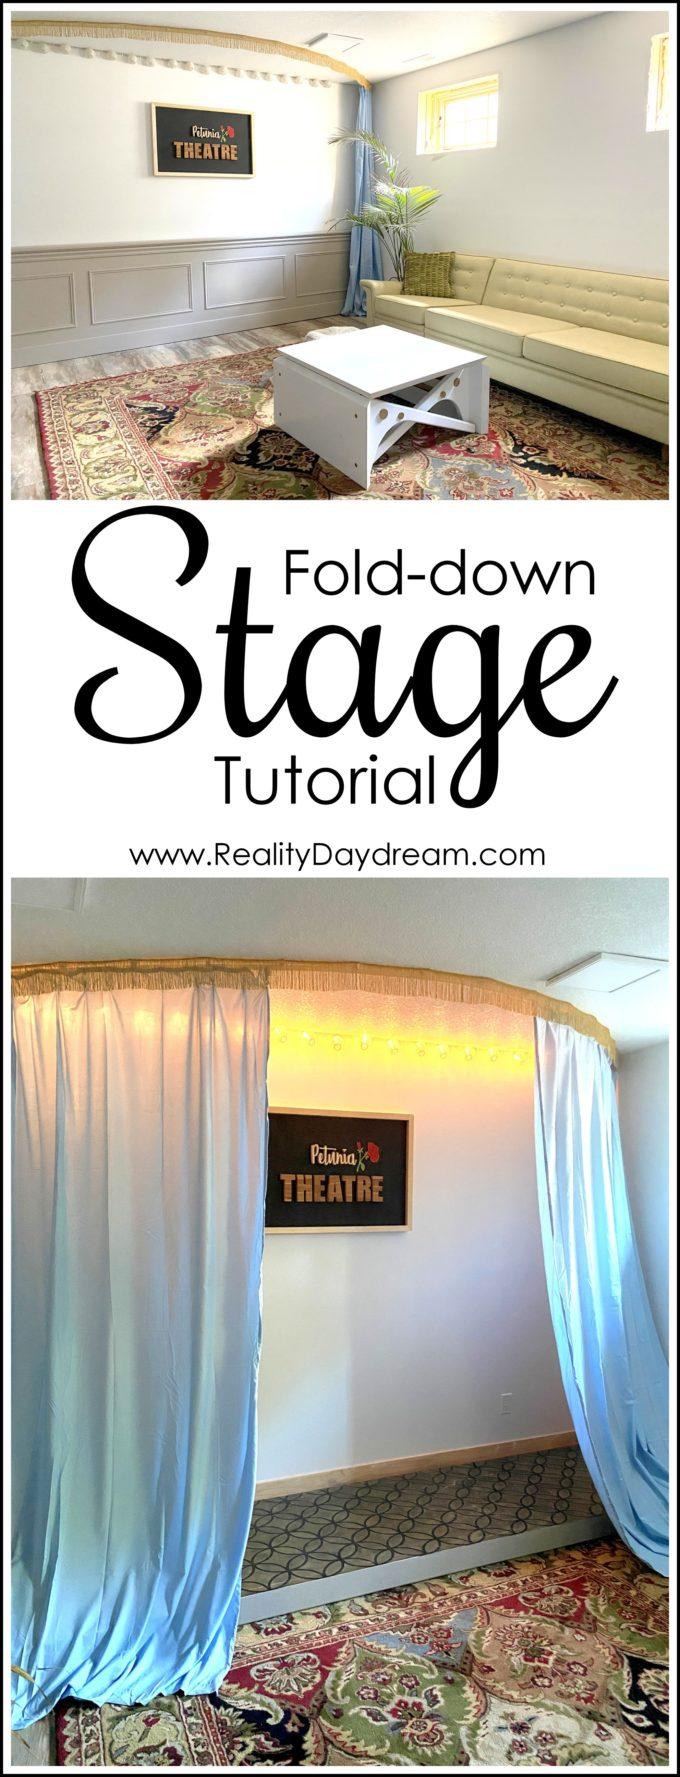
We’ve gotten flooring installed, and furniture in place since then. We love watching movies on family movie night in this space. And it’s really nice because our reupholstered vintage sofa (details and before pics of it in this post) can be moved around easily and can even be reconfigured so the L-shape can go either direction.

In preparation for making this wall a STAGE, we moved everything out of the way, and brought in some lumber and the miter saw. What a mess!!

To start, we built a frame for the stage using 2×3’s. You could make yours thicker if you want your stage to be ‘taller’. But we didn’t want it to stick out from the wall too much when it’s folded up, so we went with 2×3’s.
For the sake of this post, I’m not going to share exact measurements or building plans, because it will be different for everyone based on the space!

Use 1/2″ sheets of plywood to line both sides of the stage!

We added base trim to match the rest of the trim in the room, as well as a decorative piece at the top. The plan is to add a little shelf there at chair-rail height. We want it to look like it’s just part of the wall when it’s not in use!

Here’s a profile view after we added that top ‘ledge’ piece. You can see that we used a router to round off the top, as well as add a cove on the bottom edge to make it more seamlessly transition to the decorative trim below it.

You might also notice from the picture above that we added a latch to hold the stage in place when it’s not in use. This thing is HEAVY and we don’t want it falling! There’s a self-locking gate latch (affiliate link) on either side. And we plan on putting a padlock on it so littles don’t mess with it.
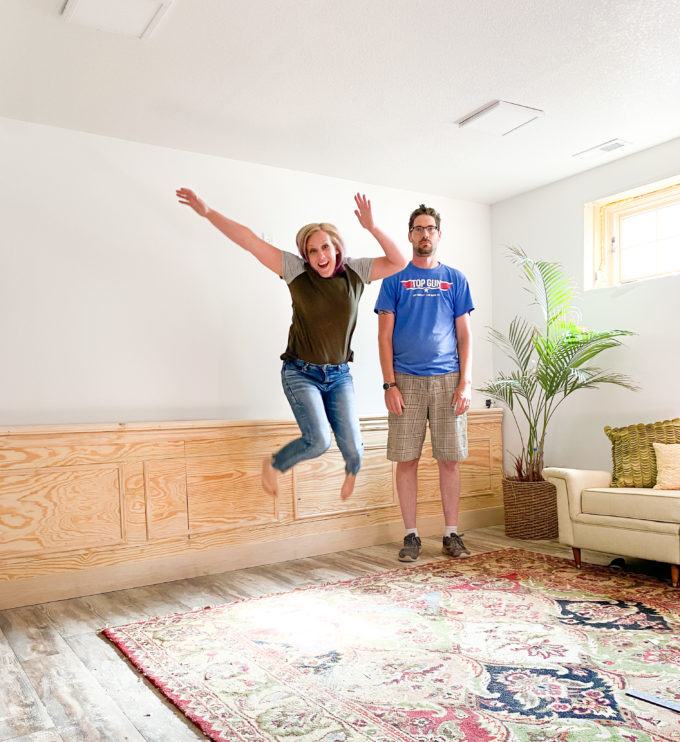
Next, we decided to add some picture frame trim (is that what you call it?). Our entire house has this architectural detail, so we thought we might as well carry it down to the basement!

Don’t worry, Nick is excited too. He’s just pouting because he can’t do a celebratory jump with me because he would hit his head.
I really struggled with what color to paint this chair rail, so while I waited for lighting to strike, we put up the curtain track!

I’m sure there’s an easier way to do this, but in order to get a perfect curve, we used a thin piece of wood as a template to bend in the shape of the curve so we could trace the curve onto the ceiling before installing the curtain track. Since the ‘template board’ is just put in place temporarily, we just used one screw in the middle, and one at each end.
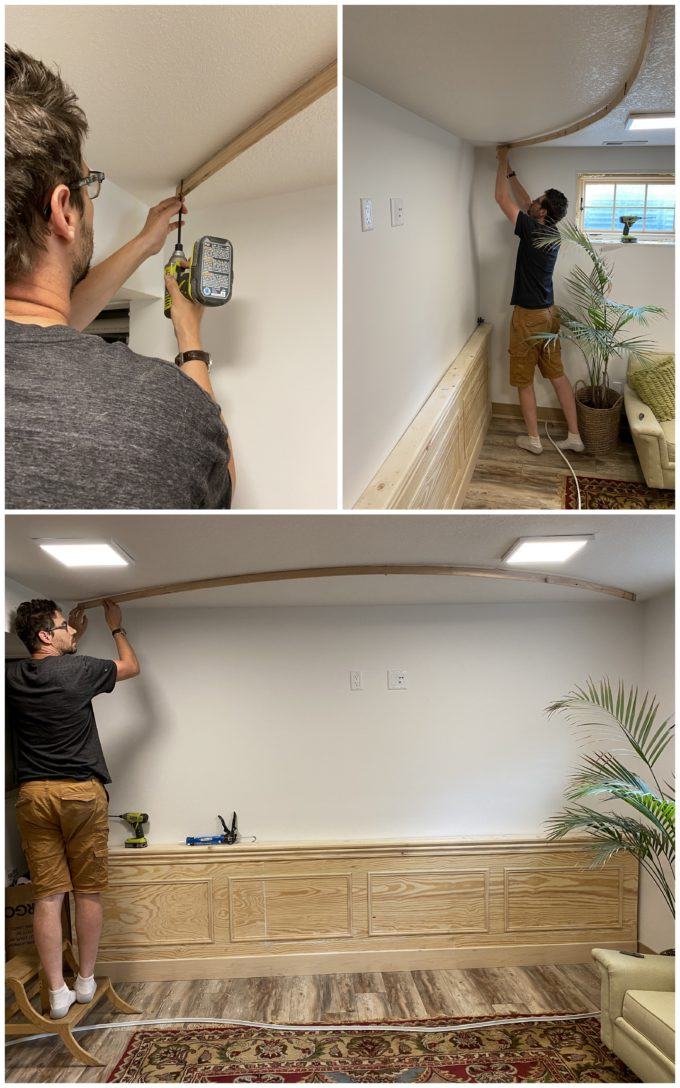
After tracing with a pencil, we started installing the little brackets (included with the curtain track) along the pencil line.
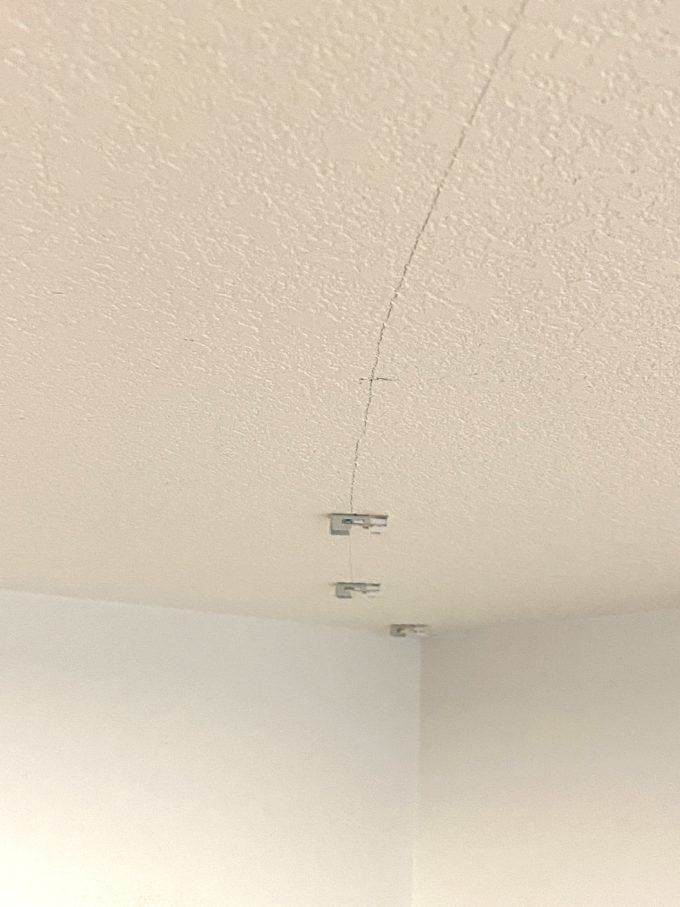
The curtain track just clips up into those adapters! While Nick was working on that, I was priming the ‘wall’! I didn’t document me filling cracks/holes with wood putty and alllll the sanding. But that happened FYI.
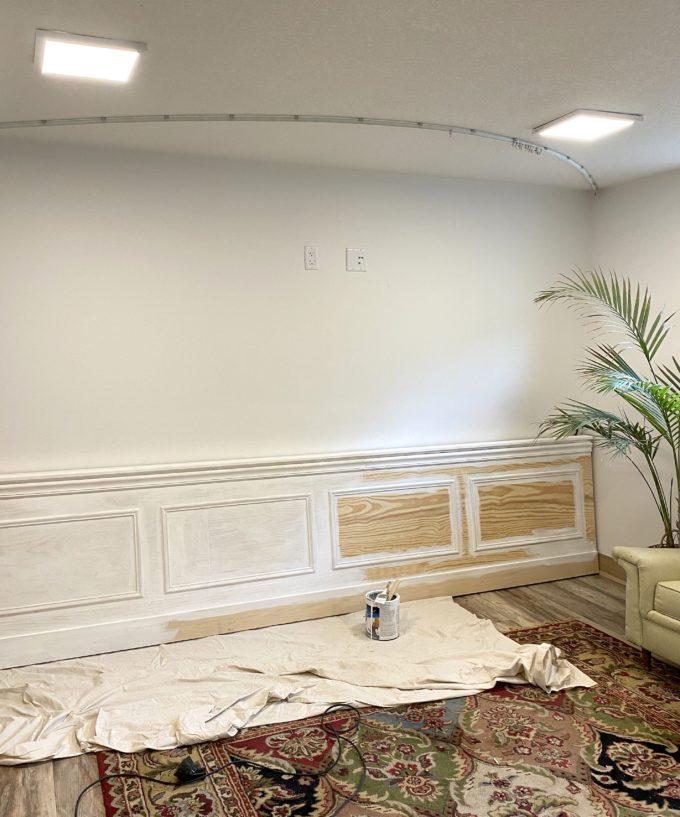
I finally decided on a color… I went with ‘Perfect Greige’ by Sherwin Williams, which we had leftover from this project! And it really is PERFECT!

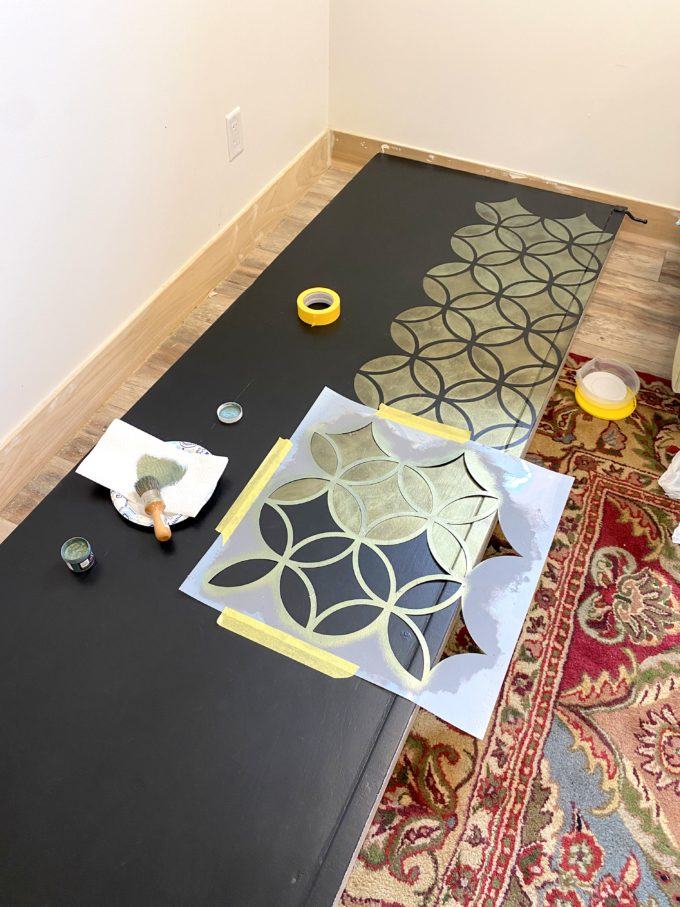
So if you haven’t figured it out by now, this wall FOLDS DOWN to be a stage… so now it’s time to work on the other side that will be the stage floor!
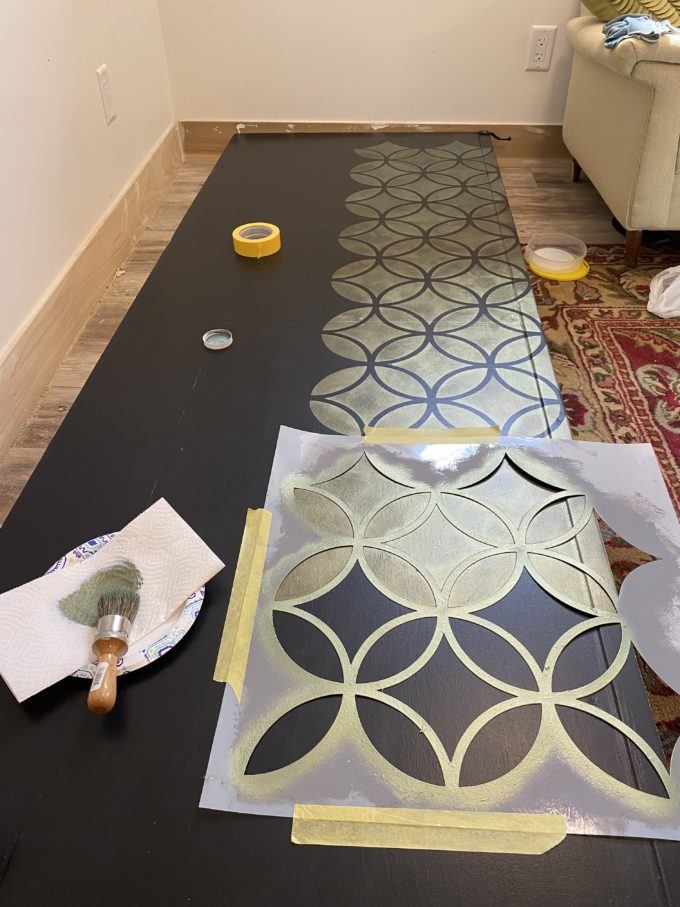
I started out by painting it BLACK! (Tricorn lack by Sherwin Williams in satin finish) …it was leftover from when I stenciled the linoleum in the Solarium.
Then I started stenciling using this beeeeeeautiful metallic paint by Royal Design Studios. The color is Patina Green!
I thought about painting this whole wall with either a mural or an accent color, but I remembered how the original plan is to have this wall ‘fit in’ with the rest of the room when the stage is folded up and not in use.
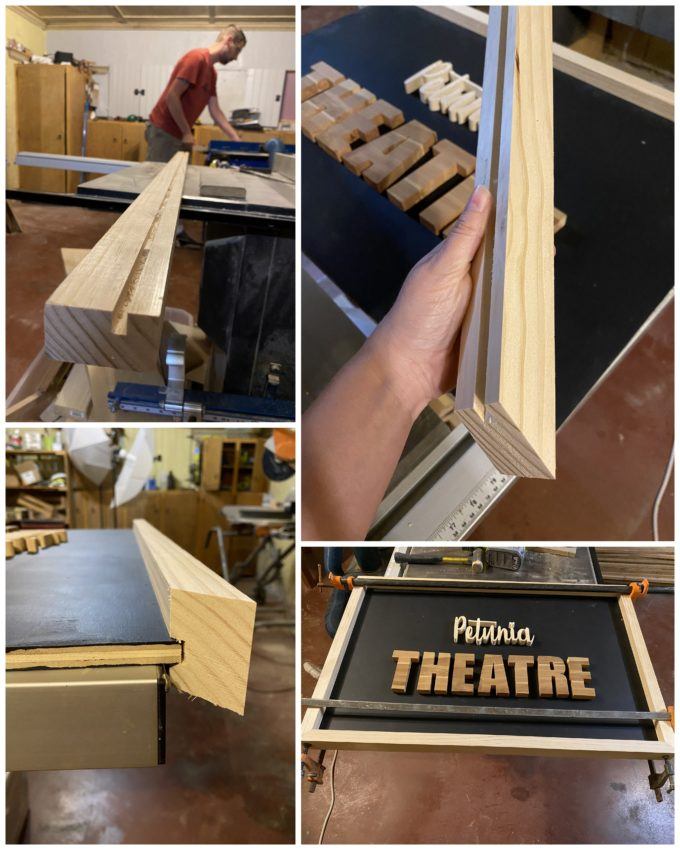
So I decided to make a bit piece of wall art that would say ‘Petunia Theatre’. Petunia is Paisley’s nickname, and it just seemed too perfect!
I used the same strategies from this tutorial to make this art using my scroll saw.


The ‘Petunia’ part is cut out of pine, and the THEATRE letters are cut out of cedar!
I asked Nick to help me build a thick frame that would have a lip on both sides of the art so it would be reversible. He did this by routing a groove with an upcut spiral router bit. This is where the art slides in. The reason it’s not centered is because it needed to be thicker on the side that has the scroll saw letters. The other side is just going to be chalkboard!!
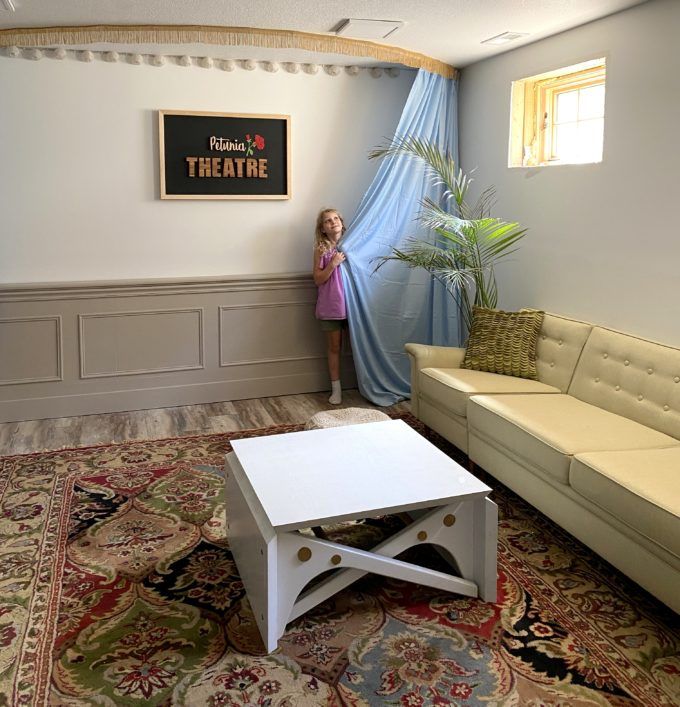
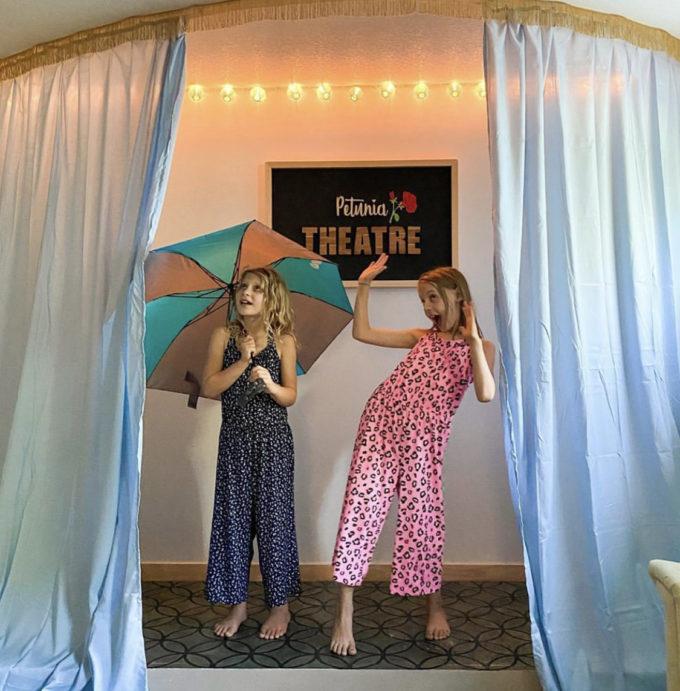
All there there was left was to staple up some lighting, clip on the curtains, (we just bought queen flat sheets to use as the curtains, and used clips leftover from this project for hanging them). I hung some fringe to cover the top part of the curtains, and it looks sooooo theatre-esque!!

This wall doesn’t feel out of place in the room at all when it’s not acting as a STAGE.


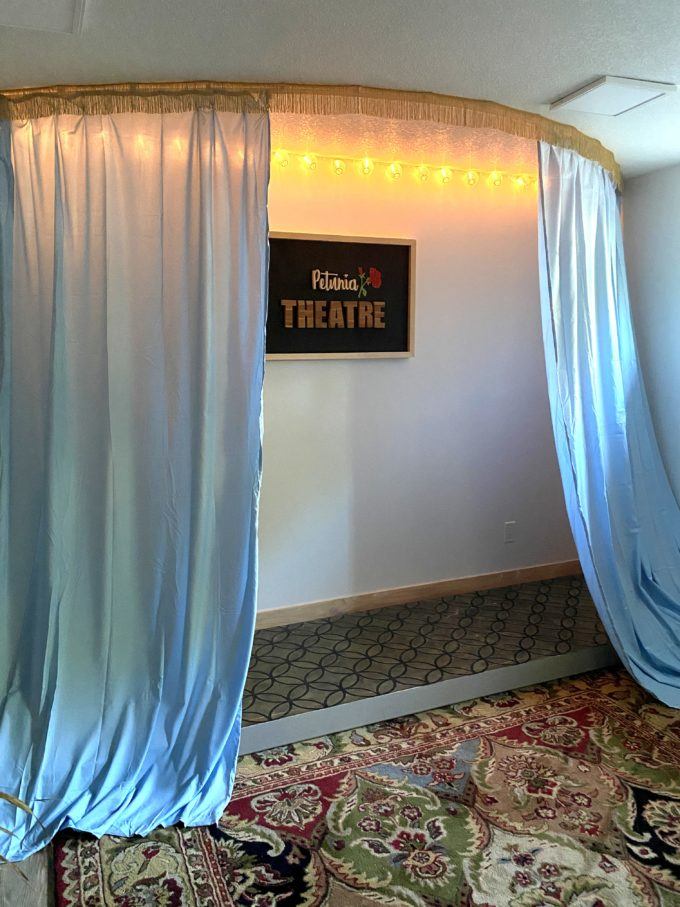
And when it IS a stage, it’s soooooo fun!
This project was SUCH A WIN! Don’t you love it when your plan turns out even better that you pictured in your head?! And I love that we’re able to encourage our kids’ passions in this way.
Don’t worry, Della didn’t get left out. The DIY tutorial for her gift is coming up next!!
~Bethany
~~~~~~~~~~~~~~~~~~~~~~~~~
Thank you for pinning!
Related:
-

My kids are getting to the age where they want to tape pictures, cards, notes...…
-

It's been awhile since I've done a sewing project, and as weird as it sounds,…
-

These DIY Planters are perfect for cascading Wave Petunias, and it will be so fun…
This is so creative! I am in awe. It looks gorgeous when folded up too. The girls are so lucky!
So creative! ???
Fabulous as ever!! You guys are so creative and energetic ❣️
How cool! Has been fun following along.
So every time I want an adjective for your work all I can think of is genius. I’ve used it so often. I watched the video of “Petunia” performing and she is a natural. Lots of hours ahead for the family to enjoy with this great gift for your talented daughter. You did a great job detailing how all of this came together.
Such a great gift, encouragement of young imagination is so very important, lucky girl!
Just fantastic! I had wondered how you had a great basement in a house that old! Wow! You have really transformed your home! I really love how you actually finish projects and make it look do able. You inspire me!
Very cool project!!❤️❤️
Wow from the grownd up .love it
So fun watching you work through this plan! You’re so talented ❤️
You are amazing!!
You and Nick are such an inspiration to me. My only wish would be to be younger and tackle more diy projects. Having said that, you still inspire me to do the projects I can and I always get ideas from you. You did such a fabulous job on the stage and what a memorable treasure it will be for all of you. These memories are priceless .
I am not one bit surprised on this outcome. This is absolutely fabulous!! You and Nick are amazing at everything you set out to do.