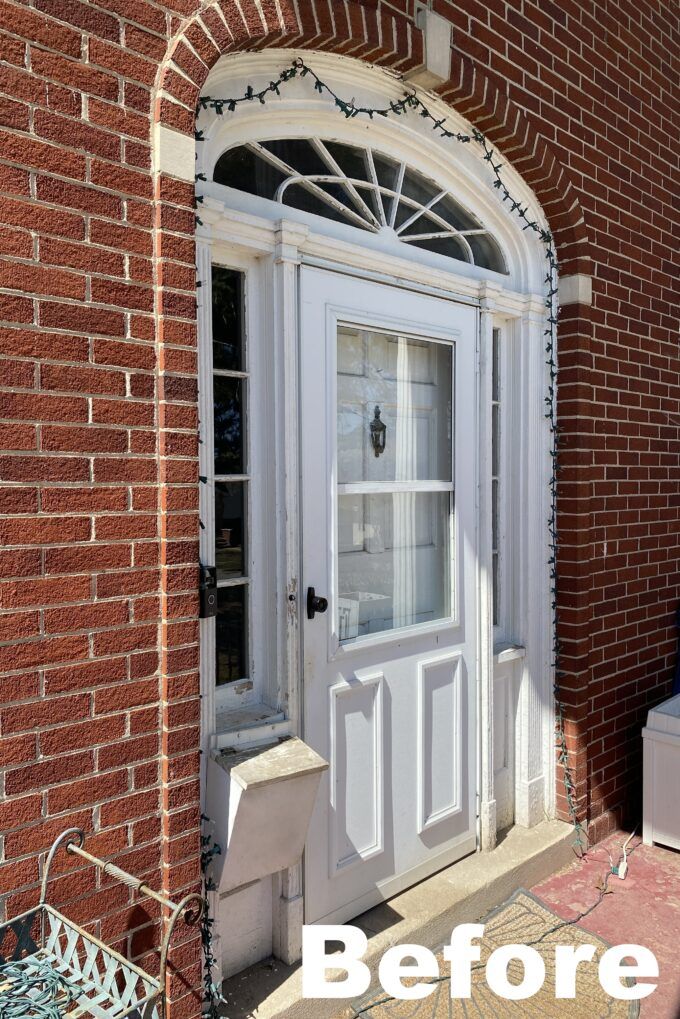
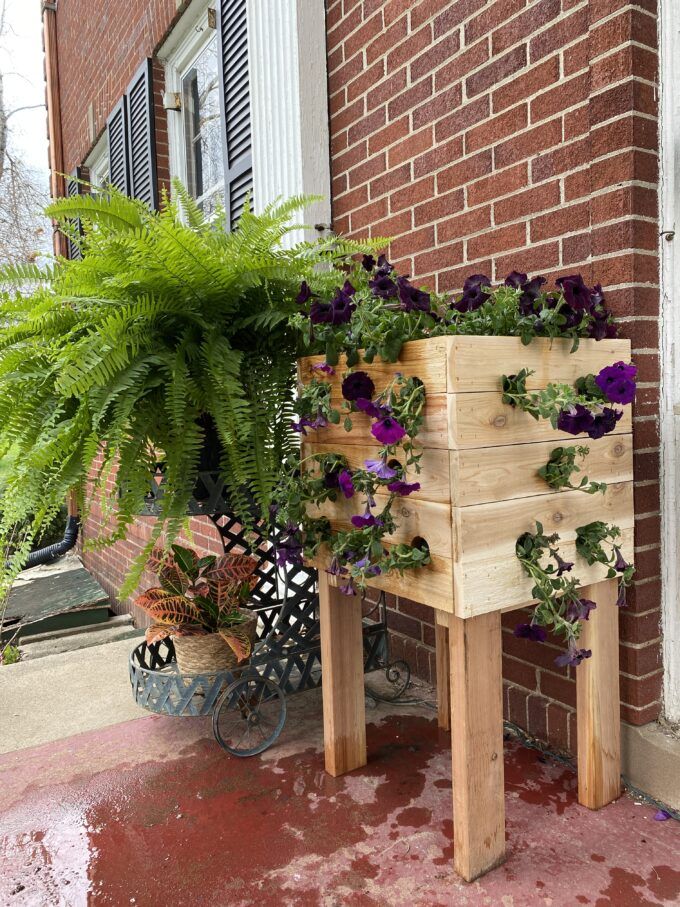
These DIY Planters are perfect for cascading Wave Petunias, and it will be so fun to see them fill in over the next few weeks! They’re perfect for flanking our front door!
While we’ve made a lot of curb appeal efforts with our yard and flower beds over the years, our front porch has received no love whatsoever since we moved here 4 years ago. Of course it’s not altogether tragic, but I think we can all agree that it could use some sprucing. And maybe some removal of Christmas lights.
*This post is sponsored by our friends at WORKPRO. Thank you for supporting the fabulous brands that make Reality Daydream possible!*
I’ve had a plan in the back of my mind for awhile now. I want to build two petunia planters (inspired by this amazing cascading petunia planter by Her Tool Belt) to flank our front door. Mine will be smaller and square! But if you want a larger, rectangular one, her tutorial is brilliant. It was so helpful for me as I was planning out these wave petunia planters for myself!

Instead of using pallet wood like Amy did, I chose to just grab some cedar 1x4s at my local hardware store. I also bought 12ft 2×4 in cedar (not pictured).

In this tutorial, I will be showing you how to build one 18×18″~ planter. Feel free to also check out my video tutorial if you prefer that format of learning!
Supplies:
- (7) 6′ 1×4 cedar boards (I used rough cut)
- (1) 12′ 2×4 in cedar (or (2) 6′ boards would work as well)
- 1×1 board (at least 3 ft)
- 1 1/2″ Narrow Crown Staples
- Landscaping Fabric
- Potting Soil
- Wave petunias
Tools:
We’re going to start out by cutting down our 1x4s to 18″ lengths. You’ll need 25 total!

This 5-in-1 Miter Stand is so sturdy and handy. I love that it’s basically a portable workbench, and folds up so easily. It even has casters and can be used as a dolly!
Take this time to also cut your 1×1 board down to two lengths of 16.5″ (these are the braces), and your 2×4 down to three lengths of 3′.
Lay out two of your 2x4s, and affix one of your 16.5″ braces across, 18″ from the ends, like so:
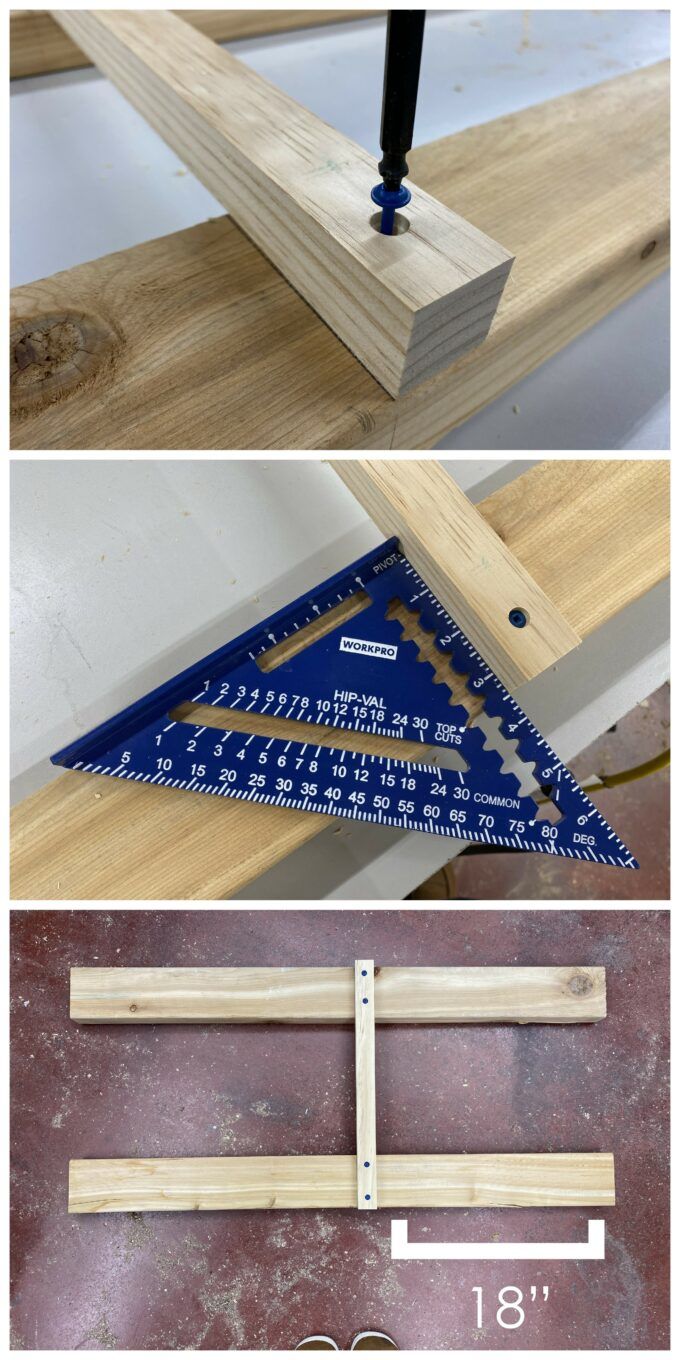
Repeat so you have two “H’s”!
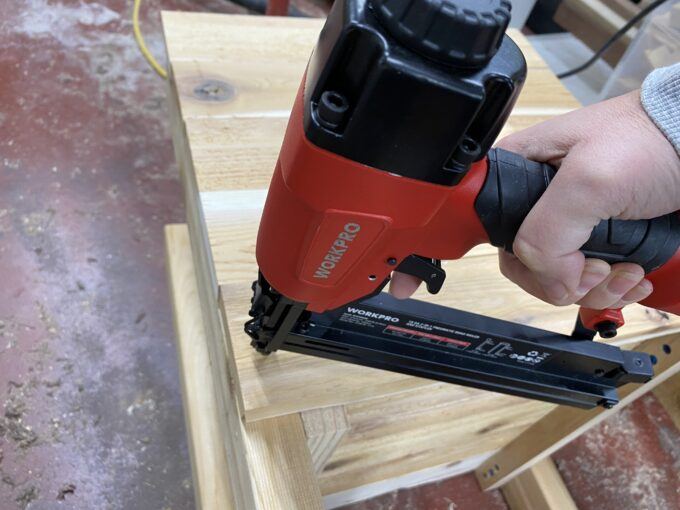
I took 5 of my 1×4’s and cut them down 3 more inches for the bottom of my planter. I also had to rip down one of them a couple inches so they would fit perfectly. Pop these boards on using your WORKPRO Brad Nailer / Stapler. We used 1 1/2 inch narrow crown staples.
This thing is a BEAST! So fun to use!

Now we can lay down the whole thing on it’s side, and start affixing our 1x4s to make the first side of the petunia planter.

Continue to work your way around the planter until you have all 4 sides on! The next step is to make some holes for our petunias to grow out the sides. Use a 2″ hole saw and your WORKPRO Drill, and let’s make some hole with a 2″ Hole Saw! I made mine about 6″ apart. Be sure to take note of where the 2×4 is behind the side so you can avoid it in your drilling efforts.
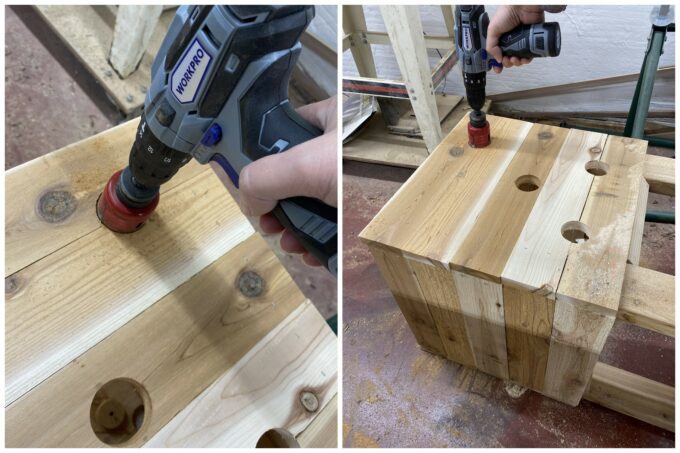
I only drilled holes in 3 sides of my petunia planter, because it will sit up against my house. I don’t need petunias cascading down the back side, and they wouldn’t get enough sunlight back there anyway.
Use some scrap wood leftovers (I used 1x1s) to fill that gap left in the bottom. In hindsight, I could have left those boards longer. Oh well!

We’re ready to load these babies up with soil and petunias!!

I highly recommend splurging on Wave Petunias or Supertunias They will fill in faster and be so prolific! You can do a variety of colors, or stick with one like I did.

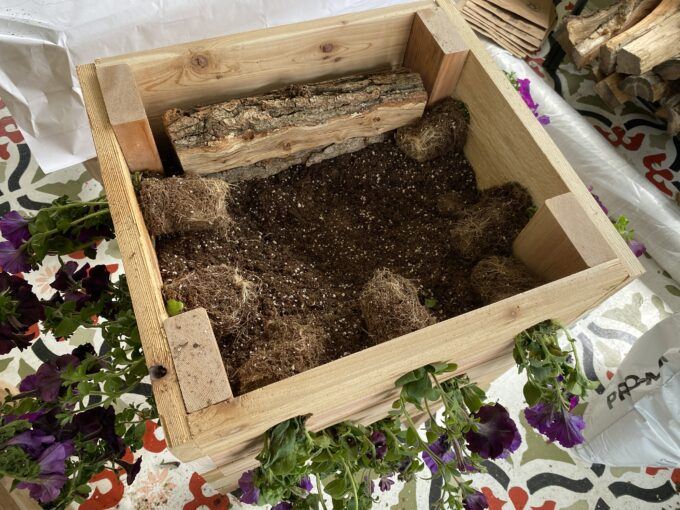
I first lined the bottom half of the petunia planter with some landscaping fabric using a staple gun. This is just to help keep soil from running out the cracks when watered. Be sure to cut an X in the landscape fabric where your holes are!

I threw a couple pieces of firewood in the bottom on the back side of the petunia planter as a filler. You could use packing peanuts or empty soda bottles. Then you’re ready to add your first layer of soil!

Add enough until it just touches the first row of holes. Then loosen the roots of your petunia and gently feed it through from the inside to the outside (bloom first!). Continue to layer soil and petunias, being sure to water thoroughly after each layer, until you reach the top!
It’s ok if your petunias look really sad at first. They will perk up in a few days! Pinky swear!
Top off your planter with soil, leaving a well in the center. This is where we’ll put a hanging basket of petunias! Same drill… remove from pot, loosen the roots, and pot it up in the fresh soil! I added a little more soil around the edges at this point, and gave the whole thing a DEEP watering.
Petunias like to be wet. And when they’re outside, they need to be watered EVERYDAY. Set a reminder on your phone!

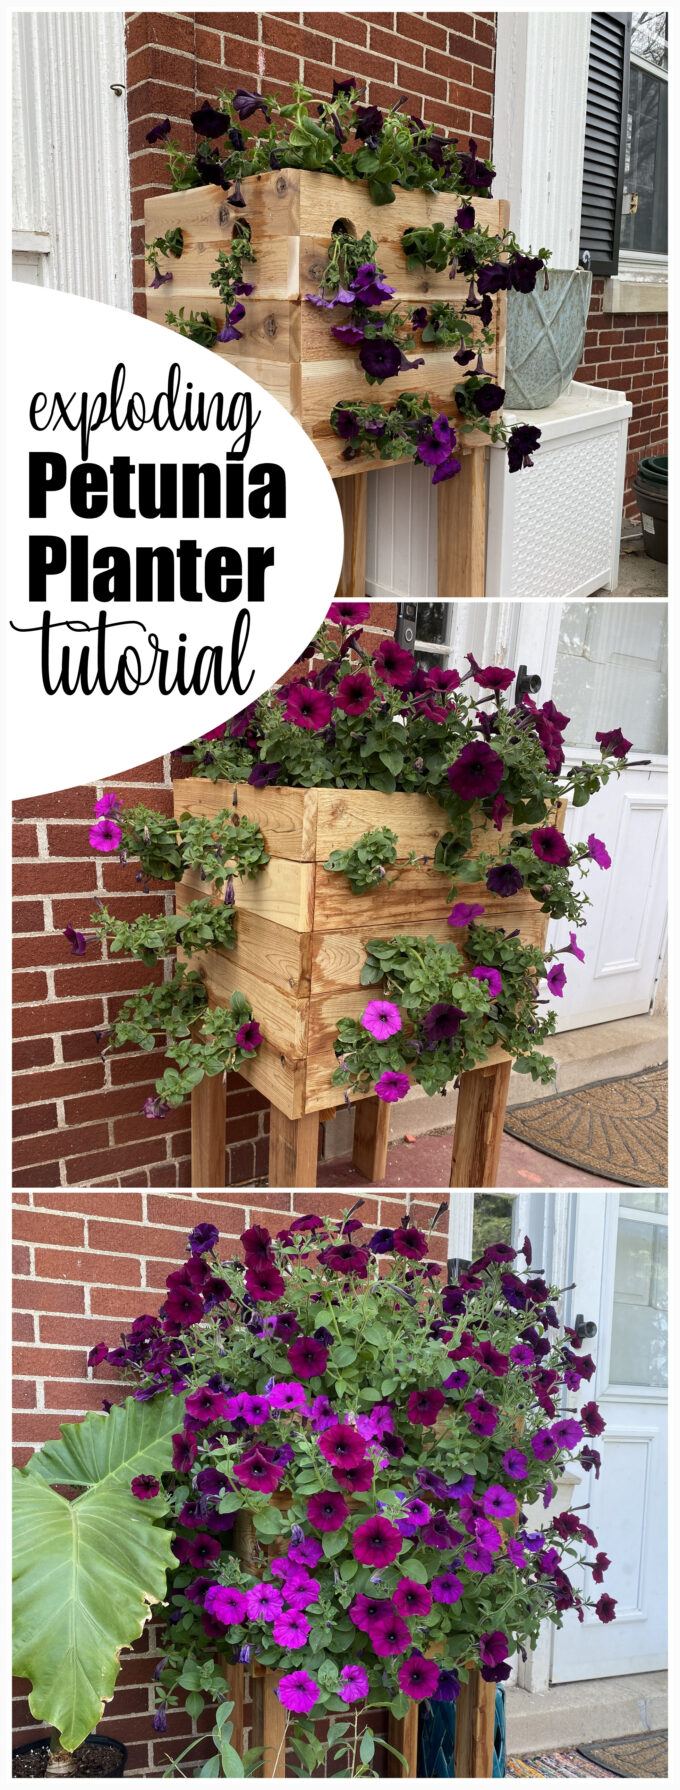
UPDATE! It’s been one month (of watering DAILY and fertilizing once a week) and look how beautifully these petunias have filled in!!

I will be updating this post with new pics throughout the summer so you can see how it’s filling in. I’m SO EXCITED! Be sure to check back to see the progress!
~Bethany
~~~~~~~~~~~~~~~~~~~
Psssst! You might also be interested in this post from our archives! Tap the pic below.
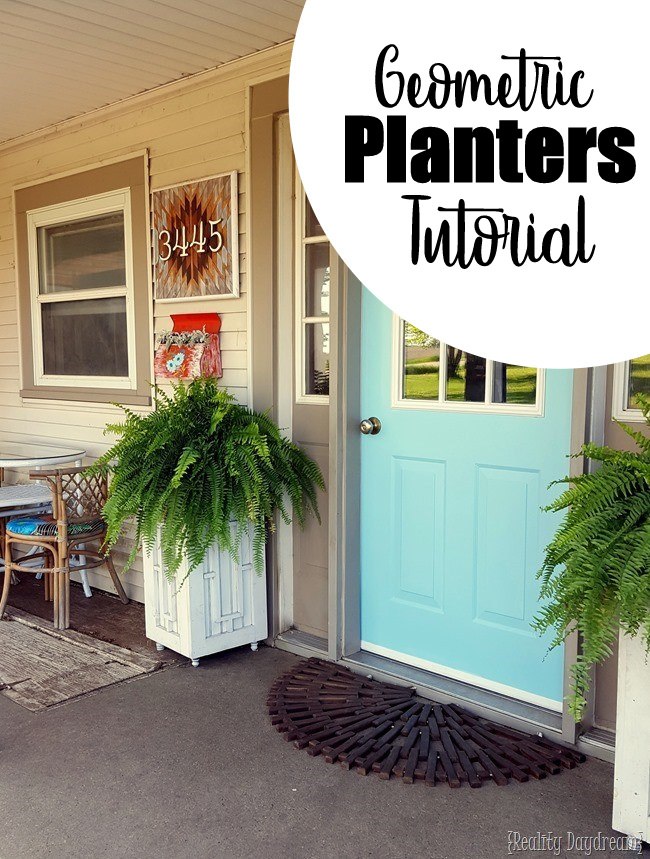
Thank you for pinning!
~~~~~~~~~~~~~~~~

Related:
-

I've had this idea in the back of my mind for quite awhile... why not…
-

My kids are getting to the age where they want to tape pictures, cards, notes...…
-

It's been awhile since I've done a sewing project, and as weird as it sounds,…
It’s a smart idea to make holes in the sides of the pots so the petunias can fit through them. Did you encounter any difficulties or unexpected problems while drilling and how did you overcome them?
Great project – I love that you kept your wrong cut snafu iand then quickly corrected – that would be me 😜👏🏼. You always make tools less intimidating too!
I love these so much 💜