With the weather finally warming up enough to step outside, we’ve been hankerin’ to whip up some outdoor projects to give our sad exterior a pick-me-up and just generally make it feel more like home. Having built the pergola last year, we knew that come spring we would jump into it again. Evennnnnntually we need to put patio paver stones under the pergola (and extend it out even further), but that job just seems expensive and overwhelmingly time-consuming right at this moment.
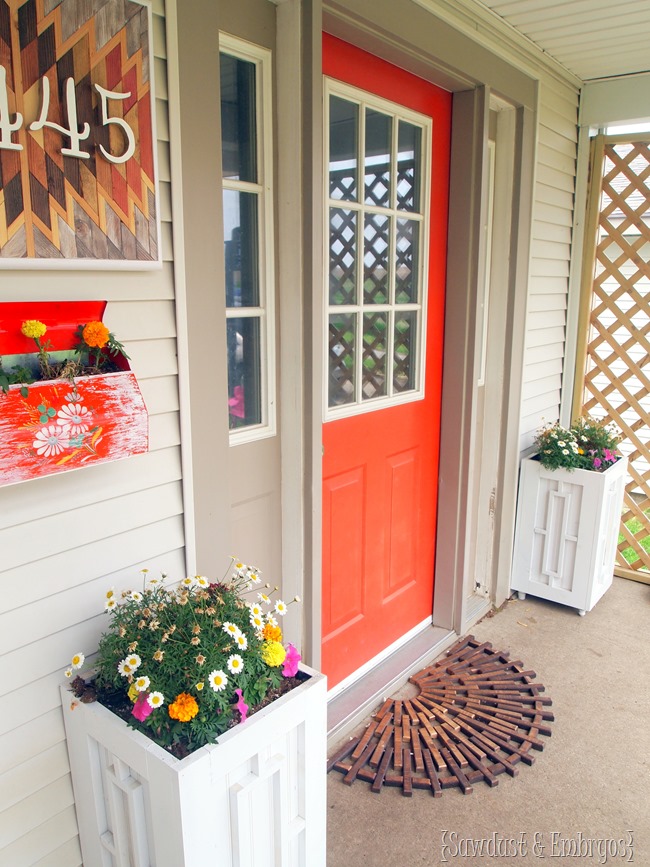
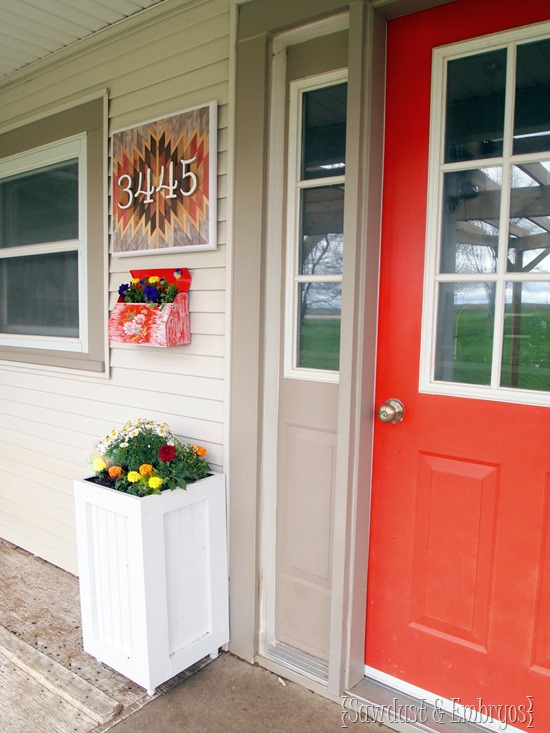
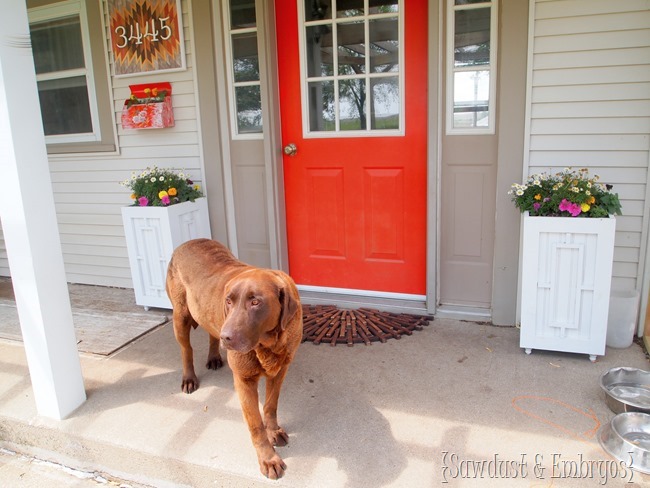
So for now, we built some custom planters to flank our front door! We’re hoping this will draw one’s eye away from the dead animals and garbage that Reuben brings to our front porch almost daily. (yep,we totally cleaned up for this pic… a dead ground squirrel and part of what appeared to be a fox at one point)
Nick and I knocked these out in an afternoon, and you can too! The instructions we’ll give you below will be for one planter.
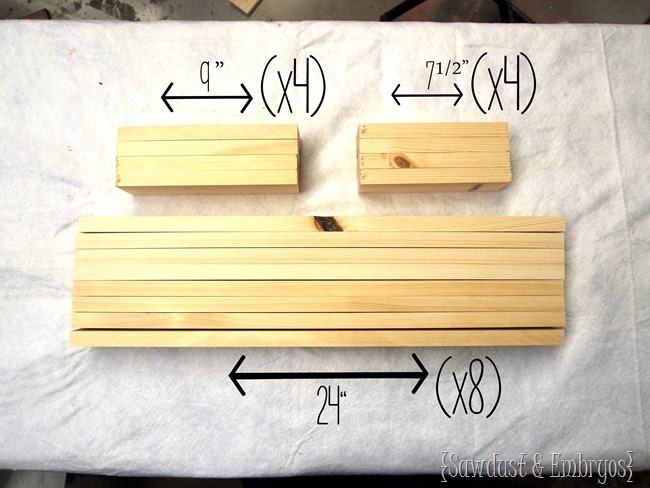
You’ll need (4) 1×3 pine boards (8 ft) cut to the following dimensions:
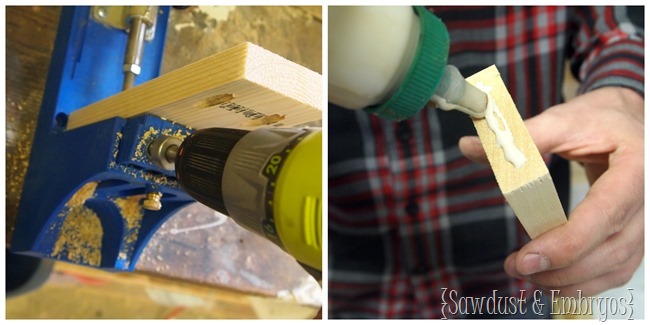
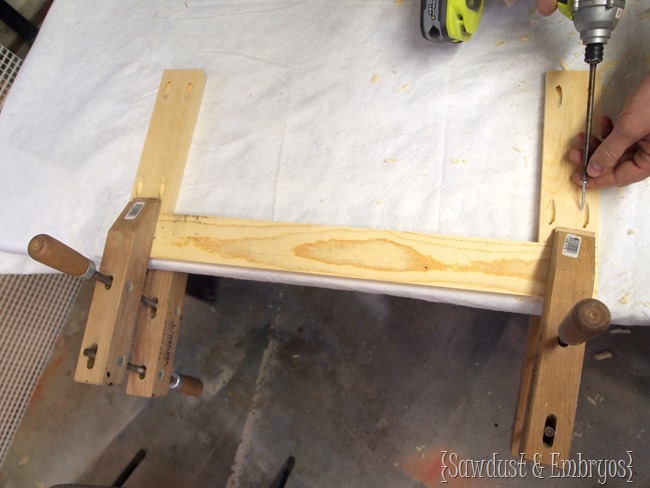
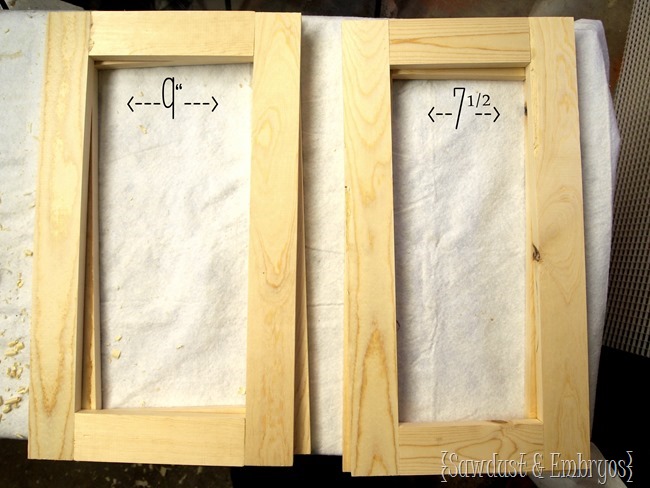
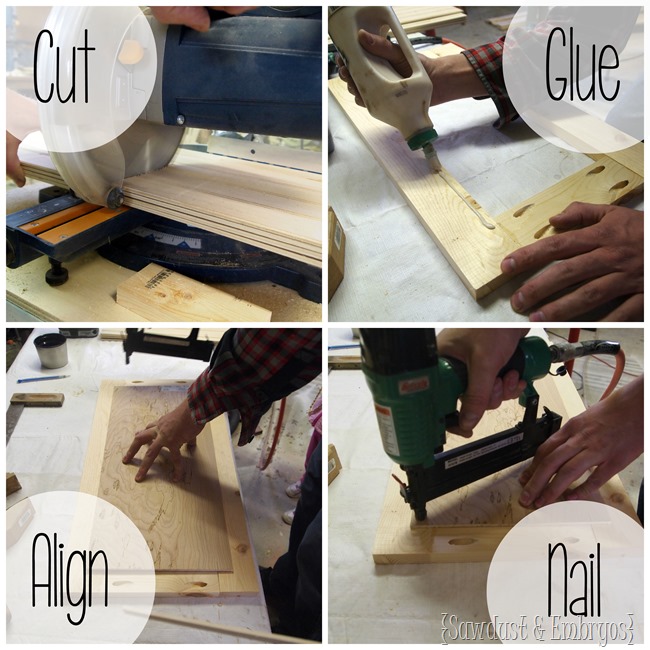
You’re going to start out by drilling pocket holes with your Kreg Jig (two on each end) of your 7 1/2” and 9” pieces. Then, after slapping some glue on one edge, screw it into one of your 24” pieces.
Then repeat on the other side to form a rectangle. You’ll need 4 of these.
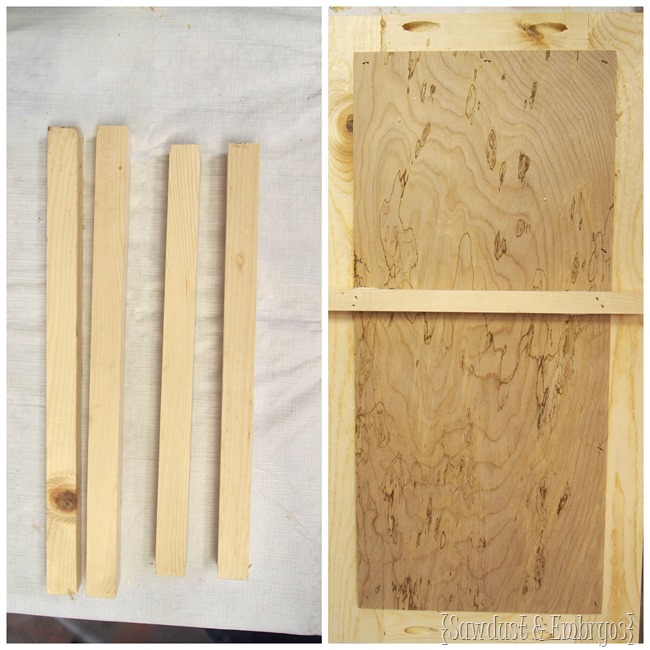
We bought a sheet of beadboard (3’x4’) and cut it into 4 panels (two 11”x21” and two 9.5”x21”). Apply a thin layer of woodglue along the inner edge of each rectangle, put beadboard in place, and affix with a brad nailer/stapler.
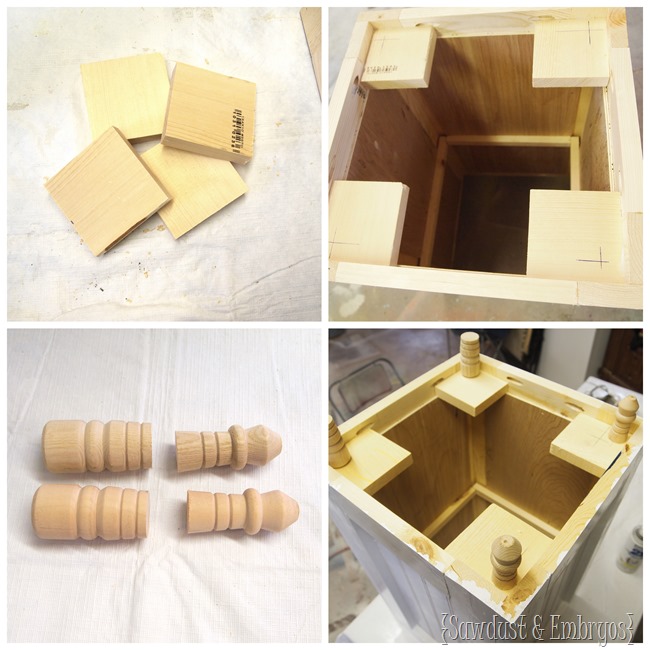
Using some scrap wood, we put some supports on the back… you’ll see in a minute how it holds up the innards of our planter.
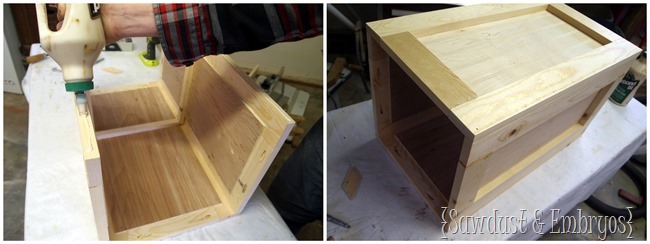
Next, assemble your box! Just glue/nail all your edges together with a brad nailer.
We couldn’t find any pre-made ‘furniture feet’ the right size, so we cut some in half! I realize they aren’t symmetrical, but do we seem like the type of people to care about petty things of that nature?
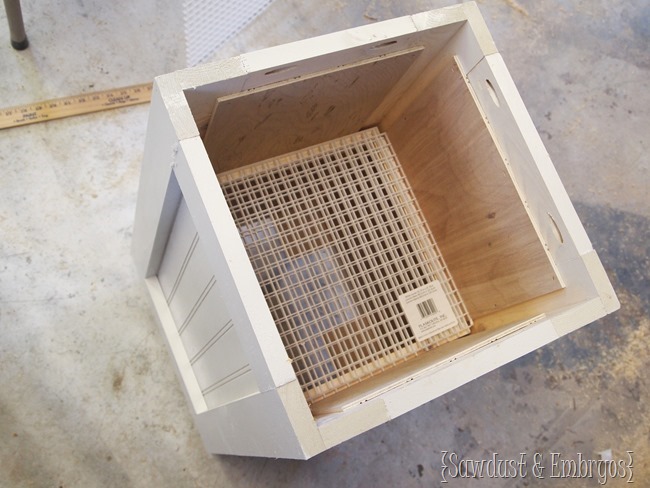
We painted our new planters white using RustOleum glossy white spray paint. Obviously we didn’t want the actual depth of the planter to be 24”… cause let’s be honest: THAT’S A LOT OF DIRT. So this is where those little scrap’ support beams’ come in (mentioned earlier)! We bought a sheet of fluorescent light grid cover and cut it down to 12”x12”, and placed it down into our planter and let it rest on the supports. This makes our planter box much more shallow, and allows drainage when watering.
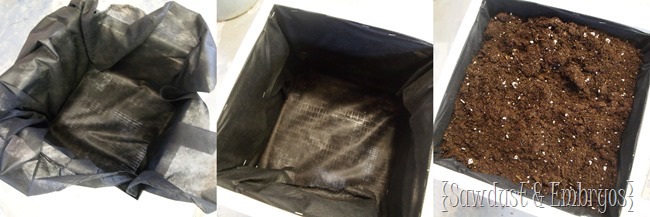
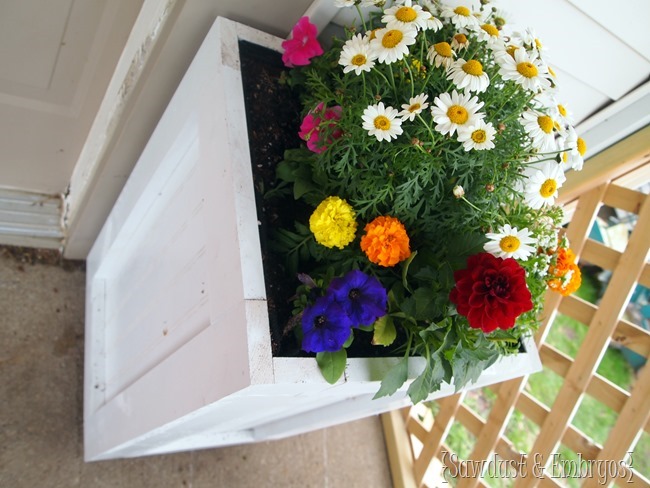
Then we just stapled in landscaping fabric and planted our flowers!
These bad boys bring so much life to our porchy area, and they’re so inviting!
Are you doing any quick updates to your patio or deck this spring? It’s amazing how little changes can have a big impact!
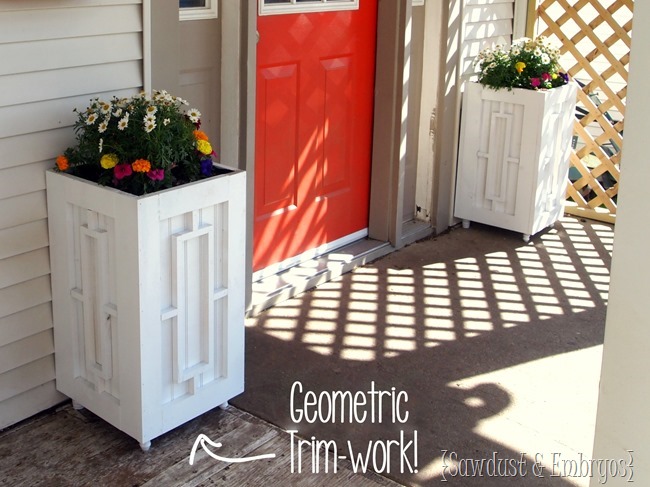
Of course you know we couldn’t stop there… we added some decorative trim-work… click here for that tutorial!
UPDATE! Look how amazing they look with our aqua front door and some bushy Boston Ferns!

Be sure to check out all the other fun little things we’ve done to this space to make it feel more welcoming!
![DIY-Custom-Pergola-Tutorial-Sawdust-[1] DIY-Custom-Pergola-Tutorial-Sawdust-[1]](https://realitydaydream.com/wp-content/uploads/2014/05/DIY-Custom-Pergola-Tutorial-Sawdust-1.jpg) |
![Build-a-Custom-Trellis-using-pre-mad[1] Build-a-Custom-Trellis-using-pre-mad[1]](https://realitydaydream.com/wp-content/uploads/2014/05/Build-a-Custom-Trellis-using-pre-mad1.jpg) |
![DIY-Custom-Planter-Boxes-with-Geomet[1] DIY-Custom-Planter-Boxes-with-Geomet[1]](https://realitydaydream.com/wp-content/uploads/2014/05/DIY-Custom-Planter-Boxes-with-Geomet1.jpg) |
 |
![Build-a-half-circle-wooden-doormat-S[1] Build-a-half-circle-wooden-doormat-S[1]](https://realitydaydream.com/wp-content/uploads/2014/05/Build-a-half-circle-wooden-doormat-S1_thumb.jpg) |
Disclosure! we’re SUPER HONORED to have been chosen as a “Lowes Creator”, and were provided with a Lowes gift card to help with the cost of supplies… but as always, all ideas, thoughts and opinions are 100% our own. Because that’s how we roll yo.
*this post contains affiliate links.


Thanks for the great idea. I just made 1 last night and plan to complete the pair today. Does the spray paint hold up in rain? If not I was thinking of using exterior house paint or a wood sealer before paining. Thoughts?
As long as you prime with a good oil-based primer before painting you should be fine. Ours still look good as new after the whole summer/fall! If anything, you could seal it with a clear poly. But be careful because the oil based sealers leave a yellowish tint, so if your planters are white like mine, it would look awful!
Ooooh I love these! I can’t wait until I have a porch big enough to decorate!
those are awesome! they would look great with a spiller plant in them, falling off the edge. 🙂
Bethany – love the geometric punch. You totally kicked them up a notch for sure. Nick – loving the old school clamps! My gramps has those!
oh these came out so nice & Clean! The last set of planters I made were super rustic, but been craving a cleaner look. I’m pinning this 😀