• Home
  • About
  • Tutorials
  • Recipes
  • Furniture
  • Contact
    • Contact
    • Infertility
    • Disclosure
    • Privacy Policy
  • Shop
    • Facebook
    • Instagram
    • Pinterest

Reality Daydream

The Dream is Free, The Hustle Sold Separately

  • Home
  • About
  • Tutorials
  • Recipes
  • Furniture
  • Contact
    • Contact
    • Infertility
    • Disclosure
    • Privacy Policy
  • Shop

Geometric Inlays for Custom Box Planters

May 8, 2014 by Bethany Sy

So, you may recall last week we laid down a step-by-step tutorial for building custom box planers (that tutorial is here), and promised we’d be back to share how we added the geometric trim work!

DIY Planter boxes with Geometric trimwork! Click through for the full tutorial! {Sawdust and Embryos}

It looks tricky, but it really isn’t… especially with the right tools!

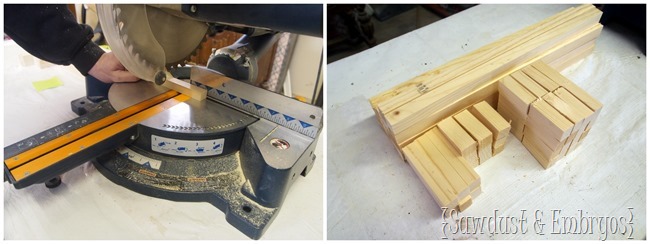
When we ripped down our 1×4’s (because we needed 1×3’s) to build the planters, we saved the 1×1 strips of wood to you as decorative trim! You could also use trim found at any home improvement store.

Adding decorative trim to planter boxes {Sawdust and Embryos}

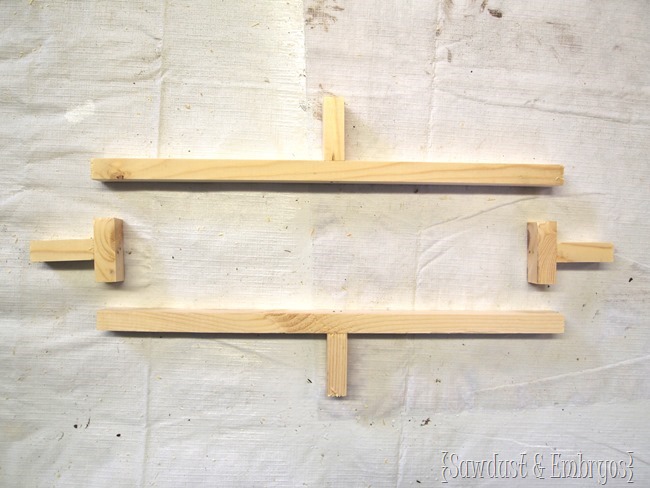
For the two narrow sides of the planter box, you’ll need your trim cut to the following sizes: 2” (x6) and 15” (x2)

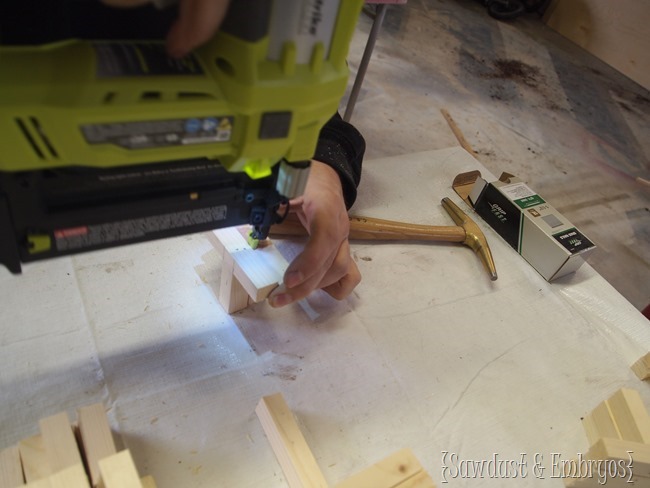
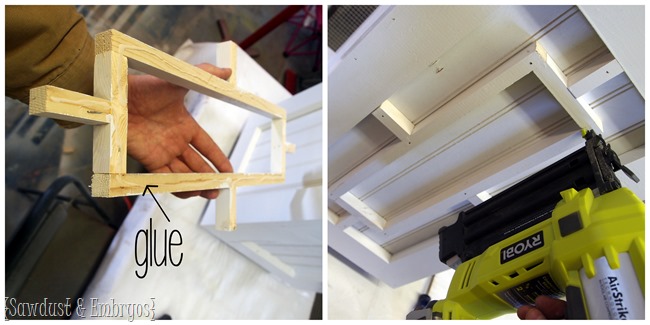
Then you’ll glue and nail (with a brad nailer) the pieces together to create ‘T’ shapes as follows:

Add decorative geometric trim to just about anything! {Sawdust and Embryos}

Add decorative trim to your planter boxes! {Sawdust and Embryos}

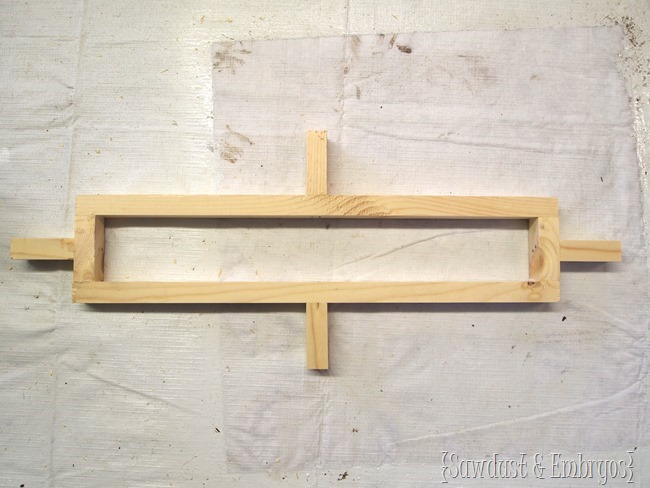
And then glue/nail your ‘T’s together to form this shape!

Make your own decorative geometric trim for your planter boxes! {Sawdust and Embryos}

For the two wider sides of your planter box, you’ll need the following dimensions: 2” (x4), 3.5” (x2) and 15” (x2)

Then you’ll just repeat the same steps as above!

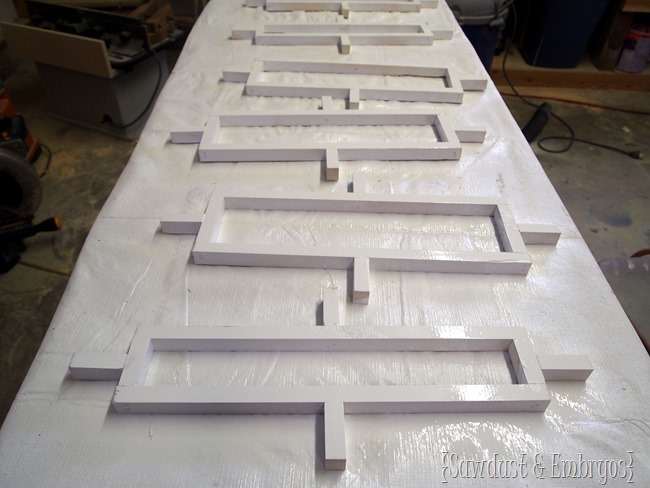
Once we finished building our shapes, we laid them all out and primed/painted with RustOleum Painters Touch Glossy White.

Build decorative trim pieces for the sides of your DIY planter boxes! {Sawdust and Embryos}

Then glue and nail your decorative trim pieces directly to your planter! It should fit perfectly!

Adding decorative trim to your DIY Planter Boxes! {Sawdust and Embryos}

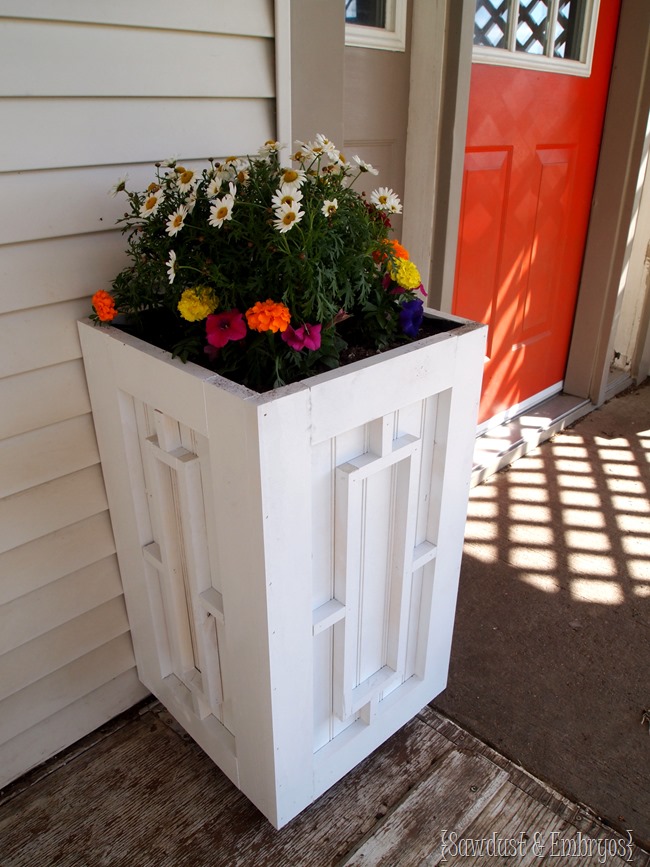
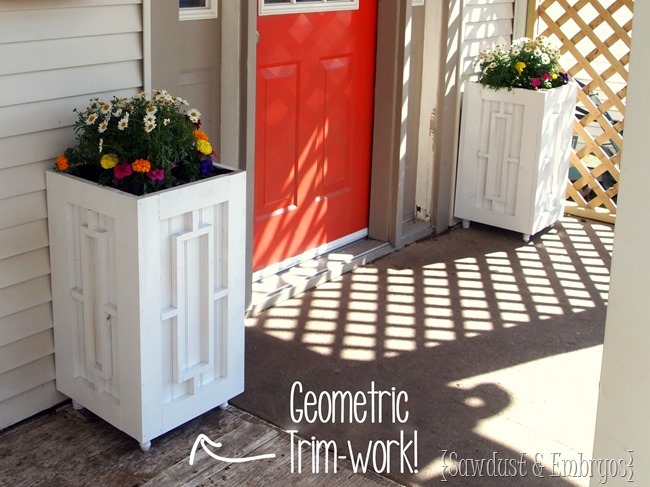
There will be some minor paint touch-ups where you nailed in the trim, but nothing too serious. It’s amazing how such a simple thing can make such a dramatic ‘custom’ impact! It definitely CLASSES THEM UP!

DIY Planter Boxes with Custom Geometric Trim! {Sawdust and Embryos}

DIY Custom Planter Boxes with Geometric Inlays {Sawdust and Embryos}

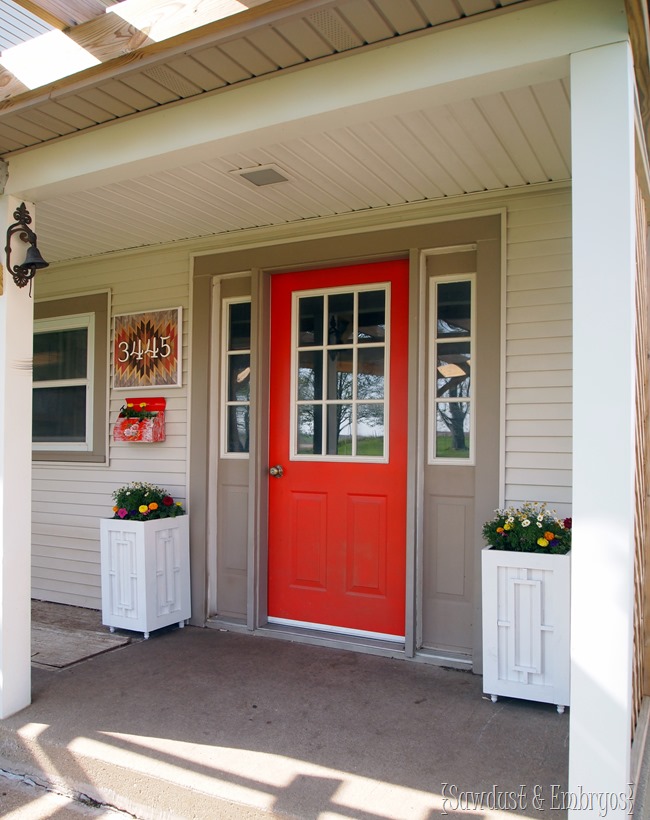
We love that our porchy area is slowing becoming more welcoming and cheerful! We’ve been loving this weather lately, and soaking up the sunshine every chance we get… BRING ON SUMMER!
Sawdust & Embryos

Related:

  • Plaster-Hardened Fabric Planters

    I've had this idea in the back of my mind for quite awhile... why not…

  • Kids Travel Activity Clipboard Box

    I got a brilliant idea to make my girls a little something for Christmas (totally…

  • Pair of Cascading Wave Petunia Planters DIY

    These DIY Planters are perfect for cascading Wave Petunias, and it will be so fun…

About Bethany Sy

Nick and Bethany Sy are the creative free-spirits behind DIY/Lifestyle blog, Reality Daydream. They recently purchased a historic mansion and have been documenting the ups and downs of renovation and making this home their own... all while sharing tips and tutorials along the way! When they found themselves in the trenches of infertility, they started a journey that would prove to be their most important DIY project ever, and have 3 beautiful girls to show for it. <3

« Lion House Rolls
Affixing a mailbox planter #seriouslystrong »

Comments

  1. 3

    Stacy Risenmay says

    May 8, 2014 at 1:49 pm

    These are so awesome!

    Reply
  2. 4

    Val - Corn, Beans, Pigs and Kids says

    May 8, 2014 at 12:44 pm

    They turned out very nice! They make a great entrance/welcome to your porch.

    Reply
  3. 5

    chris aka monkey says

    May 8, 2014 at 11:56 am

    they sure turned out very nice and add so much to the area xx

    Reply

Leave a Reply Cancel reply

Your email address will not be published. Required fields are marked *

Recipe Rating


  • Facebook
  • Instagram
  • Pinterest
  • RSS
  • YouTube
We are Nick and Bethany! Welcome to our blog, Reality Daydream where we share our DIY adventures!
Click here for lots of art projects using only wood stain on furniture!!
Please feel free to share or pin my posts! You're welcome to use ONE of my images (no collages or pinnables) with a link back to the corresponding post. Please do not edit or crop that single image in any way. Improper use of my photos, ideas or words is a violation of copyright. Thank you!

Categories

Attention: Almost any do-it-yourself project involves risk of some sort. Your tools, materials, and skills will vary, as will the conditions at your project site. Reality Daydream has made every effort to be complete and accurate in the instructions of the plans on this website. Reality Daydream will not assume any responsibility or liability for damages or losses sustained or incurred in the course of your project or in the use of the item you create. Always follow the manufacturer’s operating instructions in the use of tools, check and follow your local building codes, and observe all commonly accepted safety precautions.


Copyright © 2025 · Modern Blogger Pro On Genesis Framework · Customizations by Sweet Theory Designs · Privacy Policy · Log in