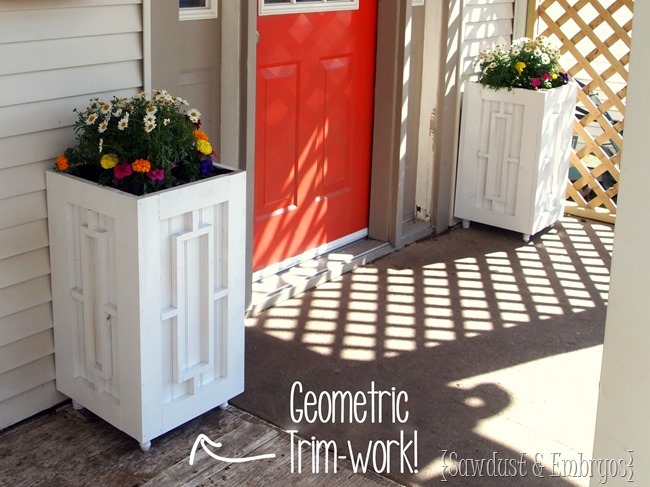
So, you may recall last week we laid down a step-by-step tutorial for building custom box planers (that tutorial is here), and promised we’d be back to share how we added the geometric trim work!
It looks tricky, but it really isn’t… especially with the right tools!
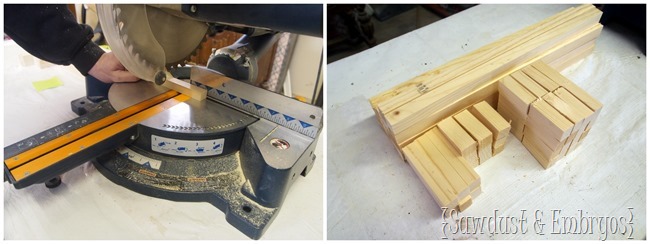
When we ripped down our 1×4’s (because we needed 1×3’s) to build the planters, we saved the 1×1 strips of wood to you as decorative trim! You could also use trim found at any home improvement store.
For the two narrow sides of the planter box, you’ll need your trim cut to the following sizes: 2” (x6) and 15” (x2)
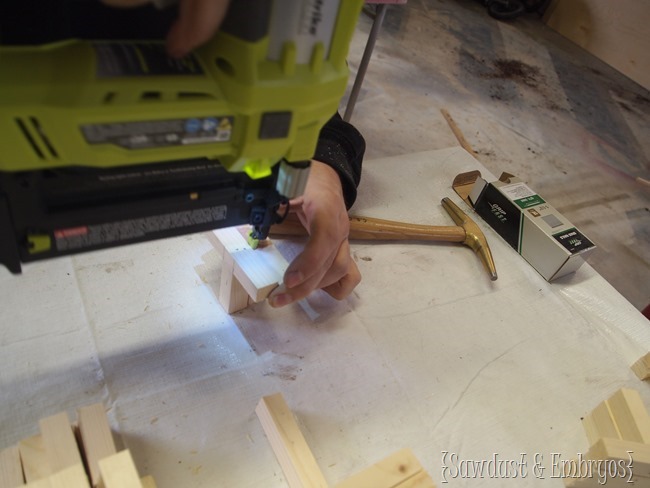
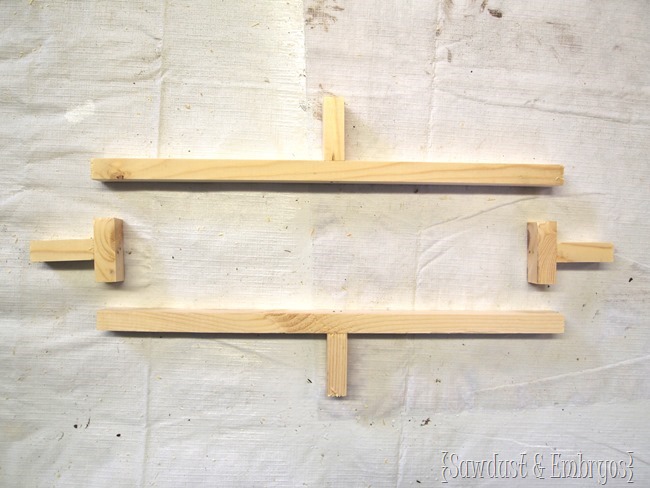
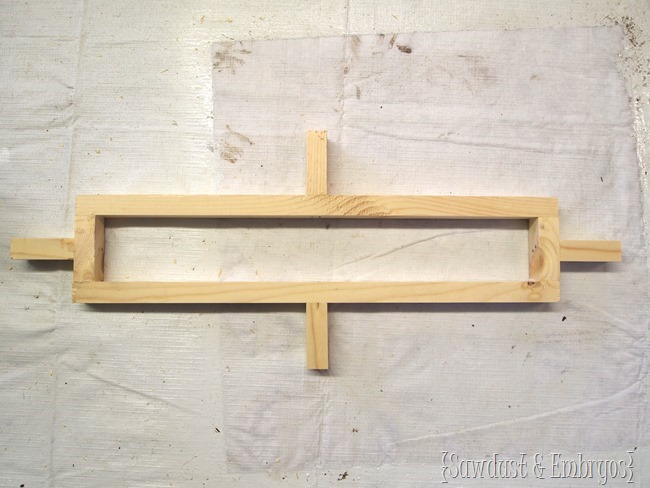
Then you’ll glue and nail (with a brad nailer) the pieces together to create ‘T’ shapes as follows:
And then glue/nail your ‘T’s together to form this shape!
For the two wider sides of your planter box, you’ll need the following dimensions: 2” (x4), 3.5” (x2) and 15” (x2)
Then you’ll just repeat the same steps as above!
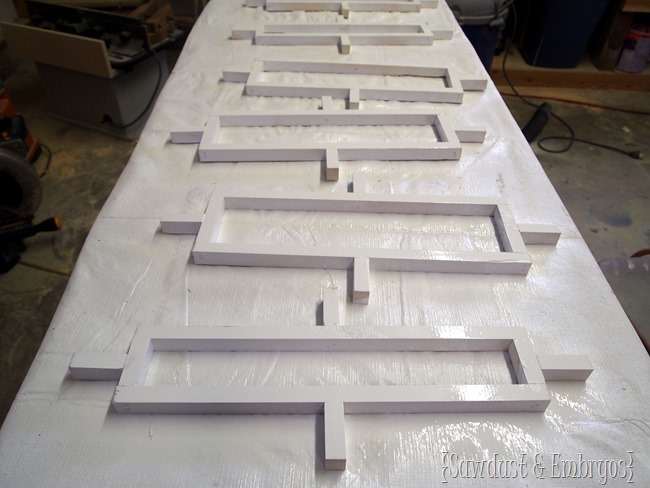
Once we finished building our shapes, we laid them all out and primed/painted with RustOleum Painters Touch Glossy White.
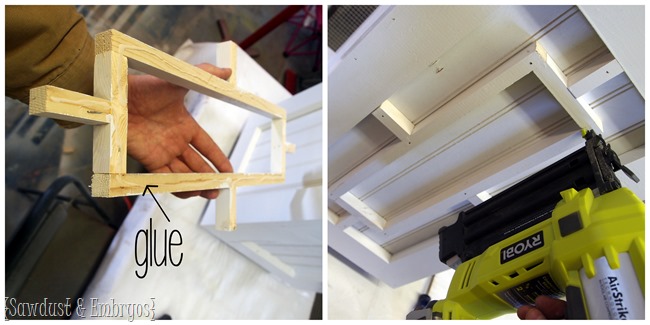
Then glue and nail your decorative trim pieces directly to your planter! It should fit perfectly!
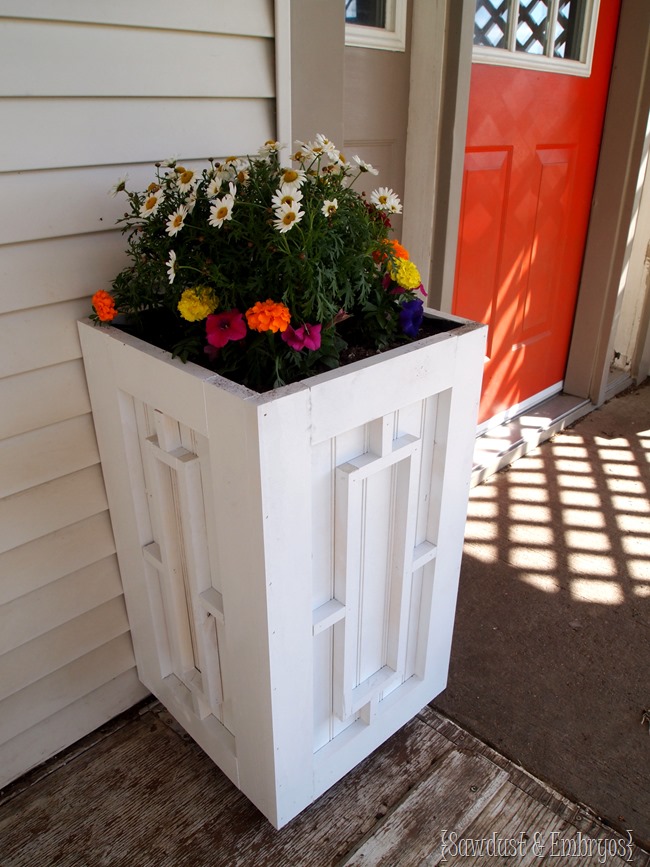
There will be some minor paint touch-ups where you nailed in the trim, but nothing too serious. It’s amazing how such a simple thing can make such a dramatic ‘custom’ impact! It definitely CLASSES THEM UP!
We love that our porchy area is slowing becoming more welcoming and cheerful! We’ve been loving this weather lately, and soaking up the sunshine every chance we get… BRING ON SUMMER!
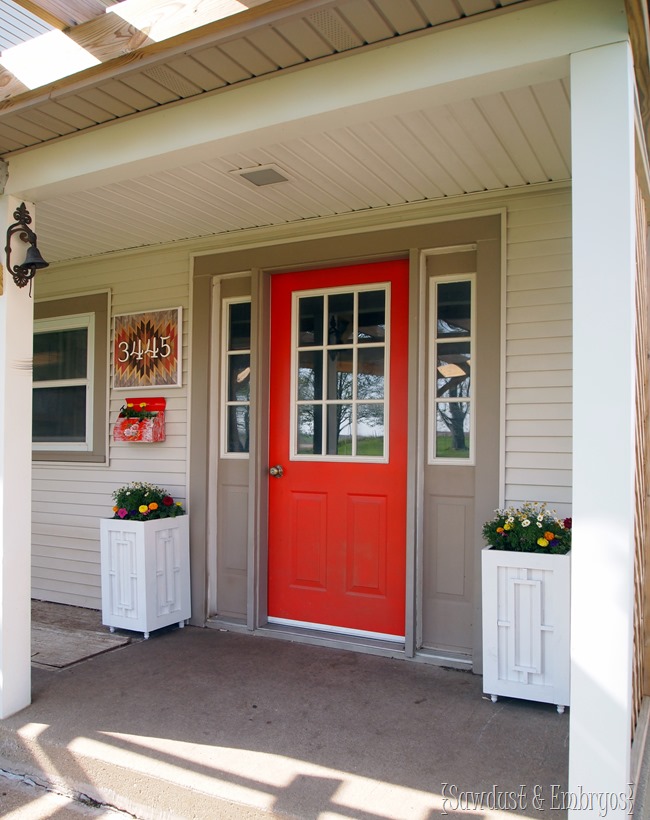


These are so awesome!
They turned out very nice! They make a great entrance/welcome to your porch.
they sure turned out very nice and add so much to the area xx