• Home
  • About
  • Tutorials
  • Recipes
  • Furniture
  • Contact
    • Contact
    • Infertility
    • Disclosure
    • Privacy Policy
  • Shop
    • Facebook
    • Instagram
    • Pinterest

Reality Daydream

The Dream is Free, The Hustle Sold Separately

  • Home
  • About
  • Tutorials
  • Recipes
  • Furniture
  • Contact
    • Contact
    • Infertility
    • Disclosure
    • Privacy Policy
  • Shop

Affixing a mailbox planter #seriouslystrong

May 9, 2014 by Bethany Sy

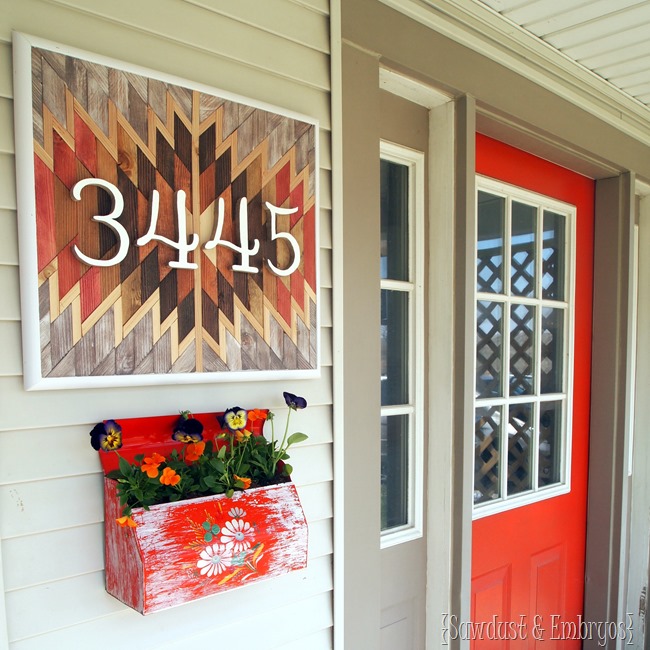
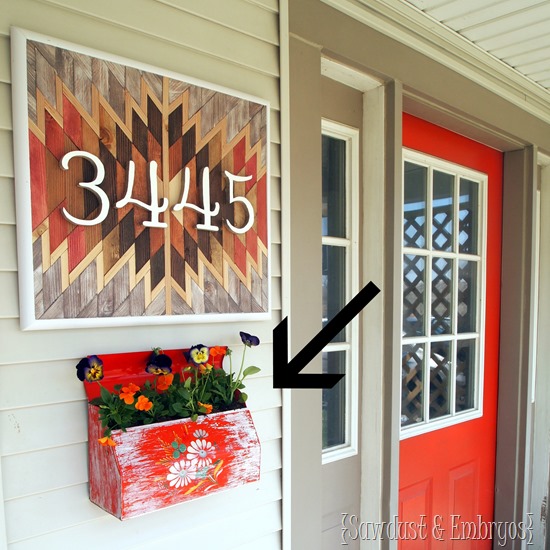
Who knew that creating our Native American House Number Art for our entrance would create such a snowball effect and become a ‘porch transformation’! We recently shared how we made our Planter Boxes… and several of you have been asking about the mailbox planter that we have under the house numbers.

How to make a mailbox planter {Sawdust and Embryos}

I’m so glad you asked… because I’ve been excited to share this super simple project!

I really wanted to affix a mailbox (the vertically hung ones) on the side of the house as a planter, but I searched HIGH AND LOW and couldn’t find one I liked. I checked all the nearby thrift store, kept my eye out at garage sales, and even called a handful of antique stores. Nothing.

Then, on a whim, we stopped into an antique store one day while we were in town just to browse and kill time before an appointment… and that’s when Nick saw this:

1

Hello perfect.

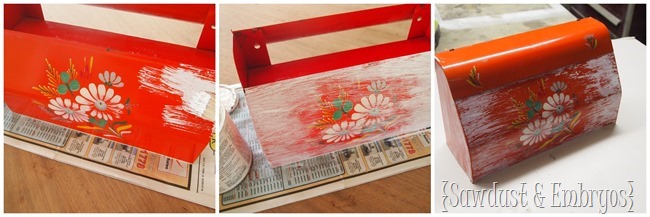
We think it was actually an old paper towel holder… but after some slight modifications, it functioned much more like the mailbox we hoped it would be. I wanted it to look a little more ‘old and chippy’, so I dry-brushed on some white primer very lightly, and then sanded most of it off after it dried.

Making a mailbox look old... and turn it into a planter! {Sawdust and Embryos}

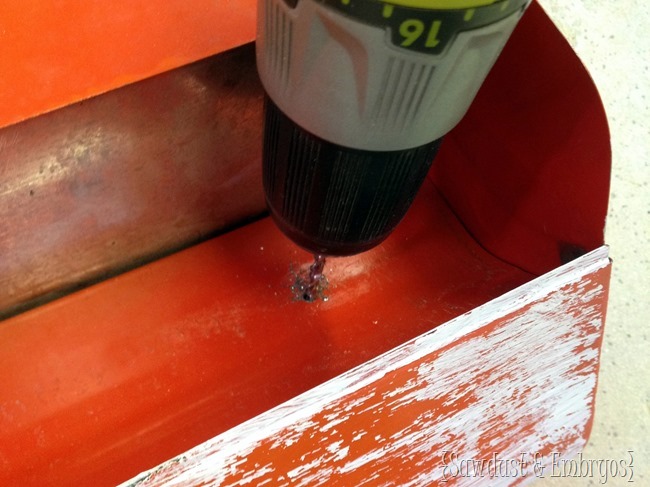
Next, we drilled a couple small holes in the bottom for draining purposes. We just used a regular drill bit for this, because the metal is very thin.

Make a mailbox into a planter to be affixed to the side of your house! [Sawdust and Emrbyos}

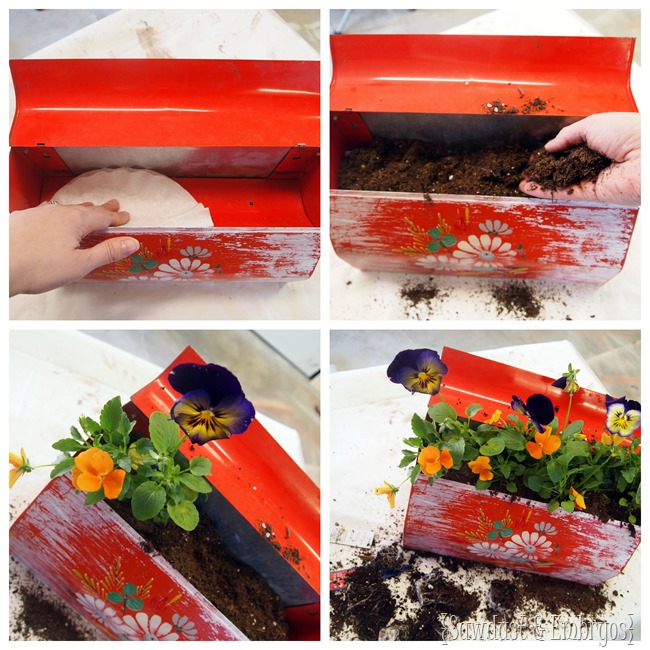
Then, we lined the bottom with coffee filters (to keep the dirt from running out), added potting soil, and planted our flowers!

Making a mailbox into a planter {Sawdust and Embryos}

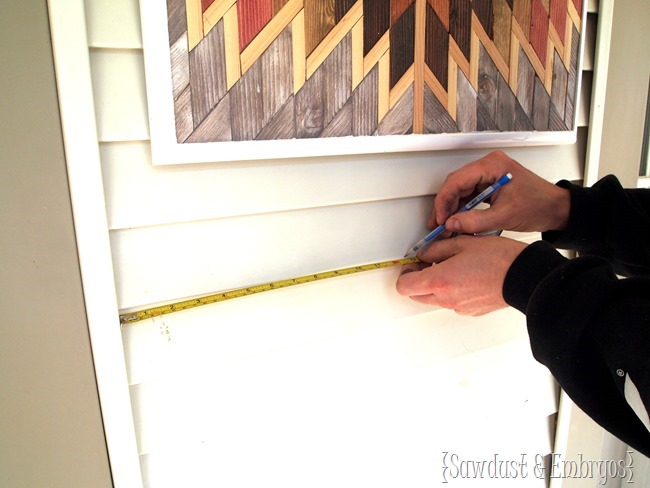
Now it’s time to affix this bad boy to the side of the house! We cleaned the area thoroughly measured, found the center, and made light pencil markings where we wanted our planter.

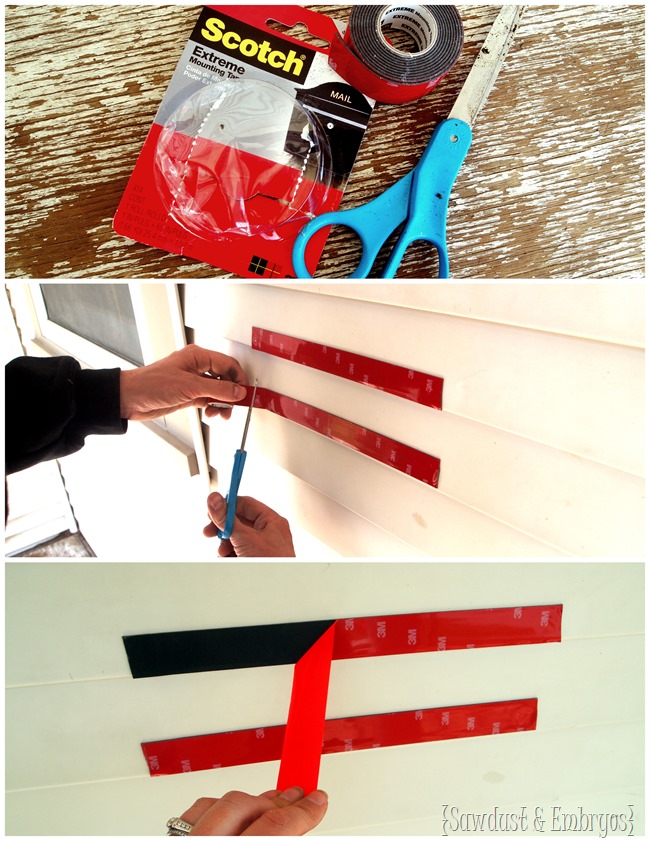
Affixing a mailbox planter to vinyl siding! {Sawdust and Embryos}

Next, we used Scotch 3M Extreme Mounting Tape and measured out two strips the length of the mailbox. We put the strips as close to the ‘peak’ of the vinyl siding as possible so that the maximum amount of adhesive would reach the mailbox. This stuff is CRAZY AWESOME industrial-strength #seriouslystrong adhesive. It’s even effective outdoors in the elements. And if your house doesn’t have vinyl siding like ours, don’t dismay because this stuff affixes to brick, metal, wood, concrete, etc! Insane.

Using Scotch 3M Mounting Strips to affix a mailbox to the side of the house {Sawdust and Embryos}

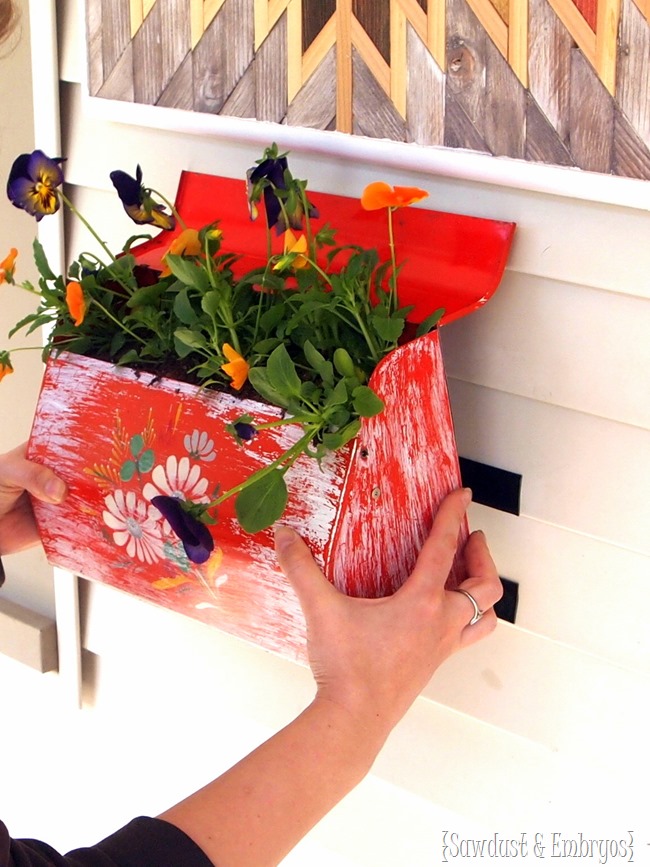
Then we pressed that bad-boy on real firm like.

Affixing a mailbox planter to vinyl siding {Sawdust and Embryos}

Turn an old mailbox into a planter, and affix it to the side of your house! {Sawdust and Embryos}

Isn’t it crazy that our ‘mailbox’ so happens to perfectly coordinate with the color scheme we have going on here?

Sawdust and Embryos

I got a wild hair up my…. (yeah) and started fashioning my own DIY ‘welcome mat’ yesterday, so you have that to look forward to next week (if all goes well).

Are you guys doing any flower or veggie planting this weekend? Or adding some curb appeal to your casa? We hope to get our garden tilled and map out our seeds sooooon! Are we behind on that?

Sawdust & Embryos

PS! Come check out the other projects we’ve done to this area!
DIY Custom Pergola Tutorial (Sawdust and Embryos) Build a Custom Trellis using pre-made lattice {Sawdust and Embryos}
DIY Custom Planter Boxes with Geometric Inlays {Sawdust and Embryos} DIY Native American wooden artwork used as house number sign! {Sawdust and Embryos}
Build a half-circle wooden doormat {Sawdust & Embryos)
Disclosure! This post is sponsored by Scotch 3M, but all ideas and opinions are ours. Post contains affiliate links.

Related:

  • Outdoor Spring Cleaning

    It never fails! Each spring, when the snow melts, we're always itching to get out…

  • Operation: REPLACE SHUTTERS!

    As you may have noticed, we've been making a lot of effort on upping our…

  • Garden Bed Redefining

    We're always in awe of how spending a little extra time redefining our garden beds…

About Bethany Sy

Nick and Bethany Sy are the creative free-spirits behind DIY/Lifestyle blog, Reality Daydream. They recently purchased a historic mansion and have been documenting the ups and downs of renovation and making this home their own... all while sharing tips and tutorials along the way! When they found themselves in the trenches of infertility, they started a journey that would prove to be their most important DIY project ever, and have 3 beautiful girls to show for it. <3

« Geometric Inlays for Custom Box Planters
The Mother of all Mom-Days »

Comments

  1. 3

    Carolyn says

    June 4, 2014 at 10:40 am

    I love your front porch so much! Could you share the door color? I’ve been wanting to paint my front door, and this is the perfect color!

    Reply
  2. 4

    Brooke @ All Things Thrifty says

    May 19, 2014 at 12:44 pm

    So cute! Love it all. xoxo

    Reply
  3. 5

    Nicole says

    May 12, 2014 at 2:58 pm

    LOVE!!!!

    Reply

Trackbacks

  1. 19 DIY Landscaping Ideas for Small Backyard says:
    July 6, 2019 at 2:50 pm

    […] Get the tutorial at Reality Daydream. […]

    Reply
  2. 18 Beautiful Mailbox Planters That Will Make You Say WOW - Top Dreamer says:
    June 26, 2016 at 10:09 am

    […] Photo via: realitydaydream.com […]

    Reply
  3. Wooden Kilim Wall Art - Sawdust and Embryos says:
    August 21, 2015 at 7:59 am

    […] wooden artwork!. The Half Circle Wooden Doormat tutorial is HERE, and the mailbox planter idea is HERE, and those box planters flanking the door? There’s a tutorial for that too! […]

    Reply

Leave a Reply Cancel reply

Your email address will not be published. Required fields are marked *

  • Facebook
  • Instagram
  • Pinterest
  • RSS
  • YouTube
We are Nick and Bethany! Welcome to our blog, Reality Daydream where we share our DIY adventures!

realitydaydream

This is our go-to summer lunch right now! We call This is our go-to summer lunch right now! We call them “pizza pockets”, but it’s basically a quesadilla made in the toaster. You could use ANY toppings! 🙌
You can’t go wrong with BUBBLES! This is linke You can’t go wrong with BUBBLES! 

This is linked in my profile as “Bubble Gun”!
Patio lights are non-negotiable! They make all the Patio lights are non-negotiable! They make all the difference. 🙌 And when you don’t have something to hang them from, use this whiskey barrel trick!

Oh, and SOLAR LIGHTS! 💡 #needisaymore 

All the details and product links are on our blog! www.RealityDaydream.com 🎉
Shall we call these cookies & cream pancakes? 🙌 Shall we call these cookies & cream pancakes? 🙌

I was pretty proud of this idea when it came into my head, but they were EVEN YUMMIER than I expected! Kid and adult approved!

And since there’s no syrup needed, they’re basically healthier than regular pancakes, right? RIGHT?! 👊
Load More Follow on Instagram
View of our entryway of our historic mansion that we're slowly renovating and making our own.
Click here for lots of art projects using only wood stain on furniture!!
Please feel free to share or pin my posts! You're welcome to use ONE of my images (no collages or pinnables) with a link back to the corresponding post. Please do not edit or crop that single image in any way. Improper use of my photos, ideas or words is a violation of copyright. Thank you!

Categories

Attention: Almost any do-it-yourself project involves risk of some sort. Your tools, materials, and skills will vary, as will the conditions at your project site. Reality Daydream has made every effort to be complete and accurate in the instructions of the plans on this website. Reality Daydream will not assume any responsibility or liability for damages or losses sustained or incurred in the course of your project or in the use of the item you create. Always follow the manufacturer’s operating instructions in the use of tools, check and follow your local building codes, and observe all commonly accepted safety precautions.


Copyright © 2023 · Modern Blogger Pro On Genesis Framework · Customizations by Sweet Theory Designs · Privacy Policy · Log in