It’s been a little while since we’ve touched on the progress in the girls’ new room, so if you’re new around here, be sure to check out previous posts we’ve written on this topic! It’s my favorite room transformation of all time.
We all have different skills, and sewing isn’t one of mine. About 50% of my sewing adventures go down in flames and end with me walking away from the sewing machine mumbling profanities.
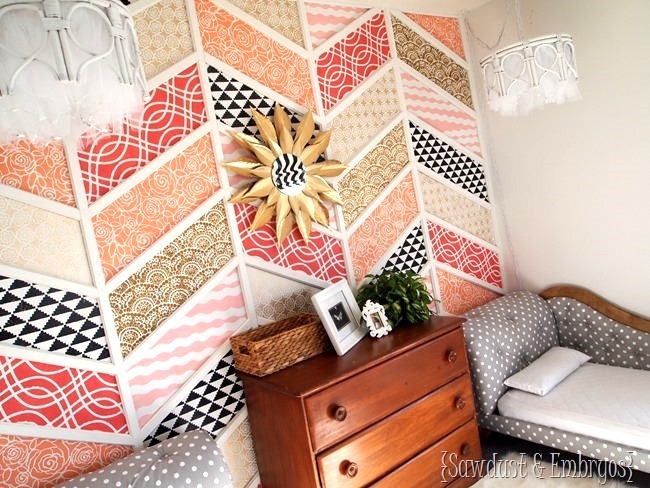
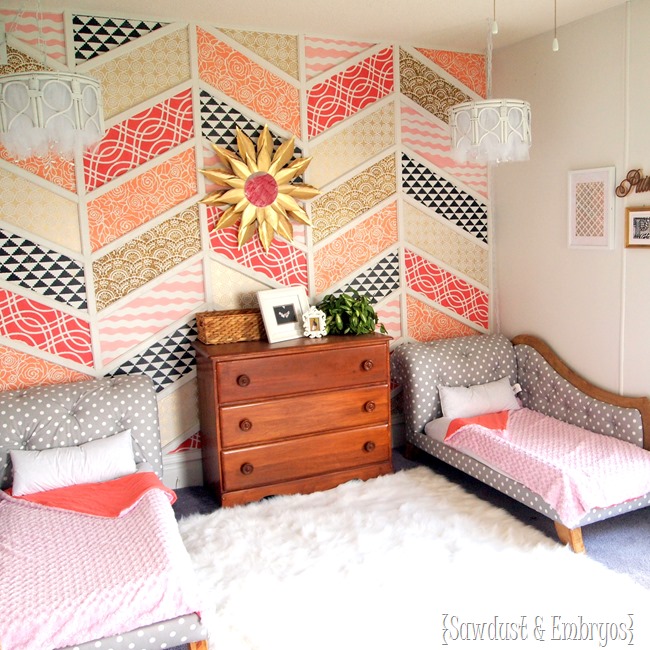
The pressure was ON to create some super cute little comforters for the girls beds. It needed to be something that would hold it’s own, yet flow with this cuteness:
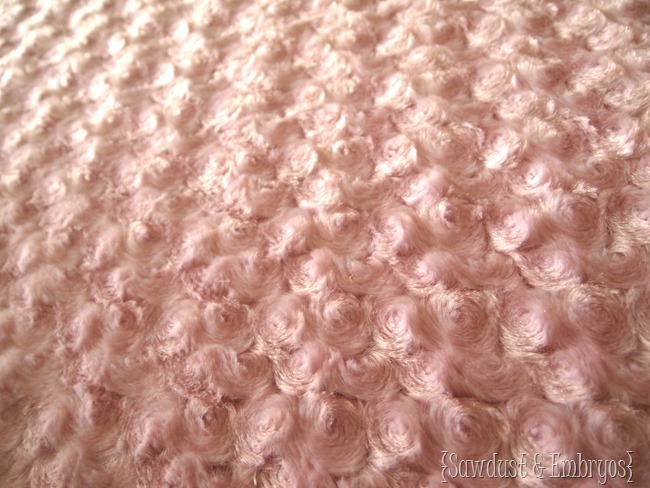
And after hours wasted trying to pin-tuck fleece and breaking needles, I just had do walk away. It just wasn’t meant to be, and I had to set it aside and come up with something else. So when I fell upon this beautiful rosette fabric, I loved the pale blush color, and that the fabric itself had some detail… so I wouldn’t need to try and get fancy with my limited sewing skills.
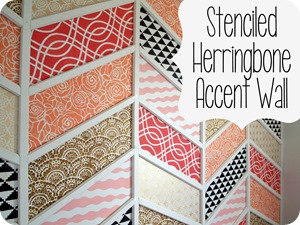
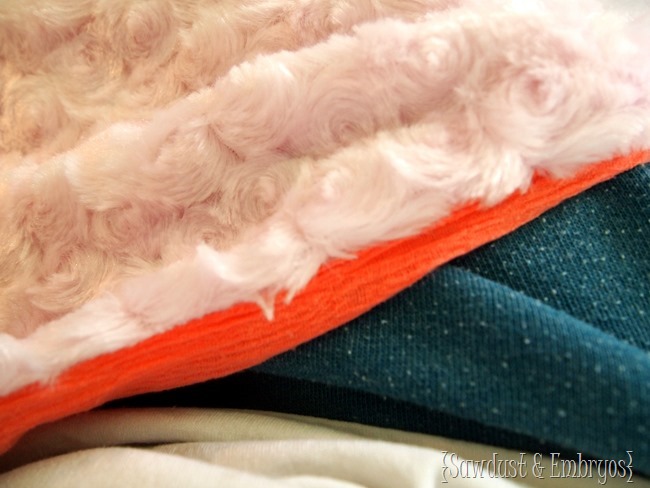
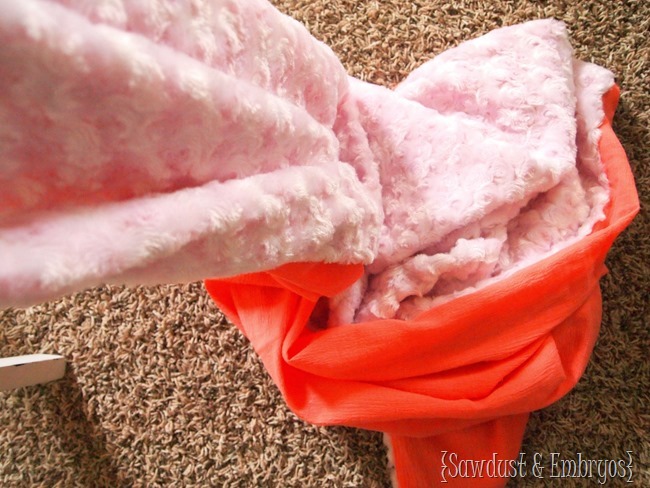
Friends? This fabric is sooooooo soft. Like a softness that I can’t describe. I chose this coral ‘gauze’ fabric as the liner for my blanket. I decided it will tie in so perfectly with the Herringbone Patchwork Wall just behind their beds!
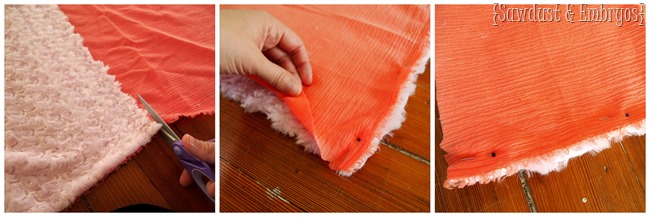
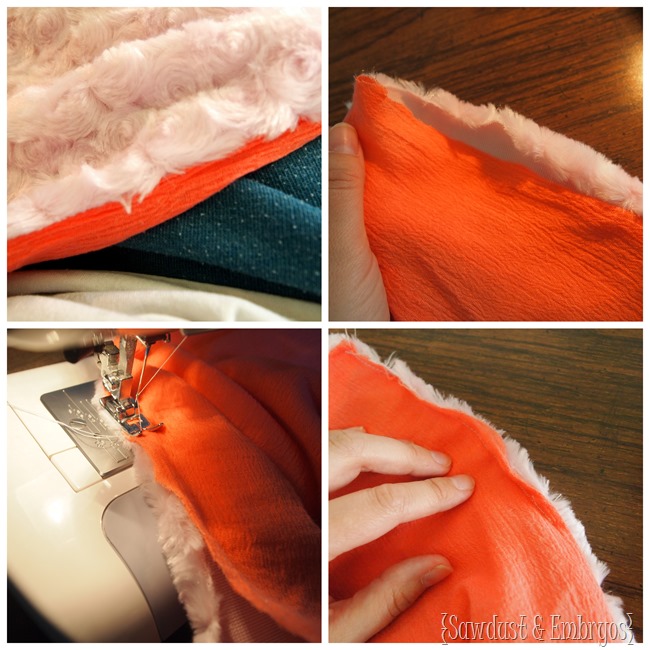
In order to fit the toddler beds (which have crib mattresses), I cut both fabrics to 36” x 56”. Then I laid them facing each other, and placed pins every few inches.
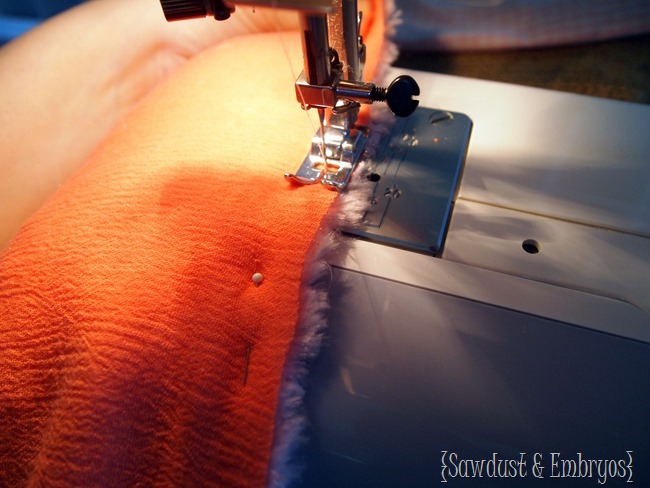
Then I sewed around the perimeter, removing the pins as I went.
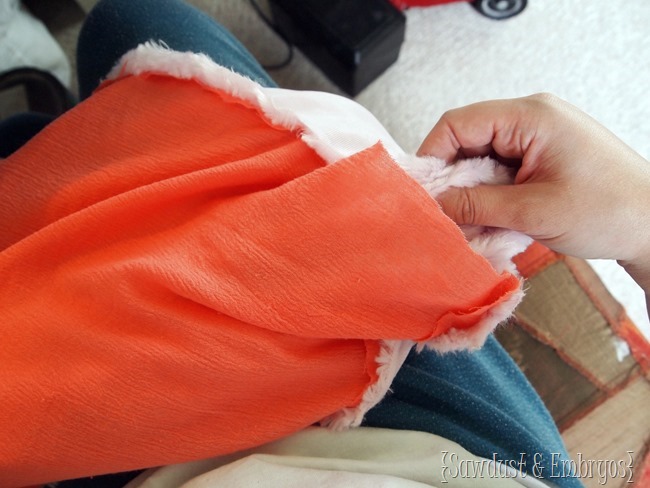
I stopped sewing 4 or 5 inches before the last corner, stuck my hand in, and pulled the blanket through so that it was right-side-out. Then sewed the opening shut!
It’s the softest/coziest blanket EVAH!
I’m aware that this is the most basic of beginner sewing tutorials… but if there’s someone out there that has as much anxiety as I do when it comes to sewing, maybe a simple project like this will give them the confidence to whip one out!
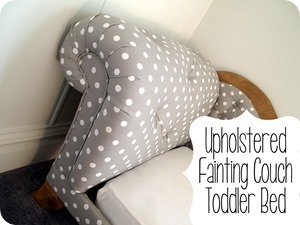
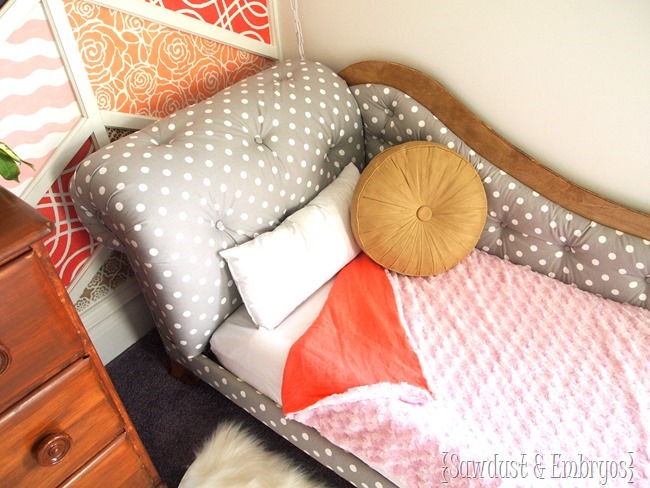
Don’t they look adorable with their toddler bed/fainting couches?
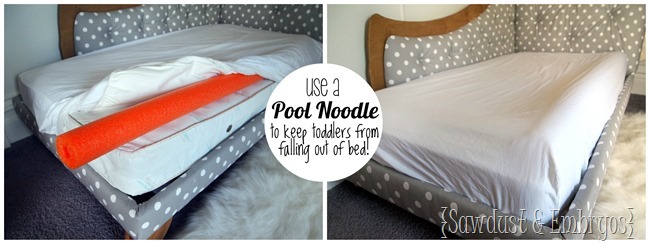
You may have noticed the little ‘lip’ that’s on the edge of their little mattresses? POOL NOODLES! To keep them from rolling out… (and even then, it’s only 12” or so, so we’re not sweating it).
The girls still haven’t moved into this room yet, because we’re milking their crib-confinement as long as possible. But a small part of me is ready for them to make that big step. Their room is sooooo ready for them!
I know I always say this, but this whole room transformation has been such an amazing labor of love for our littles (alliteration much?). Knowing that this whole design was our brain-child, and we DIYed almost everything in the room makes us feel so accomplished! If you haven’t already, click the image below and browse through all the projects that have gone into making this room what it is!
 |
 |
*this post contains affiliate links



How to sew that cloths on the wood?
Hi Tashi, we have a tutorial for those little fainting couch beds too! Here’s the link:
https://realitydaydream.com/diy-toddler-bed-fainting-couch-tutorial-diamond-tufting-upholstery/
Bethany, you are a great mom, a great DIYer, a great designer, AND a very, very great WRITER. I discovered your blog while searching for glazing instructions, and I’m so glad I was led here. I have just spent hours reading countless of your posts. I have been charmed by your “voice”, informed about so many many things, admiring of your energy and enthusiasm, amused by your self-effacing humor, saddened by your struggles, heartened by your courage, intrigued by your point of view on education, touched by your transparency, and appreciative of your efforts to create this blog! I wish you good health as you grow your son 24/7, and I look forward to reading each and every one of your new posts.
Warmly,
Mimsy
You are SO SWEET Mimsy! What an encouraging comment! Thanks for stopping by our little blog. 🙂
This room is insanely good. Makes me want to redo my little one’s room and build her a fancy bed right now!
Lady, I love your style! Gorgeous choices wherever I look. I was googling toddler twin girl rooms, and came across you. However will I find matching fainting sofas for their beds?
You’re so sweet! Do you have twin girls too?!
Hi!I am new to your site. I love the walls in your twins bedroom…Did you share how these were done? Thanks!
I’m like you. I have major panic attacks when it comes to sewing. But these blankies turned out darling. They are going to love them. Good job mama!
So sweet! (and cool, at the same time. I think your girls will love this room for a long time!
I did the pool noodle thing with my kids but be warned there will be a bedtime when you all decide that you don’t need them any more, because of course they are now fine in the bed and definitely not going to fall out. That WILL be the night they fall out! I found both my lads still asleep on the floor in the morning on numerous occasions! Once I even heard the crash in the night and when I rushed in (bonus mum points!) I couldn’t find one of them anywhere, then I spotted his legs just sticking out from under the bed, he had somehow rolled head first and was still asleep! He’s nearly 18 now and probably wouldn’t thank me for sharing that story online!
The whole room is beautiful, and the snugly blankets are gorgeous.
Hey there! Instead of a bunch of pintucks, think about top stitching. It would help to stabilize the blankets and also define the shape. If you could make the rest of them, you can totally topstitch!
I thought my 2 year old would try and club out her big girl bed but she hasn’t. I have to get her out of bed in the morning. Try a few naps there to see if they will stay put.
You underrate your sewing skills. Minky is notoriously difficult to work with! To have your backing and Minky top come out even and square is either due to incredible luck or incredible zen with your sewing machine.
Wow thanks Pamela! It definitely helped that I pinned it every couple inches. I would have been WAY OFF at the end if I hadn’t. And I found the minky fabric easier to work with than the fleece that I started with… haha!
Huh – pool noodles – ingenious!!!! I was worried about those two little misses rolling out of bed! Should have known that you would have that covered.
For this size and without batting it isn’t needed as much, but you may want to look at knotting the layers together so they don’t shift as much.
Just a yarn (or heavy thread) stitch in a few places. Think of it as tufting for the comforter. And you can use something cute (button, something fabric like a flower or butterfly) if you want to draw attention to it.
That’s a good thought Amber! It does get a little ‘shifty’ sometimes… haha! 🙂 I like the idea of taking a tiny stitch here and there.
Of you google knotting a quilt or tying a quilt there are all sorts of ideas
If you google knotting a quilt or tying a quilt there are all sorts of ideas
Too darling. Love the noodle, must have missed that hint first time around. You need to write a book, seriously.