We’re in the dog days of summer, and it seems like my kids are always hot, hungry, and whiny. UGH! I haven’t been winning any parenting awards either, so I will give them a pass. We’re all just trying to tread water until the temps dip back down below triple digits. Can I get an amen?
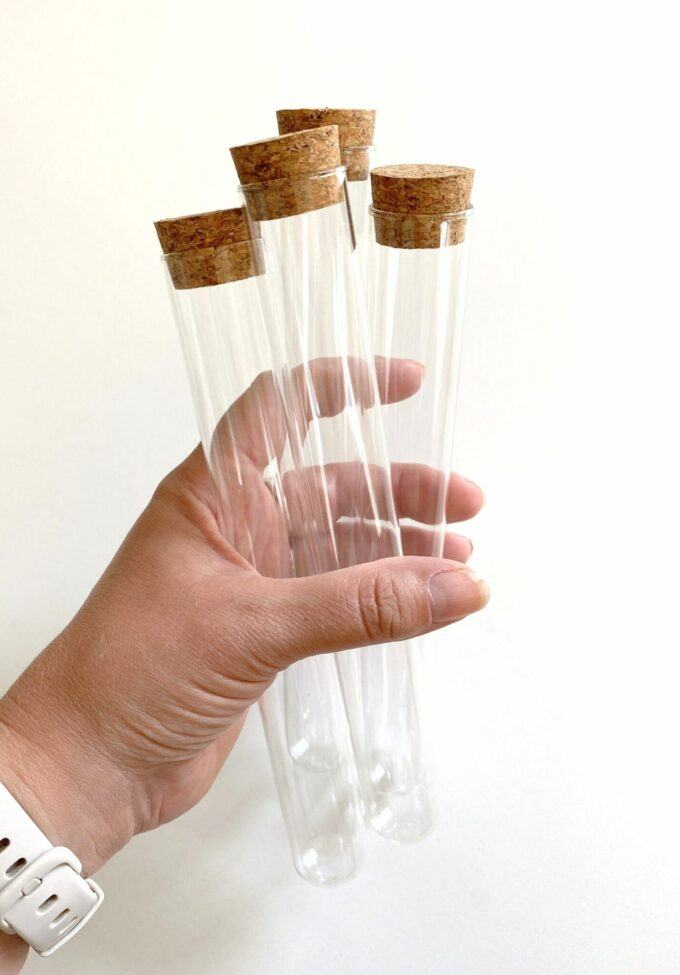
Whenever I’m in a bit of a funk, it always helps to do a little creative project. And I got a idea for using up my test tubes that are leftover from this project!
*This post contains affiliate links.*
I think I’ll call this project…
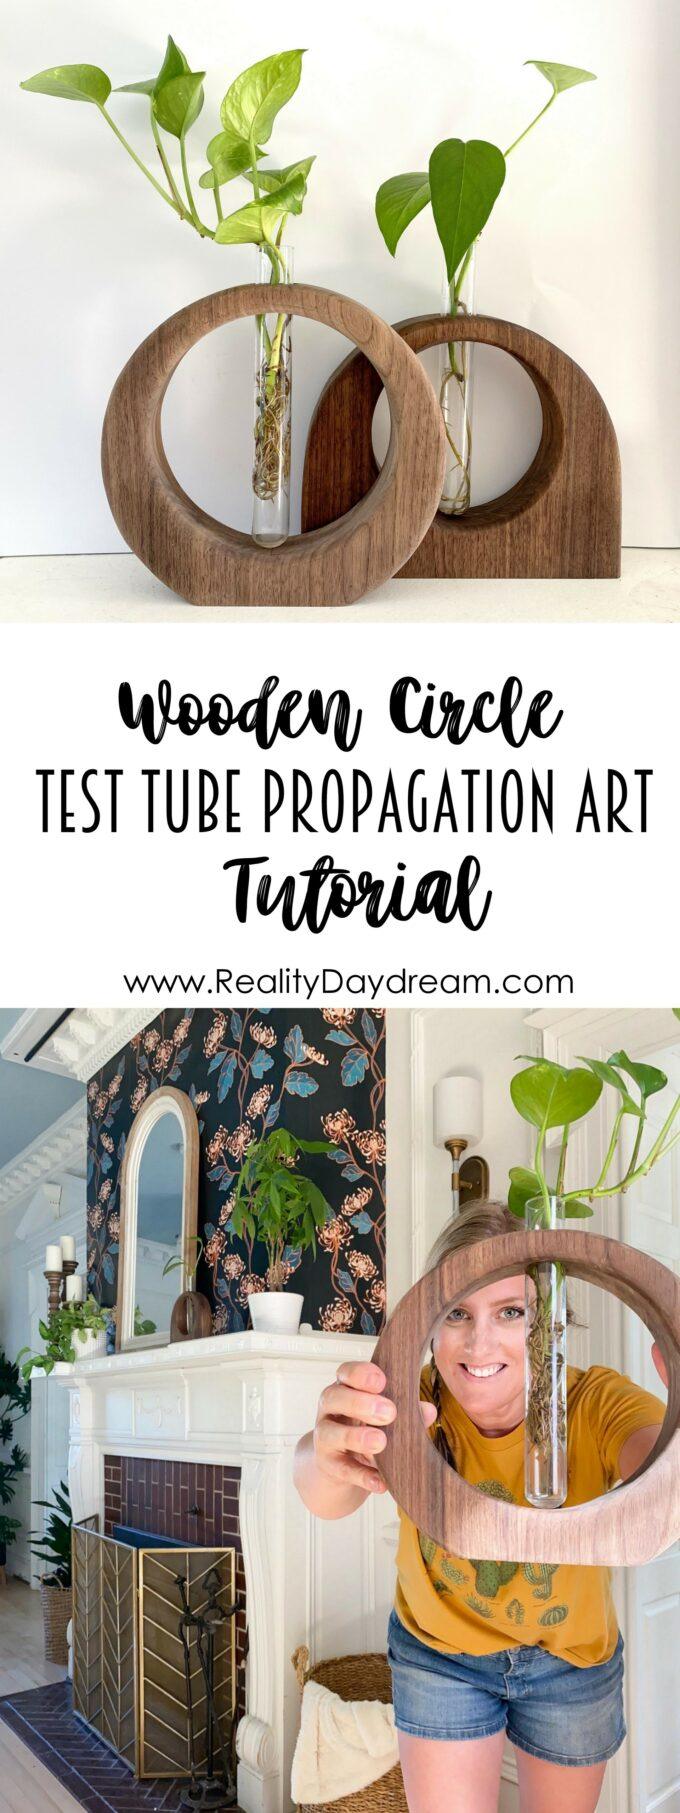
Circle Test Tube Propagation Art
Supplies and Tools
- Test tube
- Two 9″x9″ pieces of wood with a 1″ thickness (I used walnut, but regretted it. Read on and you’ll find out why! 😉
- Wood glue
- Clamps
- Free Printable Scroll Saw Template
- Scroll Saw (this is the one I have)
- Orbital Sander
- 1″ Forstner bit
- Finishing Oil (I used this stuff)
Optional:
- Oscillating Belt Sander
- Router with roundover bit
- Drill press
I started out by cutting my board down to two 9″ squares.

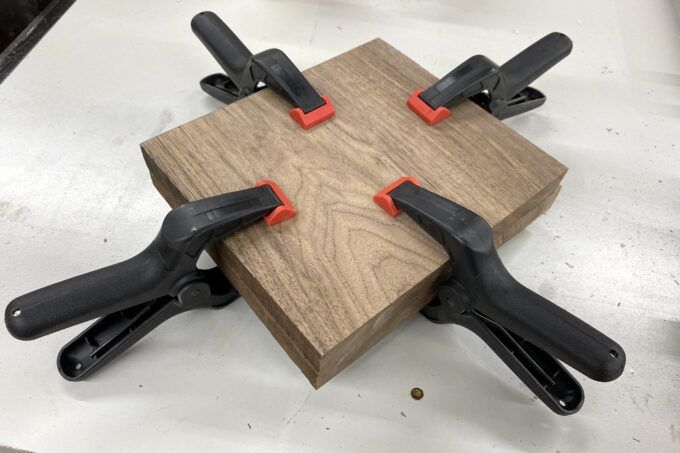
Use a generous amount of wood glue, and be sure to spread it around to cover every inch!

Press the two boards together, and use clamps on all four sides to hold them tight while the glue dries.
Print out my free scroll saw template and cut along the lines with scissors. Then trace along the edges onto your wood so you know where to cut! I ended up using a pen so it would show up better.

Here’s the part where I start having regrets. Even with the beefiest scroll saw blades, I really struggled to cut these. Since walnut is a hard wood, paired with the thickness I chose, it was a lot for the scroll saw. I broke a lot of blades, and had to go reeeeally slow. (did you know you can turn down the speed that your blade moves?)
In hindsight, I would have chosen a softer wood like pine, spruce, or fir. Learn from my mistake!

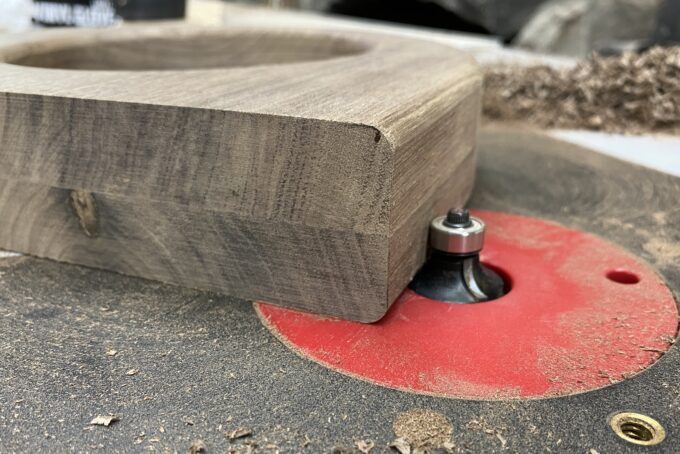
Time to sand off those furry edges! You can totally hand-sand these or use an orbital sander, but I used an Oscillating Belt Sander since I have one. I decided to go even a step further and route the edges to be rounded! I love this look!
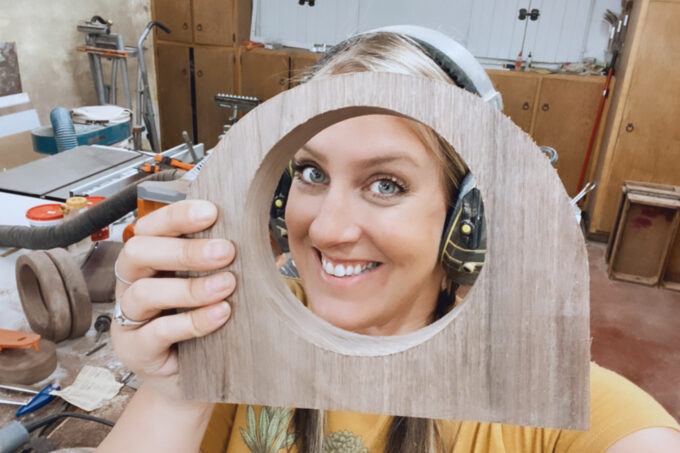
Finally, It’s time to drill a hole for our test tube to slide in. It’s inside that test tube where we will put our plant propagation with water so it can root and form a whole new plant! So we want that test tube to be nice and secure.
I’m using a 1″ forstner bit for this. I highly recommend using a drill press for this, but I’m sure you could pull it off using a hand drill. Nick helped me with drilling these because I can’t be trusted with a drill press… (did you see the mishap in my Instagram Stories?) LOL!

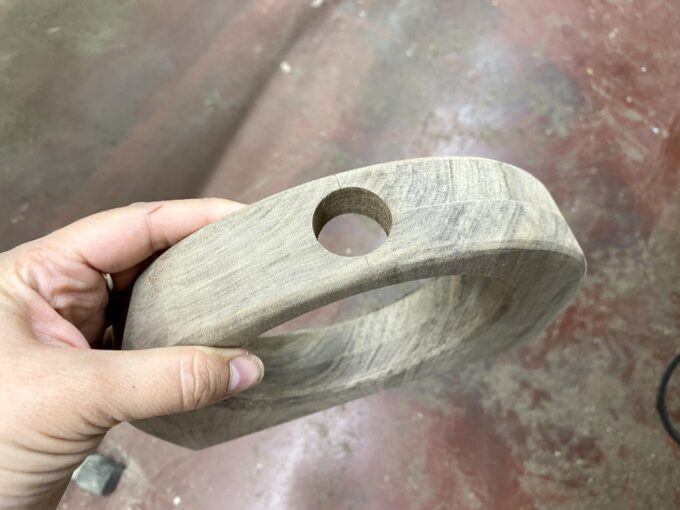
Now it’s time to give the whole thing one last sand job with super fine grit sandpaper (220+). You’ll have to hand sand that hole, as well as inside that circle to get it very smooth. And now we can wipe on the oil and let that gorgeous walnut woodgrain shine through!

HOW INSANELY BEAUTIFUL?!?!?!
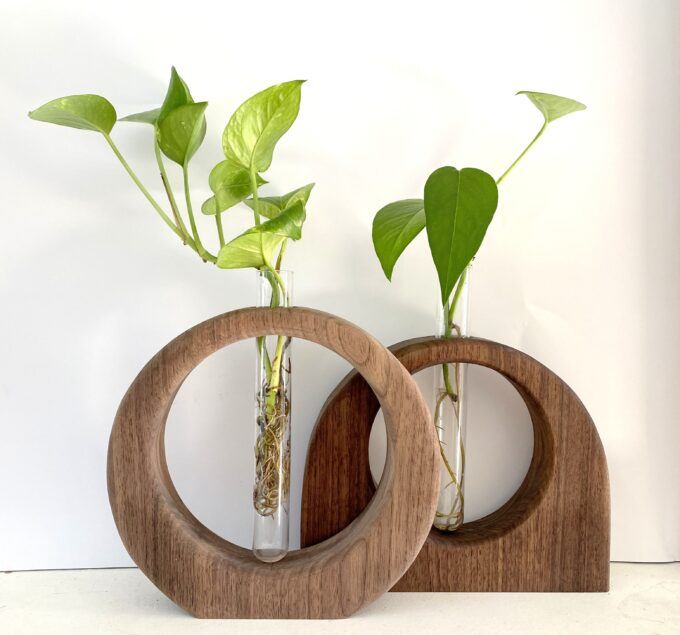
I love functional art, and it’s even better when it involves PLANTS! Aren’t those roots just to die for?!

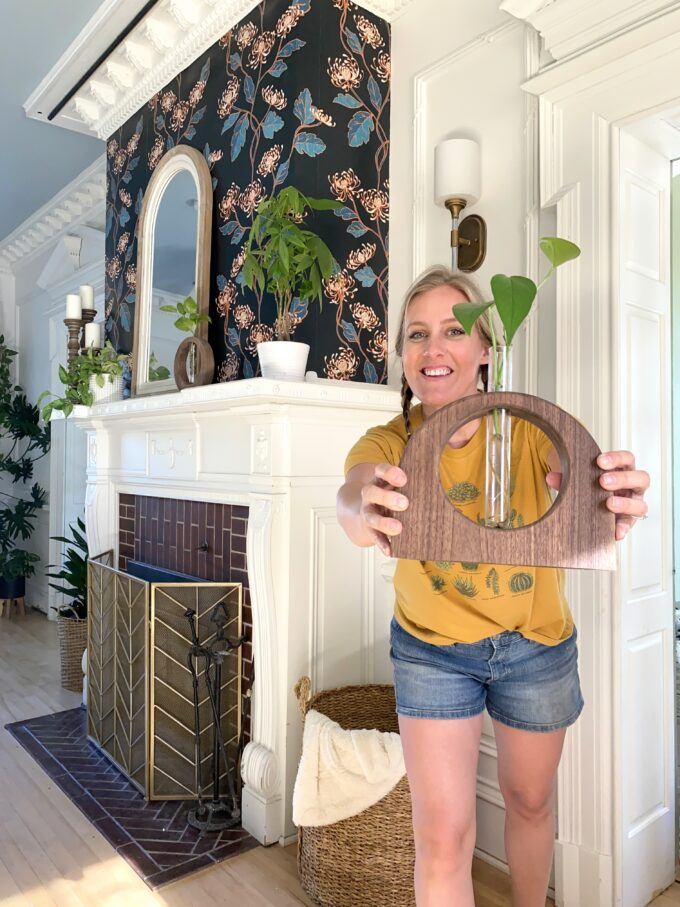
I have them temporarily on my fireplace mantel, but they don’t really stand out there. Maybe it’s time to replace that busy peel-and-stick wallpaper for something more subtle so my test tube propagation planters can stand out more??

I’m so happy with how these turned out, and can’t wait to make more to give as gifts! Wouldn’t it be fun to give these away with a rooted cutting? Such a personal gift!
I hope you enjoyed this tutorial. If you decide to make one of these for yourself, please tag me in pics on social media! We’re @RealityDaydream on Instagram, Facebook, and Tiktok!
~Bethany
~~~~~~~~~~~~~~~~~~~~
Thank you for pinning!
Related:
-

I've been needing to figure out a solution for my overwhelming plant propagation situation for…
-

Nick and I have dabbled in epoxy here and there, but we've never done anything…
-

I have a fun and easy building project for you! And while I do end…
Very nice,,,
Love it!!!!
Very nice!