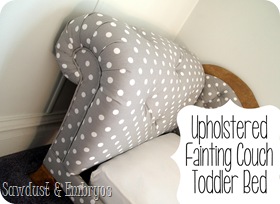
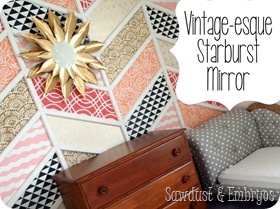
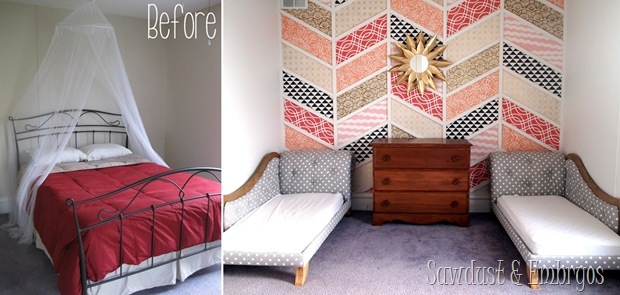
With all that’s going on in the nursery with the bold roman shades, mini-fainting couches, and the herringbone patchwork stenciled wall, I knew the chandeliers would need to be white… and not too gaudy. As much DIY as we’ve done in this room, I was willing to shell out some dollars to just purchase something cute and get on with it. But I couldn’t find ANYTHING I liked!
My mind is a confusing place, and part of the fun of blogging for me is explaining how I came up with ideas, or the progression of creativity (that usually involves a combo of Nick and I bouncing ideas back and forth).
I wanted the shandy’s to be:
- White… but not plain.
- Unique… but not overpowering.
- Feminine… but not nauseating.
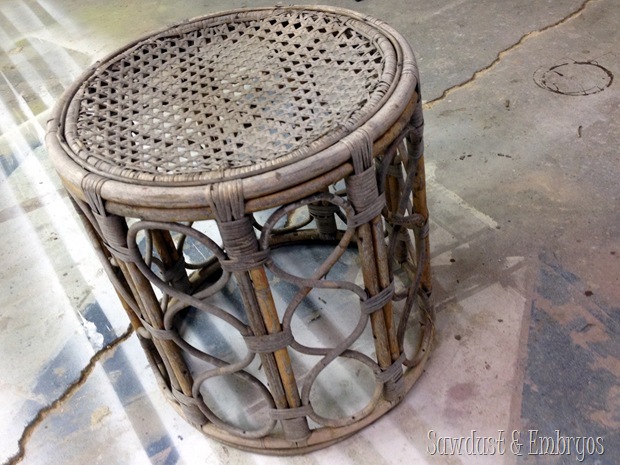
Then, one day while we were working in the garage… I saw this little wicker-bamboo-end-table-thing in a new way.
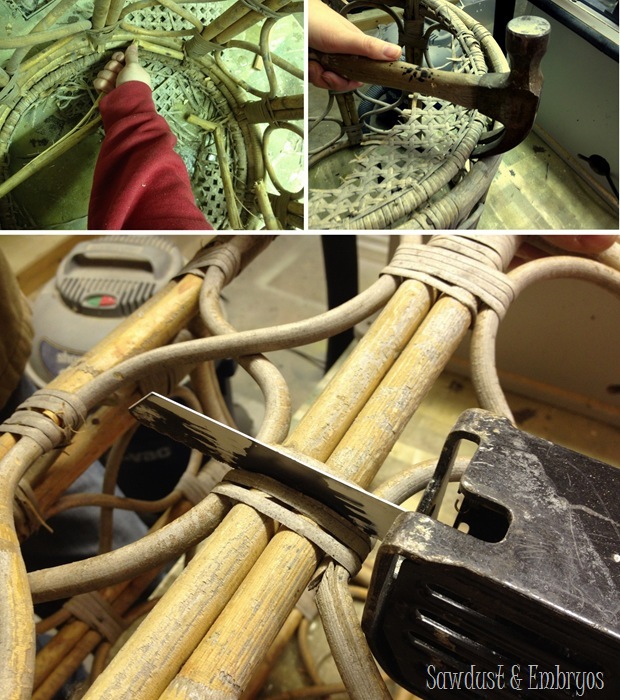
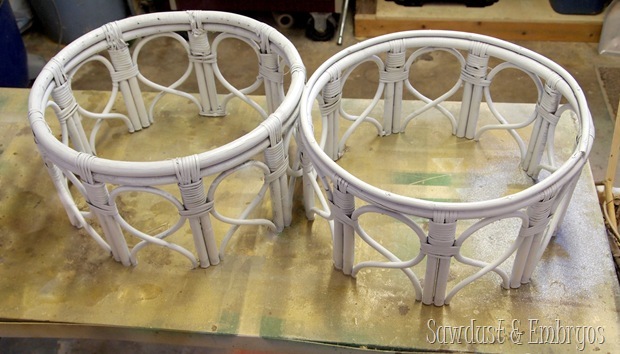
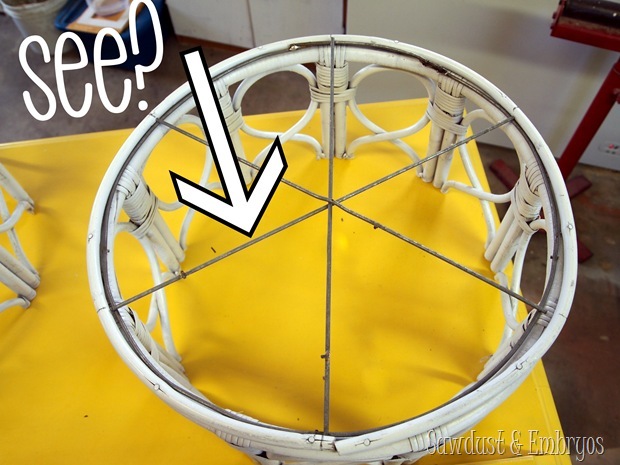
I loved this end table (from a friend… HI OREN!), but it was in rough shape. And I eventually planned to stabilize it and potentially paint it… or something. BUT INSTEAD! …I ripped out all the caning and supports, sliced it in half with a reciprocating saw, and primed/painted them white.
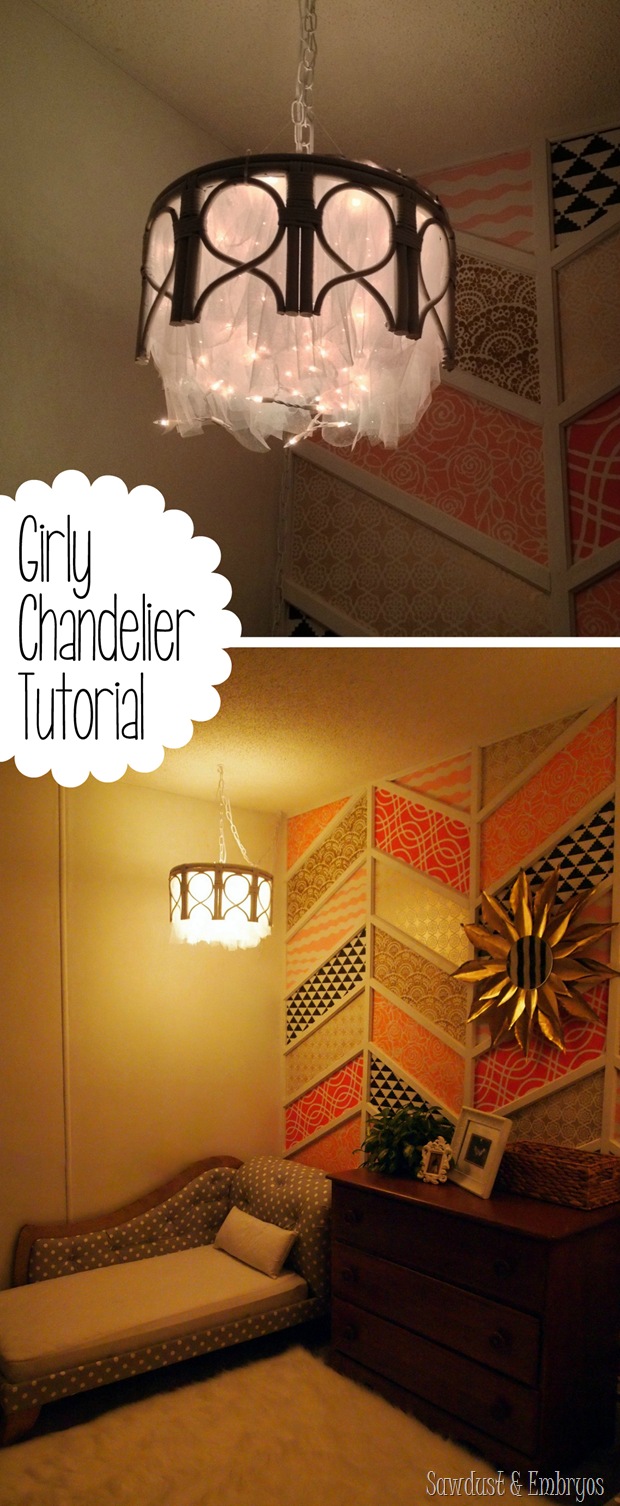
I loved where this was going, but I also wanted them to feel a little bit softer and more feminine. And then I watched the movie Frozen. Color me inspired.
This movie is so soft and sparkly. It was while watching this movie that I knew exactly how this was going to go down! Think twinkle lights and tulle!
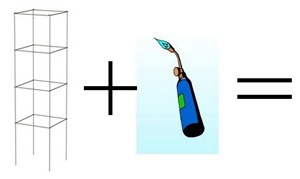
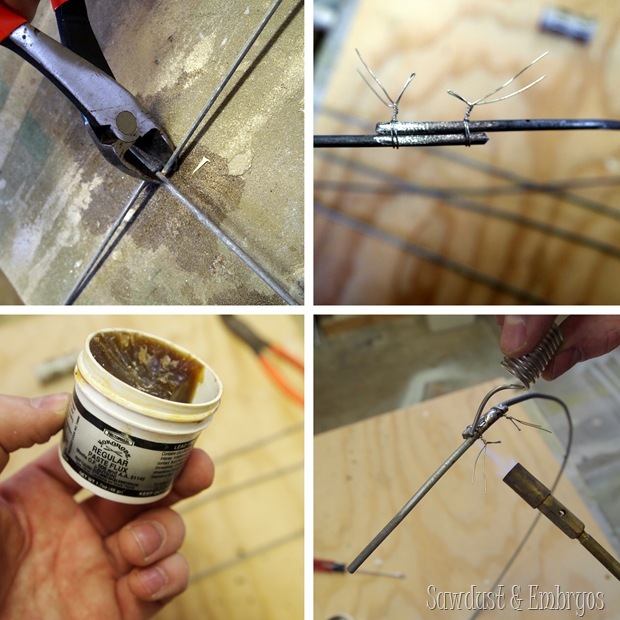
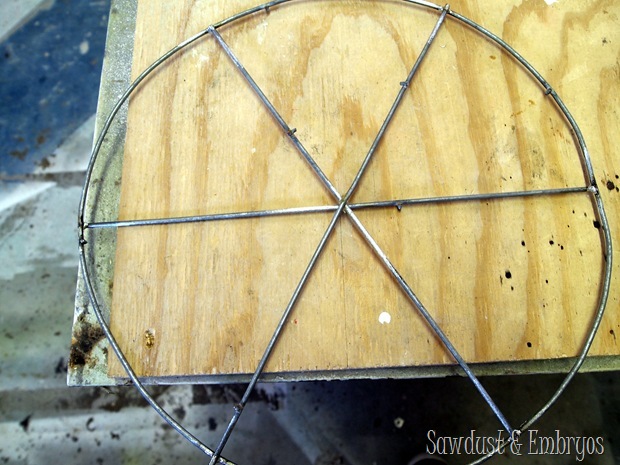
But first I needed Nick to ‘rig’ me something to fit on the top of my ‘pendants’ that I could hang them from and wire lights to. Naturally, he used a tomato cage and a blowtorch.
Got that? Good!
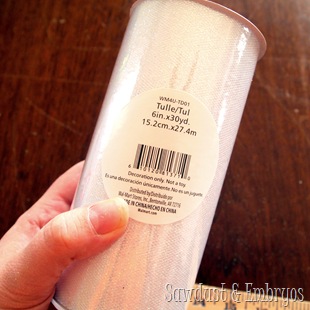
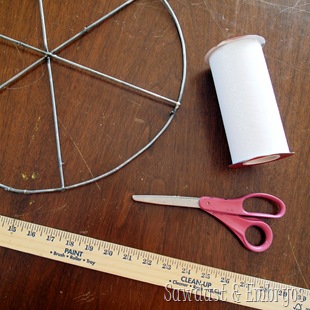
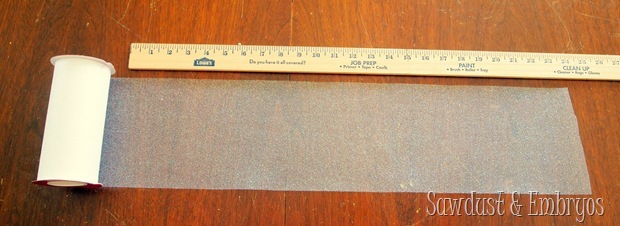
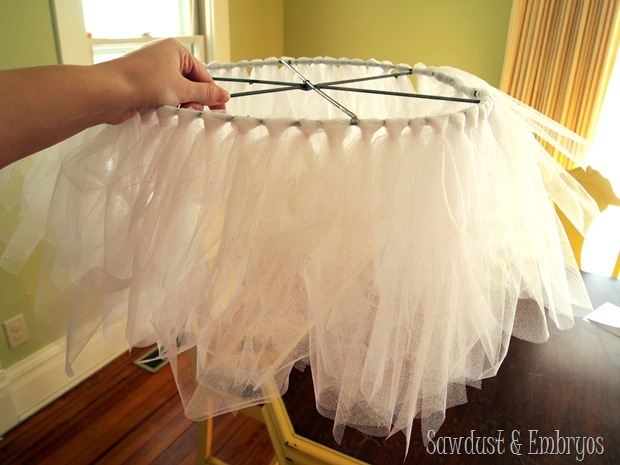
Now I get to do my fun business with the tulle! We picked up a couple 8” rolls of NON-FLAMMABLE tulle in the Christmas clearance section of walmart (30 yards). I ended up using 1 1/2 rolls per chandelier.
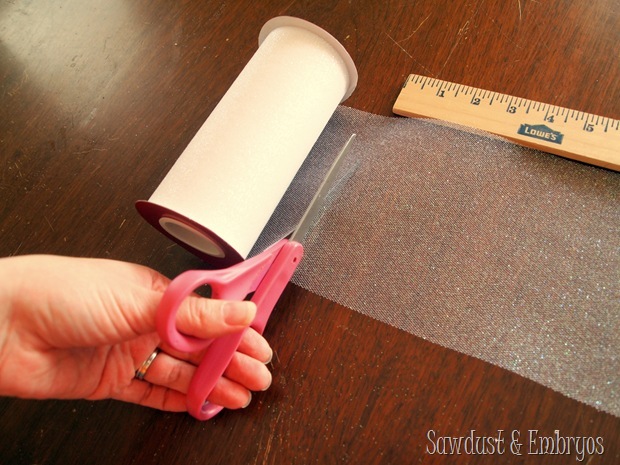
I wanted my tulle to be about 12” in length, and since they’ll be folded in half, I measured roughly 24”. I wanted some slight variation in length, so I actually ended up varying the lengths between 22”-26”.
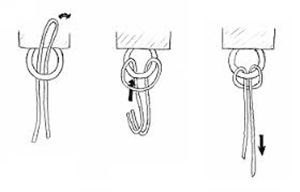
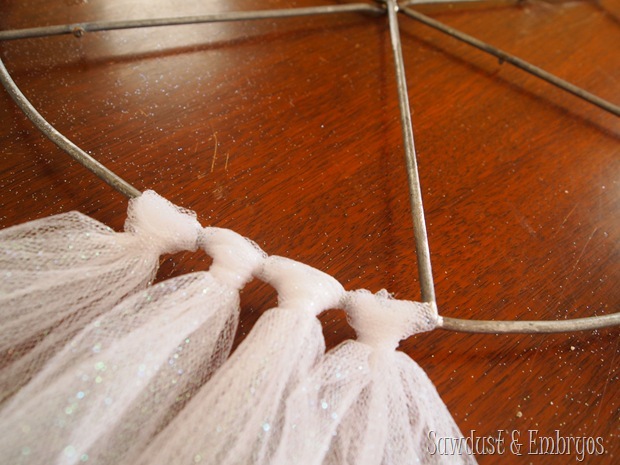
Then, using a cow hitch knot, I looped my tulle next to the metal, and wrapped the other two ends through, and pulled tight… like so!
And I just continued this all the way around!
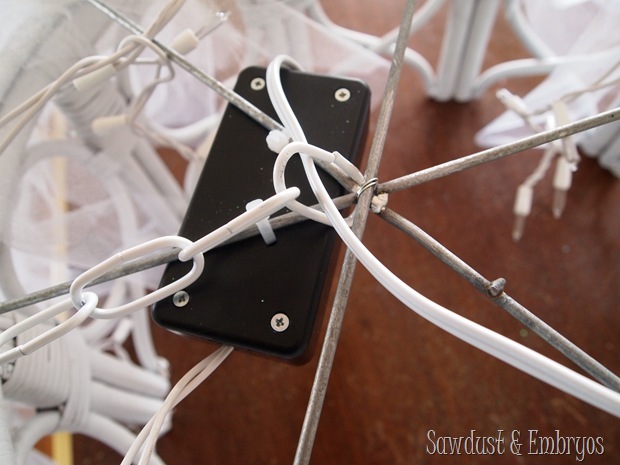
Now that alone is adorable isn’t it? Dell through a FIT because we wouldn’t let her wear it. Next step is to add the icicle lights (also Christmas clearance at walmart). Nick did some complicated wiring (tutorial here!) so that the 5’ strand of lights would be attached to the loooooong cord for the pendants (chain and all). And then we simply draped the icicle lights over the metal rungs and attached them with zip-ties.
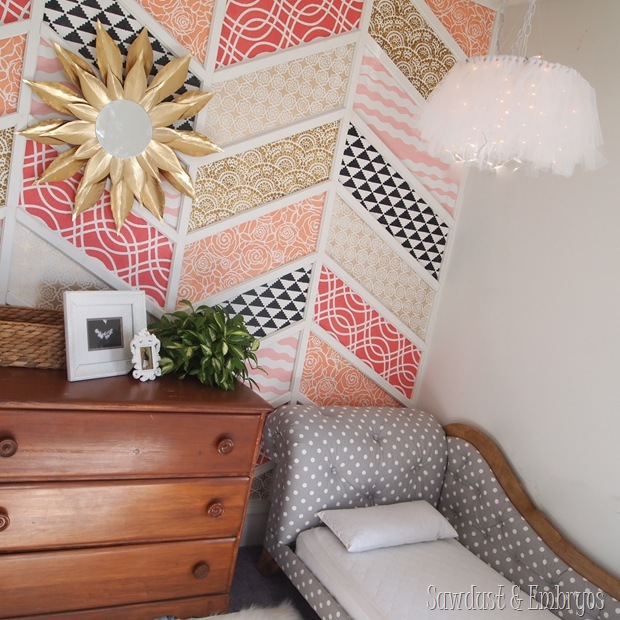
Then all that’s left is to hang them! I wanted to show you guys how cute these are even without the bamboo pendant ‘shades, so you know you can make some too! Cute right?
We liked it so much, we almost scratched the whole plan and just skipped adding the bamboo end table ‘halves’, but before we could really make a decision, we had to see them on!
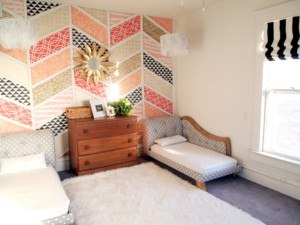
I’m smitten. Nay, OBSESSED.
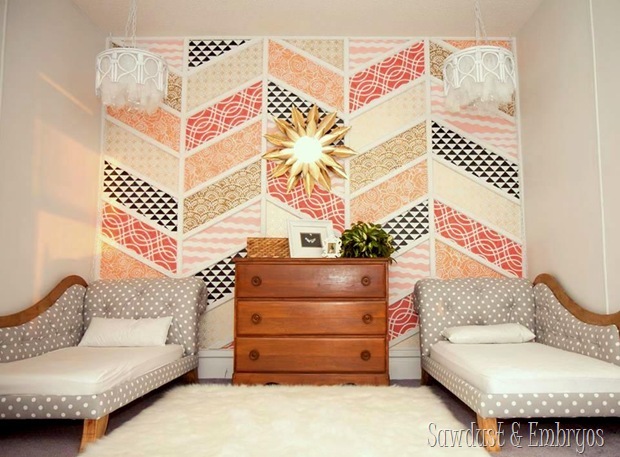 Photo credit for this one goes to MOLLY LONG!
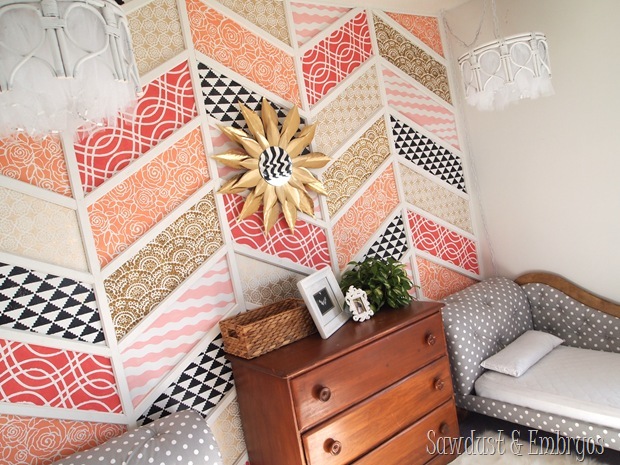
I was so excited for it to get dark so I could see the soft glow of the new chandy’s. I wasn’t disappointed.
UPDATE! A reader commented and reminded me that I should mention we did some controlled fire-hazard checks and allowed the lights to stay on for many hours with our supervision, after which there was very little heat. We feel confident that it’s very safe for our littles, and wouldn’t put them in their bedroom if we weren’t sure!
This room turned out better than I ever dreamed. I have to say we’re pretty proud that we DIYed almost everything ourselves, and saved a ton of money.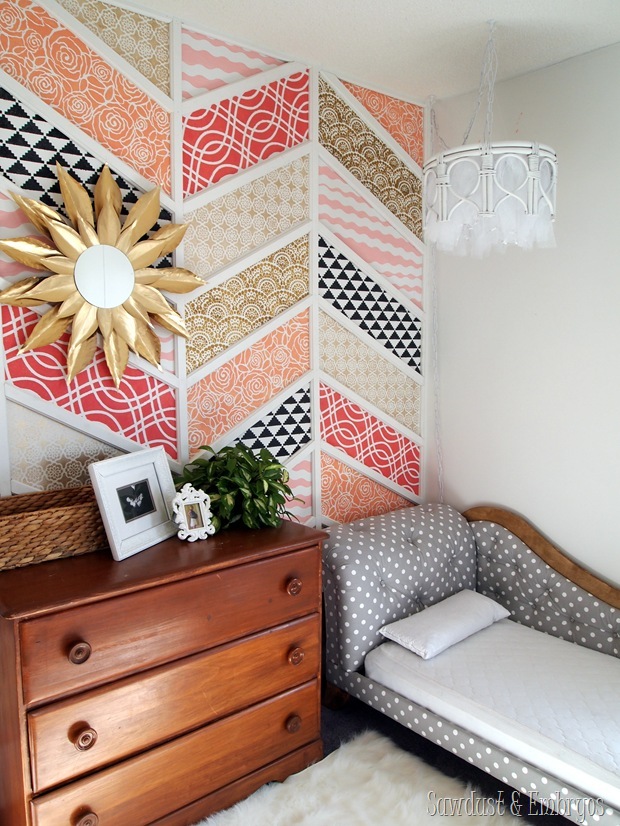
We still have bedding to worry about, as well as the entire other side of the room… but we have ideas. OH do we ever have ideas!
Here are the other DIY posts from this room transformation!
 |
 |
 |
 |
 source



Lovely and creative!
So creative! You have to promise to film when you introduce the girls to this room. I cannot WAIT to see their reaction. You have done such a great job.
So pretty! I would never get away with them in our house–I can just imagine all our boys groaning at the ‘princess lights’
Well done!! Your girls are going to be sooooot talented, with you guys for parents! 🙂
Wow wow wow! that room is every little girl’s dream! I am so enjoying the progress in this room. Great work! I love it all so much I cannot pick a favorite. But those girls are very lucky!
Amazing! So cool how you cut that bamboo end table in half, who would have thought of that?
Love, love, love it all!
Those are super cute! I’m loving how it’s all coming together!
Absolutely the cutest idea I’ve ever seen. Congrats.
One of the most creative projects I have ever seen. I like how you can have it with or without the bamboo.
Thanks Mindy! I agree… it’s super cute just as a ‘tutu’ chandelier!
beautiful!
i dont know what’s better- the awesome-ness of these pretty lights OR the crazy way you gave birth to the idea!!! lol i LOVE that!!!! some old crap in the garage covered in spider webs, i want tulle, and lets watch a disney movie- BOOM i just made an awesome thing!! haha i like to think my creative process is like that, just a LOT slower!!
HAHA! I love the birthing reference. Poor Nick has to deal with my hair-brained ideas… and usually needs to help me with them. Best hubby ever!
OMG! Bethany, those are so creative and cute and look beautiful!!!
Just love this, you are so clever!
your brain is a fascinating place! lol. those are awesome, just simple enough to go with everything else but still real show stoppers.
Love it! Laughing about the Del-wanting-to-wear-it fit. That is a way to make the skirts like that–just with an elastic circle instead of a wire. Maybe if you have left over tulle?
I was thinking the same thing Amber! We totally have leftover tulle! I’ll have to make sure there’s enough for two before I dive in though. 🙂
Maybe fill it out with some bright ribbons or scraps of other fabric. Gypsy fairy princess tutus.
That’s a super cute idea Amber!
Very cute! Where do those ideas come from? I wish that I had an area of my brain that I could pull something like that from. Two very lucky little girls to have such creative parents to produce such an amazing room. Can’t wait for the total finished product!
Beth! You are sooo freaking amazing. I love the whole room from the beds to the wall to the dresser, wall deco and shades and now the lights. I love it!!! I need you to first look in my garage and see what you can find to turn into something totally amazing and then come into my house and transform it. I just can’t get over how creative and crafty you are. Thanks for inspiring and challenging me. I love the lights , they are just the right touch on a truly amazing room.
Holy SMOKES! My favorite project so far!
They turned out great. Are you at all concerned about the Christmas lights getting too hot especially near the tulle? You might want to use led lights. Safety first.
This is a good point! And I just updated the post because I forgot to mention that we did a controlled fire-hazard test by leaving the lights on (supervised) for many hours, and found that there was very little heat radiating off them. We’re so glad they’re safe! And wouldn’t put them in a room with our precious girls if we weren’t confident. Thanks for your concern! Safety is definitely always first!
I thought I was totally crasy thinking about that (if tulle is flammable or not) while I read the post! I’m glad it’s not just me.
Anyway, congratulations on all of the amazing prjects in this room! I love them all!
I’ve used these types of lights with many many paper installations, and my defense is that if you can wrap a dry tree in these safely for a month, it should be OK. Haha. No really though, I had considered that too, but even after hours and hours of use, you can touch Christmas lights with your hand and they are barely hot.
LED’s are a great consideration for all the people about to make these!
And oh, by the way, these are adorable!!! I love that you soldered up the frame, that is totally motivating. I’m a light addict, and figuring out that metal frame part is often what holds back a few ideas, so this tutorial is a mega help!
Thanks guys 😀
Thanks for chiming in Jesse! I’m glad that you’ve also had good experiences using these types of lights with paper. I love your origami chandeliers!
Love love love your chandy’s! Too cute!!