I love the idea of my girls sharing a room; whispering and giggling into the night. But lately, they’ve been expressing their desire to have their own space. After further prodding, I realized the real reason was because they wanted a room of their own TO DECORATE.
And then it all made sense!
After all, as DIY bloggers, we’re constantly painting, rearranging, renovating rooms as they look on. We shouldn’t be surprised that they want to do the same!
However, until we get further along in our renovation, having their own room isn’t an option. So how can we help them be able to express by designing their own space when they have to share a room?
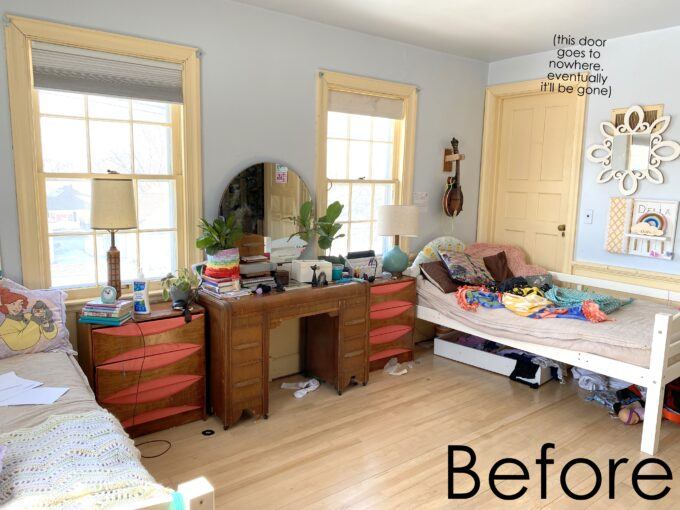
The fact that those two windows in their room are symmetrically placed gave me an idea… why not split the room right down the middle, and set them free to do what they want with their own half?!?!?!
The twins were cautiously excited about this idea, but it had to be better than the current situation, right?!
They spent many hours thinking about their individual room design, and pouring over this fan deck, trying to pick the perfect color for their side of the room.

It was fun teaching them how I go about designing a room.
- Step 1: pick a thing that you LOVE (in our case, something with color and pattern).
- Step 2: pick a paint color that you feel compliments said thing, and gives you the vibe you want for your space.
- Step 3: everything else will fall into place around Step 1 and Step 2!
Picking out a statement rug seemed like a great place to start! The twins had a grand time perusing through rugs from Revival. There are so many beautiful and inspiring options to choose from!
They ended up choosing these two rugs. If you know my girls, I’m sure you can guess which girl chose which rug! Can you guess?

We love Revival, because their rugs are handmade with traditional techniques, and natural fibers. Some are vintage, and some are fresh off the loom of their artisan partners! Not to mention, they’re simply gorgeous.
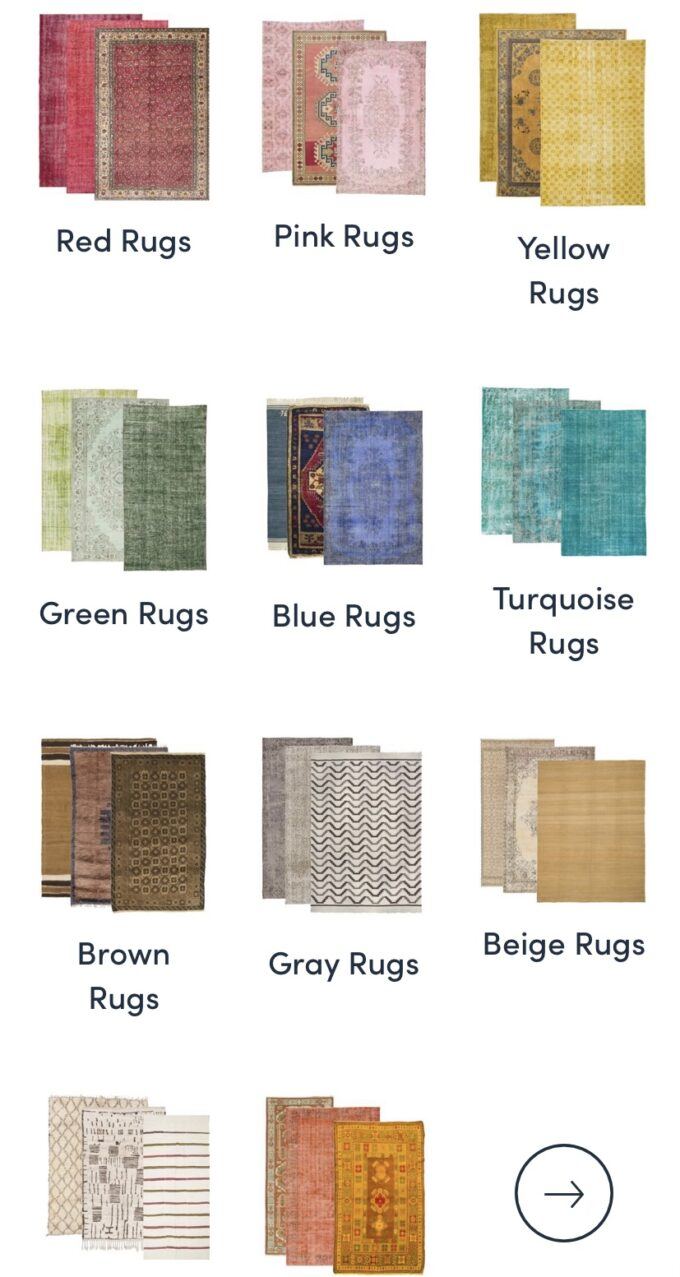
I have a 10% off coupon code for ya too! Just use DAYDREAM10 at checkout.
After MUCH indecisiveness, these are the wall colors they landed on to go with their rugs.

We moved the beds to the center of the room in preparation for painting. Since Daddy’s always game for flashing his fancy laser level, we got him involved in helping use divide the room directly in two so we could get to painting!

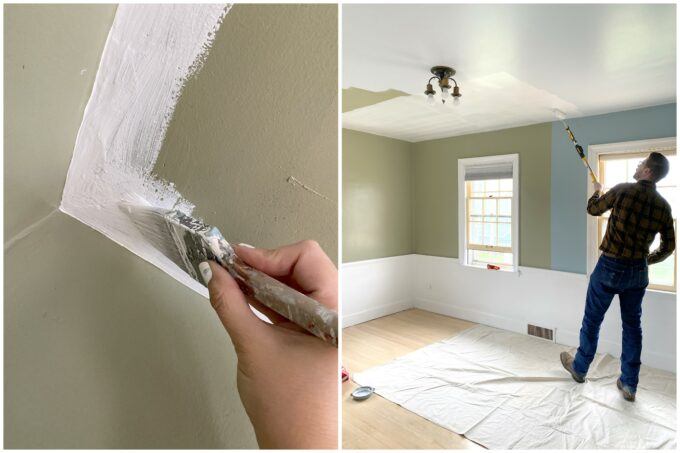
This is the part of the project where you give yourself a pep talk about how important it is for them to learn to do things for themselves, and how you need to let go of your control-freakishness, and just let them paint their own rooms.
But don’t be like me and forget to put down dropcloths.
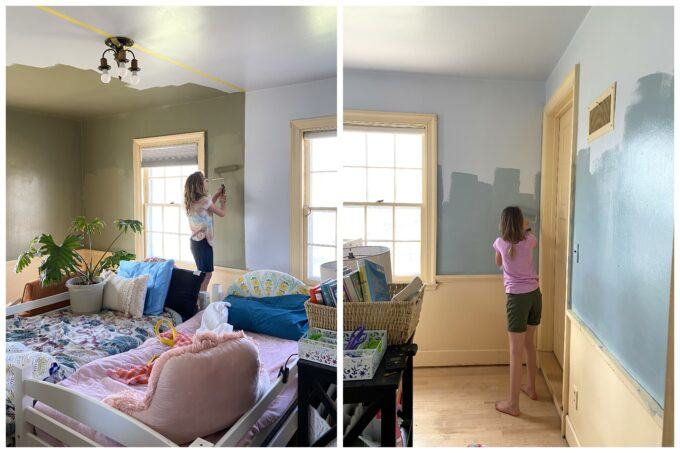
Rest assured, I helped them when they needed it. And I did most of the white trim and chair rail.
At first they wanted to paint the ceilings the same color, but when we all realized how dark and cave-like it made the room, they decided they wanted it white afterall.
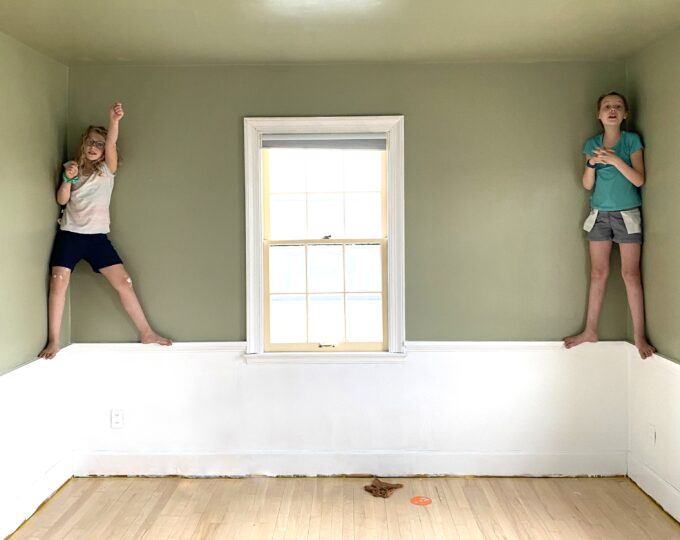
Nick and I tackled the ceiling after our tuckered-out girls went to bed in their little sisters’ room. We’re loving that the sun stays up so late these days! And we love blackout curtains in the kids rooms. 😉
You didn’t think we were just going to put the same beds back in this room, did you?
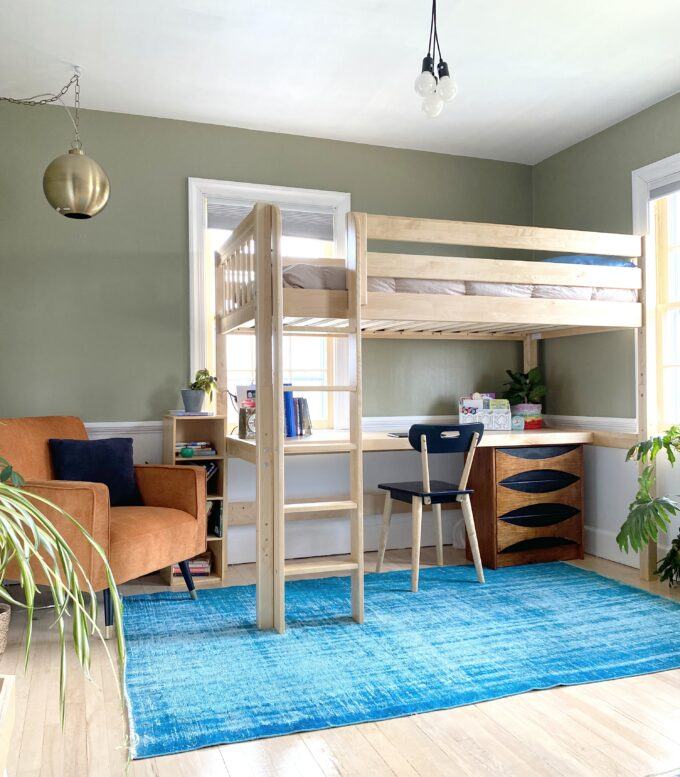
These beds by Maxtrix went together pretty quickly, and are SO HIGH QUALITY. They’re so solid and beautifully made, they’re sure to be in our family for a lonnnng time.

On their website, they have soooo many options for bunks and lofts. We went with these XL Twin Lofts with a desk underneath. They both love to write and craft, so having this surface area was so perfect! Even the chairs are from Maxtrix! Reuben approves, obvi.
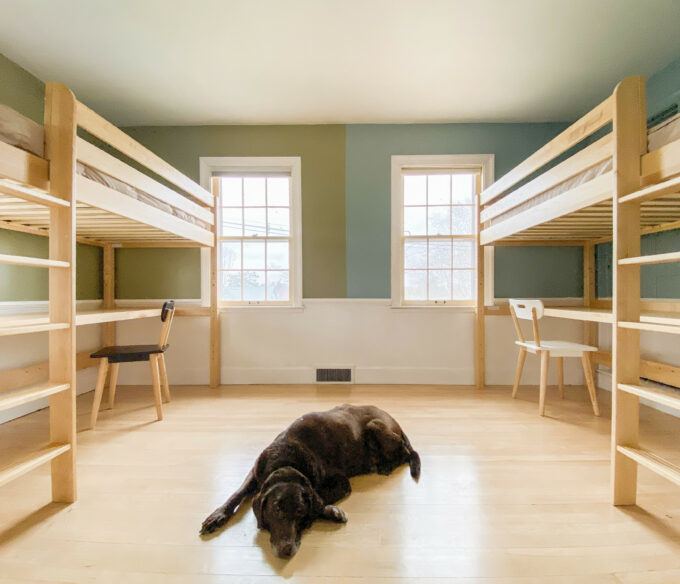
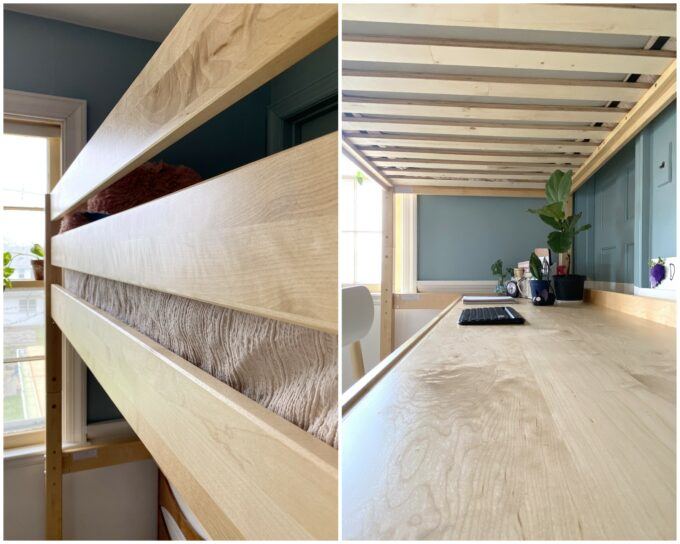
As you would expect, the existing light fixture it precisely in the center of the room. I did some serious searching to find the perfect light fixture that could be installed in such a way that it looks like two separate little chandeliers!

ANNNNND, we took it a step further by adding a track along the center of the ceiling where a curtain can be pulled to divide the two sides of the room!

The rugs came in, and they are GLORIOUS, as expected.

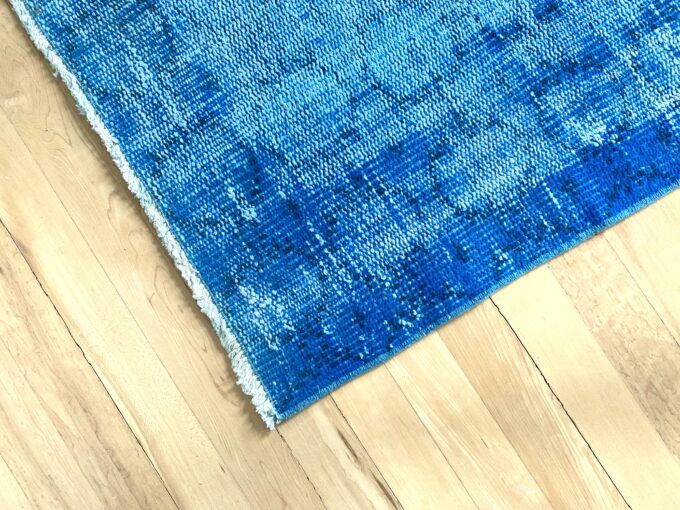
Bringing those rugs in and adding all their accessories made the twins’ ENTIRE YEAR. They were beaming the whole time! Those rugs rolled out flat and gorgeous

Here is Paisley’s side…
…and here’s Della’s side!
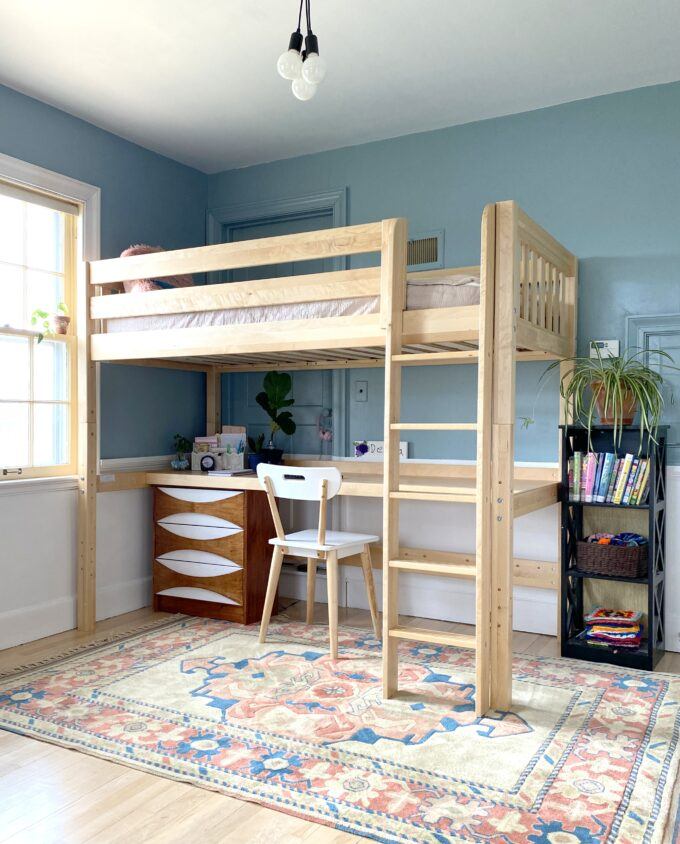

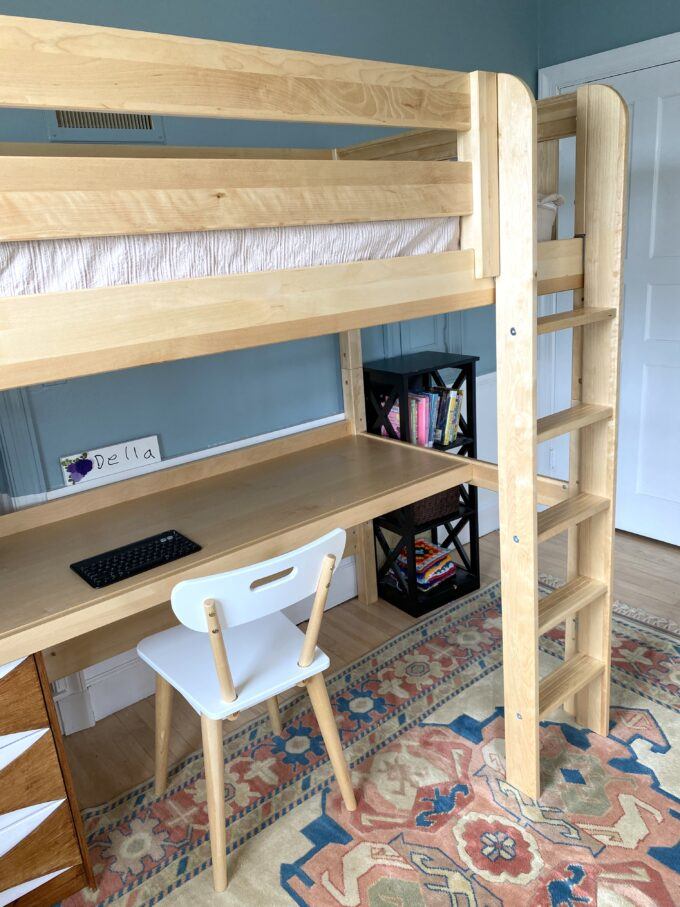
They love everything about their new shared room, and they even painted their dressers their own accent color! (Della – white, Paisley – black). They are those little IKEA Rast dressers that I hacked wayyyyy back in the day.
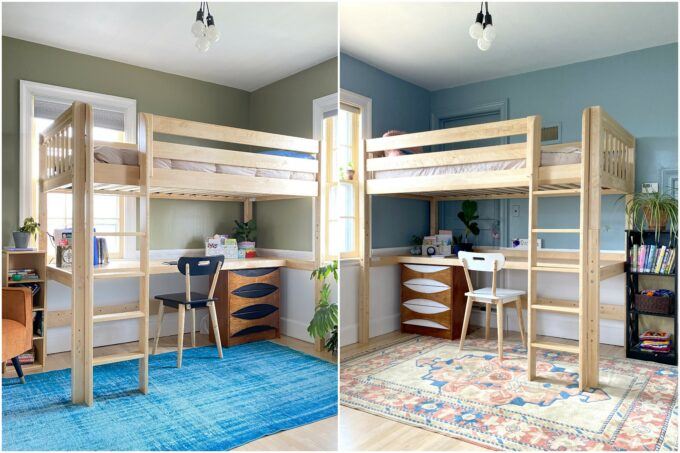
This was such a fun project to do with my daughters, and it’s amazing to see their own little design style develop! They’re not too shabby, eh?
NOW… will they keep it clean? 😉
~Bethany


I love those loft beds for the left and right ladder side. I need to build 2 right side and 1 left side for my twin girls and eldest daughter. Do you have detailed instructions for both sides of the loft bed? I would love to pay for the build plans including all the hardware and tools needed.
Unfortunately we didn’t build these from scratch. We got them from Maxtrix!
I would love to know the measurements of the room as I’m wanting to do something similar but am concerned the space is too small.
I’ve been seeing so many people switch to bunk beds/multi purpose beds nowadays, most of them do it to have a personal office space, especially since a lot of people are forced to work at home. This is so cool though, what a great project for your kids to create their own space.
The rooms came out so cute! Great job girls…& mom and dad. 😉
Thank you Maria!
Such a beautiful space for the girls!! I love seeing their own personalities in the room:) gorgeous rugs and beds!!
Thank you Fran! This was such a fun process for them. <3