Hey All, Nick Here!
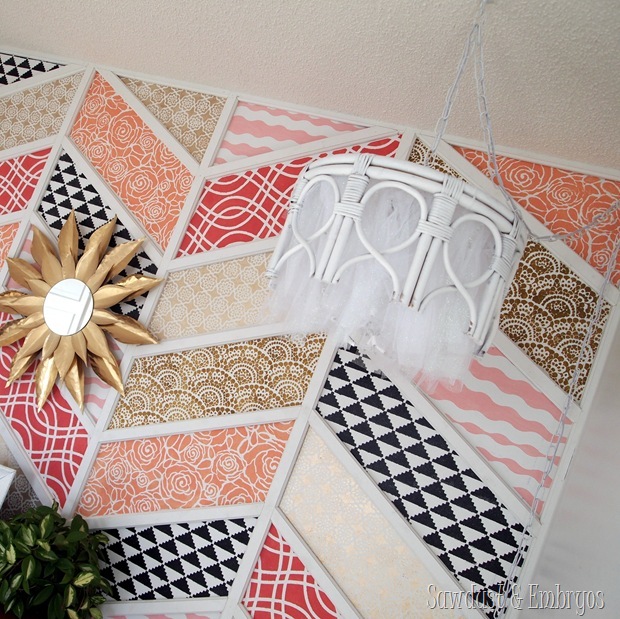
It has been too long since I have stepped away from the saws and soldering iron to take an opportunity to write the masses. When Bethany asked me to write a post about wiring the epic Tutu Chandeliers I was both honored and nervous! Nervous you ask, well yeah, since my hiatus our fan base has really grown… and while I would love to insert some joke relating us to Justin Beiber, I just can’t lower myself.
I try not to brag outside of the house about the work Beth and I do, but this room has been 100% Bethany’s idea, and I have primarily been here for support and guidance. I just love it! I show it to everybody that I think gives a dang, and run their ear off about everything we have done.
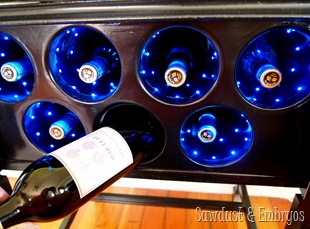
It is a well known fact amongst our family that I love to incorporate Christmas lights/LEDs into our projects; case in point the Custom LED Wine Rack.
 |
 |
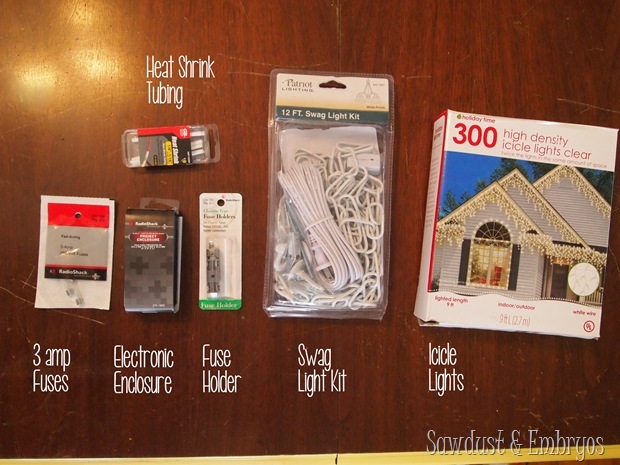
That being said, I would love to take a quick minute to run the the dirty details of our chandelier project! The goal here is for the string of icicle lights and the swag light kit (with a looooong cord) to get married. Otherwise the icicle light cord would be so short we’d need an outlet up by the ceiling. And I assure you, that would be more work.
I love that this project just happened right after the holiday’s. It allowed us to get the majority of our materials at a discounted price.
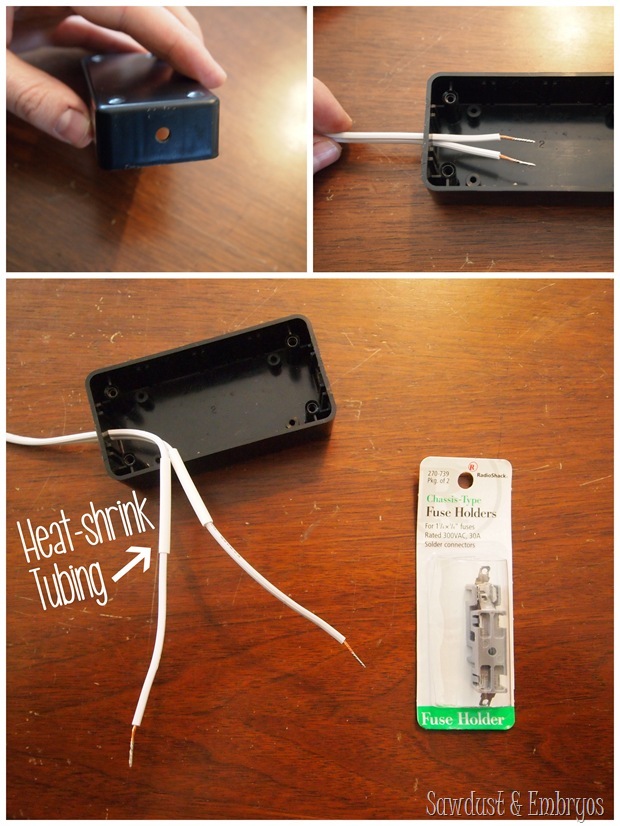
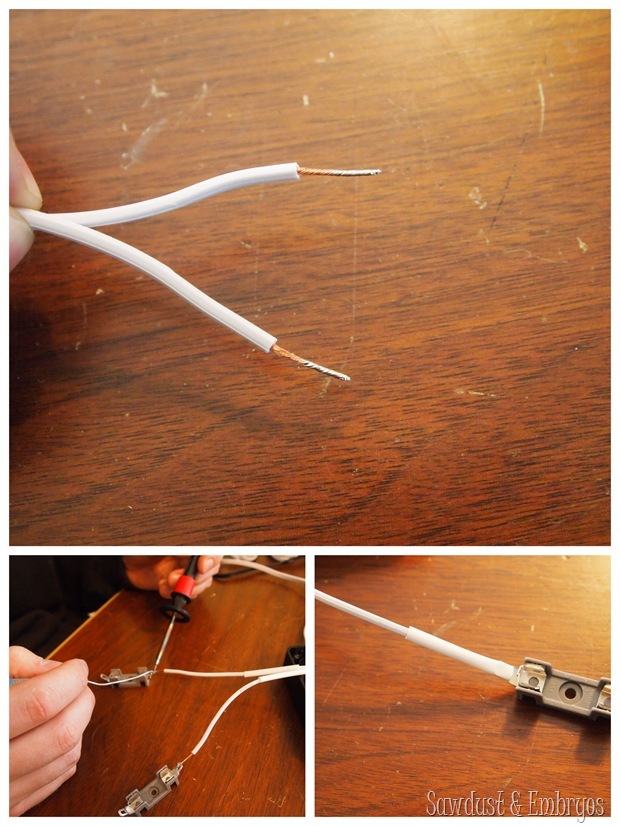
I started by drilling a 1/4” hole in both ends of the enclosure. Then I fed the wires for the swag light kit through one side, tied a knot and added the heat shrink tubing. Heed warning: it is good to add the swag chain prior to this step; if not you’ll be bending a lot of links to fit over the wire. I weaved it through every sixth link.
Make sure you get the heat shrink tubing far enough away from the solder that you don’t accidently shrink it 1-2” should be good.
Using a soldering iron, apply heat to the bottom of the stripped wire and add solder to the top. The solder will travel to the heat source. it is also good to make sure all surfaces are clean and free of oil.
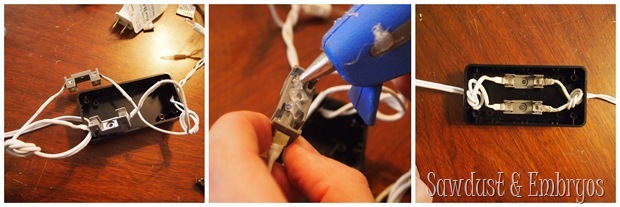
Once I have solder applied to the wires, I push them through the hole in the terminal. Using the same process, I solder the wire to the terminal, then push the heat shrink tubing down over the terminal and apply heat. It should shrink securely over the wire and terminal. This provides and insulator over the exposed wire. Repeat these steps for the other wire, then feed the wires for the Icicle lights through the other end and solder them.
Now you should have two loose fuse holders with the swag light kit wiring one one side and the icicle lights on the other. Break out that glue gun that you have tucked away in the craft room and glue them fuse holders down to the enclosure, adjust your knots and remove any slack from the cords.
Determine the size fuse you need by looking at the lights existing fuses located in the plug put them into the holders. Then plug it in and stand back in awwwwww.
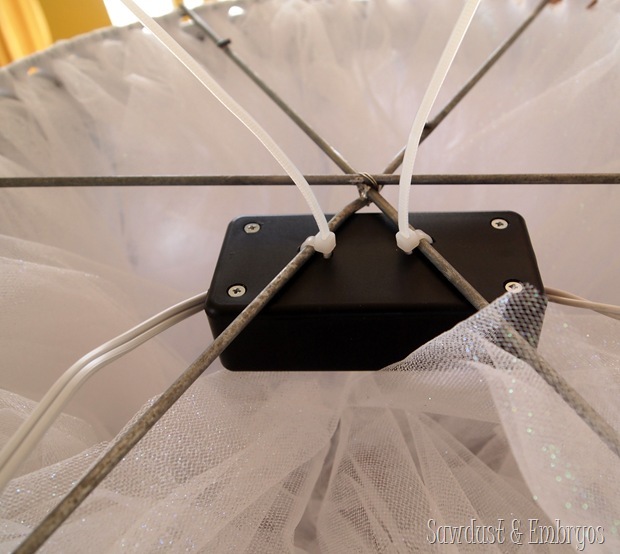
Next I drill 4 holes in the lid just big enough for a couple zip ties; insert the zip ties through the holes and install the lid of the enclosure. Lastly, securing the zip ties to the lamp.
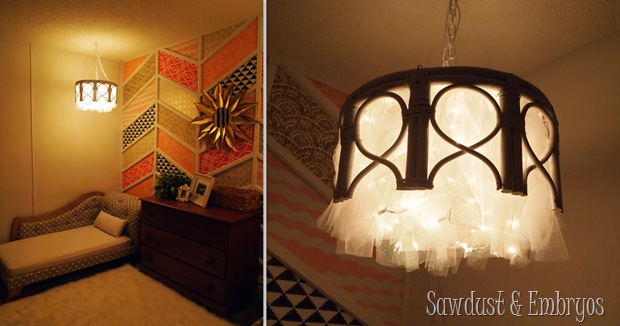
Now for the fun part… draping the icicle lights!
If you happened to miss the post introducing the big chandelier reveal please jump on over and check it out.
This is a Basic Wiring Tutorial for Standard holiday lights (not applicable to LED Lights). If you would like to see additional wiring tutorials then you will have to check out our How to Wire an Outlet and Wiring and Hanging a Light Fixture tutorials.
It has been a blast being able to talk to you again and I look forward to sharing additional information with you. Peace!




This is such a great idea! They look wonderful.
Awesome! Wonderful job and a great tutorial. You two are amazing.
I am confident you and Aaron would be best friends. You would love tinkering together. Great tutorial!
Our boys will meet in April!!!!!!!!!!!!!!!
YESSS Nothing I love more than a wiring tutorial, this is seriously handy. Xmas lights are great and this opens up a lot of possibilities. Thanks Nick!
Wow.. I actually feel kinda confident I could do something like this… thanks for the tutorial!! This type of stuff can seem very intimidating… but you took the mystery out 🙂
Fun read, Nick. So good to have you add some spark to an already great blog site. You two are so talented.
Nice pun dad!