Dear friends… Nick and I have been overcome with encouragement these past few days and want to thank you for rooting for us to expand our family. It’s been such a crazy/emotional (and expensive) journey, and now we just have to simply WAIT. Can I just say that 8 days might as well be an eternity?! Patience was never a quality of mine. So I hope you don’t feel that I’m being callous by thinking and blogging about other things in the meantime. If I don’t I may just lose my mind.
So!
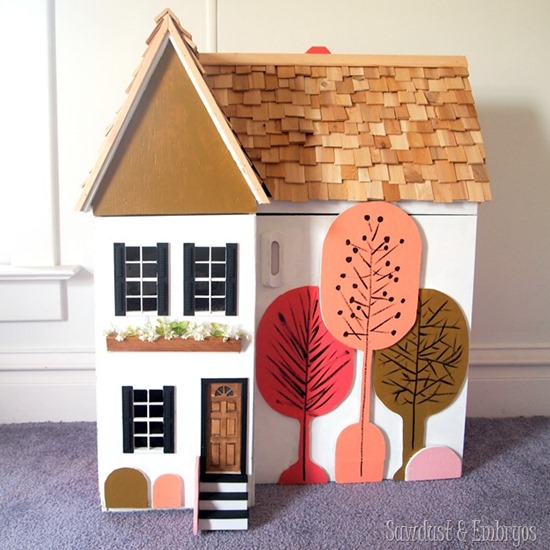
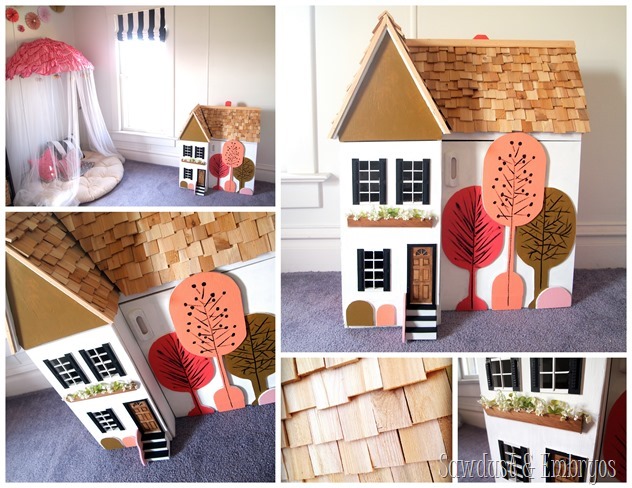
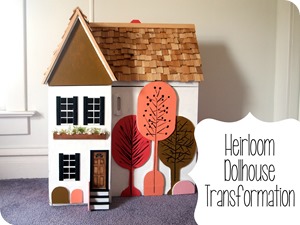
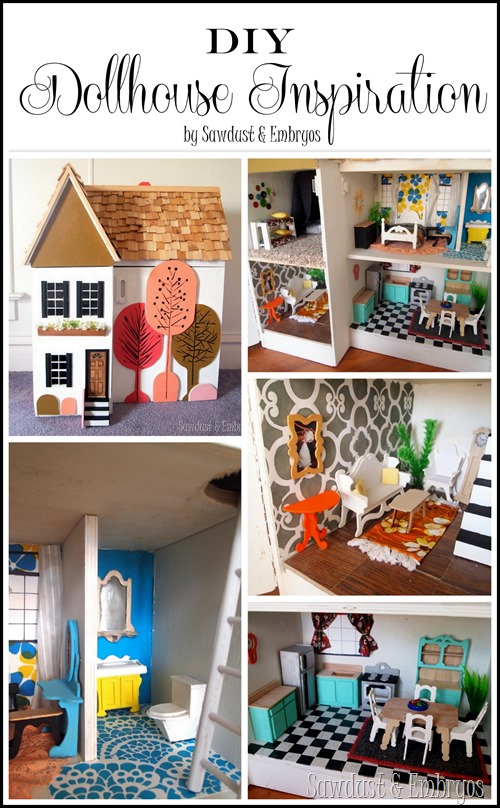
Let’s have a little lookey at the finished dollhouse! As you know, we finished the exterior a few weeks ago…
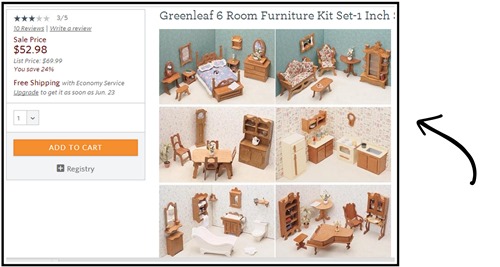
…and since then, I’ve just been taking my sweet time fixing up the inside a little. I should start by saying we ordered this dollhouse furniture after doing a LOT of research and realizing how expensive premade dollhouse furniture is. This furniture came in sheets of plywood that punched out into a million pieces to be assembled. It was time-consuming, but worth saving hundreds of dollars. It was basically 6 rooms of furniture for the price of one already-assembled room.
It wasn’t really my ‘style’ of furniture, but I knew with a little paint and love, it could be cute. Especially if I distract the eye with lots of colors and patterns!
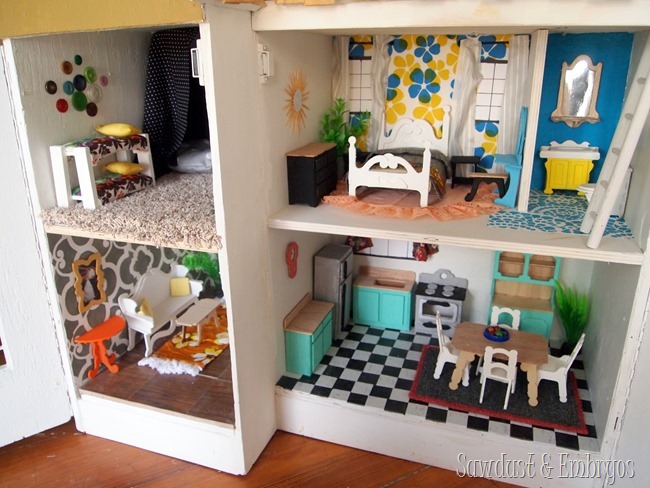
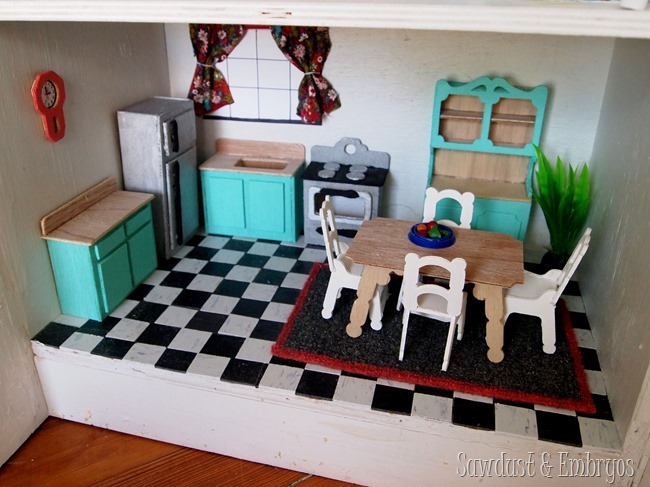
Let’s start with the kitchen! We used leftover CVT tiles from our laundry room, and just cut them into bitty squares and glued them down with wood glue. The area rug is a carpet sample with a coral border painted on. the curtains are scrap fabric, and the houseplant is from a package of fish aquarium foliage!
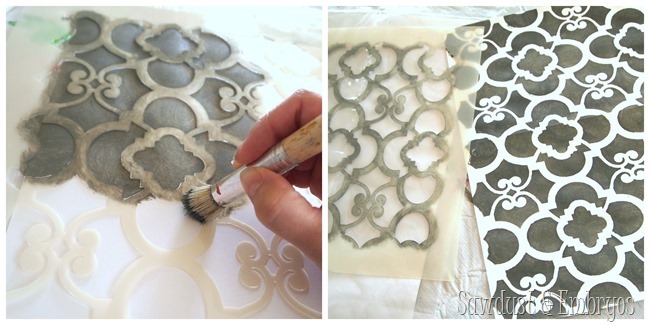
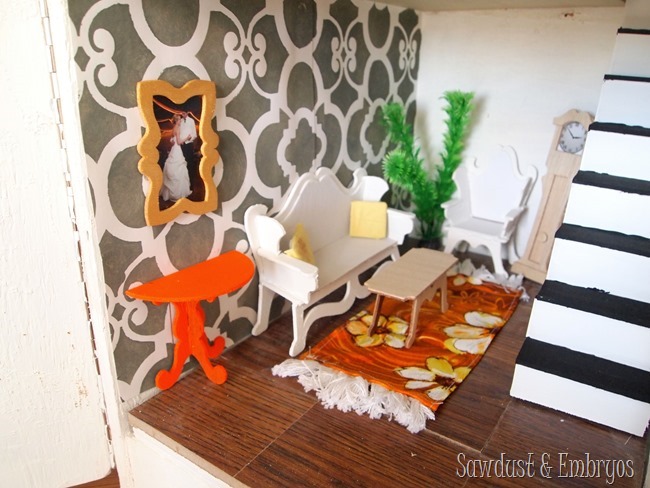
The living room has a stenciled wall using another RDS stencil (I’m not sure what this one is called tho!) I just stenciled onto cardstock and pasted it into the wall instead of trying to crawl in to the dollhouse and contort myself to get all those corners. I put a little picture of Nick and I on our wedding day into the little frame, and the foliage also came from the aquarium section. The floor is hardwood flooring samples from our local home improvement store… and for the area rug, I just found a cute piece of scrap fabric from my collection and added some fringe to the ends. That rug is one of my favorite parts of this whole dollhouse!
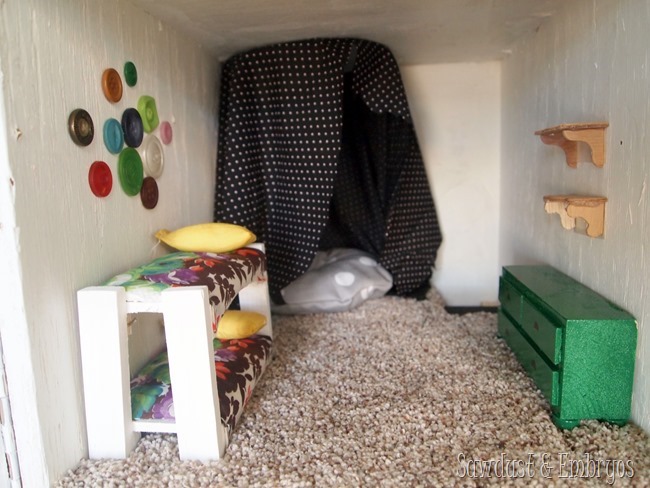
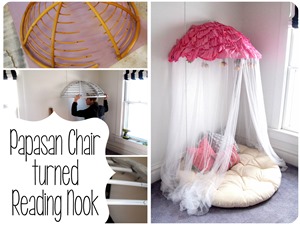
For the kids’ room, I was kinda on my own, as there was no furniture for this room in the set I bought. I built the little bunk-bed out of scrap wood, and the dresser is simply a painted chunk of 2×4 wood. I was having trouble thinking about what else to put in the kid room… but then a lightbulb went off. A CANOPY READING-NOOK! It’s not nearly as cute as the real-life one we fashioned for the girls’ new room, but it still looks like it could be fun for a little wooden child.
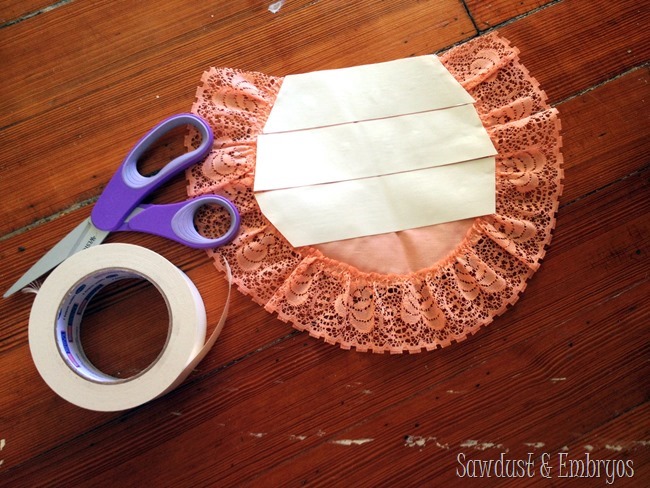
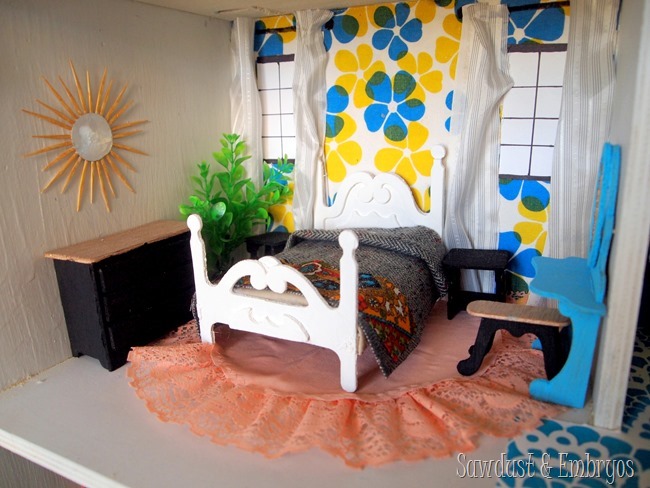
The bedroom has a placemat as wall paper, a doily as an area rug, and a toothpick starburst mirror!
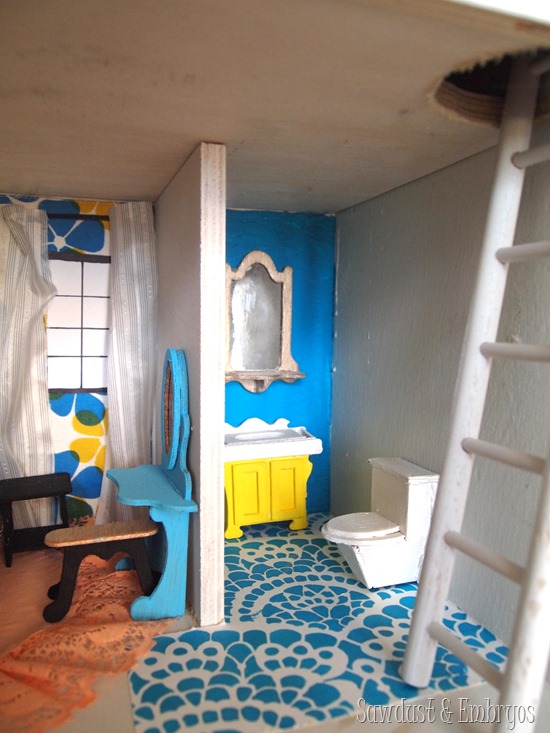
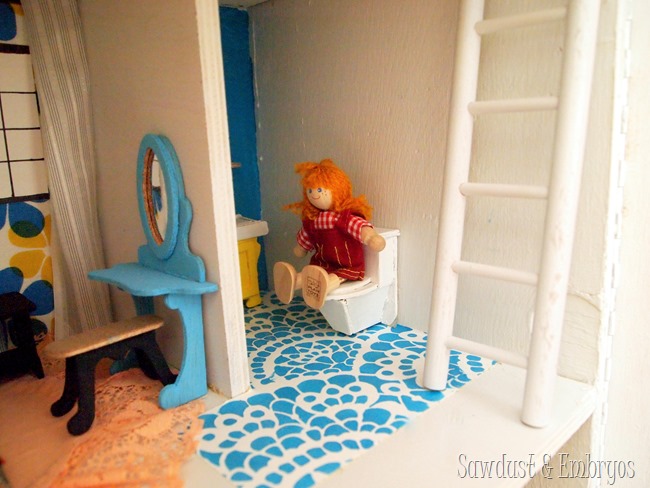
The bathroom has a stenciled floor (using the Spanish Lace Stencil from RDS). There’s a ladder (meant for a birdcage) going up to the ‘attic’.
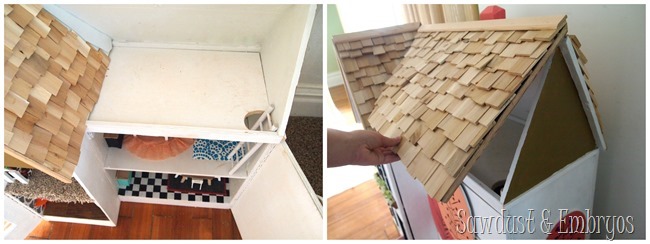
We’re leaving the attic unfinished for now… I just ran out of steam, ok? I thought they could use it for storage if there’s any pieces of furniture they’re not using at the time or whatev.
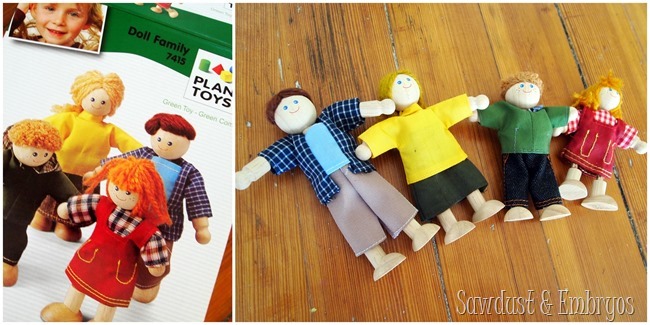
After reading all your suggestions on which dollhouse ‘people’ we should go with, we ended up purchasing this little family from Plan Toys. Their face, arms and legs are wooden, but are attached to heavy-duty bendable wide so the people can stand OR sit!
This dollhouse is an example of me half-assing. Because if I went all-out, I would cringe and weep silent/ugly tears every time the girls play with it. I want them to feel like they can rearrange if they want. Things are going to break or get lost. I’m sure there will be a day when I find a half-empty juice box next to the teeny toilet.
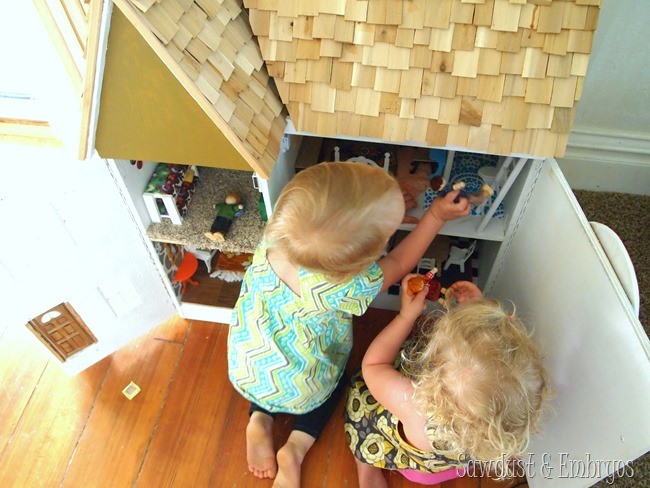
The girls have been watching and helping (ish) me slowly furnish their dollhouse. And they were so excited when they were finally allowed to play with it!
While this was a really fun project, I’m glad it’s done so the girls can play with it and I can mark it off my list. And since the girls have yet to move into their new room, we’re keeping the dollhouse downstairs so they can play with it for now. It’s adorable to listen to them play ‘house’!
If you enjoyed this post, you should click over to see Part 1 and Part 2 of this project!
If you haven’t seen all the other DIY projects we’ve done in the girls’ new room, be sure to check them out below!
Feel free to pin this image!


Your dollhouse is adorable. A couple questions about the furniture. I am amking my daughter a dollhouse for Christmas and have a couple rooms of the furniture you have. What type of glue did you use to put it together and did you need to sand all the edges first? Mine seem kind of rough.
Cara, I did lightly sand the edges first. I used hot glue to put the pieces together, and I regret that very much. The furniture has NOT held up very well. I would explore other adhesive options. Maybe ask someone at a craft store?
You guys are amazing!
Thank you for sharing your creative projects with us!
Wishing you guys the best!
Okay, if that is you half-assing, I would like to see you whole-assing. This is AMAZING!
Oh. My. Word. One of my photos is on a tiny little wall in the most perfect little dollhouse. You made my day, Beth. 🙂
what would upset me, is putting all of that time into it, only to have my child not play with it at all. which is what would happen to me. because for some reason ,he never plays with toys. (am I the only one?) your dollhouse is absolutely outstanding and amazing. The details are so freaking cool. I’ve wanted to put one together, take a year to do it, and donate it at Christmas. But I never have. Perhaps this is the inspiration I needed!
That’s such a good idea Melissa! You should totally do that!
Cute! I know what you mean about being upset if the kids would break it. Which they totally will.
Your girls’ dollhouse is better decorated than my real life house! I think that makes me sad.
Randi! Keep in mind that everything in this house was FREE (except the furniture kit). Can you imagine how gorgeous your house would be if you had an unlimited decorating budget?! Don’t be so hard on yourself! 😉
aww yay! I wanna come play!
I really wish you guys were more talented. 😉
Ok the buttons on the wall? Just killed me! I have such a thing for buttons and that was such a cute way to use them! Awesome work!
Speechless!
Beth, I love this!! So colorful and creative, and I have been collecting real plates for a future plate wall of my own, like you added with buttons!! Love the photo of the girls enjoying their playhouse and great little people you chose for the family to live there. And then, there is your portrait on the wall…..everything about this project is wonderful….great job, Mom and Dad!!
So cute – I had one as a girl made by my Uncle from scratch and I loved it 🙂
How adorable…the rug is my fav, too! The girls will love it…we always made Barbie doll houses for our daughter and now granddaughters….they are such fun to do and a perfect way to express your creativity!!! I love what you’ve done here….what fun!!!!
Adorable! I understand the wanting to cry silent ugly tears..I’ve been there with my daughter and her house.. but ths post is adorable and inspiring and now that she is older I may hvae to vamp it up a litte for her.
so cute. My dad made my daughter a doll house when she was a child and we decorated using wallpaper that we had used in our home. She still remembers the hours she spent playing with it.