• Home
  • About
  • Tutorials
  • Recipes
  • Furniture
  • Contact
    • Contact
    • Infertility
    • Disclosure
    • Privacy Policy
  • Shop
    • Facebook
    • Instagram
    • Pinterest

Reality Daydream

The Dream is Free, The Hustle Sold Separately

  • Home
  • About
  • Tutorials
  • Recipes
  • Furniture
  • Contact
    • Contact
    • Infertility
    • Disclosure
    • Privacy Policy
  • Shop

Shading with Stain… Giant Sunflower Art!

October 5, 2015 by Bethany Sy

I think I’ve teased you guys long enough about this giant sunflower ‘stained art’ I’ve been working on. It’s finally done and ready to share! I used inspiration from the beautiful photography by Michele at Simplify Live Love. I’ve actually met her in real life, and she’s as lovely in person as she is on her blog… where she shares all the details of organic gardening, living green, homeschooling, and building a passive aggressive house! Be sure to follow her on Instagram to see more of her stunning photography of her acreage.

Gorgeous sunflower photography by Michelle at 'Simplify Live Love'Simplify Live Love

I was commissioned by a client in Georgia to create a massive 7’ x 8’ piece of wooden art using this sunflower as inspiration. So we bought rough-cut Alder wood, planed all the planks to 1/2” thickness, ripped lengthwise for perfectly straight boards, and glued them together in 3 separate panels for easier shipping. (can you imaging shipping a piece of art that’s bigger than your king size bed? YEAH) Then there was a lot of sanding, sanding, and… oh yeah MORE SANDING! This big girl needed to be soooo smooth before she’s ready for my staining technique.
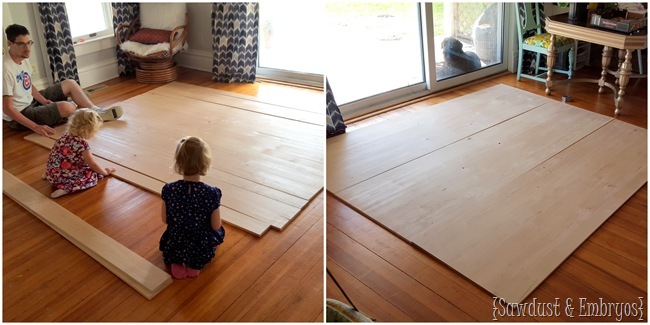
sunflower art2

Finally all the preparations had been made, the art was upright and ready for me! (I briefly considered staining this piece flat on the ground instead of upright like this to save my back… but I decided that crawling around on my knees on wood seemed more painful in the end)
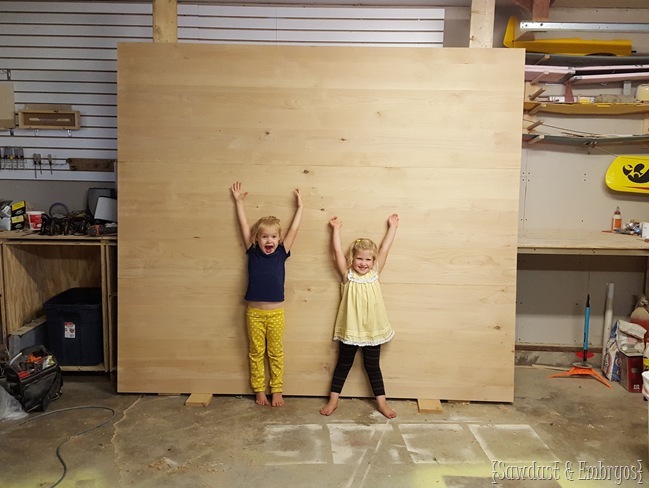
Getting prepped to stain a giant slab of wood to look like a sunflower using my trademark 'Shading with Stain' technique {Sawdust and Embryos}

The girls get pretty excited about each and every project we tackle, and want to be included and ‘help’ whenever we let them. It’s the sweetest thing, and I love that they’re learning good work ethic in the process.

It’s time! I put on my jamz (Meghan Trainor Radio on Pandora), and gathered my wood stains!. This time around I used Gel Stain by Shabby Paints for the brown shades, and Unicorn Spit for the brightly colored stains. Both of these are water-based which is SO NICE not having to worry about those nasty fumes.
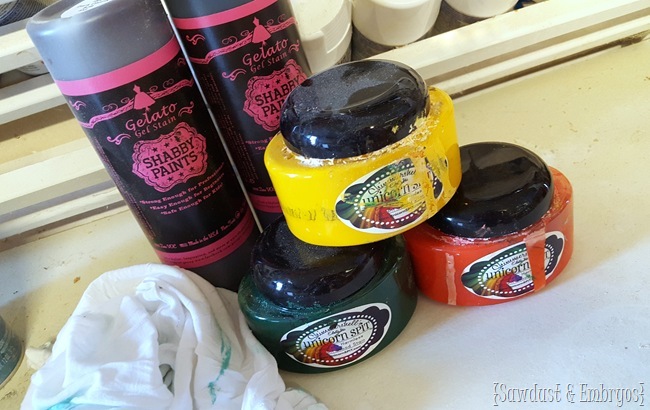
Water based wood stains for wooden artwork and 'Shading with Stain' {Sawdust and Embryos}

You’ll have to watch the video below to see the finished product, but here’s a little sneak preview of my beautiful mess.
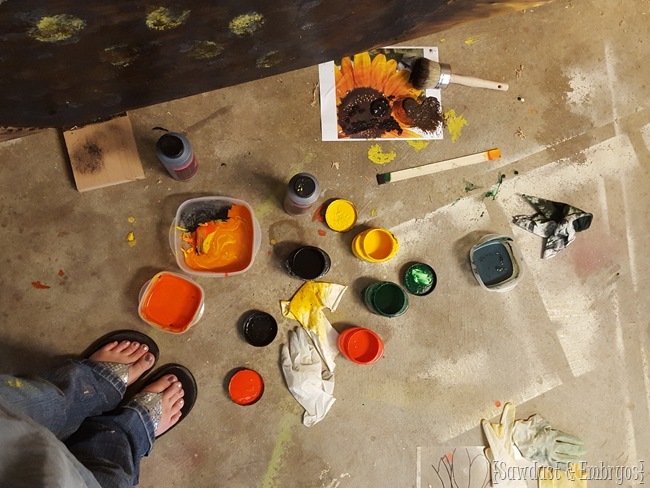
Using wood stain to make beautiful artwork on wood! {Sawdust and Embryos} #shadingwithstain

For those of you with eagle-eyes that noticed the paintbrush in the pic above… FINE I cheated and used something other than my finger on part of it! But only because I needed a circular blotchy effect for the stamens in the center of the flower, and this stipling paintbrush technique worked perfectly! It’s also my favorite part of the video… just watch:
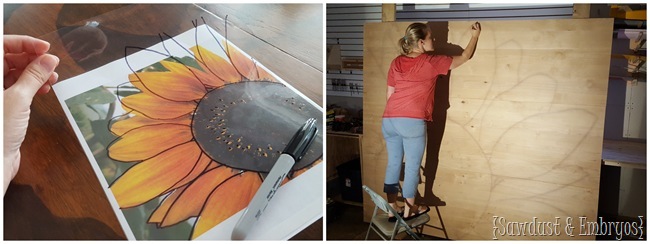
My process is pretty much always the same… print image, trace onto transparency with a Sharpie, project onto the wood with an overhead projector, and trace with a pencil!

#shadingwithstain {Sawdust and Embryos}

There are literally hundreds of people that have tried this technique of ‘Shading with Stain’ and shared pictures with me. It makes me feel all proud-mama-ish, and so happy that y’all are stepping out of your comfort-zones and trying something new! Here’s a collage of the most recent batch of reader projects I’ve received via email and Facebook. Keep ‘em coming peeps!
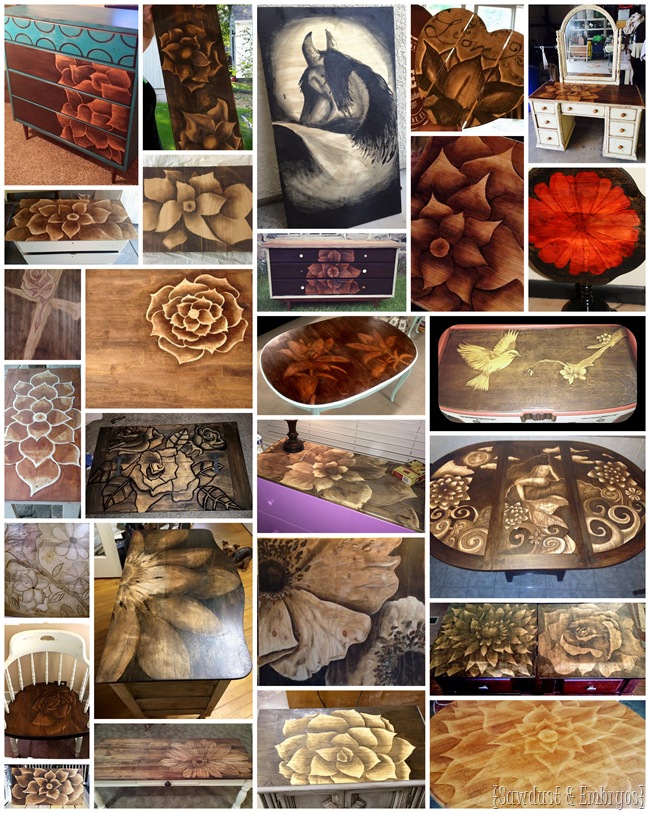
#shadingwithstain technique inspired by Sawdust and Embryos

If you feel compelled to try this for yourself, be sure to read through my beginner’s tutorial here where I talk about the technique and products and such. There’s also a video tutorial where I walk you through it step-by-step. There’s nothing to lose! Just practice on a scrap piece of wood, and there’s no pressure!

Thanks to everyone for sharing our videos and making this a THING! It’s so fun seeing so many other people inspired!

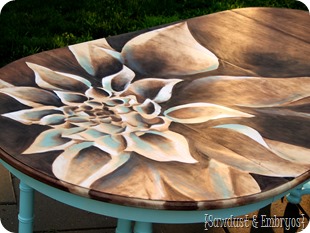
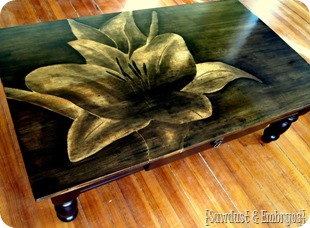
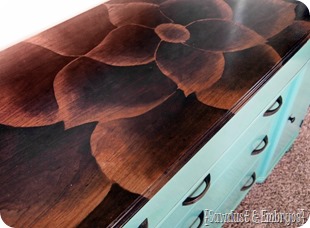
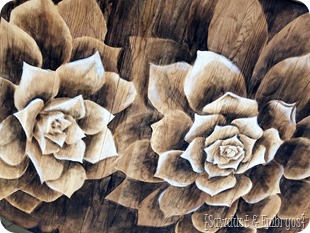
Check out the other projects WE’VE done using our signature ‘Shading with Stain’ technique! Each image below links to a post, so feel free to click around!
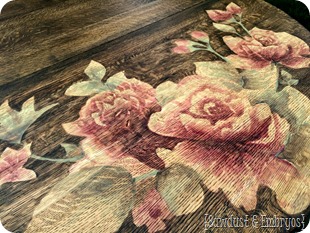
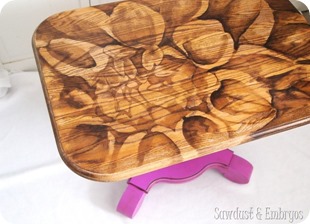
Artwork on furniture using wood stain {Sawdust and Embryos} Wood Stain Artwork {Sawdust and Embryos}
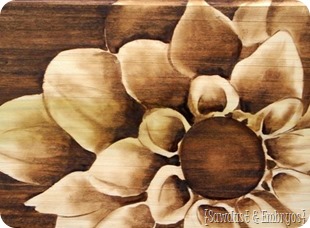
Artwork using Wood Stain {Sawdust and Embryos}_thumb Shading with Stain {Gradual Staining Technique by Sawdust and Embryos}_thumb
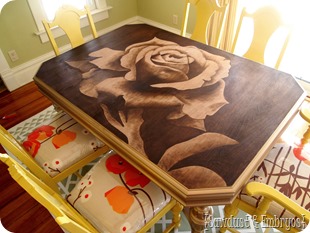
Dining table with succulents stained on top! {Sawdust and Embryos} End-table-using-Wood-Stained-Artwork-technique-by-Sawdust-and-Embryos_thumb
Shading-with-Stain-Sawdust-and-Embryos1 Artwork-using-wood-stain...-its-easier-than-it-looks-Sawdust-and-Embryos

Sawdust-Embryos_thumb2

Related:

  • Ocean Resin Art

    Nick and I have dabbled in epoxy here and there, but we've never done anything…

  • Wooden Circle & Test Tube Propagation Art

    We're in the dog days of summer, and it seems like my kids are always…

  • Large-Scale DIY Pixel Art Using Dowels

    If you love unique art and have absolutely nothing to do with your time, come…

About Bethany Sy

Nick and Bethany Sy are the creative free-spirits behind DIY/Lifestyle blog, Reality Daydream. They recently purchased a historic mansion and have been documenting the ups and downs of renovation and making this home their own... all while sharing tips and tutorials along the way! When they found themselves in the trenches of infertility, they started a journey that would prove to be their most important DIY project ever, and have 3 beautiful girls to show for it. <3

« Fall / Autumn Related DIY Projects and Recipes
Soft Pumpkin Pretzels w/ Cinnamon and Sugar! »

Comments

  1. 5

    Theresa Glover Radke says

    October 7, 2015 at 10:29 pm

    This is beautiful!! How do you handle fingers poking through gloves? Seems like before I know it I look down and it’s a bare finger under the t-shirt lol

    Reply
  2. 6

    Jenna michelle Pink says

    October 6, 2015 at 2:12 am

    Ahhhh this is so awesome. I love sunflowers and this piece is so big and bold. I love your staining technique and have all your beginners tutorials bookmarked to give it a try after we have moved 🙂

    Reply
  3. 7

    dana dashoop says

    October 5, 2015 at 8:46 am

    WOWZA!!!!!! AWESOMELY GORGEOUS!!!! How cool it’s going to GA & they will no doubt admire its’ beauty & your hard work!!!! (& Nick & the girls too for their assistance as well)

    Reply
  4. 8

    Michelle Marine says

    October 5, 2015 at 7:59 am

    It’s so beautiful, Bethany! I’m thrilled that it worked. You are so very talented. <3

    Reply
  5. 9

    Julie@followyourheartwoodwork says

    October 5, 2015 at 12:32 pm

    Fabulous Beth, you are truly an artist!

    Reply

Trackbacks

  1. My newest 'Shading with Stain' Table! - Sawdust and Embryos says:
    November 10, 2015 at 7:04 am

    […] and went with a more neutral palette of browns and wood tones. I think the bright colors of that Sunflower Art did me in for awhile. I needed something more organic this […]

    Reply

Leave a Reply to Theresa Glover Radke Cancel reply

Your email address will not be published. Required fields are marked *

Recipe Rating


  • Facebook
  • Instagram
  • Pinterest
  • RSS
  • YouTube
We are Nick and Bethany! Welcome to our blog, Reality Daydream where we share our DIY adventures!
Click here for lots of art projects using only wood stain on furniture!!
Please feel free to share or pin my posts! You're welcome to use ONE of my images (no collages or pinnables) with a link back to the corresponding post. Please do not edit or crop that single image in any way. Improper use of my photos, ideas or words is a violation of copyright. Thank you!

Categories

Attention: Almost any do-it-yourself project involves risk of some sort. Your tools, materials, and skills will vary, as will the conditions at your project site. Reality Daydream has made every effort to be complete and accurate in the instructions of the plans on this website. Reality Daydream will not assume any responsibility or liability for damages or losses sustained or incurred in the course of your project or in the use of the item you create. Always follow the manufacturer’s operating instructions in the use of tools, check and follow your local building codes, and observe all commonly accepted safety precautions.


Copyright © 2025 · Modern Blogger Pro On Genesis Framework · Customizations by Sweet Theory Designs · Privacy Policy · Log in