Phew! What a busy weekend! You too?
Nick and I have been working away on our respective projects. He in the bathroom/laundry room (update coming later this week!) and I in the kitchen. There were also a number of trips to the hardware story to break up the monotony of buzzing power tools.’
Today I’m going to show you what I ‘threw together’ (HARDLY) as my next step in my kitchen overhaul!
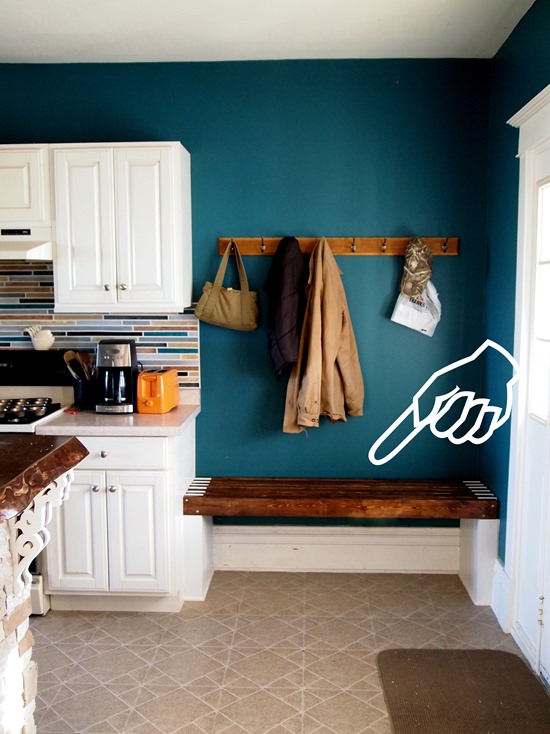
Recall for a moment the ‘built in’ mudroom bench I built last week.
I chose that design so that I could build a rolling bench to slide under it with cubbies and baskets. Since this whole design is just in my head, I’m thinking that I’m going to have to end up asking Nick for help… because building something with Ana White’s plans is one thing. But designing and building something out of my imagination might be a stretch.
But then, when what to my wondering eyes should appear…
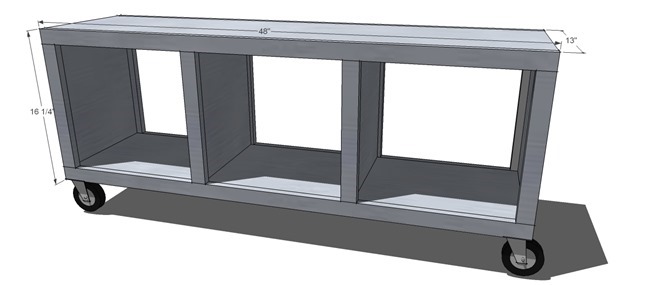
Ana DOES have plans for exactly what I need! ‘of course she does… girlfriend has building plans for EVERYTHING…’
Granted, I had to modify the height, width, AND depth to fit my area… but my elementary math skills are still intact (I was a math wiz right up until they started adding letters to the numbers. NOT COOL).
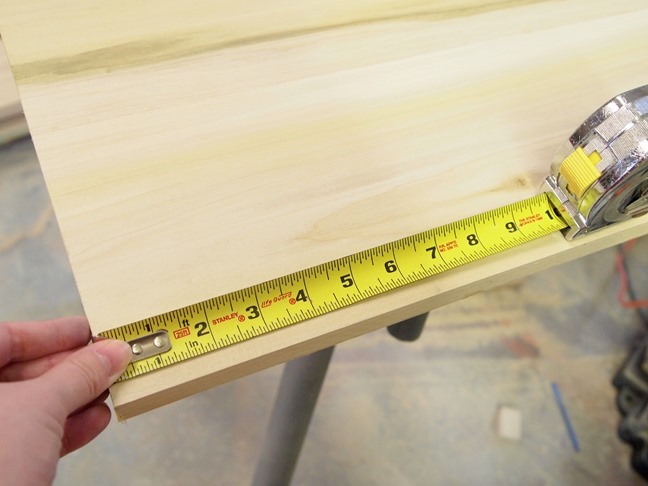
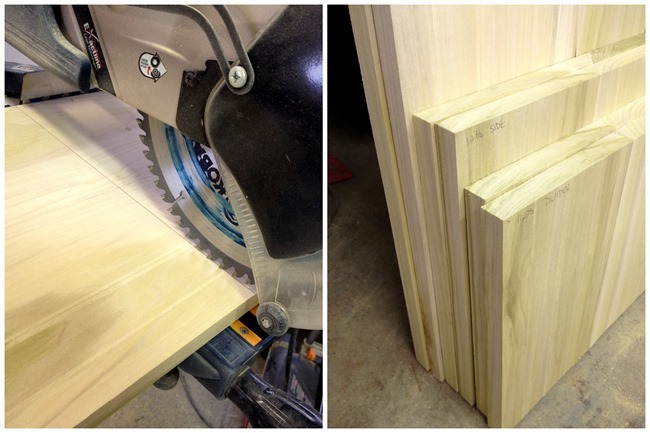
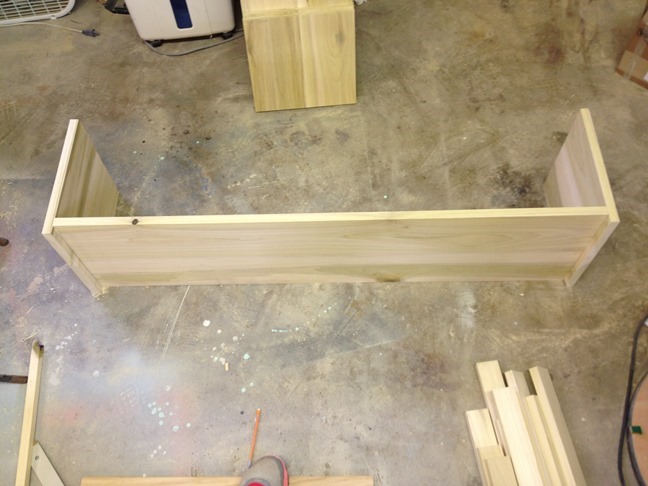
After making myself a modified cut list with my new dimensions, I cut all my boards to size. At this point, it just like buying a furniture kit from IKEA or whathaveyou and assembling it. Right?
I would just like to point out that sharing a wood shop with another carpenter can be frustrating. I could have taken 30 mins to clear off a space on the workbench to assemble this thing. But instead I opted to just gather all my supplies, and slowly lower my 7-month-pregnant-self to the cold/concrete floor to assemble my bench. Sometimes I actually envision a crane lowering me… beep… beep… beep.
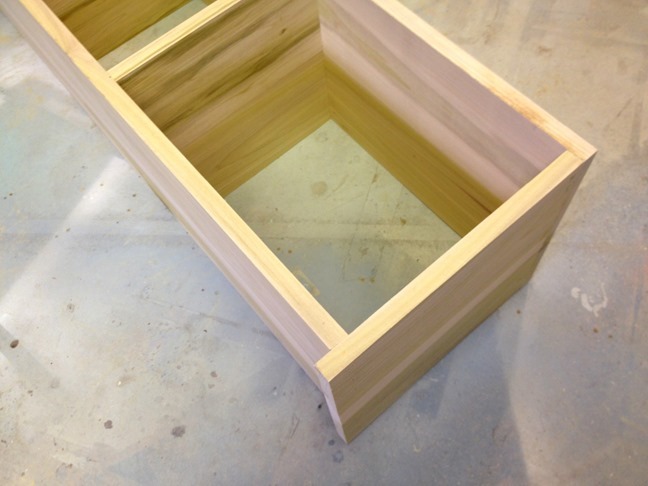
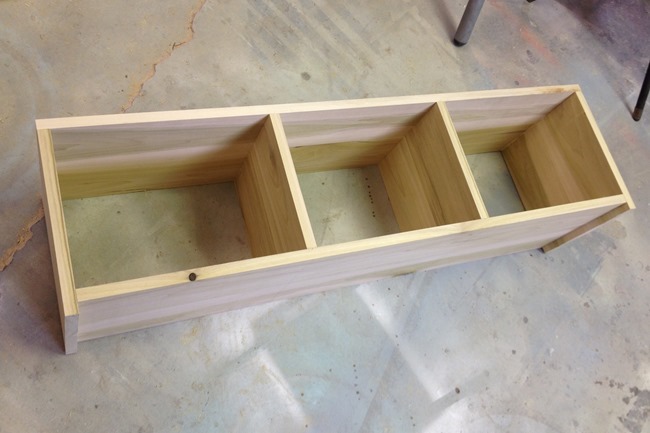
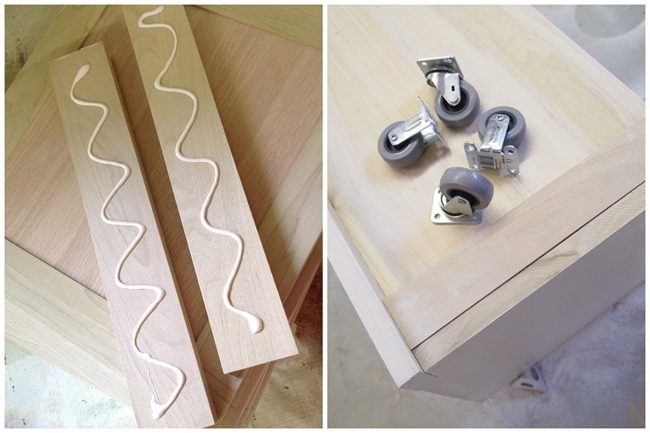
I used wood glue at each joint, and secured everything with a nail gun and 1.5” nails.
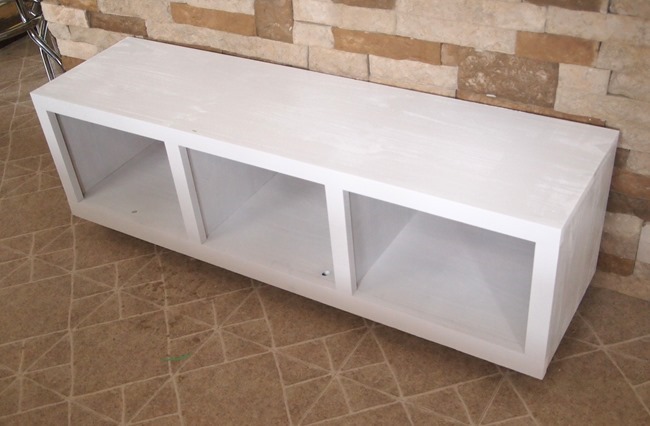
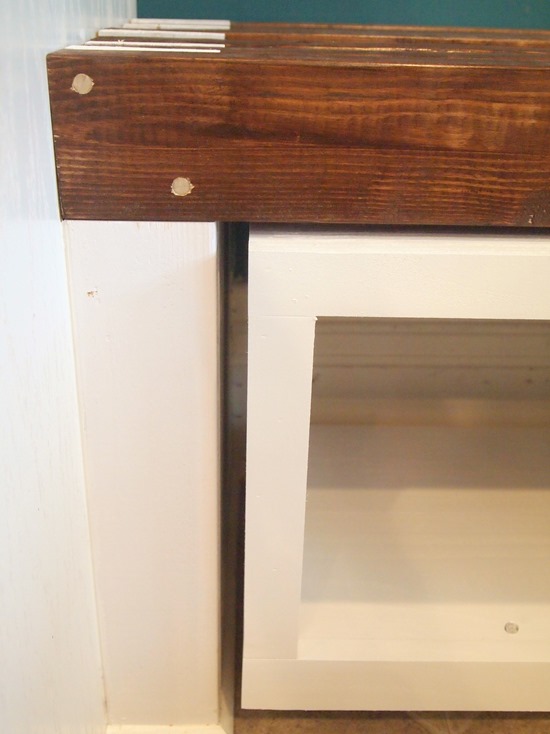
Using 1×2 pine boards, I framed in the front to look more substantial and ‘finished’. And then completely forgot to take a picture before it got painted white. So here she is!
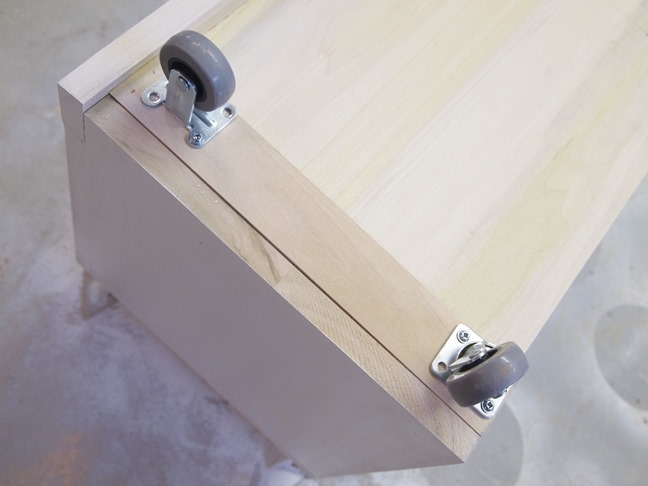
On the bottom, I added these extra supports for the casters. We snagged these casters at Lowes… here’s the link!
Let’s just say there was a lot of anxiety involved when we brought this sucker into the kitchen to see if it fit. There are so many opportunities for error… and the smallest miscalculation could ruin everything!
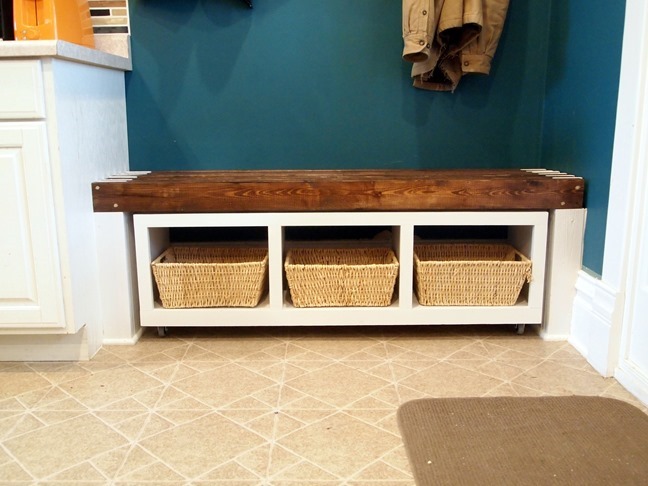
But to my utter relief and jubilance, she glided (glid?) in PERFECTLY. It was a moment, I’m telling you.
I had bought these baskets at Lowes to go in each cubby, but the ended up being a bit too tall. See what happens when you don’t measure? At least it was just the baskets that can easily be returned. I ended up just popping in these baskets that I already had on hand. They’ll work for now.
I’m loving how custom this is looking. And loving even more that I’m pulling this off WITH MY OWN TWO HANDS! I can’t tell you how much more confident I’m feeling, and how rewarding this is!
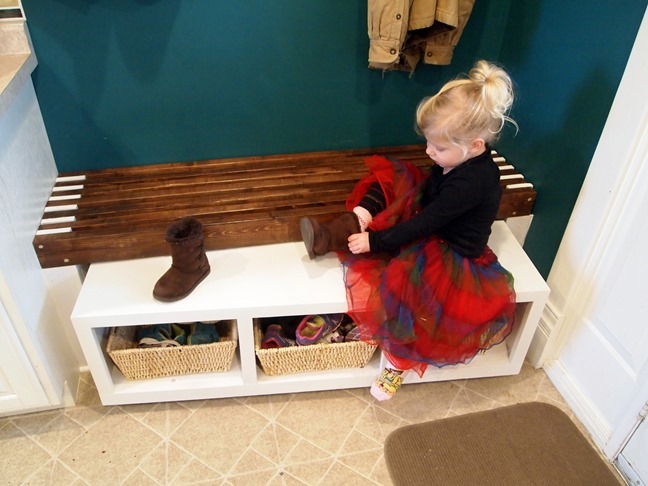
The reason for this dual-bench situation is because our bench always fills up with stuff that needs to be taken out to the garage, or returned to the store. We’re trying to be disciplined to keep it clean. But at the same time, I love knowing there’s a slide out bench underneath that’s ALWAYS clean, and perfect height for the littles to put their shoes on.
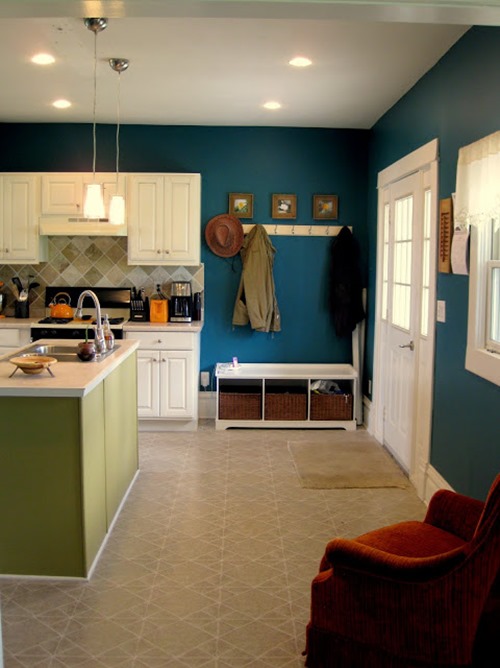
Here’s a little reminder of how our kitchen looked just a few months ago! (check out that shoddy kitchen island! It’s hard to remember it that way!)
There’s still a lot to do, but I’m getting there little by little!
Thanks for following along on my little kitchen overhaul! It seems like little piddly projects compared to the things Nick is building (details on that soooon!)… but for me, these things are a huge accomplishment FAR from my comfort zone! Click here to see previous installments of my ‘kitchen overhaul’ projects!
Disclosure! we’re SUPER HONORED to have been chosen as a “Lowes Creator”, and were provided with a Lowes gift card to help with the cost of supplies… but as always, all ideas, thoughts, opinions AND grammatical errors are 100% our own. Because that’s how we roll yo.



We are downsizing to an apartment half the size. I was searching for plans and yours is exactly the right size, but I am planning to make two!. When the grandchildren come over there will be seating for all (and I’ll keep their toys in the storage area). Thank you!
I know exactly what you mean about math, using letters instead of numbers. my mind would literally shut off at the point no matter how hard I tried! I wish I had my notes from my algebra class in college. I did some of my best drawings then! the first half of the semesters’ notes were great, every single detail. once it got past, ” find for x or y”, the most detailed fairies and other stuff ever! I’d sit down at the bell thinking,”I’m gonna do it today! Gonna take all my notes and actually understand them and learn!”. 5 mins later the bell would ring, the class would be over, I’d have a whole page covered with a fairy or whatever and would be wondering where the hell I’d been for the last 4 hours. Geometry was no sweat.
kind of rambled on a bit longer than I meant to there.
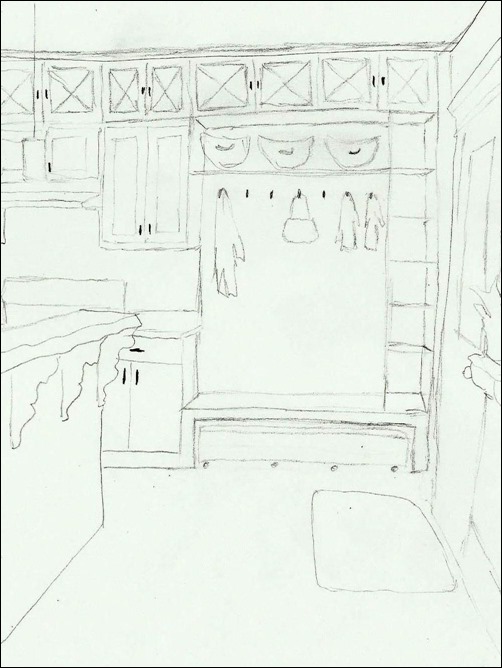
I know that all those cubbies up along the wall above the right sid of your bench would be convenient… But I hate thinking you are going to cover up the beautiful bench with anything! I love how the stain wood and painted white wood integrate together on the end of the bench and that will totally be hidden if you install those cubbies. Please don’t do it! You are already adding TONS of storage with the other built-ins… Just my two cents.
that is really super fantastic!! Well done you for just diving in and taking it on.
Love your bench(es)! Have you thought about having a decorative crate on the end of the stained bench to put things in that need to go back to the garage? At least it would keep it “contained” until it made the trip to its “home”.
Yes we’re hoping to try something like that… although the items usually on the bench are things like a couple cans of paint, a reciprocating saw… big stuff like that. We really just need to be more disciplined to put stuff away. Wish we had an attached garage so we didn’t have to go out into the elements in order to be more organized. Haha!
That bench is genius! We’re going to change your name to Rosie the Riveter because you can literally do ANYTHING. I’m super impressed with your skills.
Oh Kenz… you’re so encouraging!!!
I love all your creativity! i have recently downsized and bought a smaller home. I wish I could hire you to redo all the walls in all of the rooms in the house! you have great ideas and look forward to seeing more of your accomplished work. Congrats on all your baby girls. `Your New Follower, Marcy
The backsplash isn’t really new, but this was the only ‘before picture’ I could find. Here’s the link for the tutorial on how we painted the backsplash to look like tile!
https://realitydaydream.com/2013/02/out-with-old-painting-backsplash.html
Looks great! I laughed out loud at the idea of you being lowered to the floor by a crane. 🙂
New backsplash too?!
Your kitchen is looking amazing. Great job on the bench and the mini bench.
LOVE it! You rock.
PERFECT! You did such a super job I know you are proud and you should be. Vikki in VA