ATTENTION! If you entered our Paintbrush Starburst Clock Kit giveaway by the name of Shalini G, you are the WINNER!!!!! (and have quite possibly inspired the name of our next child)… Check your email asap Shalini! Now onto business:
~~~~~~~~~~~~~~~~~~~~~~~~~~~~~~~~~~~~~~~~~~~~~~~~~~~~
So… the kitchen.
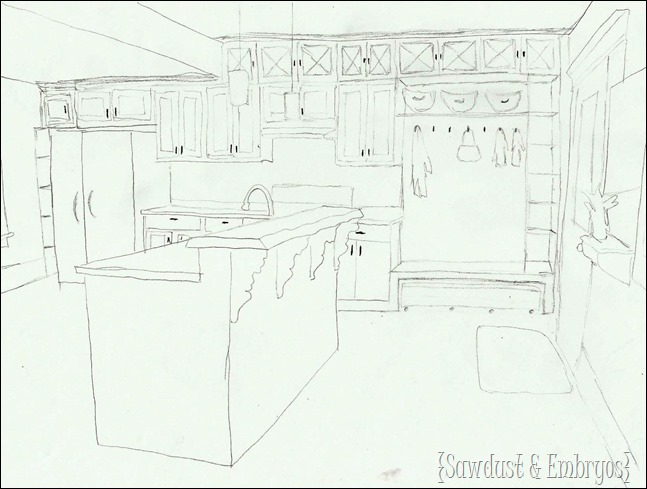
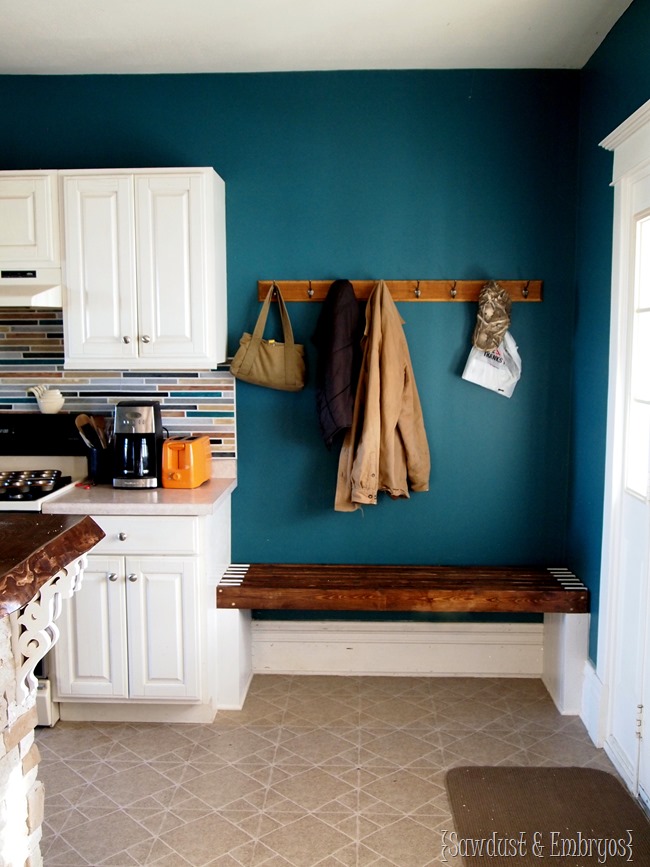
I wanted to build a bench that appears ‘built-in’ to extend across the expanse from the end of the cabinets to the wall by the door.
But let me explain something first… this bench is our ‘dump zone’ for pretty much everything. But most specifically tools and/or things that need to go out to the garage. We’ve tried to be disciplined and keep it clean on several occasions. But it just doesn’t happen that way. So, while I still want to make an effort to keep it clean, I also want to be realistic and acknowledge the fact that our ‘bench’ isn’t really for sitting.
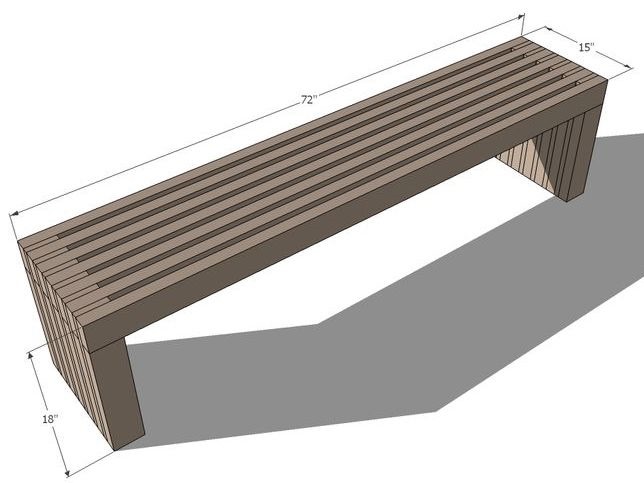
So my plan is to build a second bench that ROLLS OUT from under the ‘build-in’ bench, so the littles can sit a put their shoes on. And then the bench will just roll back under the other bench! The problem with this is that the built-in bench need to be so sturdy and hefty that it doesn’t need any supports in the center… just on the two ends. I was just about to give up on the whole idea until I happened upon this pic in my Facebook feed:
Those are 2×4’s going across the top… and would be so super sturdy!
I’ve always been intimidated to use ‘building plans’ because numbers and measurements and INSTRUCTIONS freak me out. But this one (by Ana White!) looked easy enough. And I thought this would be a good way to break myself in!
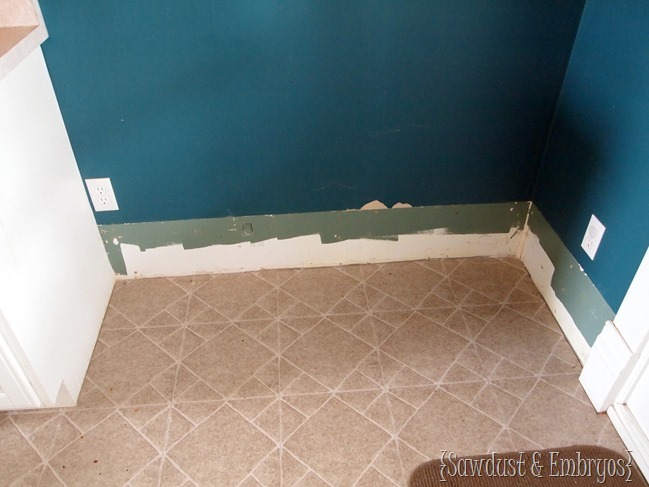
I started by removing all the trim in that little cove of the kitchen. Ain’t it purrrdy that way?
I bought myself a few 2×4’s and 1×4’s based on the cut list Ana provided in the plans, and started cutting them to size! I had to modify the dimensions slightly so it would fit perfectly into my area. And I made it 2” taller as well so there would be more room for the bench underneath.
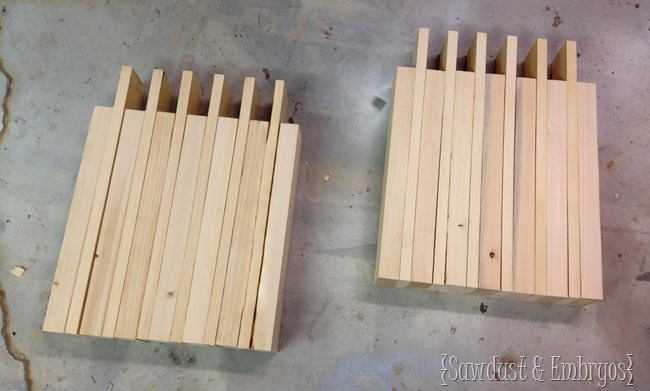
Here are my two end braces. SO SIMPLE!
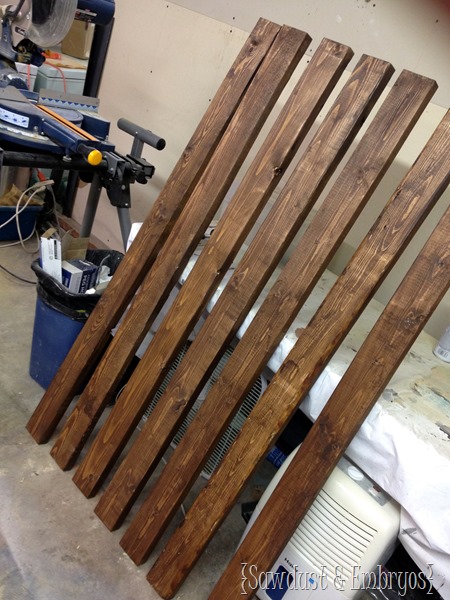
Then, for my horizontal boards, since I wanted them to be stained to coordinate with the live-edge breakfast bar, I went ahead and did that before assembling since it would be very difficult to do after. Here they are all stained in RustOleum Dark Walnut:
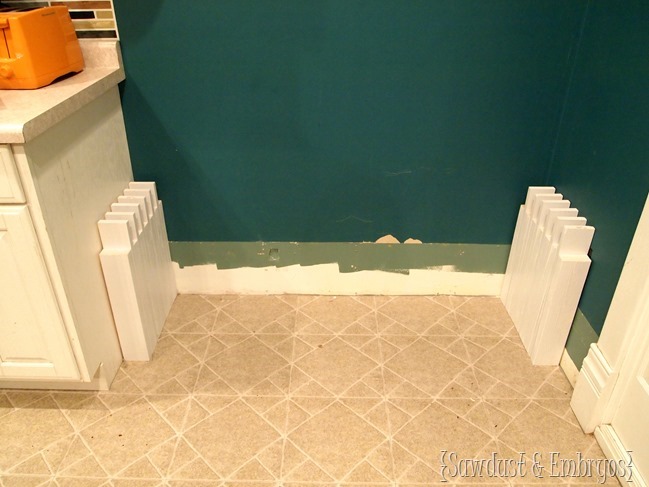
After priming and painting my end supports white (to flow with the white cabinets), it was time to put them into place!
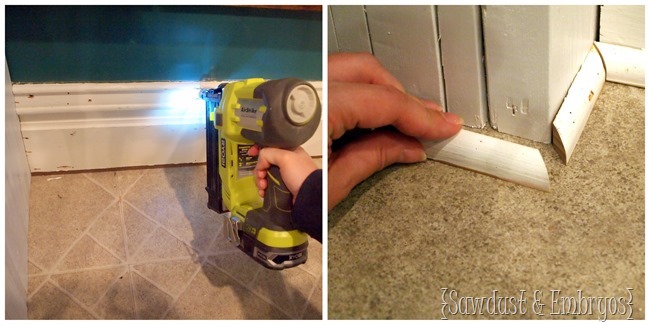
Before I put the horizontal slats into place, I wanted to put the trim back on. Nick helped me with this part… cause I’m no finishing carpenter. We even put quarter-round around the base of the bench brackets to make it really look finished and ‘built-in’.
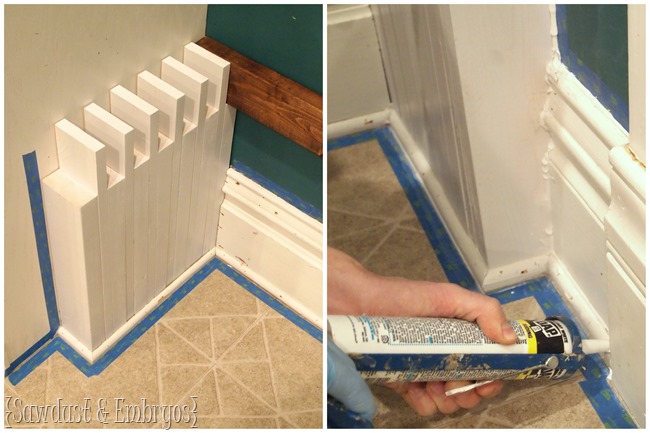
We taped around all the edges and caulked all those cracks.
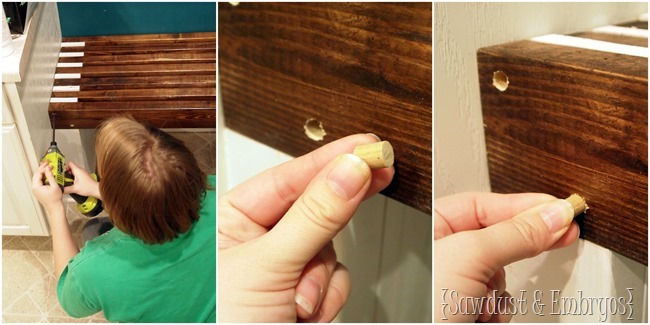
Then was time to slide in all those horizontal slats! I some of them were a tight fit and needed a little nudge with the rubber mallet. I only screwed the front slat on (because it’s the only one that wasn’t self-secured), and filled those holes with a little stub of a dowel.
I still need to give the trim a fresh coat of white paint, and dab some dark walnut stain on those dowel plugs, but other than that… this baby’s DONE!
Seeing these little parts of my dream kitchen come together are so exciting! And I love this feeling of taking initiative and rolling up my sleeves to do things myself. I’m getting so much more confident! Next, I’ll be building the little rolling bench (with openings for baskets) and THEN there will be vertical cubbies going up the corner of the wall. So many plans!
If you missed my Kitchen Island/Breakfast Bar project, click HERE to catch up!




wow it looks so seamless! love the brown and white together!
Did you cover up your two electrical outlets or are they under the new bench? I love the look and it looks easy enough. Believe I’ll try it too!
Good question! I forgot to address this in my post! The funny thing is that our kitchen has a DESPERATE shortage of outlets… yet in this little corner (where we would never need them) there are TWO. Wasteful! Anyway… Nick felt like it would be a fire hazard to cover them in case any dust accumulated back there, so he ‘disconnected’ the electricity from them. Don’t ask me how, because I don’t ‘do’ electricity. HAHA! If you had the same issue and need details, let me know and I can have the hubs walk you thought it! AND, if you build a bench of your own, sent us pics! Good luck!
Girl, you are literally the most inspirational person I know!!! This rocks my socks!
Ohhhhh come now. It’s people like YOU that inspire me with your fearlessness of power tools in the first place!
Love it, Bethany!
Love the bench plan!
Just wanted to let you know that “Shalini” is a popular name from India that means “Graceful” 🙂
Yes! Shalini actually responded and told us the history of her name… so fascinating!
So cool! I kind of love that you can see the end plugs. They add a little graphic element to the front to keep it interesting. I’m definitely putting this in my someday-list.
I’m liking the plugs too! I might paint them white so they really stand out, and match the base of the bench. 😉
Your kitchen is going to be amazing! My kitchen is mid-remodel, and has been for two years, but you’ve inspired me to start doing a few things myself. Hopefully it will help motivate the hubby too.
You go girl!
I’m excited to see the finished project, although it looks really good as is!
I love it! I love simple lines and clean looks. Awesome.
OMGoodness…you are how many months pregnant and you are building and installing and painting and staining? So amazing. I though I was accomplishing stuff when I removed wallpaper and painted the walls. Of course I’m in my late 60’s (did I just admit that) so I should get a little slack for that. 🙂
Your new bench is beautiful. I love white paint with dark wood stain together! Maybe you will start putting the “bound for the garage” items in one of your baskets that you will be installing. Would be a shame to clutter up the bench. Your kitchen is really coming together. Vikki in VA
You’re super sweet Vikki! I’ve had a great 2nd trimester and have tried to stay as busy as possibly before the real exhaustion sets in. 🙂
I definitely like your idea of ‘hiding’ the garage clutter, and we’re going to make a valiant effort. I’m going to be building some cubbies soon, so we’ll probably designate a couple of those to that kind of junk. HAHA! It’s slowly coming together!!
This looks so stinkin’ amazing!!! I’m in awe of your mad skills and super pumped for the possibility of baby names! Great job!