Hey buddy! Good morning!
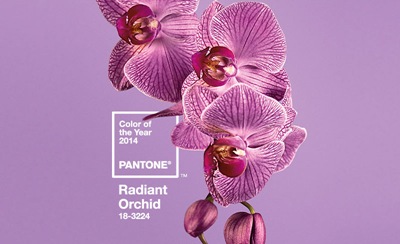
Soooo OK. This month, the good people of Lowe’s challenged us (and all the other Lowes Creators) to make something awesome using the Pantone Color of the year… which happens to be Radiant Orchid.
Let me begin by saying I LOVE ORCHIDS. But come now. Purple?
Well imagine my surprise when I found out that ‘Radiant Orchid’ actually translates to this very enthusiastic shade of pink. Silly SILLY me! Obviously they were talking about the little flourish-y thing in the center of the orchid.
My reaction to this surprise was minimal, because tragically I don’t really decorate my home with purple OR pink. But I realized that we’ve done bright obnoxious furniture pieces in just about every other color… so why not! Plus it’s been awhile since we’ve tackled a furniture project.
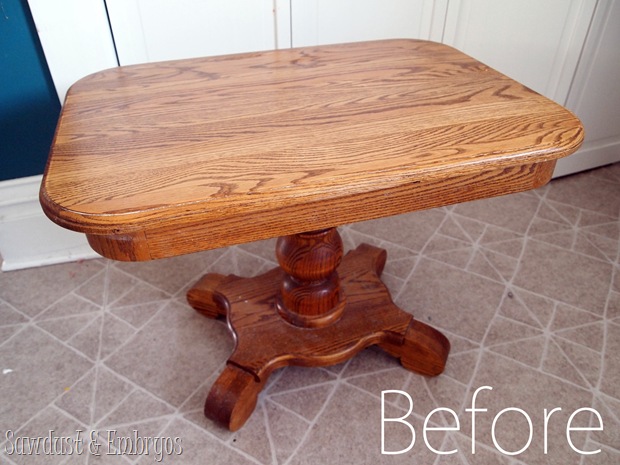
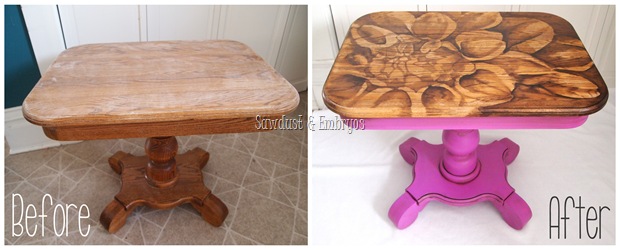
Enter this little oak end table. I snagged her at a garage sale last fall for 5 bones.
Girlfriend was in perfect condition, and very heavy and solid… but had no personality. She was a nobody amongst end tables. Not that being solid and heavy makes you a nobody.
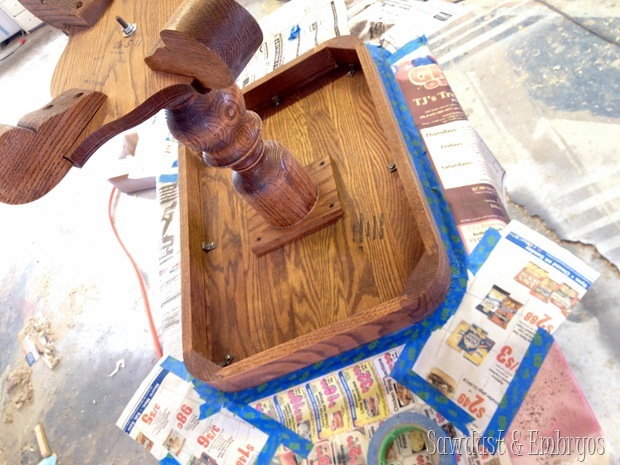
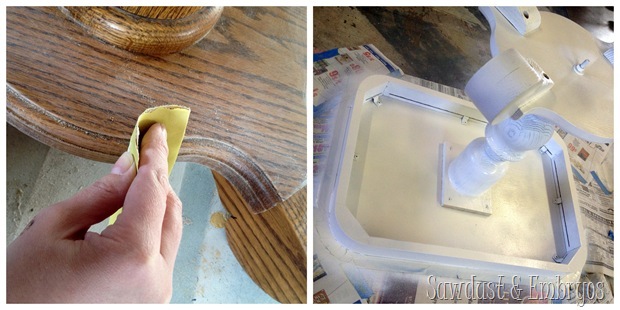
I taped off the lip of the top surface and sanded the whole base to cut down the sheen and prepare the surface to accept primer (we use Kilz).
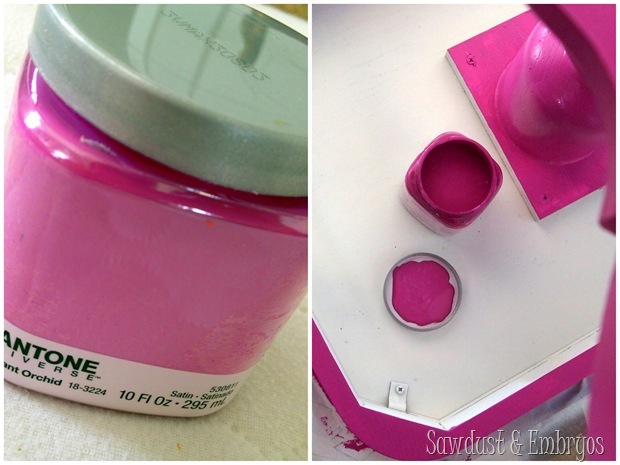
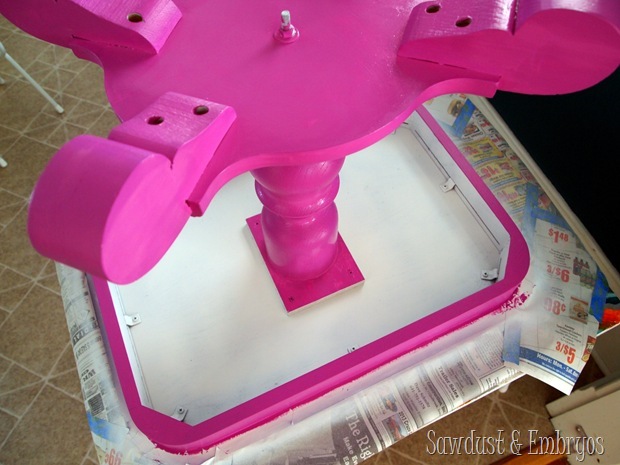
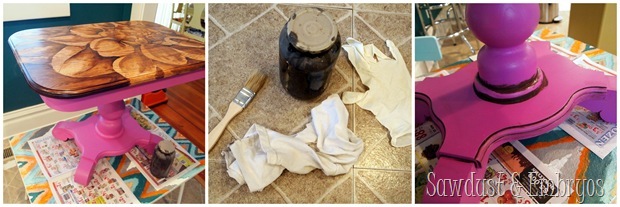
Since this is such a small piece, I didn’t want to bother with the paint gun, so I painted on the Pantone Radiant Orchid with a large craft brush. It went on super smooth and with amazing coverage.
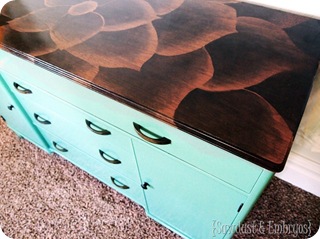
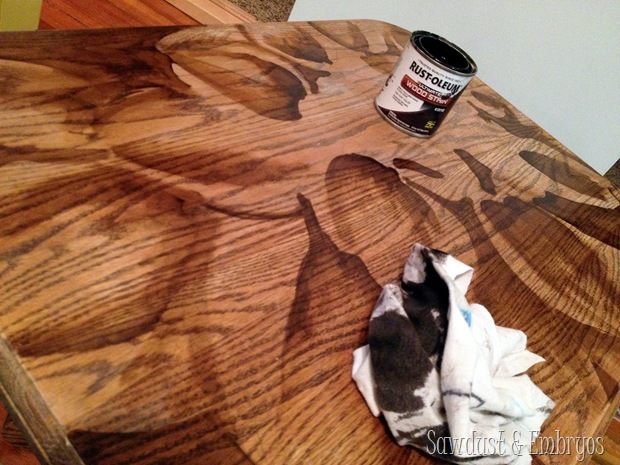
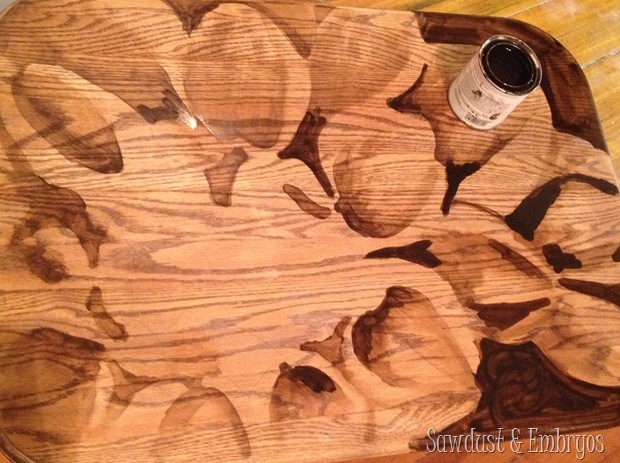
Then, as you’d expect, I stripped the top surface of it’s varnish (stripping tutorial and products here), sanded it smooth, and drew out a flower design with a pencil (using this as inspiration). Then I just started dabbing the stain on with a cloth and rubbing it to create a gradient shading effect. It’s MUCH easier than it looks. Take my word for it… and follow my original stained art tutorial for in-depth instructions. (this is the stain I looove!)
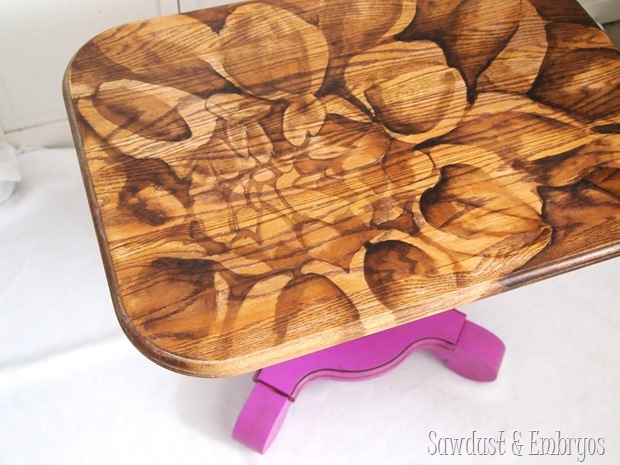
The center of the flower was intimidating me, and I actually let it sit unfinished for about a week. I just wasn’t feelin’ it. But when I finally made myself sit down and tackle it, it ended up turning out just fine. I love that it’s asymmetrical. Feels artsy-fartsy.
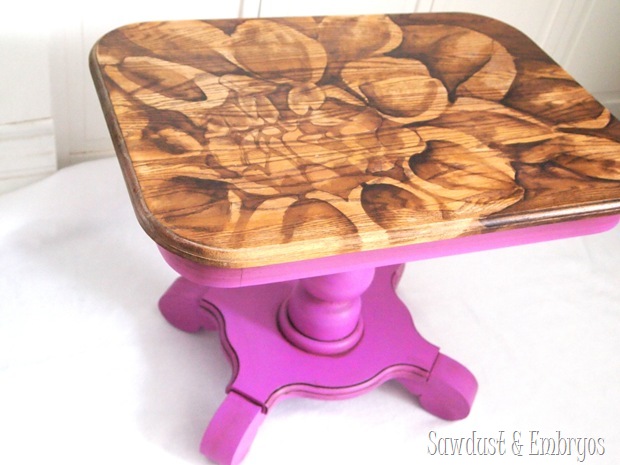
It’s still a little ‘muddy’ for my taste, but I think it’s just because the wood grain of the oak has such high contrast. I toyed around with adding some ‘Radiant Orchid’ to the stained flower, but in the end I just left it alone. It felt complete.
I did however opt to glaze the base so those gorgeous curves would pop and look less like an explosion of bubble gum. (Glazing/antiquing tutorial here)
Then I sealed with Minwax Poly and snapped some ‘after’ pics for you. Because that’s what I do. Even though sometimes it feels cocky.
And now for the obligatory before/after shot!
I’ll admit, it was fun to dive back into a furniture project after focusing so long on the interior of our home (like the big-girl room, and operation laundry room).
For a short second, I wasn’t sure what the heck I was going to do with this little lady-end-table. But then I remembered my close friend Nicole has an unusual obsession for pink, and finds a way to inexplicably decorate her home BEAUTIFULLY using pink as an accent. Plus it’s her birthday this week… sooo Happy Birthday Nicole!
If you’re intrigued by this technique, but are leary to give it a try for yourself, check out my Beginner’s Tutorial and/or watch my step-by-step demonstration in the video below!
.
We’ve gotten dozens of emails from readers who have tried it and says it’s so easy and rewarding. And they always include gorgeous pictures of their artwork. You should totally try it! Here are some links to the first two furniture pieces I did using this technique. Click on the pics below.
 |
![Shading-with-Wood-Stain-Technique-by[1] Shading-with-Wood-Stain-Technique-by[1]](https://realitydaydream.com/wp-content/uploads/2014/03/Shading-with-Wood-Stain-Technique-by1.jpg) |
Special thanks to Lowes for challenging me to try a color that I normally wouldn’t have touched with a 10-foot poll! AND for choosing us regular folks for the honor of one of your Lowes Creators! We were provided with a gift card to cover the cost of this project, but as always… all thoughts and opinions are our own. Which is good, cause we’re pretty darn opinionated.
*this post contains affiliate links



I was all set to do this to my scratched up dining room table until I realized it has 2 leaves. And what pattern will work with leaves in AND leaves out. Nuthin’, that’s what. Then I thought I could do this as a gift for a friend, but she wouldn’t like flowers. She’d want a cat. Ok, good luck finding a simple charcoal cat pic, because they have fur and whiskers and details! Lots of tiny details! Which leaves me to the top of a dresser that could use an update…wait for it…but the previous owner got the top all wet and there’s a raised–not wood part on the top. I was just going to sand it and paint but…will this work? Possibly yes, possibly no.
I haven’t figured out that dilemma either Caedda! When I did a rose on my dining table, and since we rarely use the leaves, I just stained them solid. Here’s that link!
https://realitydaydream.com/2014/06/shading-with-stain-a-video-tutorial.html
This is absolutely gorgeous! You are so talented! I love your stained pieces!
My sister just painted her living room this color, with a gray accent wall. (And her husband loves it!)
I love that she was brave enough to do that… wow! And her husband loves it? What a good man. 🙂
I wasn’t too big of a fan of this year’s color of the year. I’m still soaking up all the emerald from last year. It’s my favorite. But you sure know how to rock the crap outta that color! It looks great. I love that you left the top wood grain.
You just blew my mind. I mean, if there is a color of the year THIS year, of course there’s one last year. I seriously NEVER THOUGHT OF IT! Wow, I’m dumb! LOL
Dumb is not a really good description of yourself. Would have thought by now, you would stop putting people down. I guess it is ingrained your personality! Where does your “better than thou” attitude comes from? Perhaps that is why Alex left and went to live somewhere else. He sure appears to be a lot happier and even has a cute little girlfriend! Selina is probably giving him more happiness than he has known in a long, long time! He does, however, have a lot of growing up to do.
First of all the table looks great. Second of all I LOVE purple and I love pink too but mostly in my wardrobe not in my house, but I love the color.
What a shame. The natural wood was beautiful!
I have to agree. The styling of the table was a bit dated, but the wood quality was nice. And now it is hidden. Not one of my favorite re-stylings.
Now, if it was bird’s eye maple, I’d agree, but plain oak? Blech. It looks cheap to me. My kitchen cabinets look like that. Want to paint them white.
Why don’t you paint them white — better still, hire me and you will get a top quality job! What’s you think?
so bummed with that color of the year– but I really like the end table! The stain shading is so unique. 🙂
Great job, as always! Maybe they needed a fancier name than bubblicious?
Bubbkicious fits that color PERFECTLY! 🙂
I also thought the radiant orchid was purple… and I know “orchid” is not purple.
Well, nice job with the table.
I always love seeing pieces you do with this technique. I keep saying I have to try it, but it looks time consuming & difficult…I know, it looks harder than it is…I should practice on a small piece so I’ll find out you are right before I tackle something larger.
Debbie 🙂
You can do it Debbie! Just go for it!
As always a beautifully done project!! I am just not seeing how that paint color is the color on the Pantone swatch??? Maybe they had it marked wrong but it looks completely different to me when they are side by side.
I agree completely! So weird!
LOVE the top of the table, that pink though is def. not my thing either!
Just so your fans know, I LOVE IT!!!!! Thank you so much! I can’t wait to see it in my living room!
Wow! That’s so beautiful! I just discovered your blog a few days ago and this is my first comment, so Hi! !
Welcome Karen! Thanks for commenting and following along!
I am with you – I wouldn’t have touched that “pink” with a 10 foot pole either. However, you did a great job. Love the top of the table. The top takes center stage with the “pink” being the secondary focus instead of the first thing that catches your eye. Beautiful job again!
Haha! Thx Renae… I’m glad we’re on the same page with our pinky-purples?