I’m just going about my life, bein’ all nonchalant about changing diapers and folding laundry LIKE A BOSS… when out of nowhere, solid oak tables fall from the sky and land in my garage.

OooooKAY, I’m finding I can’t keep this lie up.
We totally bought this table off the local FB classified’s page for something like $40. And when there’s a beautiful blank-slate-of-a-table canvas in my garage, I can’t let it sit idle for long! Time to get that scurvy finish off and see that flawless woodgrain! (Stripping tutorial HERE… complete with inappropriate puns)

There were a couple minor veneer issues that needed to be addressed, and Cypress joined us to supervise and make sure we didn’t cut corners. Mostly I just wanted to include this pic below of my bouncing (literally) baby that just happened to also have the table in it. #priorities

Last thing? Sand that bad boy smoooooth! These children love sanding, and who am I to deny anyone sanding privileges? I love that these are power tools they can totally use at age 4. Pais is using my RYOBI orbital and Dell is using my Corner Cat.

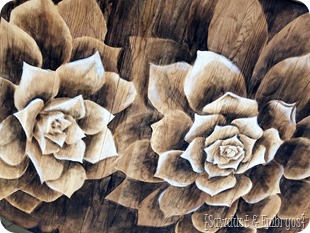
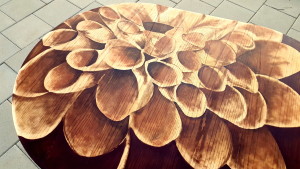
I sketched out a flower with pencil, and then laid a transparency over it and traced with a Sharpie.

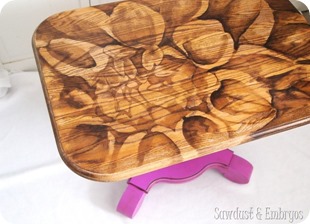
I tried out a new stain this time called Zar (oil-based, hence the respirator), and went with a more neutral palette of browns and wood tones. I think the bright colors of that Sunflower Art did me in for awhile. I needed something more organic this time.

I even went for a little bit of a choppy, rough-shaded style. It felt artsy and right. It’s fun how you can play around with stain and manipulate it to do just about whatever you want!

It’s SO AWESOME that this ‘Shading with Stain’ has become a thing, and generates so much excitement and engagement. I know I say this every time, but YOU SHOULD TRY IT! At least once a day, I get an email from someone that gave it a go and did a beautiful job. They almost always say that it’s easier than it looks, and is even addicting. In fact, just yesterday I got an email from a reader named Briana who has recently stained ALL THESE PIECES.

RIGHT?!
Insanely talented!
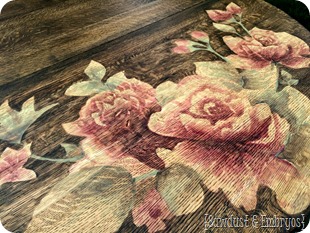
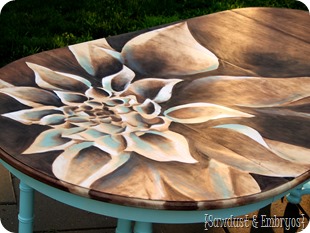
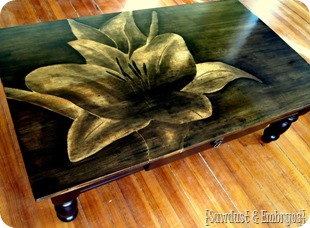
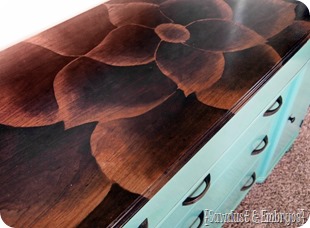
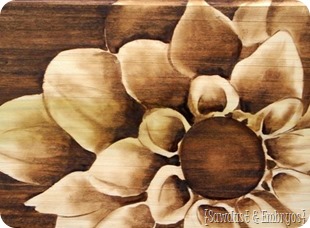
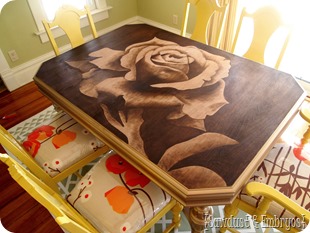
Check out my Beginner’s Tutorial HERE, which includes a step-by-step of the process, as well as a video tutorial. And click HERE to read all about how I came up with this technique! Below are all the previous stained pieces I’ve done. Feel free to click each image to be taken to that post!
 |
 |
 |
 |
 |
 |
 |
 |

Big fat THANKS to Rockler for partnering with me on this particular table transformation and sponsoring this post. All thoughts and words are my own, as usual!
*this post contains affiliate links


Thank you so much for your help and inspiration! I just love this technique and can’t wait to practice more with it.
I have stained a couple items after watching your videos. Thank you so much for sharing you techniques! But I have a question regarding finishing. One Item I did with polyurethane and another I did with a resin. The one I finished with resin was of a ram’s head, so there were a lot of color variations just by going over some areas a few times to deepen the shades. I was disappointed after words because of how much my design were muddled. What suggestions might you have that could help with this. I can send you photos if you would to see the differences.
I would try spraying on your finish. I’ve noticed this ‘muddling’ too, especially when I’m wiping on poly with a cloth. But I’ve also noticed it a bit when I’m brushing on poly. Spraying is the only way to truly avoid it!
Thank you Bethany! I did my first flower shading going to make a little end table for my friends deck. Not as good as yours but I had a lot of fun. I appreciate the tutorial video super helpful, couldn’t have done it with out it!
Thanks again from Wichita Kansas!
Yay Teri! I’d love to see pics! You can email me at beth@realitydaydream.com!
Hi .I love your work and you inspired me .I just wanted to share my version .please let me know how I can do so. .Thank you so much for giving me the courage to try something new .
Connie
Yayyyyy Connie! I’m so glad you went for it! Please email me at beth@realitydaydream.com and attach a picture so i can see. I can’t wait!!!!!!!!
Hi Beth…It Beth, at Makemeprettyagain.blogspot.com! Haven’t visited in awhile and came to look around at what’s new. Apparently a lot!! Congrats on the newest member.
Anyway, have you ever tried SoyGel stripper?? Completely non-toxic and works like a dream. I’ve been using it for years. I figured you might appreciate with all the little ones nearby. You can order off of Amazon. It’s not the cheapest thing around, but when you can apply with your bare hands (I don’t, actually, but you could!!) and it wipes up with water, well Hello??! I love it and swear by it.
I’ve done 2 other wood staining tops and some wood projects (one was a herringbone top for an old library catalog). come by and take a look when u get a spare minute.
Came by to get an idea for another staining technique. I have a french dresser I want to do in a restoration hardware finish in the grays.
Take care,,,Beth
You have such impressive talent! I love that you have opened up a whole new world of technique in decor!
The artsy/choppy look on this pieces is incredible (and I also love that you preach good practice in guarding your health with a respirator when using products that require it- so thanks for that too)!
I am constantly amazed each time you post one of these. Simply gorgeous (my favorite word)! I need to find something smaller to start on than our kitchen table… I’ll let you know if I buck up and try it!
Bethany, I love your humor about things landing in the garage. LOL 🙂
Briana, you are very talented and gifted to create master piece art like that! 🙂
Just like you say everytime that we should try this, everytime I see these I think “yes I am totally going to try this when we move house” (were STILL in the middle of buying and moving. STILL. Hopeing g to be in before Christmas)