Hey! Its Meghan from Cupcakes with Sprinkles! It feels like fall and I love it! It might just be my favorite time of year. Baking, the smell of cinnamon, and really, getting wear a cute pair of boots;) But can I just tell you how excited I was when I realized I could make candied pecans myself! They are sweet, crunchy, and oh so cinnamony.

Pretty much the perfect fall snack and they’re easy to make. Get your stuff cause we’re going to make some!
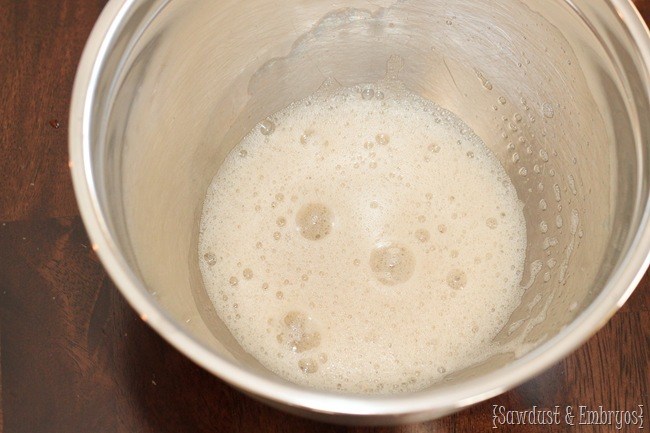
Preheat your oven to 250 degrees. In a large bowl whisk together the egg white, water, and vanilla until its gets frothy…
In a small bowl whisk together the sugar, cinnamon, and salt…

In the bowl of the egg white mixture pour in the pecans and toss until completely coated…
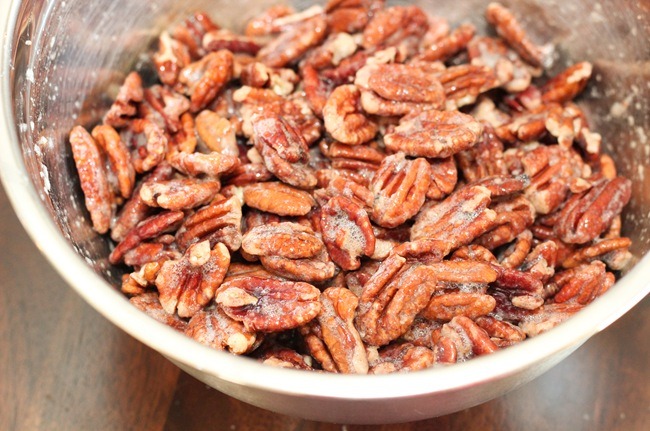
Sprinkle half of the sugar mixture over the pecans toss to coat and then sprinkle the rest of the sugar mixture and toss until coated…

Spread your sugar coated pecans in a even layer onto a silpat or parchment lined mat. Bake for 1 hour, mixing every 15 minutes. Let cool and enjoy this sweet, crunchy, fall treat!

Classic Candied Pecans
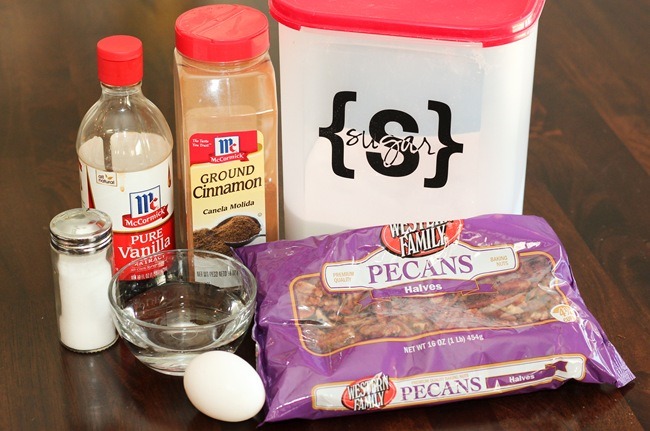
Ingredients
- 1 lb Pecan Halves
- 1 Egg White
- 1 Tablespoon Water
- ½ teaspoon Pure Vanilla Extract
- 1 cup Granulated Sugar
- 1 teaspoon Cinnamon
- ½ teaspoon Salt
Instructions
- Preheat your oven to 250 degrees. In a large bowl whisk together the egg white, water, and vanilla until its gets frothy.
- In a small bowl whisk together the sugar, cinnamon, and salt. In the bowl of the egg white mixture pour in the pecans and toss until completely coated. Sprinkle half of the sugar mixture over the pecans toss to coat and then sprinkle the rest of the sugar mixture and toss until coated.
- Spread your sugar coated pecans in a even layer onto a silpat or parchment lined mat. Bake for 1 hour, mixing every 15 minutes. Let cool and enjoy.

Thanks for pinning!!

Related:
-

I occasionally talk about our love for our whole grain Pumpkin Oat Muffins (that can…
-

Raspberry Scones Recipe
Oooo on a salad! YUM! You’ll have to let me know how it was!
I have these in the oven right now. Having company for dinner tomorrow and I am making a salad that I am going to put these on. Yum!