Remember when I made these for my baby niece, Kendall??

Well they’re easy to make, and too adorable not to continue manufacturing! Every baby girl should have one!
Supplies you’ll need:
- fabric (vintage is best!)
- felt
- scissors
- needle/thread
- large button
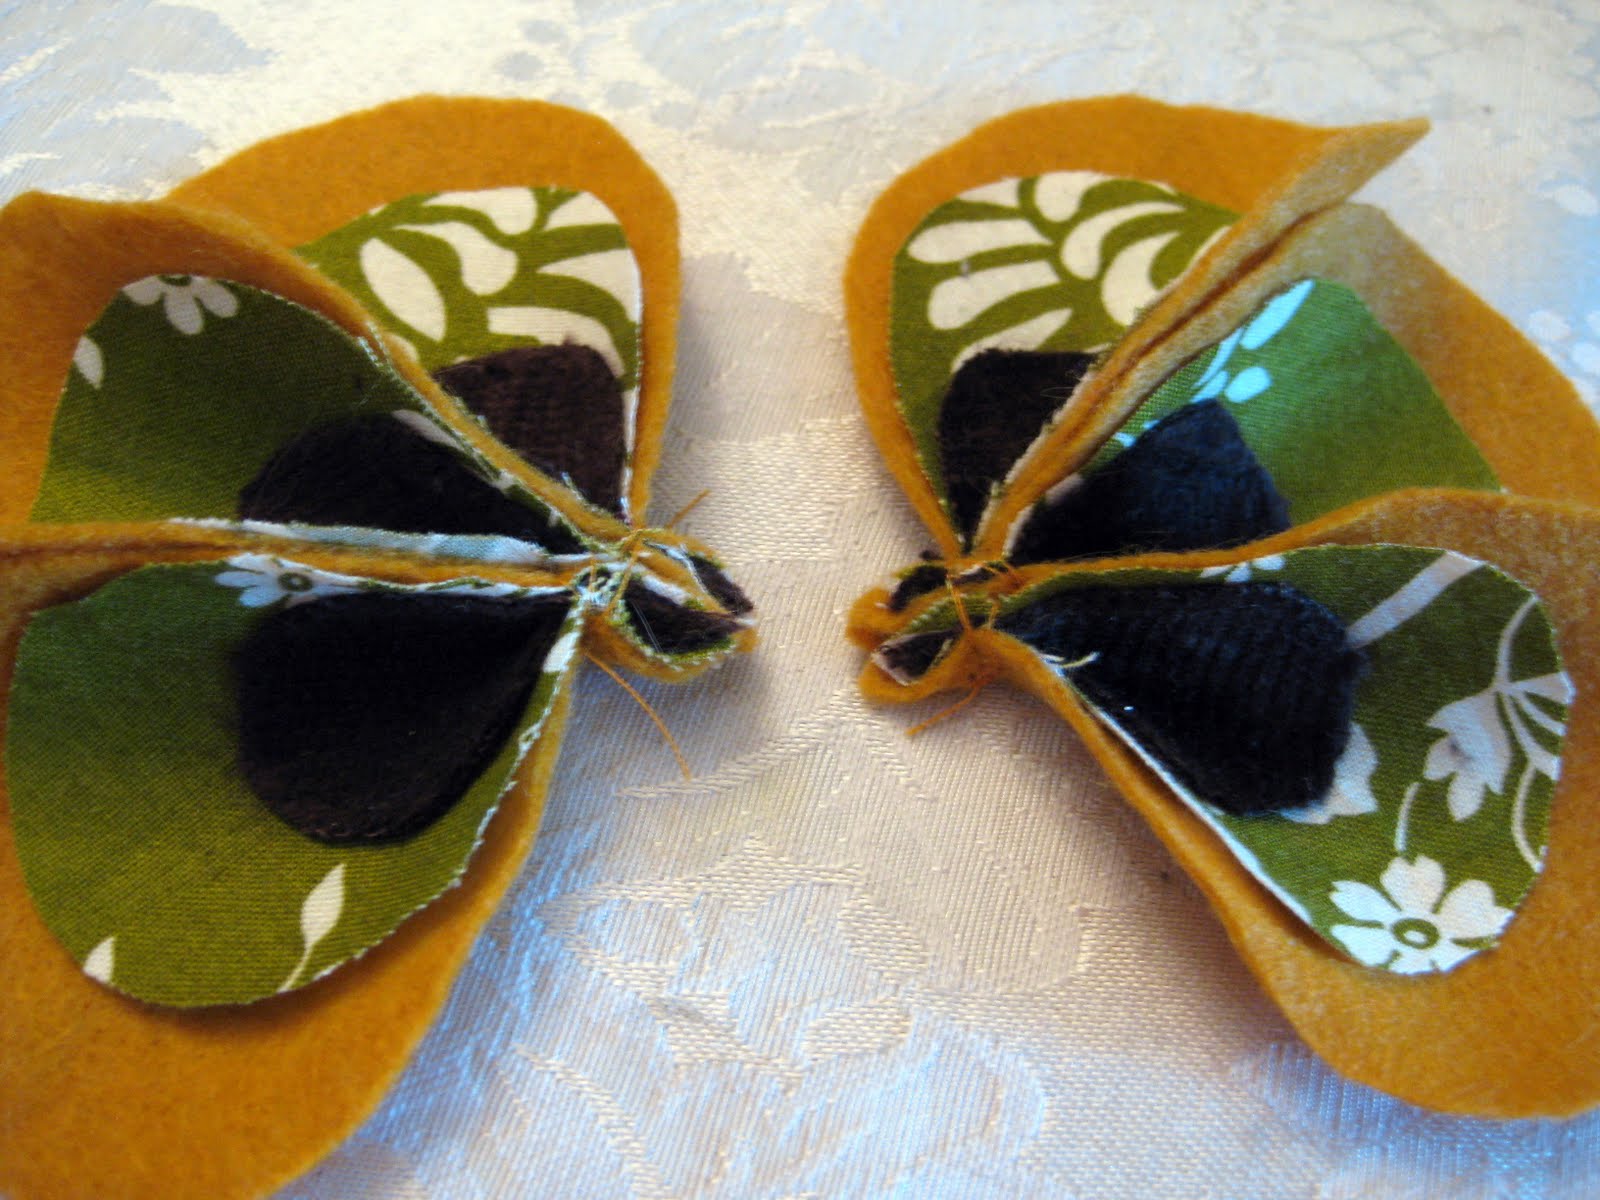
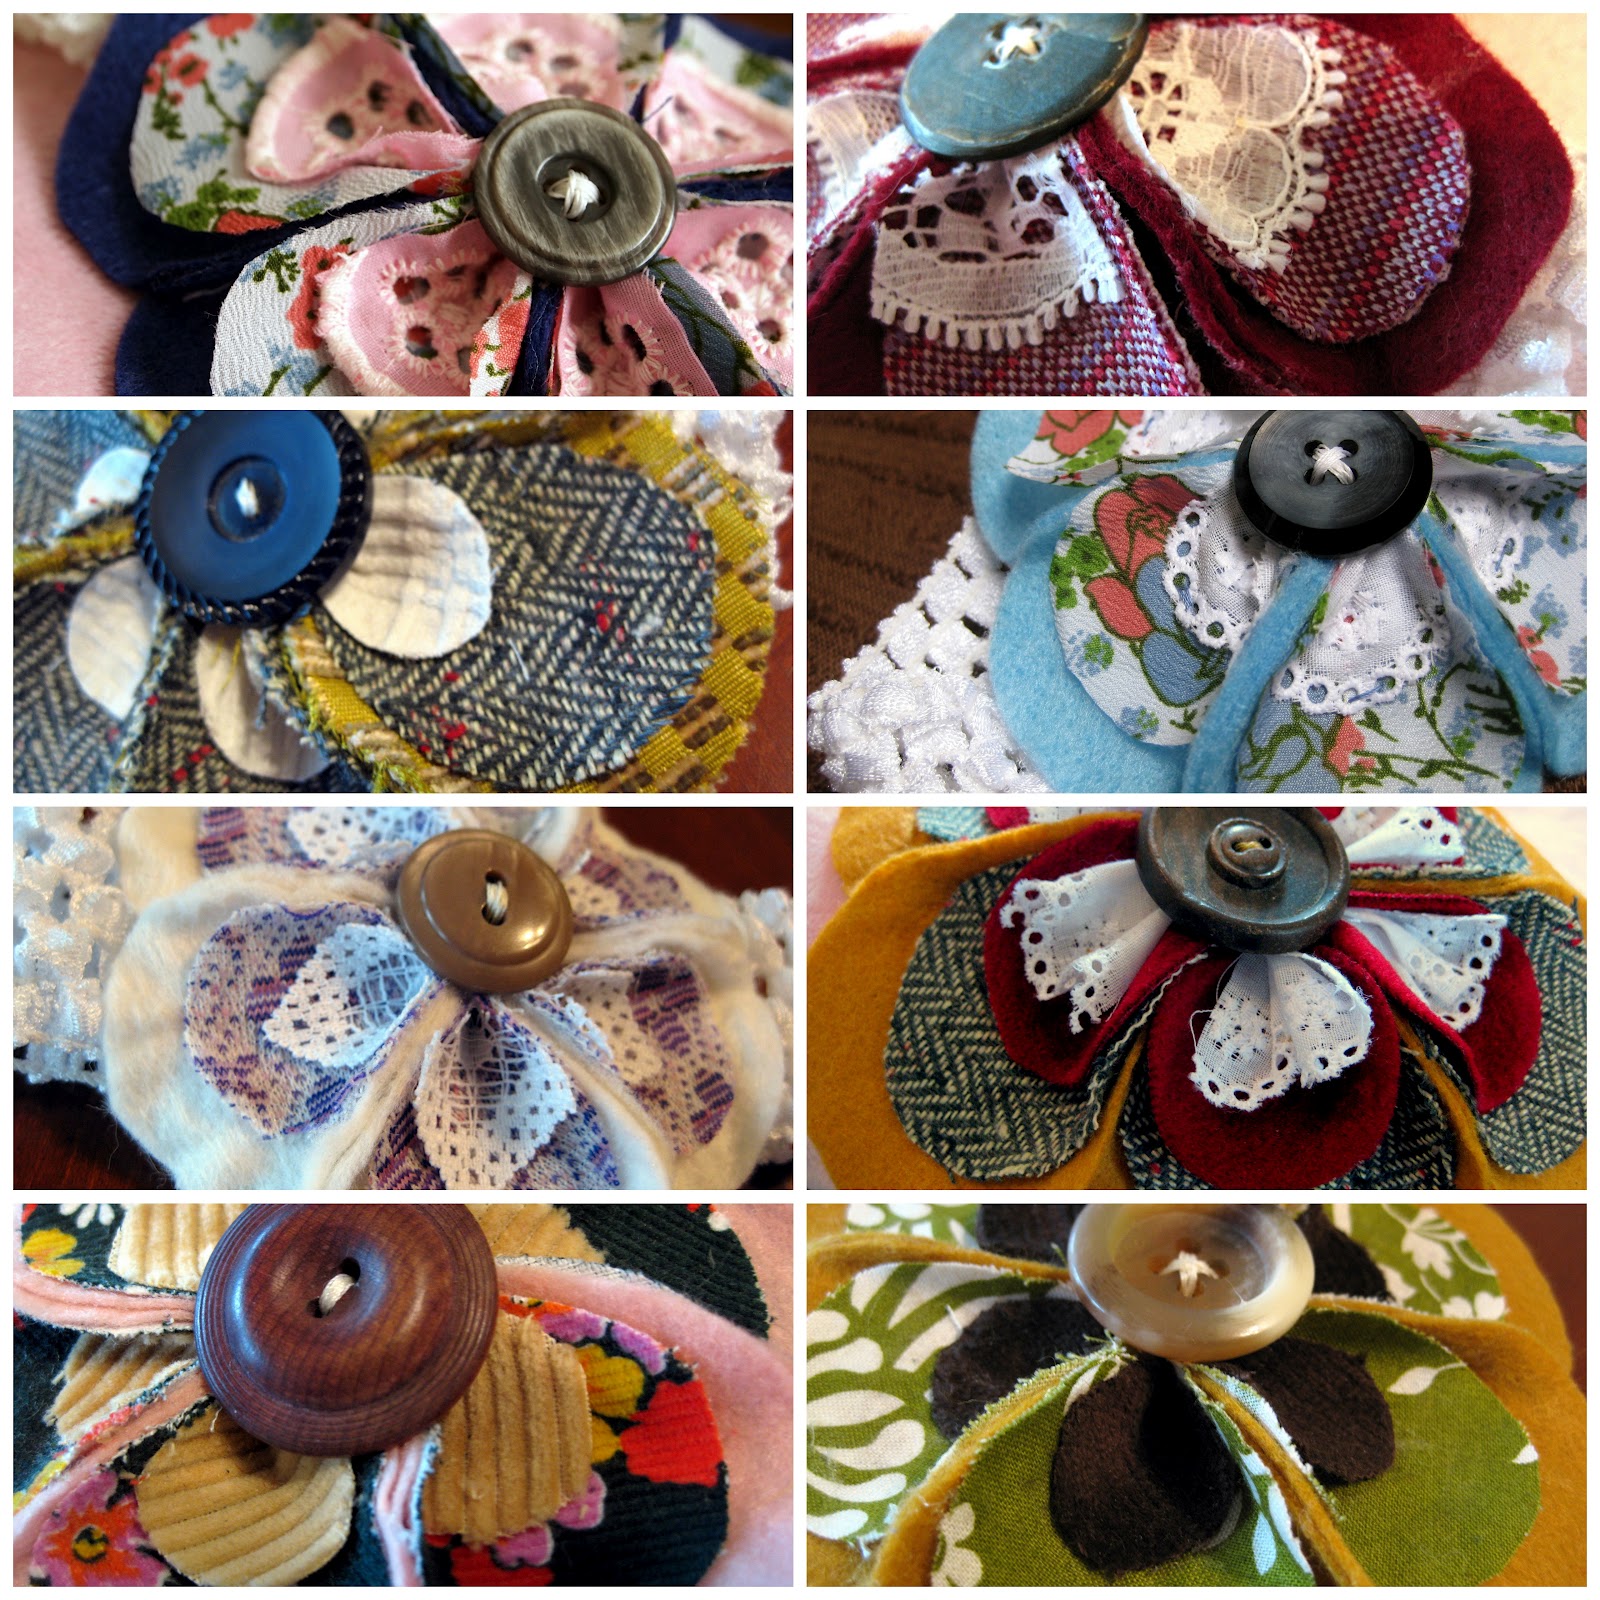
First choose a color of felt (or thicker fabric) and two additional fabrics for your flower. Try out a few different combinations until you find one that you love. Then cut your felt into 6 teardrop shapes (using your first one as a template for the remaining 5).

Do the same with your next fabric, only using slightly smaller teardrops.
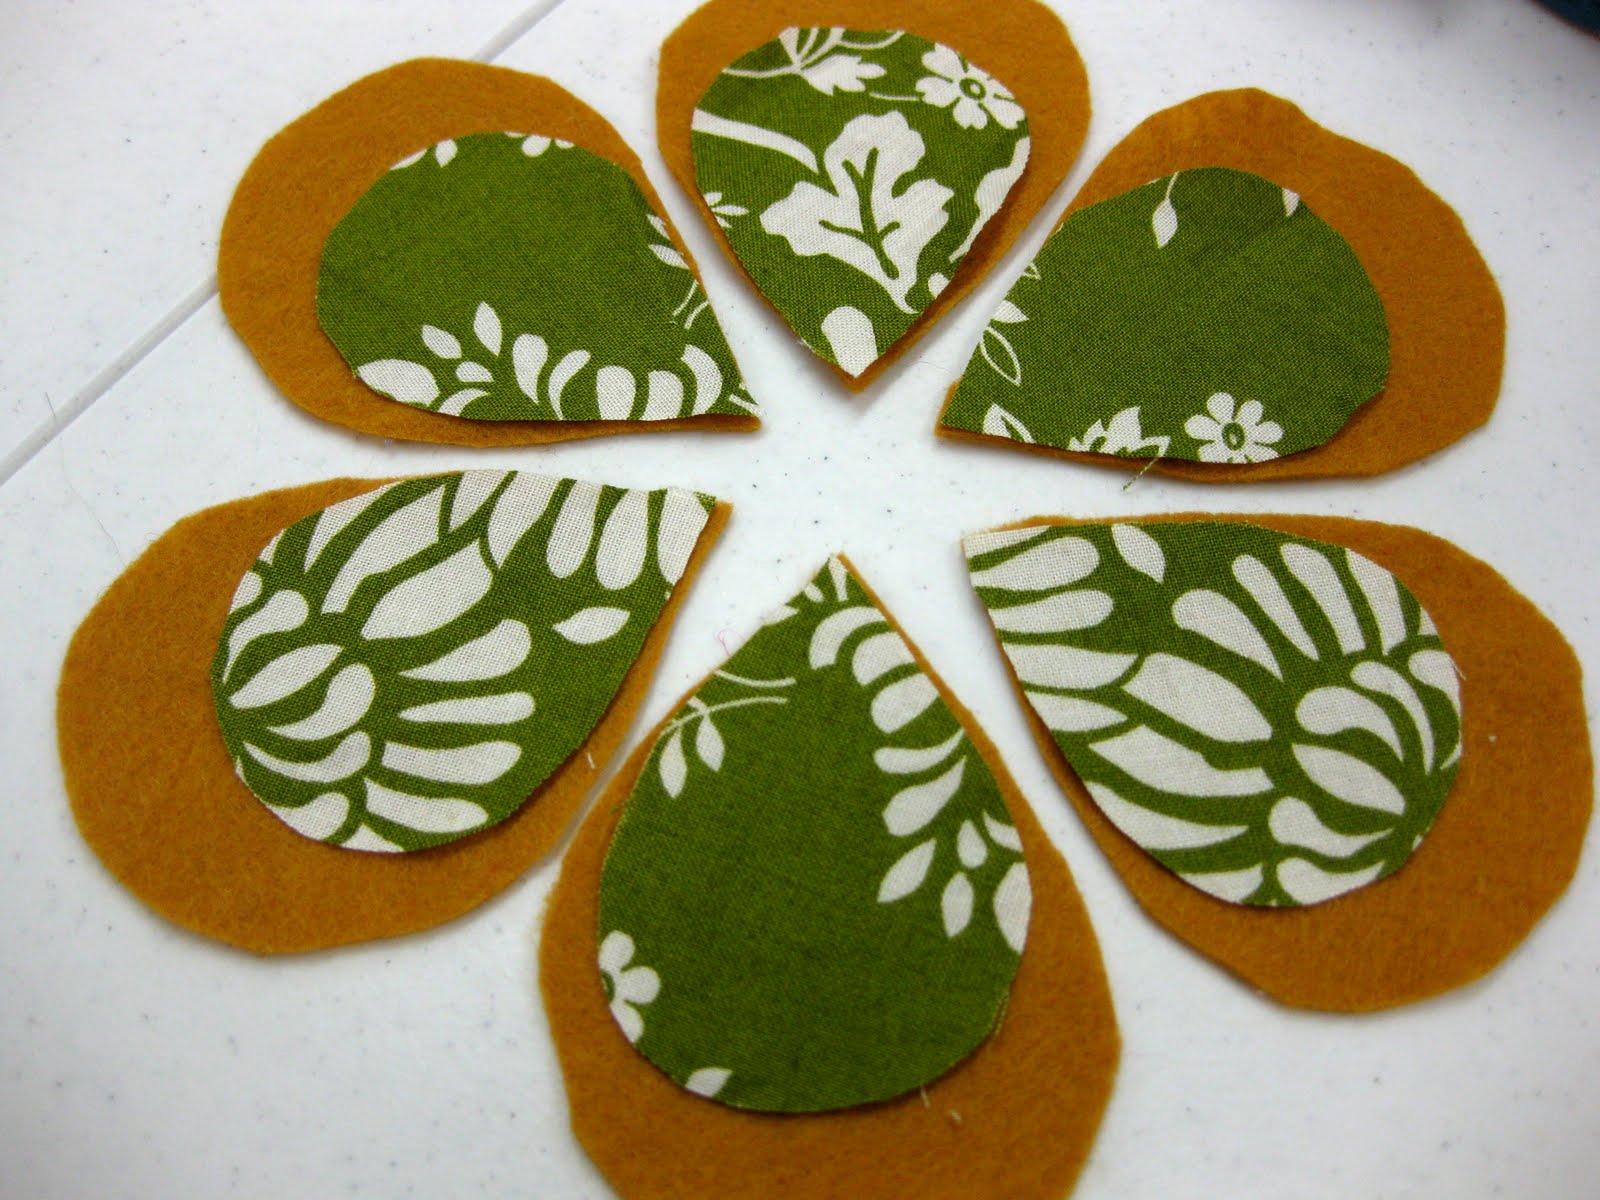
And you guessed it, same ol’ thing with the third fabric.
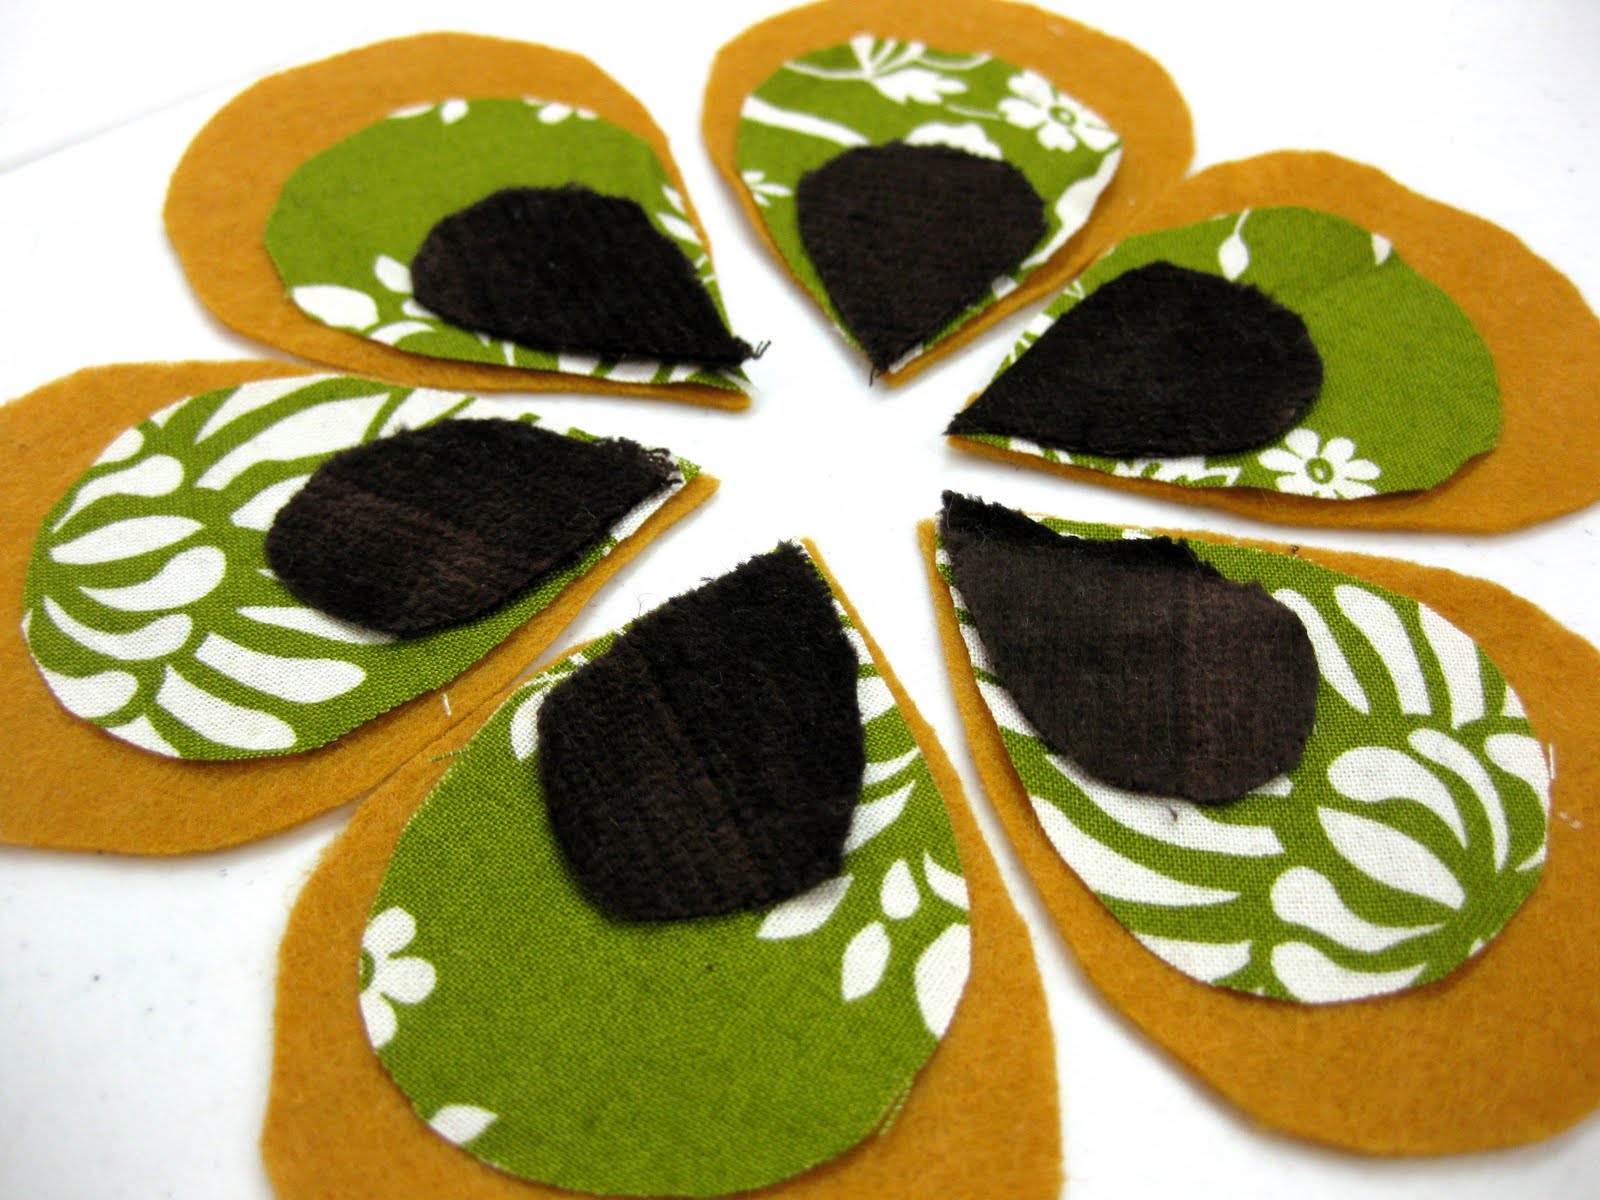
Save yourself some time and do several at once!!


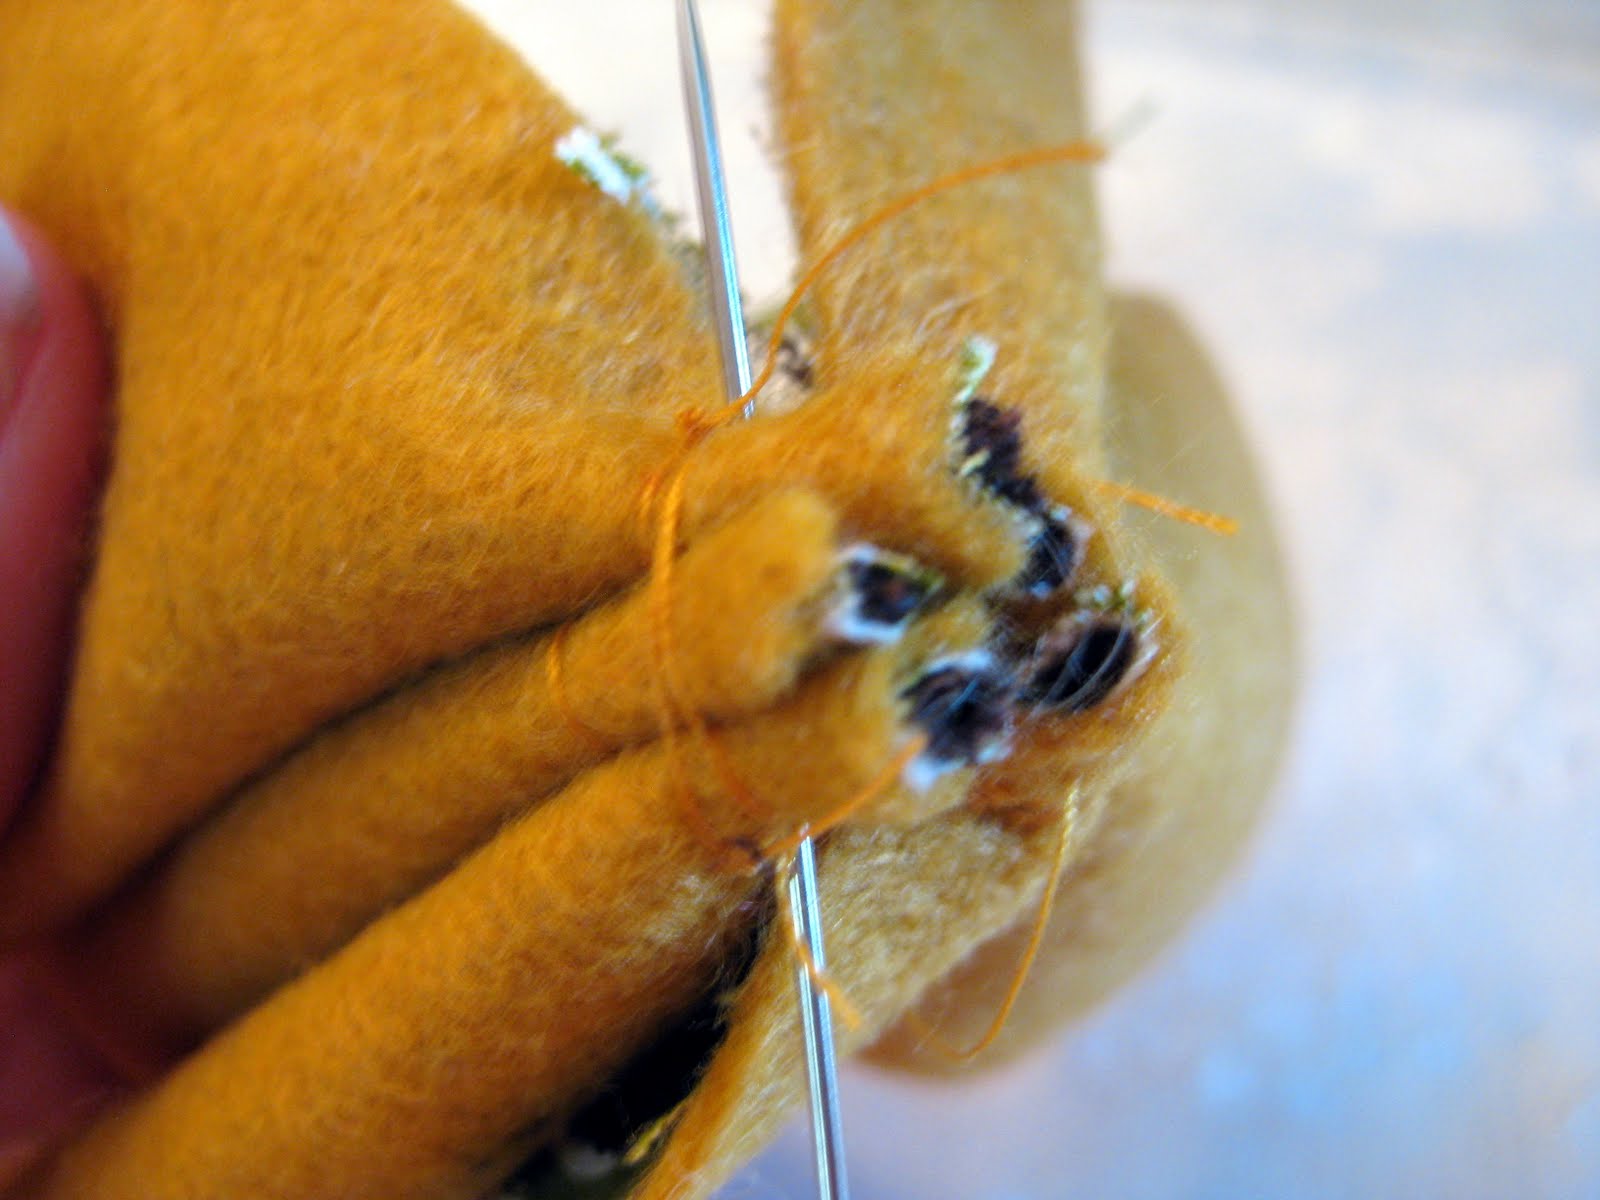
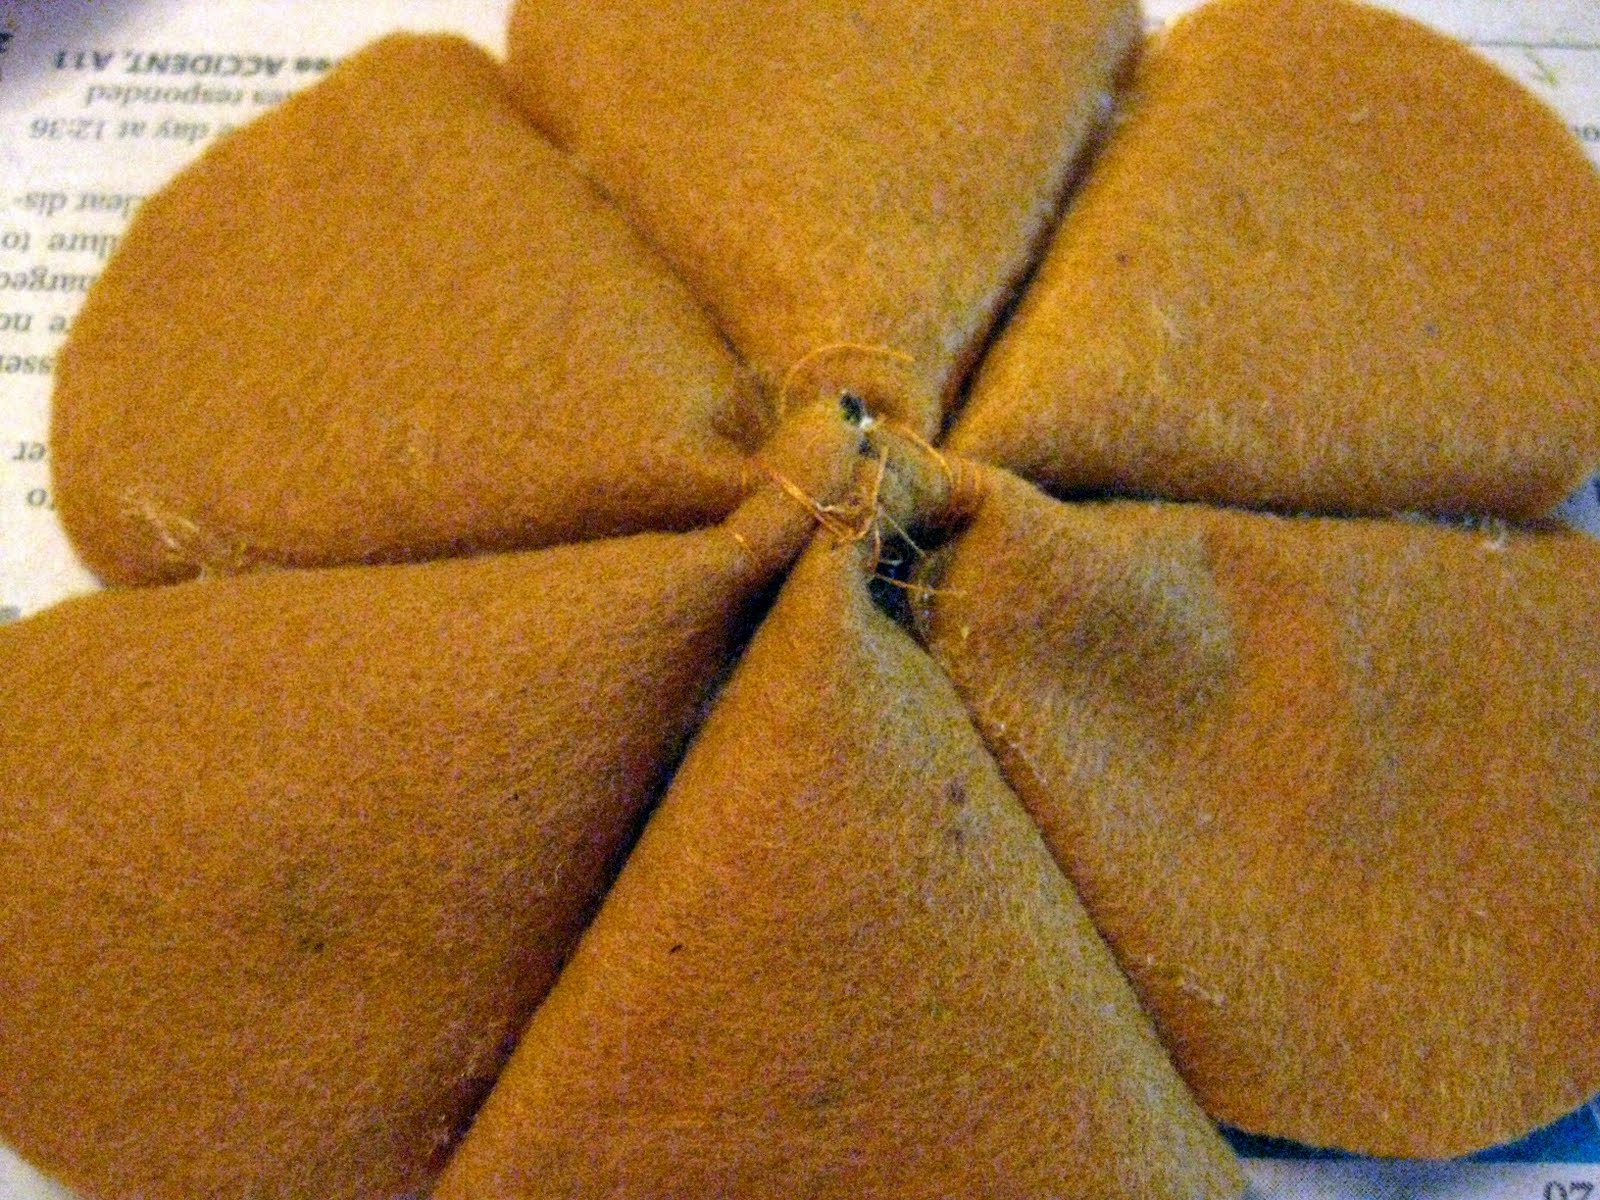
Next step, double up your thread and load the needle! (The thread won’t show much in the end, but I try to have a similar color… just cuz, k?) Then pinch the pointy end of the fabric and thrust your needle in!
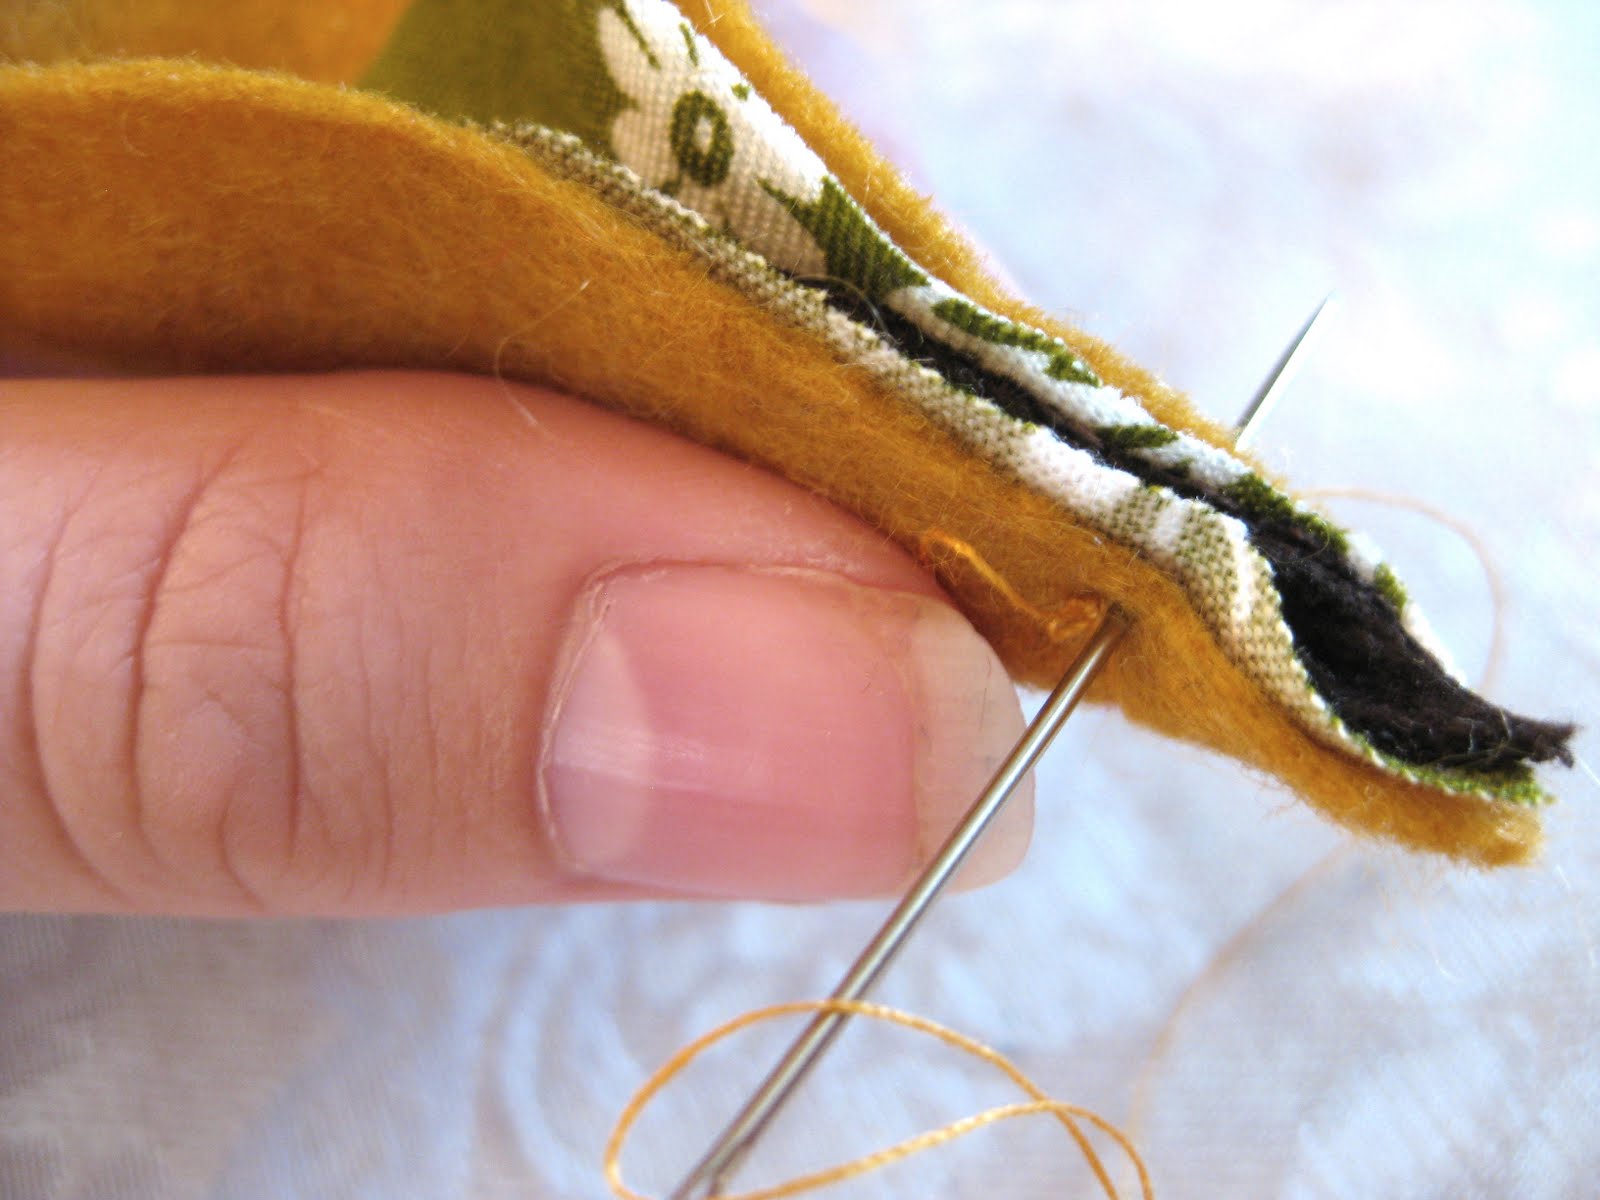
Go back and forth and around and through and back again, all haphazard-like. Just make it tight and secure.
 Without knotting it off, go right into the next flower petal and do the same, occasionally making a pass through both petals. And same with the third. Until you have this:
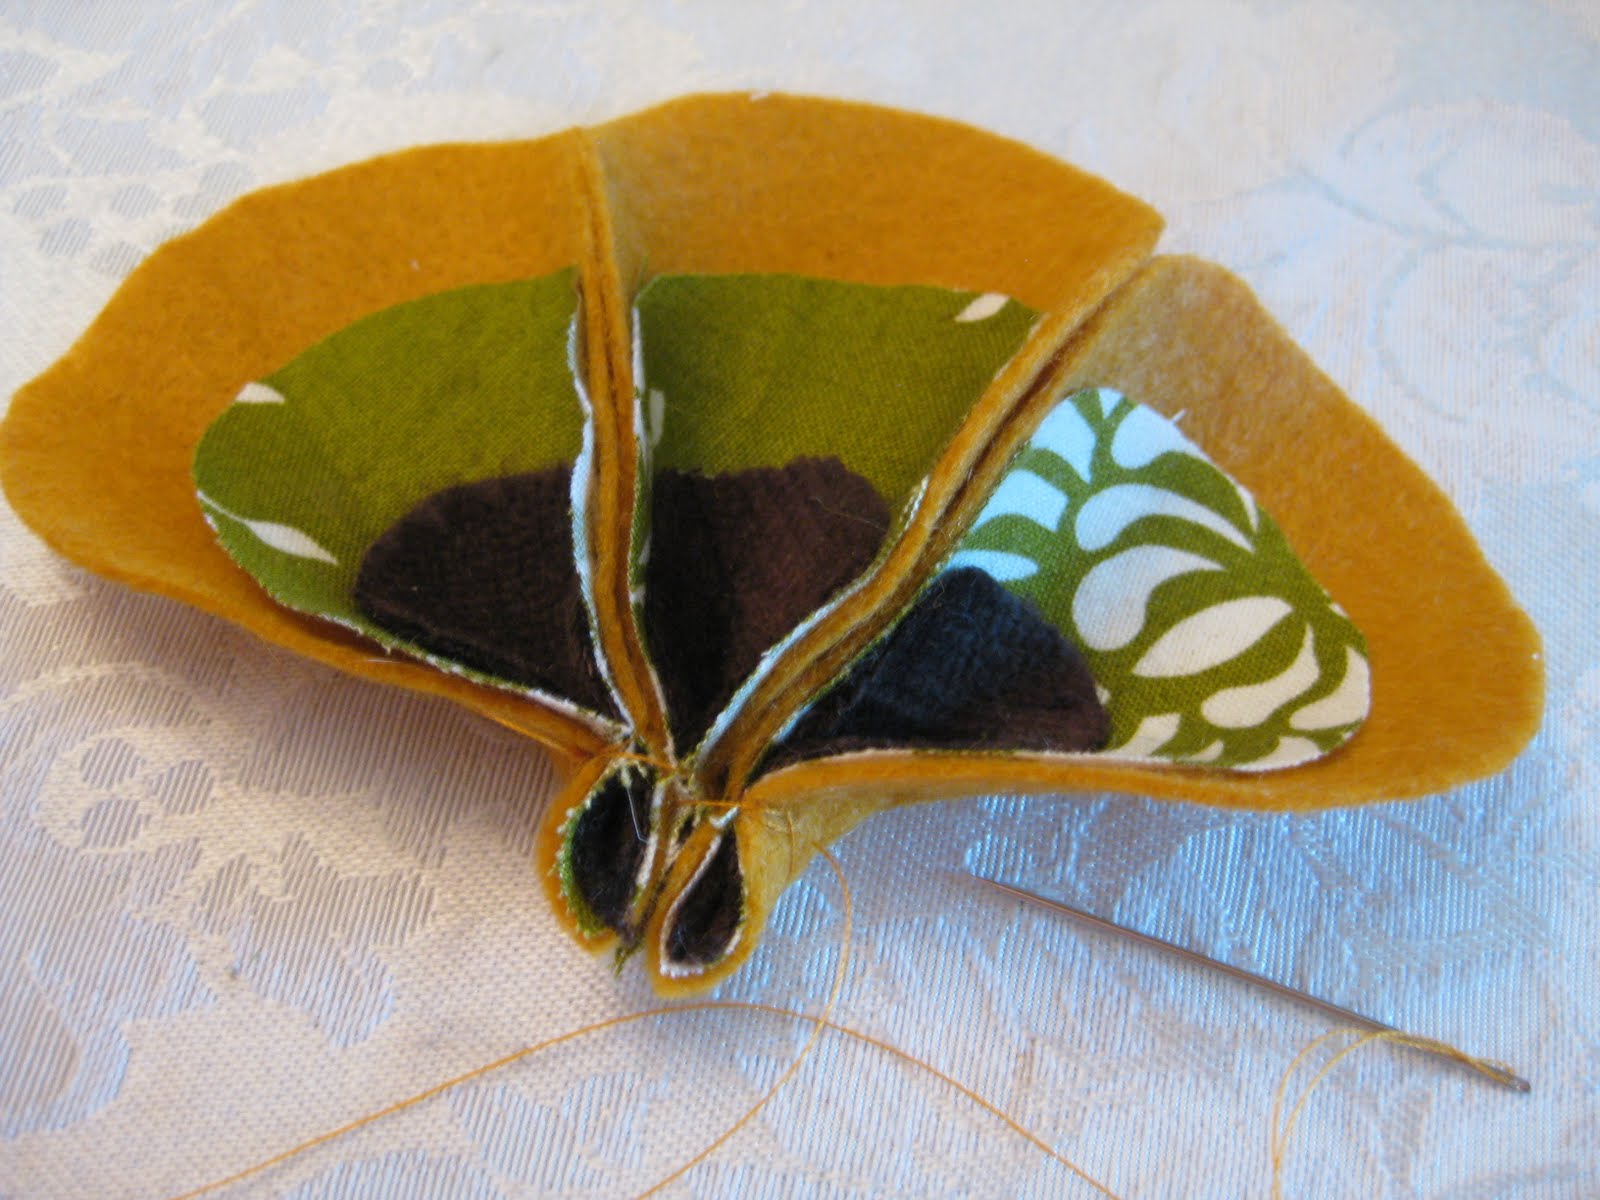
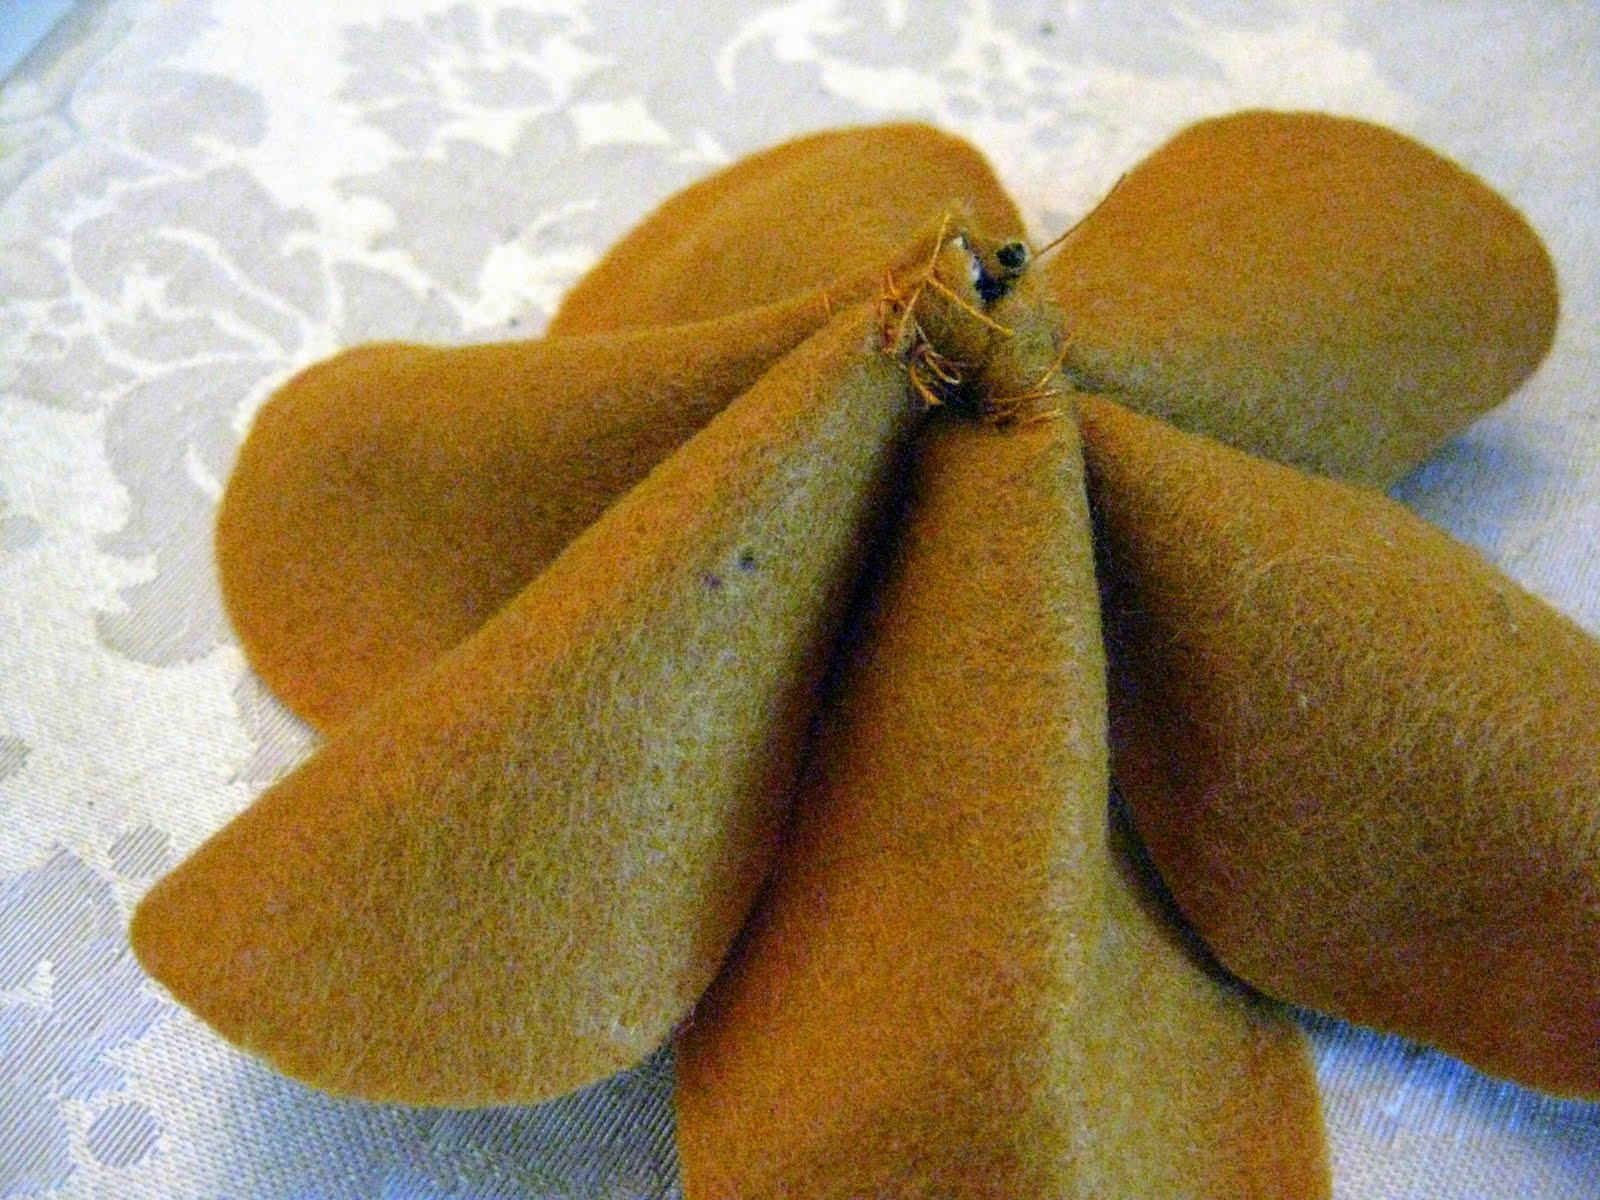
Do the same with the remaining three petals.
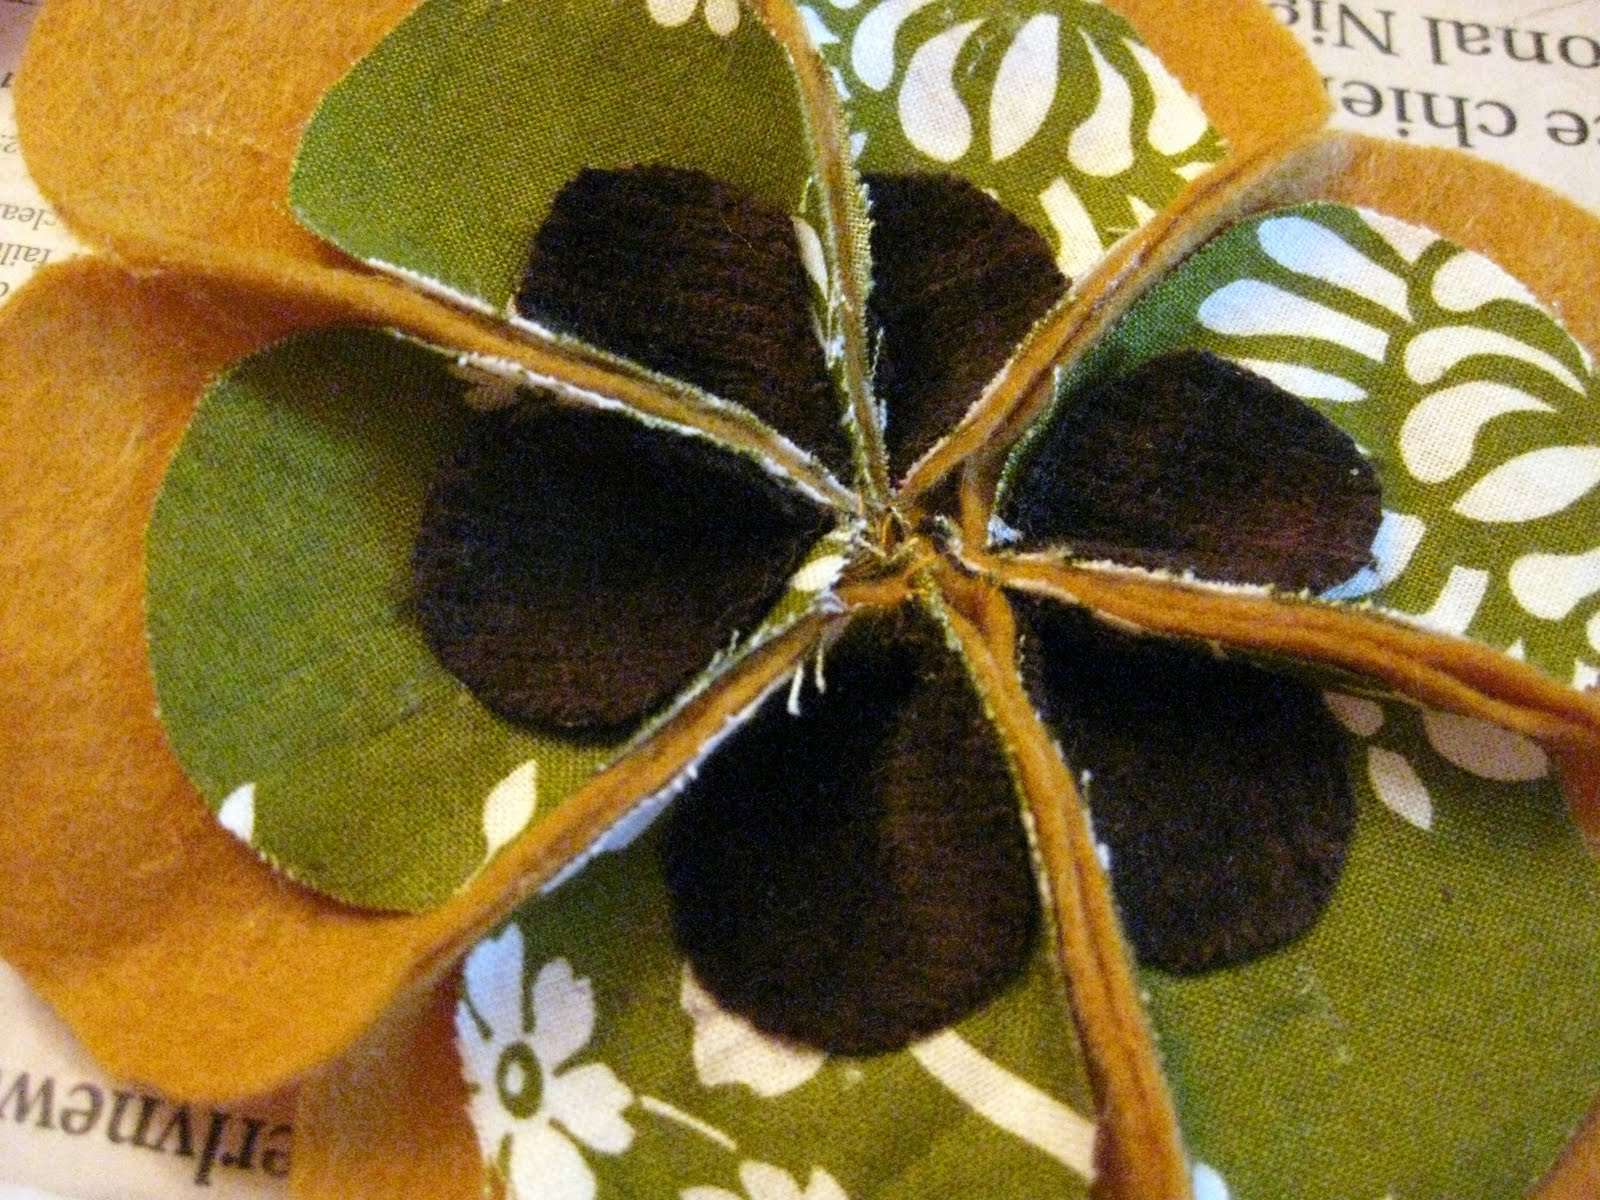
One you have the two halves, put them facing each other and sew them together at the points, again… over, ’round, in and out, through, etc. Make it tight peeps.
It’ll look messy and unfortunate, like this.

Next, I took a hot glue gun and just reinforced the edges of each petal to the one next to it, just to keep things lined up and looking perfect. This photo may be grainy, but I took it myself… using the timer! Mad skillz, huh?

Actually, now that I look at these pictures, lots of them are grainy. I couldn’t figure out my dad’s camera that weekend. Oopsy.
Let it lay upside down for awhile to flatten out. Maybe even consider putting a big book on it or something.
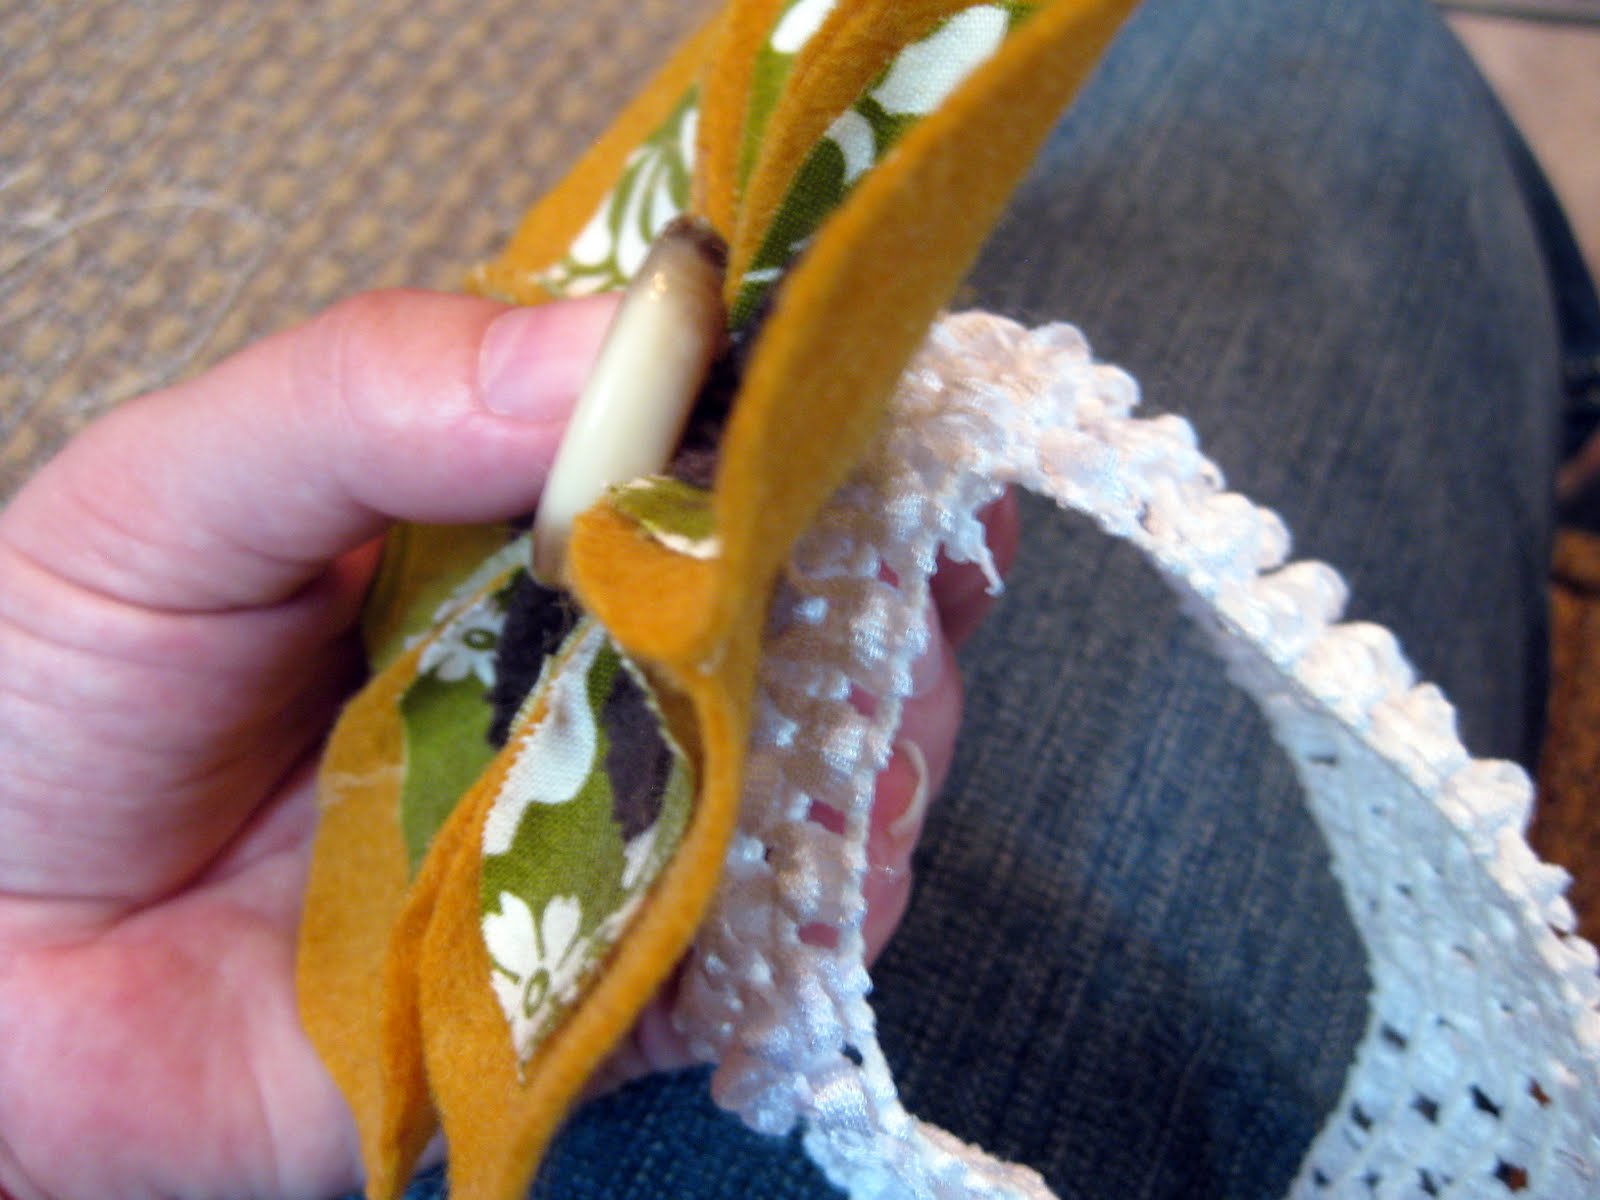
Purchase yourself one of these stretchy headband thingys (I bought these, but I also love these lacey ones and will try those next! SO PRETTY!
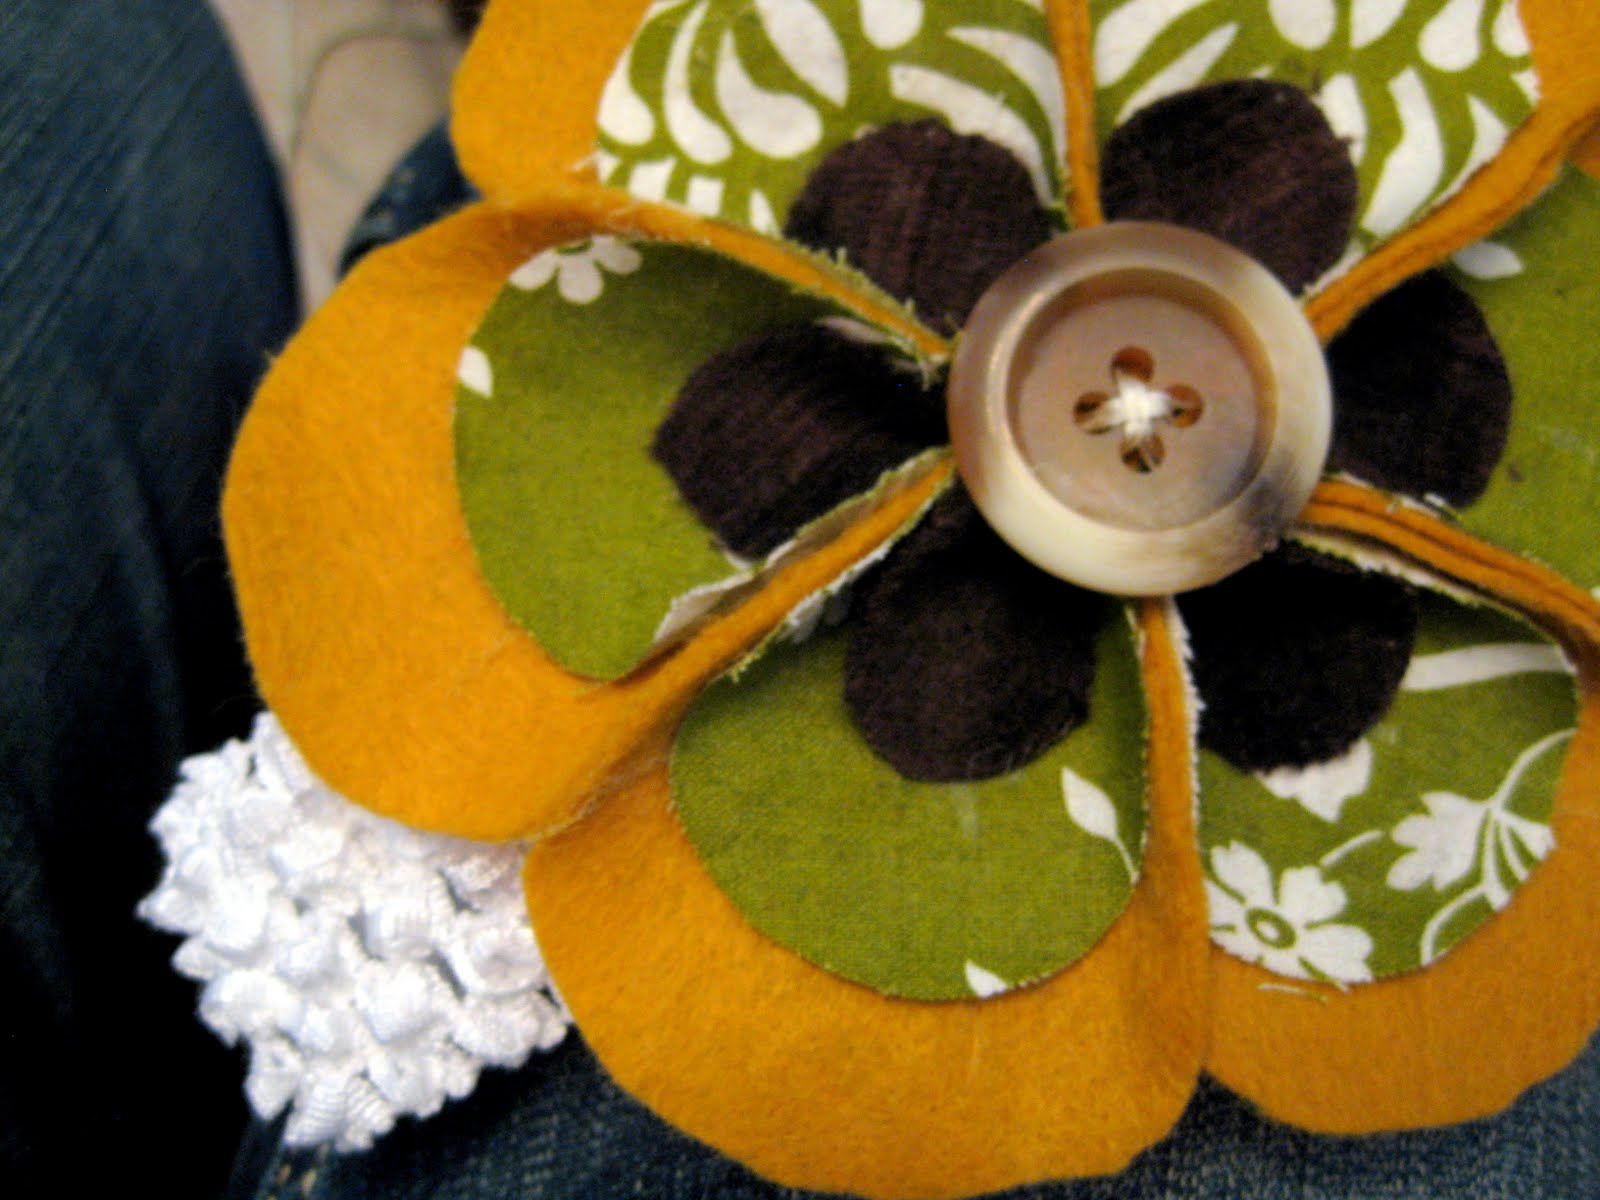
Sew the button onto the flower as you simultaneously stitch it right onto the stretchy headband… on the seam preferably. Get that button real snug…choking hazard you know.

And it’s at this point that you have an extremely adorable, handmade, piece of pure cuteness.

You’re going to go make one now, aren’t you. Send pictures! I wanna see!


If you don’t feel like making one, check out our Etsy shop and buy one for dirt cheap!
Related:
-

My kids are getting to the age where they want to tape pictures, cards, notes...…
-

I have a fun and easy building project for you! And while I do end…
-

Every spring, I have grand plans of having the most epic vegetable and flower gardens!…
-

I've been needing to figure out a solution for my overwhelming plant propagation situation for…
-

Have you seen those 'nesting' cutting boards where the two cutting boards fit together like…
-

Our very best friends moved away to Tennessee, but we still find reasons to visit…
Thank you! My crafter,6, is learning to sew and this would be something she could do the scraps. Might need to get a thimble. 🙂 She’s made similar flower clips using hot glue and artifical flowers. Thanks again for sharing such a cute alternative.
Absolutely adorable ! I can’t wait to make some for “my girls”!!!! Thanks for the tutorial!
These are SO very cute. <3
I love them too! You can put them on a clip I got mine from Sally Beauty supply and then they can be interchangeable, just so you know…
Love these!!!!