• Home
  • About
  • Tutorials
  • Recipes
  • Furniture
  • Contact
    • Contact
    • Infertility
    • Disclosure
    • Privacy Policy
  • Shop
    • Facebook
    • Instagram
    • Pinterest

Reality Daydream

The Dream is Free, The Hustle Sold Separately

  • Home
  • About
  • Tutorials
  • Recipes
  • Furniture
  • Contact
    • Contact
    • Infertility
    • Disclosure
    • Privacy Policy
  • Shop

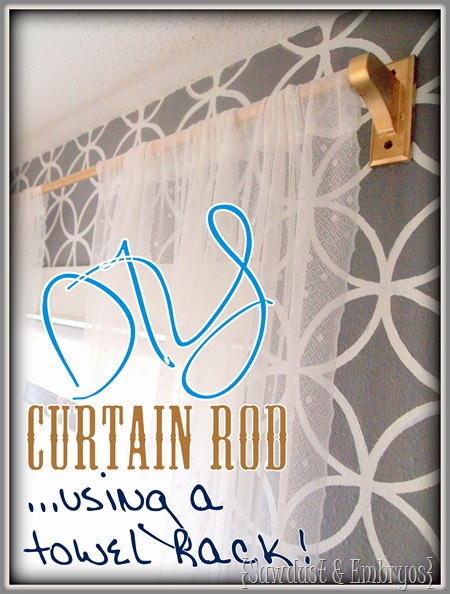
DIY: Towel Rack turned Curtain Rod!

November 30, 2012 by Bethany Sy

FRIDAYYYYY! What a week it’s been. Between the girls’ nap-strike, the thin film of drywall-dust on my eyelashes, and the awkward web-cast that went terribly wrong when my computer died… I’m ready for some nothingness. Were you guys watching that? UGH.

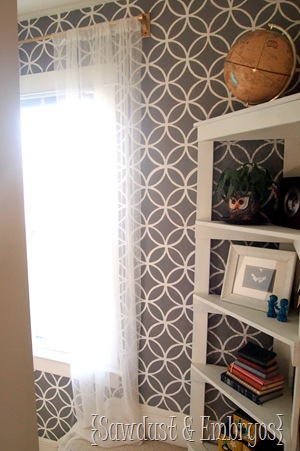
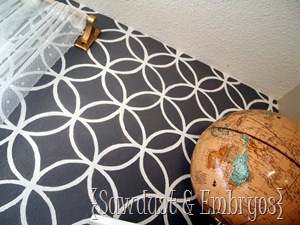
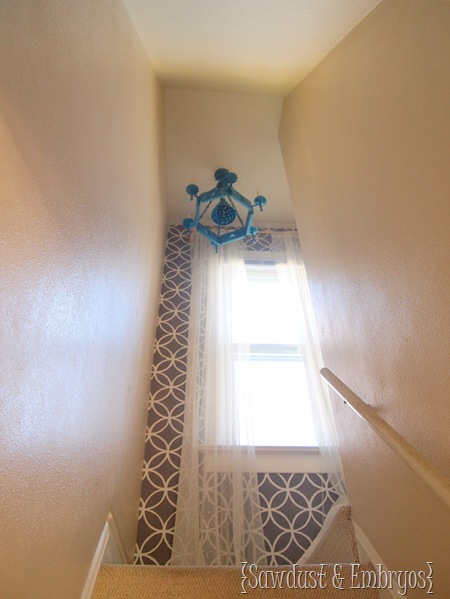
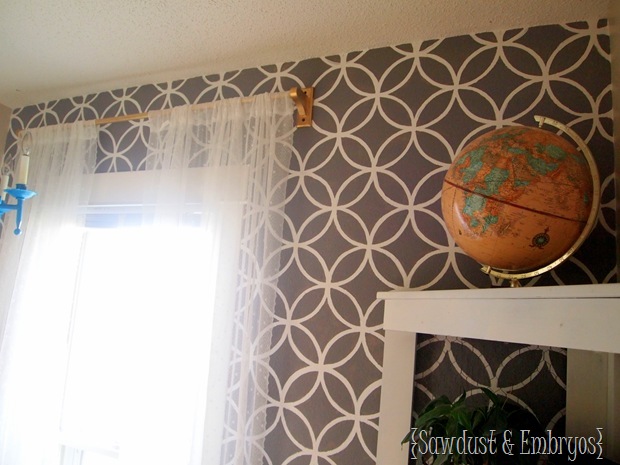
But before I fall into my coma, I wanted to share our little curtain rod idea for the wall at the top of our stairway. After FINALLY finishing the Royal Design Stenciling project, and whipping up the colorful  Medieval chandelier, I knew the finishing touches would be adding some window treatments and throwing in the corner-shelf with some pretties.

So let’s get started!

Curtains can be EXPENSIVE. But no one ever talks about how expensive the actual curtain RODS are! Even the most standard cheepy curtain rod will still break the bank for us thrifty folks. Can I get an amen?

I can’t say that ALL my best ideas come to me while sitting on the toilet… but this one truly did. TMI? So sorry. Just keepin’ it real y’all.

So…. I saw this:

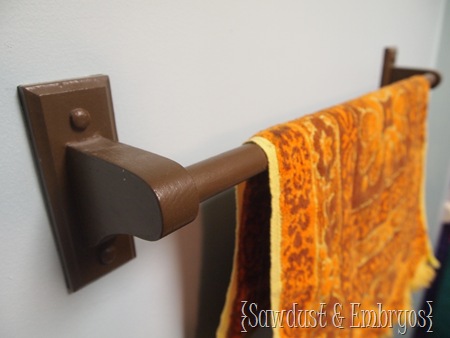
DIY Towel Rack Curtain Rod

And my brain went ‘DING’!

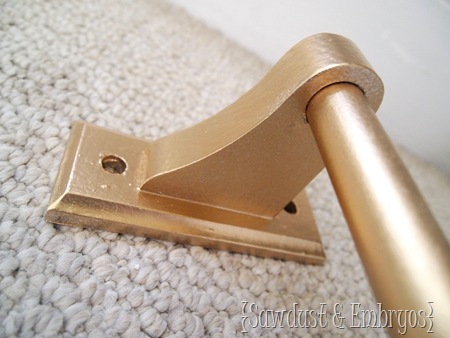
Since we have two towel racks in a bathroom where nobody bathes, I removed it from the wall. This sucker was ready for bigger and better things! (Our toilet paper holders are like this too, so we had tons of options!)

If you don’t have a ‘spare’ towel rack to repurpose, it would still FOR SURE be cheaper to buy one (like this) than to buy a curtain rod… just sayin’.

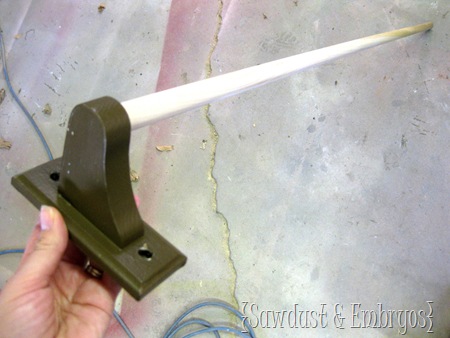
Nick picked up a 3/4” 4-foot dowel at the hardware store, and it fit like buttah.

DIY Towel Rack Curtain Rod (3)

Since I knew that this ‘curtain rod’ would be hung up high (VERY high) and there wouldn’t be any wear and tear to speak of, I didn’t bother sanding… just went at it with a little Kilz.
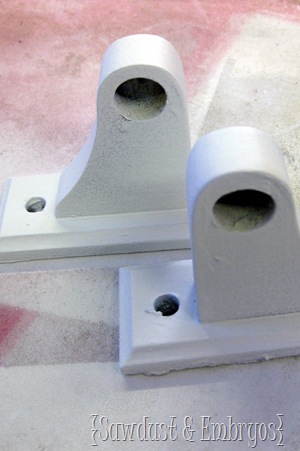
DIY Towel Rack Curtain Rod (4) DIY Towel Rack Curtain Rod (5)

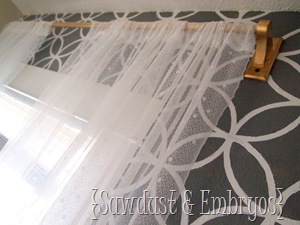
And then I hit it with a little Valspar Metallic gold that I had on hand. I like a little shimmer from time to time!

DIY Towel Rack Curtain Rod (6)

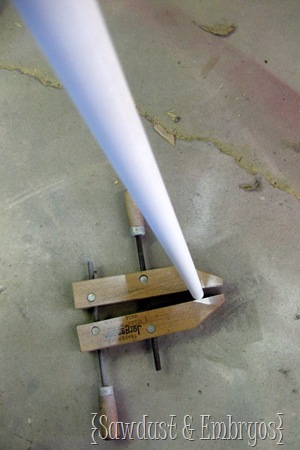
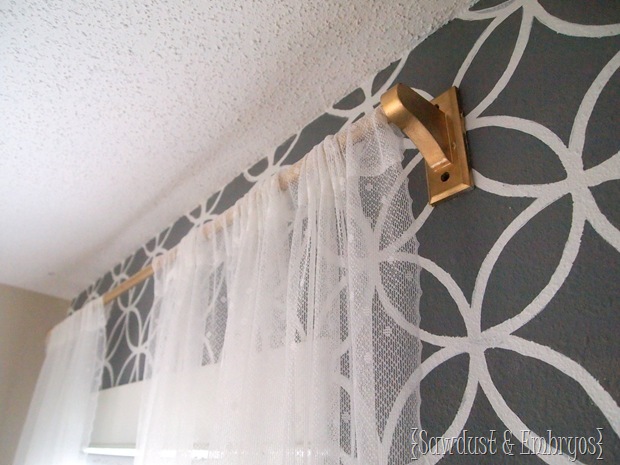
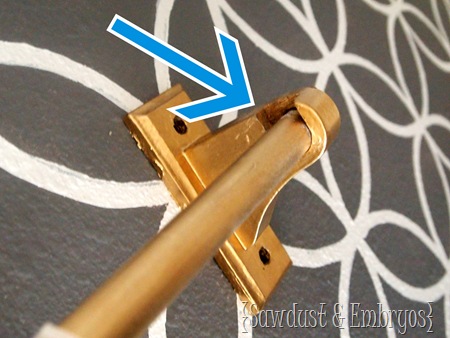
Nick used a bandsaw and a chisel to knock out a little notch so the rod can be removed easily (unlike a towel rack!). See what I’m sayin’?

DIY Towel Rack Curtain Rod (7)

It looks a little rough from that angle, but when it’s 10 feet in the air, and on TOP of the curtain row… well, ain’t nobody ever gonna see it.

I just so happened to have some sheer curtains from my old apartment-living days that I had gotten at IKEA, and they were miraculously long enough for this very tall window!

DIY Towel Rack Curtain Rod (8)
DIY Towel Rack Curtain Rod (9)

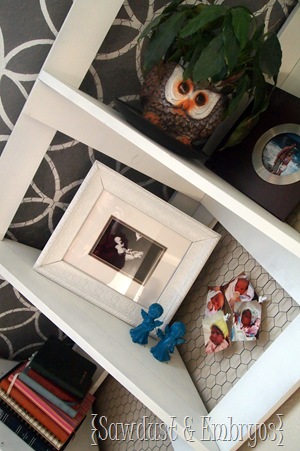
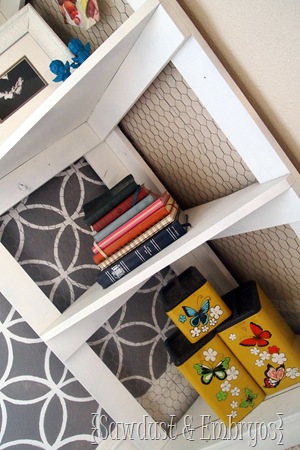
And I took my white Chicken-wire corner shelf that used to live in the living room before we took the wall out, and planted it right in that corner for a little visual interest and color. I love it.
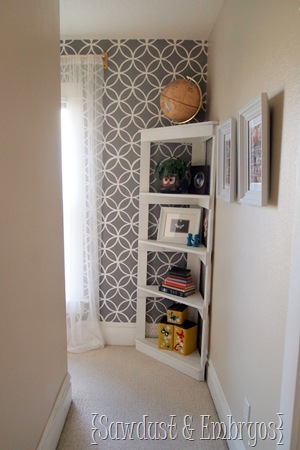
Chicken Wire Corner Shelf Chicken Wire Corner Shelf (2)
Chicken Wire Corner Shelf (3) Chicken Wire Corner Shelf (4)

Now I feel like there is some life in the middle of what might be the longest, most cave-like BEIGE hallway and stairway.

In the words of Sophia Grace and Rosie… ‘It’s SO GOOD’!
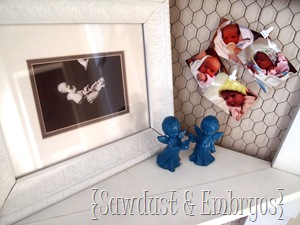
Corner Shelf Chicken Wire DIY Stencil
Towel Rack Curtain Rod Unique Chandelier

Here’s our supply list and budget breakdown:

  • Towel Rack ~ Already had on hand
  • 3/4” Dowel ~ $2.64
  • Primer/spray paint ~ Already had on hand
  • Giant 6’8” husband to install on such a high ceiling

Making our grand total at… *drumroll* …What you already did all the figuring in your head?  $2.64

DIY Curtain Rod {Using a Towel Rack!} $3

And that is that! I know you have the perfect Curtain Rod hanging dormant in your bathroom as we speak!

stencil curtains diy

Now go do something creative this weekend!

blank-001


*this post contains affiliate links
 

Related:

  • DIY fabric-wrapped bulletin boards
    DIY Fabric-Covered Bulletin Tutorial

    My kids are getting to the age where they want to tape pictures, cards, notes...…

  • DIY Rice Pack / Heat Packs - EASY Sewing Tutorial!

    It's been awhile since I've done a sewing project, and as weird as it sounds,…

  • Pair of Cascading Wave Petunia Planters DIY

    These DIY Planters are perfect for cascading Wave Petunias, and it will be so fun…

About Bethany Sy

Nick and Bethany Sy are the creative free-spirits behind DIY/Lifestyle blog, Reality Daydream. They recently purchased a historic mansion and have been documenting the ups and downs of renovation and making this home their own... all while sharing tips and tutorials along the way! When they found themselves in the trenches of infertility, they started a journey that would prove to be their most important DIY project ever, and have 3 beautiful girls to show for it. <3

« Better Blogging Google+ Hangout Video Series (I got invited by the big-shots!)
Tutorial: Photo Lighting for Staging DIY Furniture »

Comments

  1. 13

    CatwomanMN says

    February 9, 2015 at 5:01 pm

    I love this idea! I am new to your blog so sorry if this comes so long after you posted it. This is exactly what I was looking for!

    Reply
  2. 14

    Anonymous says

    August 21, 2013 at 1:41 am

    I want to know how you painted that wall!!! Love it!

    Reply
    • 15

      Beth @ Sawdust and Embryos says

      August 21, 2013 at 2:12 am

      Thank you! Here’s a link to that post!
      https://realitydaydream.com/2012/10/royal-design-stencil-review.html

      Reply
    • 16

      Anonymous says

      August 23, 2013 at 11:38 pm

      Thank you SO much!

      Reply
  3. 17

    Kenrich Walker says

    May 31, 2013 at 5:02 pm

    So much for making an old piece of metal usable again. I guess that could help to make the most out of the stuff you buy out of home improvement stores these days, especially when you’re short on material.

    Reply
  4. 18

    Caiytlin Perry says

    December 4, 2012 at 8:26 pm

    I think I’m going to look for curtain rods like these for my salcedo village apartment ! This will make my place more beautiful!

    Reply
  5. 19

    Capturing Joy with Kristen Duke Photography says

    November 30, 2012 at 10:21 pm

    I just saw you on the chat…I haven’t gotten all the way through it, so didn’t see your computer die–ugh, so sorry! Your site it new to me, and I think it’s awesome that you got to be a part of that!

    Reply
  6. 20

    Dharma says

    November 30, 2012 at 9:14 pm

    Thrifty, glitzy and glam! My favourite tri-fecta of DIY! Nice work lady 🙂

    Reply
  7. 21

    Emily says

    November 30, 2012 at 6:59 pm

    It looks so nice.I did something similar in my living room with a dowel and cheap brackets that I spray painted teal. When I was shopping for curtains and rods, I couldn’t believe how expensive everything was. I bought my dowels and brackets for less than $20 at home depot and made my curtains with fabric and hem tape (no sewing for me) I picked up at Joanns.

    Reply
  8. 22

    Megan Moore says

    November 30, 2012 at 6:38 pm

    Love the corner shelf…I’m sure you guys made that too huh?! Also love the Soophia Grace & Rosie refference 🙂

    Reply
  9. 23

    Renee says

    November 30, 2012 at 5:51 pm

    I think I have to take a longer time in the bathroom! Great idea!

    Reply
  10. 24

    Rebecca says

    November 30, 2012 at 5:51 pm

    i love how that whole space looks! adding the corner shelf really did the trick too.

    Reply

Trackbacks

  1. 20 Frugal Ways to Make your Own Curtain Rods - My Home and Travels says:
    November 23, 2019 at 5:08 pm

    […] Towel Rack Turned Curtain Rod. If you love to repurpose, this curtain rod project is the one for you!  […]

    Reply
  2. 20 Simple DIY Projects for UNDER $20! (Great Homemade Gift Ideas!) says:
    November 21, 2013 at 3:52 pm

    […] Towel Rack turned Curtain Rod […]

    Reply

Leave a Reply Cancel reply

Your email address will not be published. Required fields are marked *

Recipe Rating


  • Facebook
  • Instagram
  • Pinterest
  • RSS
  • YouTube
We are Nick and Bethany! Welcome to our blog, Reality Daydream where we share our DIY adventures!
Click here for lots of art projects using only wood stain on furniture!!
Please feel free to share or pin my posts! You're welcome to use ONE of my images (no collages or pinnables) with a link back to the corresponding post. Please do not edit or crop that single image in any way. Improper use of my photos, ideas or words is a violation of copyright. Thank you!

Categories

Attention: Almost any do-it-yourself project involves risk of some sort. Your tools, materials, and skills will vary, as will the conditions at your project site. Reality Daydream has made every effort to be complete and accurate in the instructions of the plans on this website. Reality Daydream will not assume any responsibility or liability for damages or losses sustained or incurred in the course of your project or in the use of the item you create. Always follow the manufacturer’s operating instructions in the use of tools, check and follow your local building codes, and observe all commonly accepted safety precautions.


Copyright © 2025 · Modern Blogger Pro On Genesis Framework · Customizations by Sweet Theory Designs · Privacy Policy · Log in