Hello hello friends! Things have been wild as we’ve been navigating the holiday season, schedules, shopping, baking, and making DIY Christmas gifts… but it’s all so fun! I will readily admit, however, that I’m also looking forward to the nothingness that January brings. What a stark contrast!
Anyway! Today I’m going to share a handmade gift idea that’s perfect for that person that seems to have everyyything. We all know that person that is so hard to shop for!
So get out your scroll saw and your favorite adhesive, and let’s get to work!
*This post is sponsored by our friends at DAP! Thank you for supporting the fabulous brands that make Reality Daydream possible! This post contains affiliate links.*
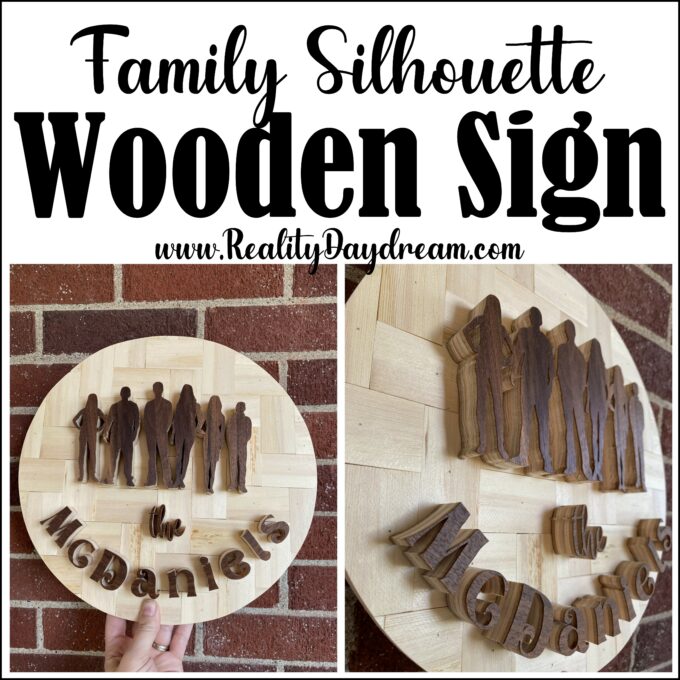
Scroll Saw Family Silhouette Sign
Supplies and tools
- Wood of your choice! (I’m using scrap 1″ walnut plywood leftover from our bathroom vanity build)
- DAP Weldwood Wood Adhesive
- 1/4″ underlayment plywood for substrate
- 3 yard sticks (we got them at our local hardware store for $2 bucks each!
- Scroll saw (this is the one I have, but a good mid-range scroll saw I would recommend if you’re just starting out is this one)
Start out by doing a google search for silhouettes. For the dad and the teenage boy, I searched “man silhouette” and clicked “images” so it was just image results. Then scrolled through the results until I found ones that looked like the corresponding person! Then do the same for “woman silhouette”, “girl child silhouette”, etc! Right-click and save each one to a folder.

Next, open Canva (a free software where you can edit photos, make collages, add text, etc!), click the purple “Create a Design” button in the upper right corner, and select “presentation” from the dropdown menu. Now you have a blank slate!
On the left side of the screen, click “Uploads” and upload all your silhouette images into the software. Then, you can drag them onto your blank canvas and crop them, resize them, drag them around until you find the perfect arrangement! You can also add text by clicking “text” on the left, and hitting the purple “Add Text Box” button. You can then play with fonts and find the perfect one(s) for your project. This is what I came up with!

Now it’s time to download and print!

I decided to use one type of wood for all components this time. But you could also use different types of wood if you want! Or use wood stain to make them different like I did on this teacher plaque I made for the girls’ teacher, and it’s a fun way to add interest!
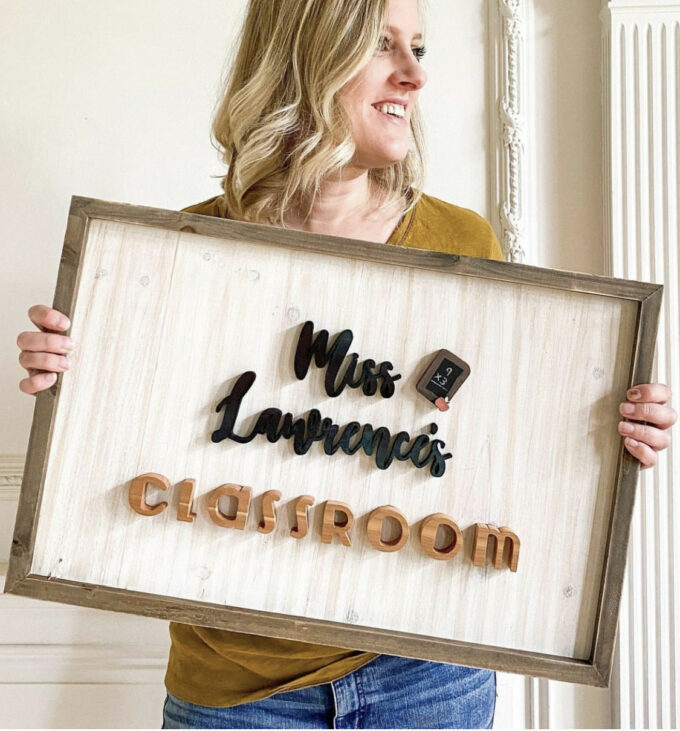
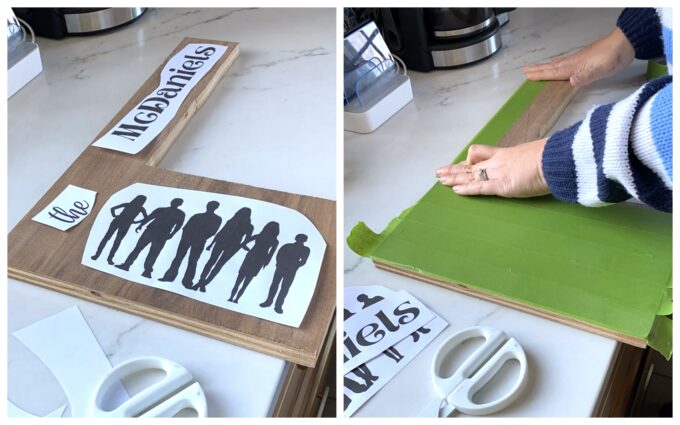
I used the same method from this tutorial to apply my template to the wood, and now we’re ready to scroll saw!
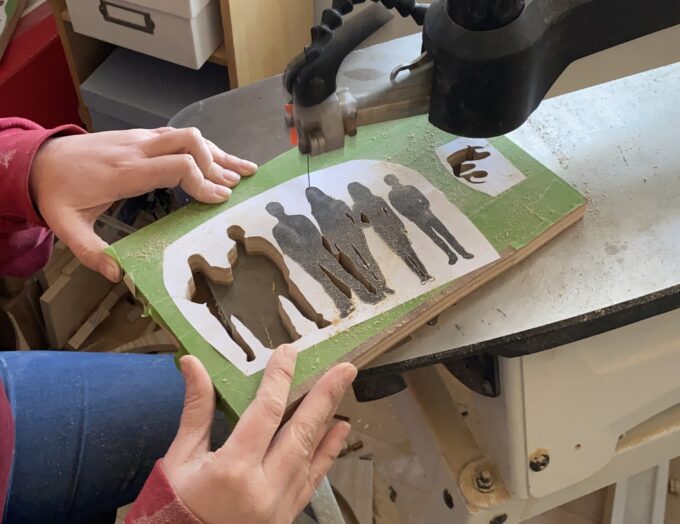
Who’s ready to scroll?! Using my scroll saw is my happy place. I put on my earbuds with a good podcast or audiobook, and my muffs over top to block the noise. I would almost call it therapeutic! Just follow the lines as best you can! If you’re new to scroll sawing, check our my beginner scroll saw post, or if you’re a pro and want more project ideas, check out this post with tons of project ideas and templates!

It’s sooooo satisfying to peel off the template and reveal your work!
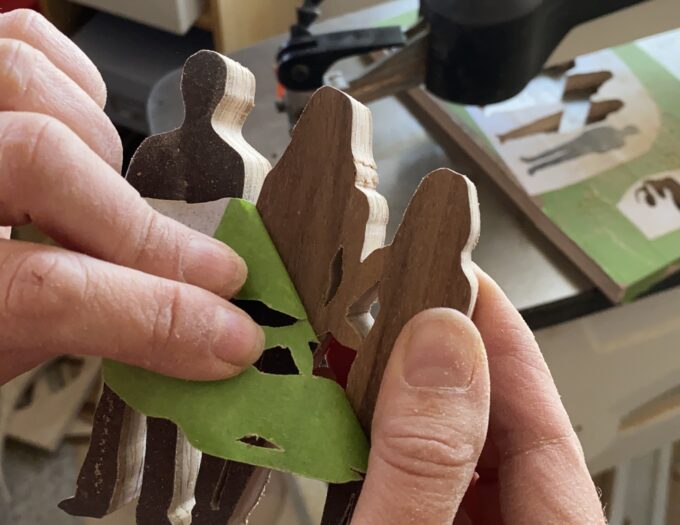

Now that we’ve gotten all of our pieces cut and lightly sanded (I use 220 grit, and these files). If your scroll saw blade is new, you shouldn’t have to much sanding!

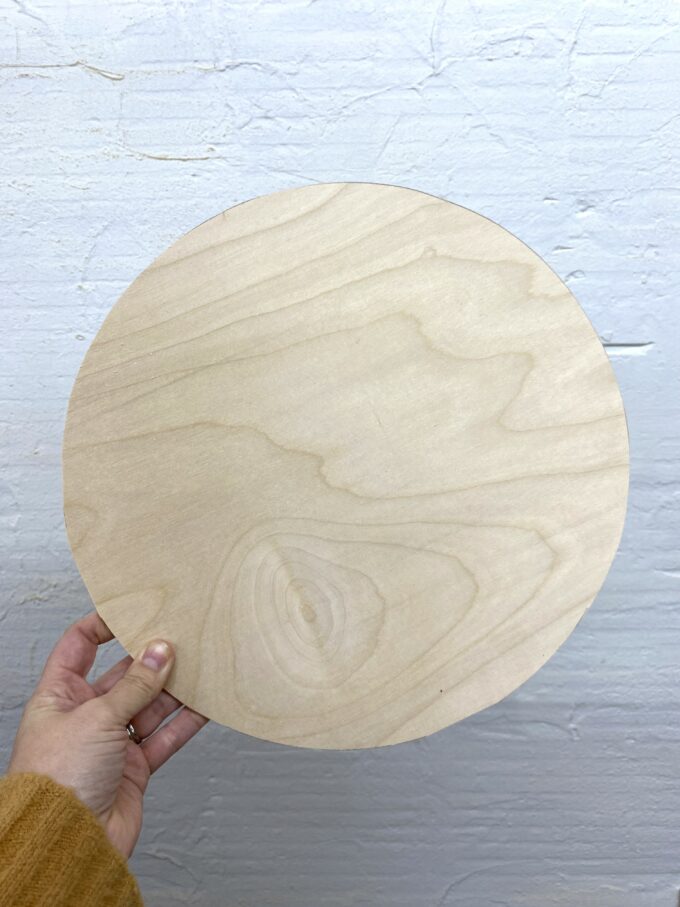
I found a scrap piece of 1/4″ plywood underlayment in the wood shop, and found a bowl about the right size to trace my circle. Make sure you set up your scrolled pieces on that circle to make sure it’s perfect! Then cut it out with the scroll saw. It doesn’t have to be perfect, because it’s not going to show at all! It will just be a substrate.

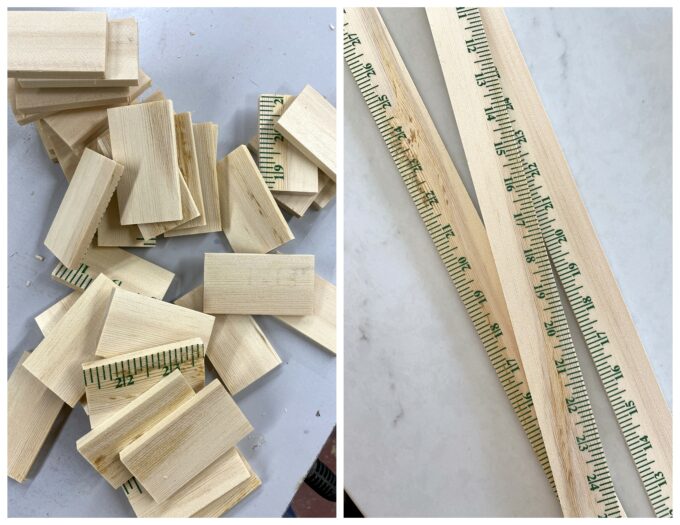
For this next step, we’re going to cut down some yard sticks into small chunks! I picked up 3 yard sticks at my local home improvement store for less than $2 each, and cut them into 2.5″ lengths on the miter saw.
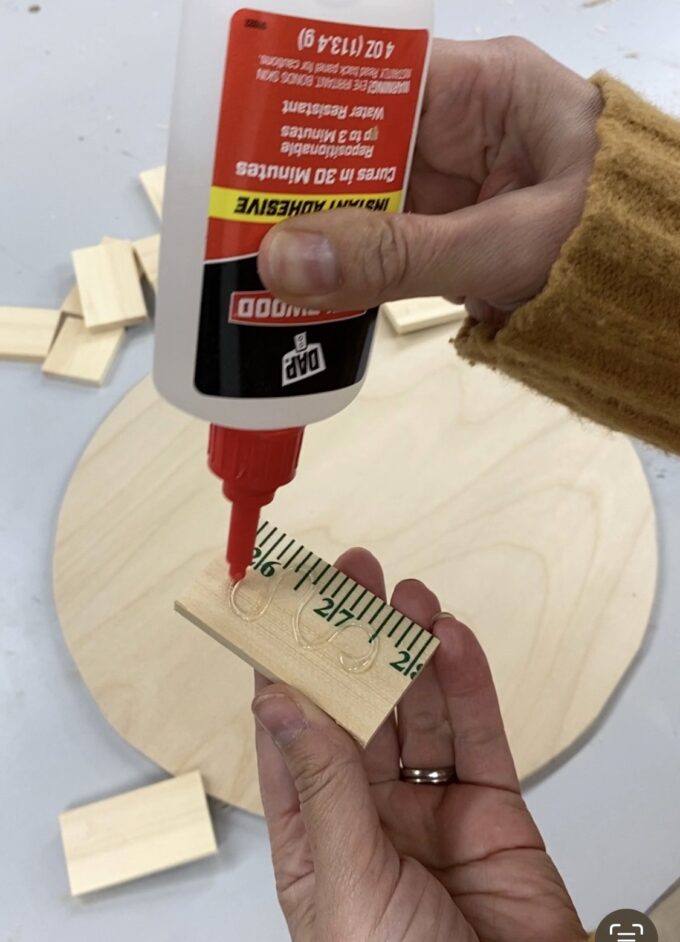
My FAVORITE adhesive for small woodworking projects is this Weldwood Fast Curing Wood Adhesive by DAP. You can reposition for up to 3 minutes, and the best part is that it’s fully dry and cured after 30 minutes. Like rock hard.

Put a good squiggle on there. Enough to have good coverage, but not so much that it will squish out the sides when you press it into place.
Press it into place somewhere in the middle. The exact location doesn’t matter AT ALL. I used a pin nailer to hold each piece in place while the adhesive dries. Then put the second one in place to make an L shape. Like so!
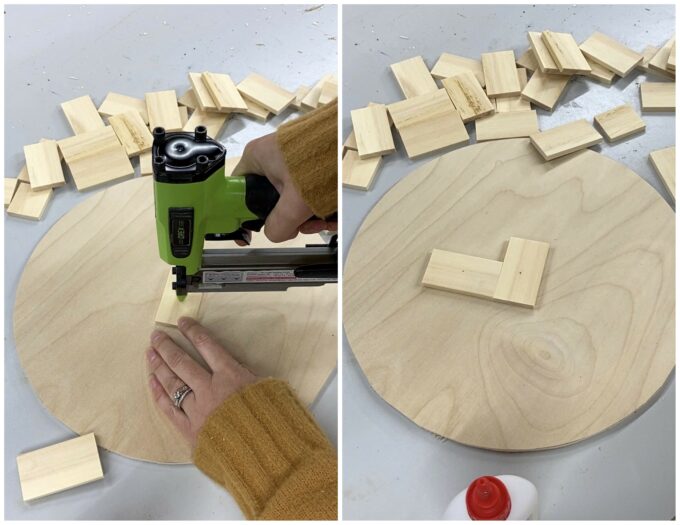
Continue this pattern up and down until you have a row like this.

Once you work your way out to the edges, the pieces will start wildly overlapping the outer edge, and that’s ok! If there are tiny spots that don’t get filled in yet, do not fear… we’ll fill those in later!
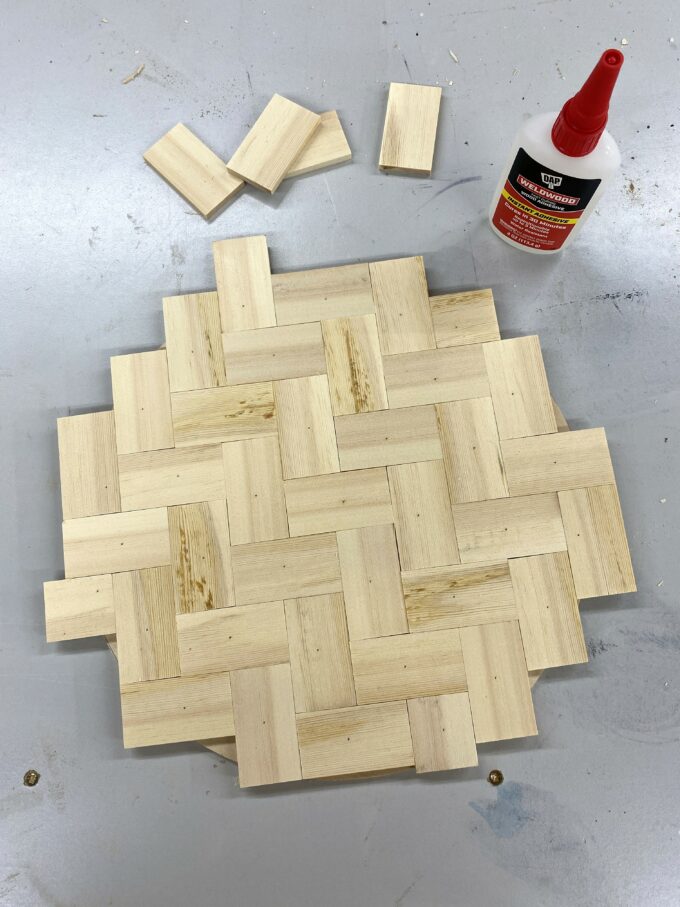
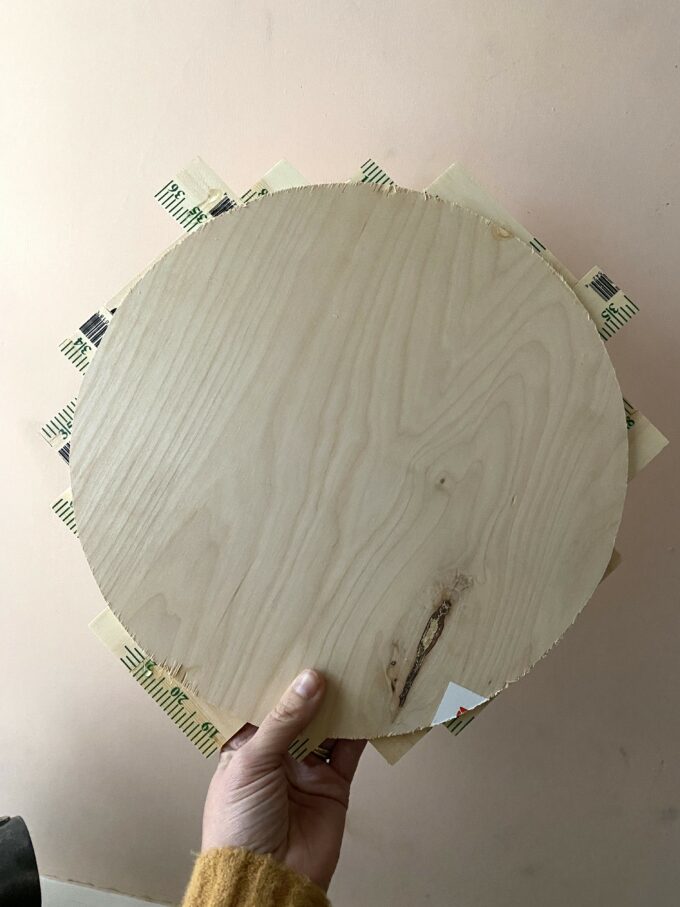
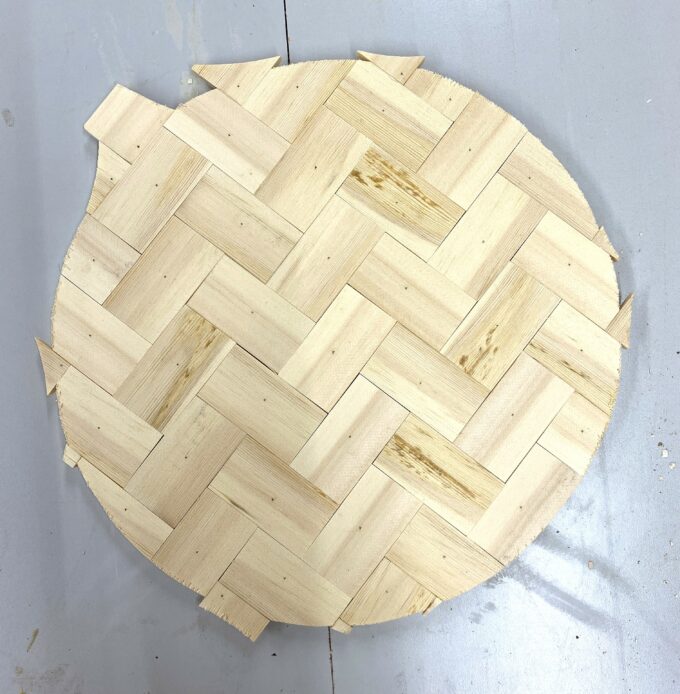
Give it 30 minutes for the Weldwood Instant Wood Adhesive to cure, then flip it upside down and scroll off the excess. Don’t cut right up next to the backer-board circle. I gave myself about 1/8″ space. No we need to use all those little pieces we just cut off to fill in the little holes! For most of these, they were small enough that I just used a dab of Weldwood. There were only a couple of bigger ones that wouldn’t stay in place without a pin nail.

Now we wait another 30 mines for this round of adhesive to dry, and we’ll cut off these edges too!
I thought I would do the layout of the name and silhouettes the same as I had it on the template, but I realized there were more ways to do it, and it might be fun to try something different! Especially since the back board is round!
I shared a poll on my Instagram Stories between these two…

…but then someone messaged me and suggested having the name on the bottom side. So then I shared this, and the response was overwhelmingly in favor!
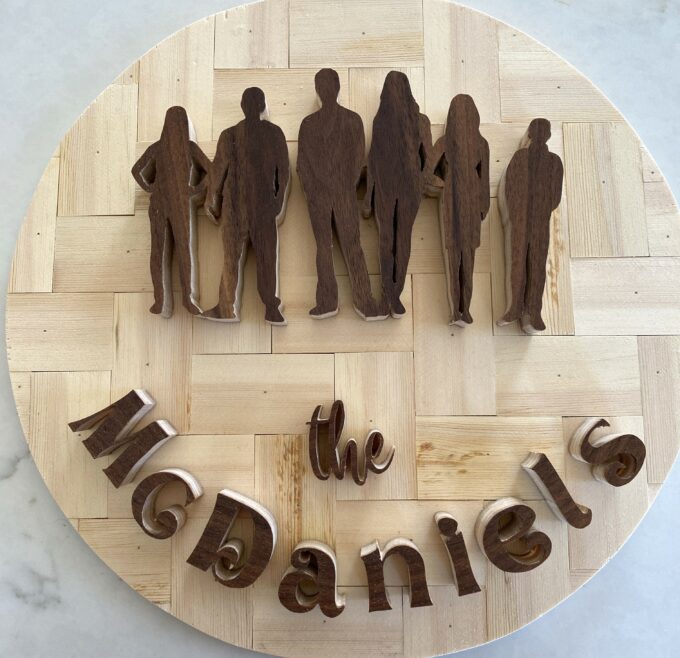
We’re on the homestretch now! I grabbed my Weldwood Instant Adhesive again, and did some squiggles on the back sides. You don’t need much! But you also don’t want it to ooze out when you press it in place.

And this baby is donnnnne! I love a good handmade gift! And I feel like you get extra points if it’s personalized! Making things with my scroll saw brings me so much joy. And I hope Andrea and her family enjoy this little piece of handmade art on their wall for many years to come!


Be sure to check out my other scroll saw projects and patterns HERE!
Thanks for following along for this tutorial. If you make something inspired by this project, please email me a photo, or tag me on the socials! We’re @RealityDaydream on Instagram and Facebook!
~Bethany
Be sure to check out our master list of DIY Handmade Gift Ideas!

~~~~~~~~~~~~~~~~~~~
Thank you for pinning!


Leave a Reply