HOLY CHRISTMAS CHAOS!
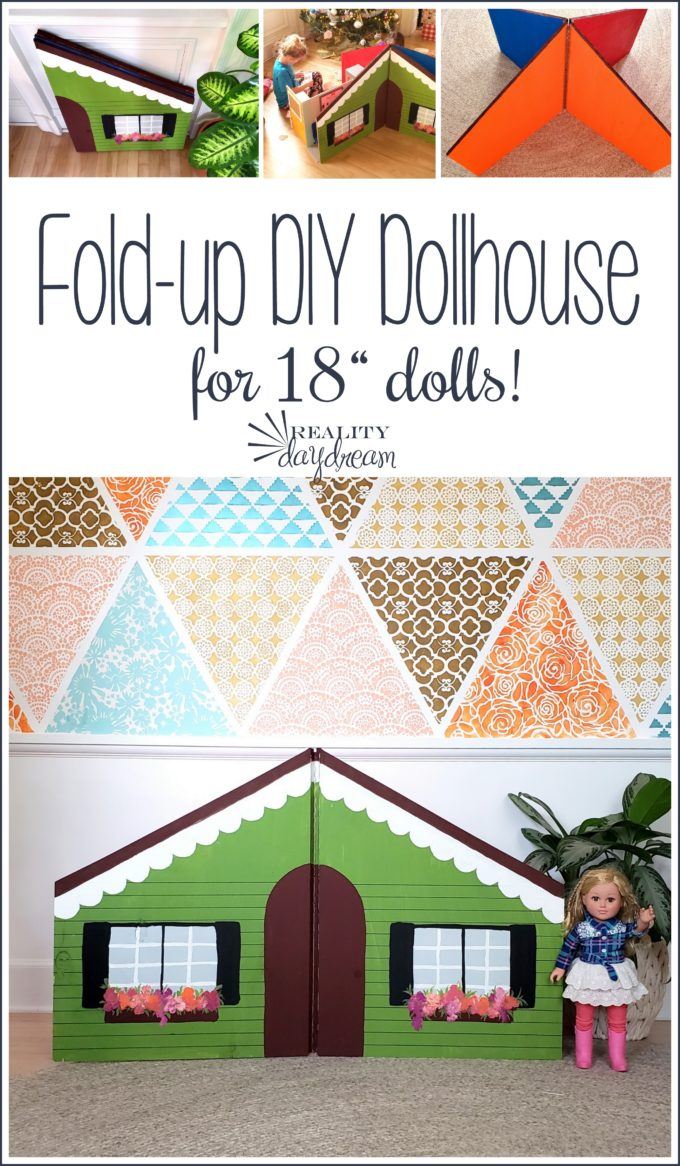
I know you’re not looking for gift ideas anymore, but you KNOW I’m still going to share the tutorial for the last-minute Collapsible Dollhouse I made for my girls’ knock-off American Girl dolls. IT FOLDS UP LIKE A BOOK when it isn’t in use! And of course this would work for any 18″ doll, or even smaller dolls! AND IT’S EASY to make!
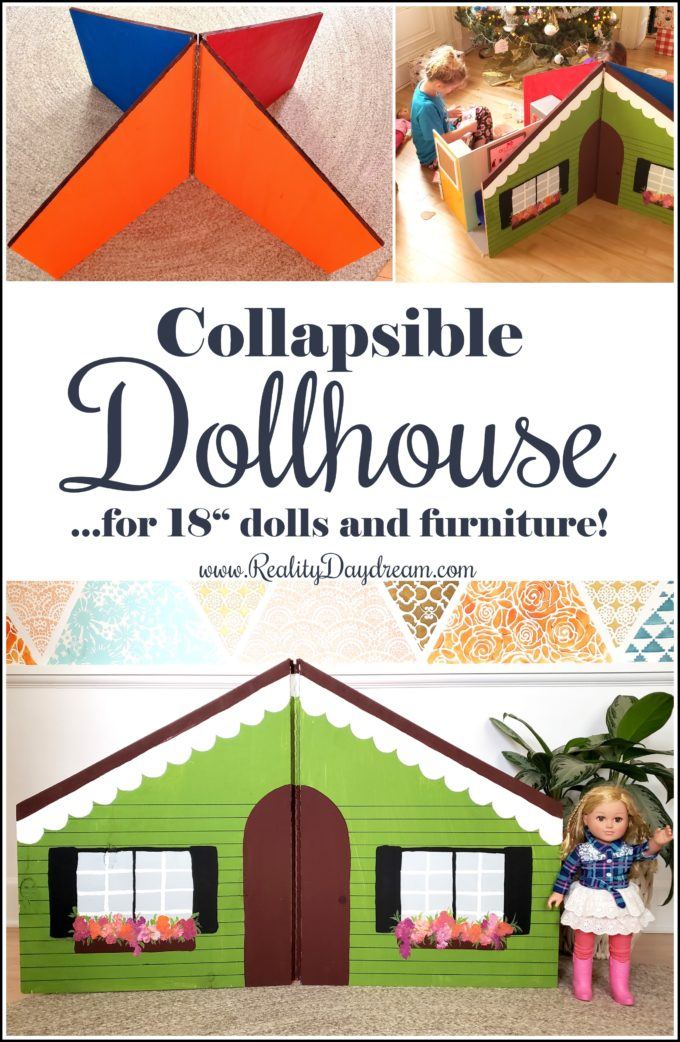
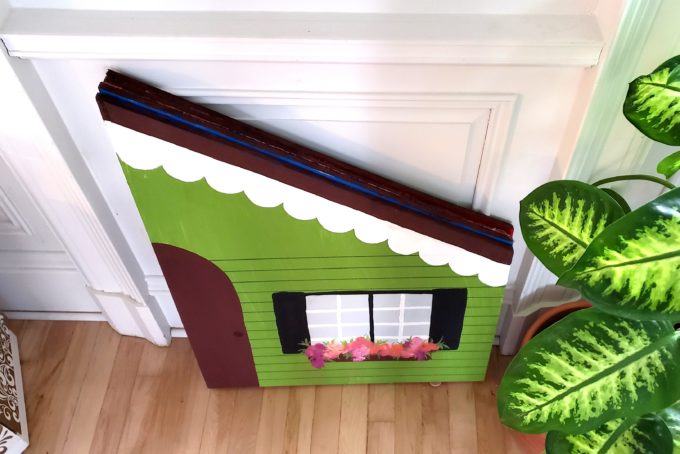
Here’s what it looks like all folded up! So convenient for storing!
Collapsible Dollhouse for 18″ Dolls
Supplies
- (2) sheets of 2’x4′ plywood
- (3) 30″ rel=”nofollow”piano hinges
- Acrylic paint (various colors)
That’s the shortest supply list I’ve ever composed.
Ever.
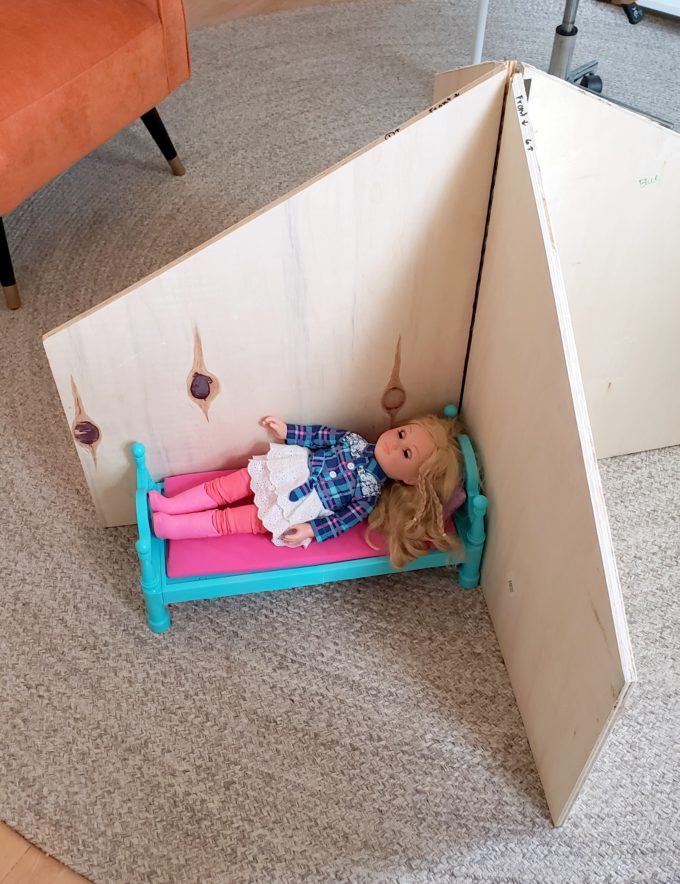
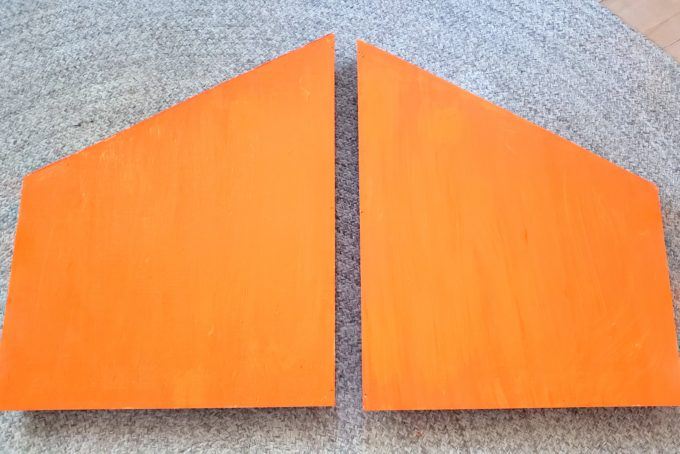
Hubs sliced my sheets of plywood at an angle with the table saw in such a way that all 4 pieces ended up being identical! You could totally use a circular saw for this as well.

I had him whip up a little diagram to show you the angles and dimensions. Because numbers are confusing.
DIAGRAM
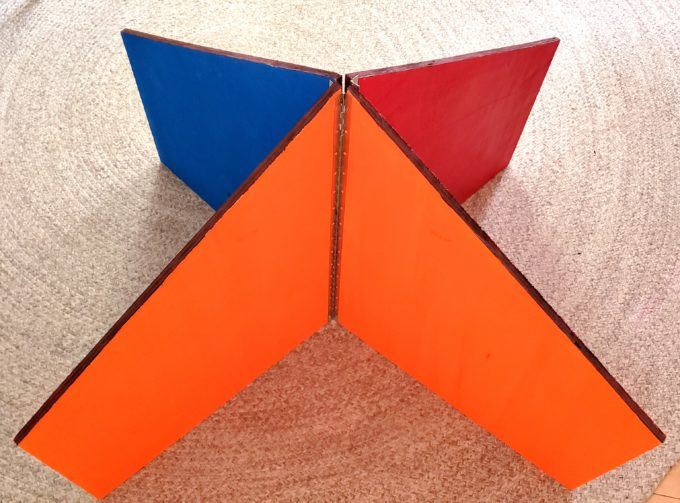
I applied the hinges first just to make sure the concept of this would work. I wanted it to fold up like a book when not in use. And it toooootally works!
While I had it all assembled, I marked out which colors I wanted in which ‘rooms’, and which would be the front of the house. That way when I take all the walls down to paint, I know which sides need to be which colors.
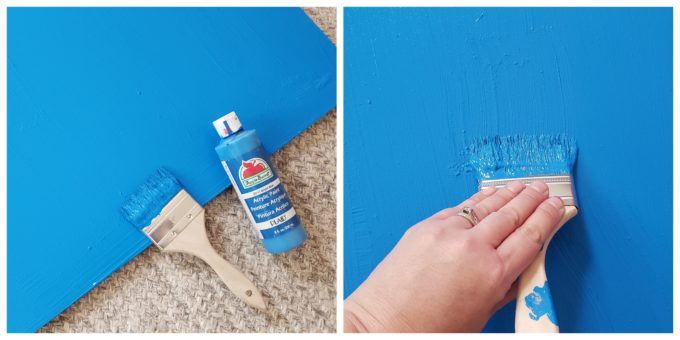
I just used acrylic paint and a chip brush to paint these real quick. You could totally use latex paint, spray paint, or whatever you have on hand.
I thought about doing fun stencils, or painting on windows and such, but I decided to leave the rooms a solid color so the girls can really use their imaginations. I don’t even mind if they want to paint on their own ‘decor’ eventually.!
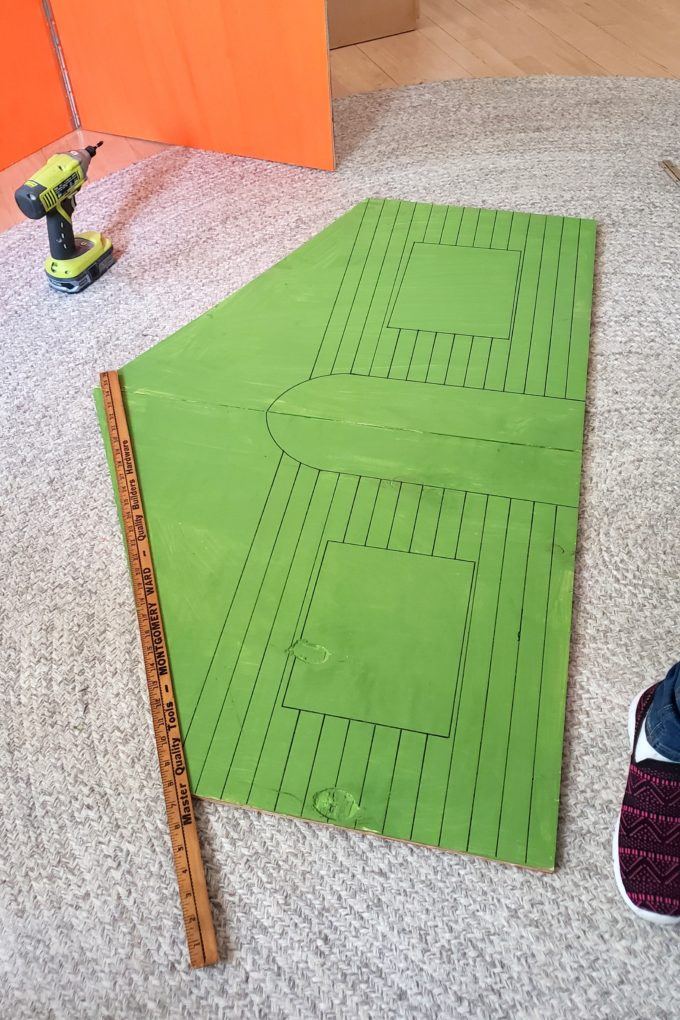
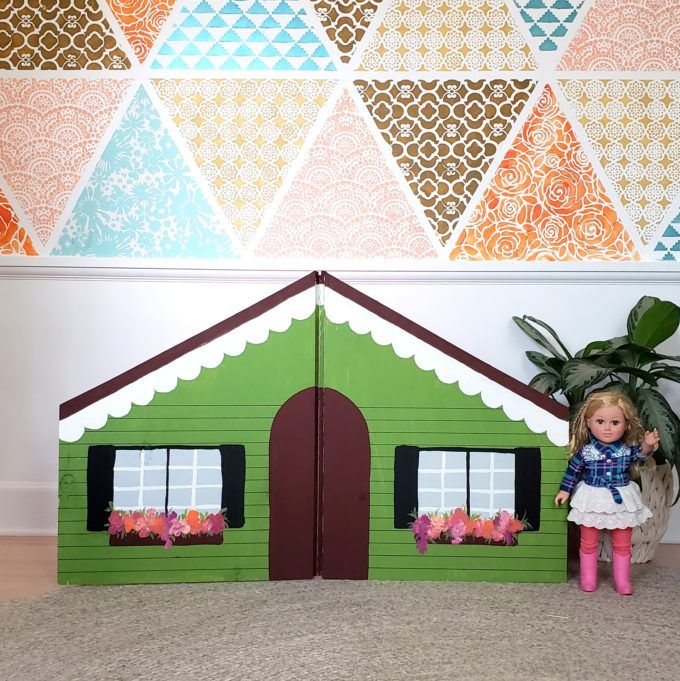
Once I had the walls of my orange, red, and blue rooms finished, all that was left was to paint the ‘front’ of the house!
I wanted to have a little fun with this and really make it a gorgeous, quaint little cottage. I decided to use green as my base color, and drew on some windows, door, and used the width of my yardstick to draw out the siding.
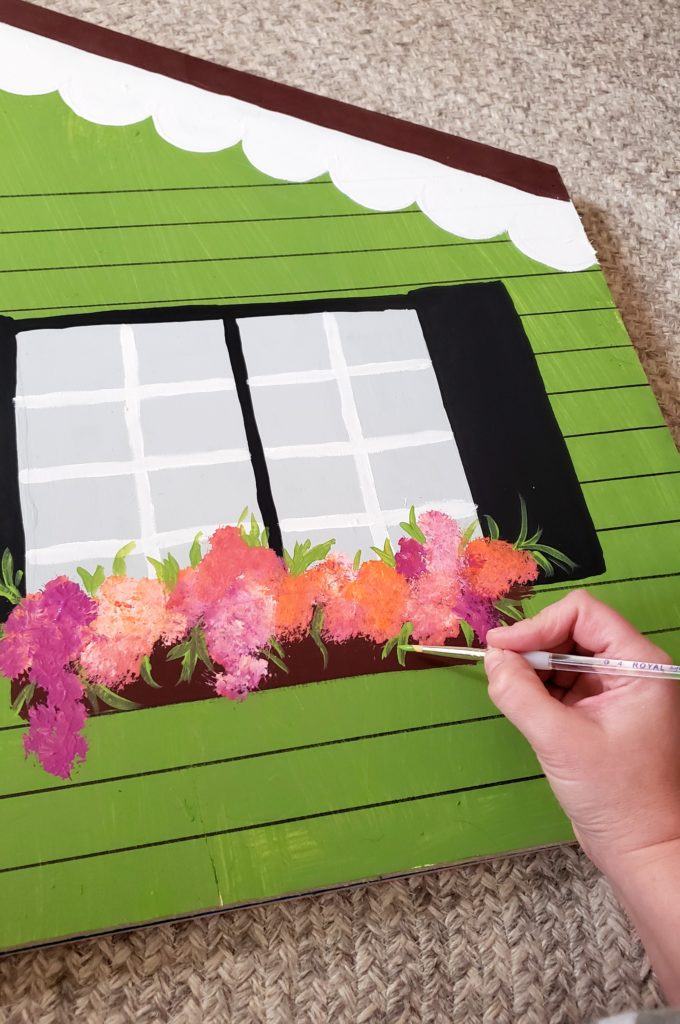
On the windows, I outlined them in black with acrylic paint and a small paint brush, and added shutters and a brown window box. You can really have fun with this and make it as complex or simple as you want!
I was a little intimidated to tackle the flowers in the window box, and I had no idea how they would turn out, so I just went for it! I used 3 different shades of paint, and a stencil brush, and just blotted it around in the paint to get at least two different shades of paint on my brush, and then just blotted it onto the window boxes! It ended up turning out SO AMAZING!
If you look closely at the picture below, I carried the paint around the edges of the wood in that center crack so it wouldn’t be so obvious. Because of the nature of the hinges on this project, it’s unavoidable to have that big crack in the front, so it made the most sense to try to disguise it. And it looks so much better than it did!
I slapped those hinges back in place, and VOILA!

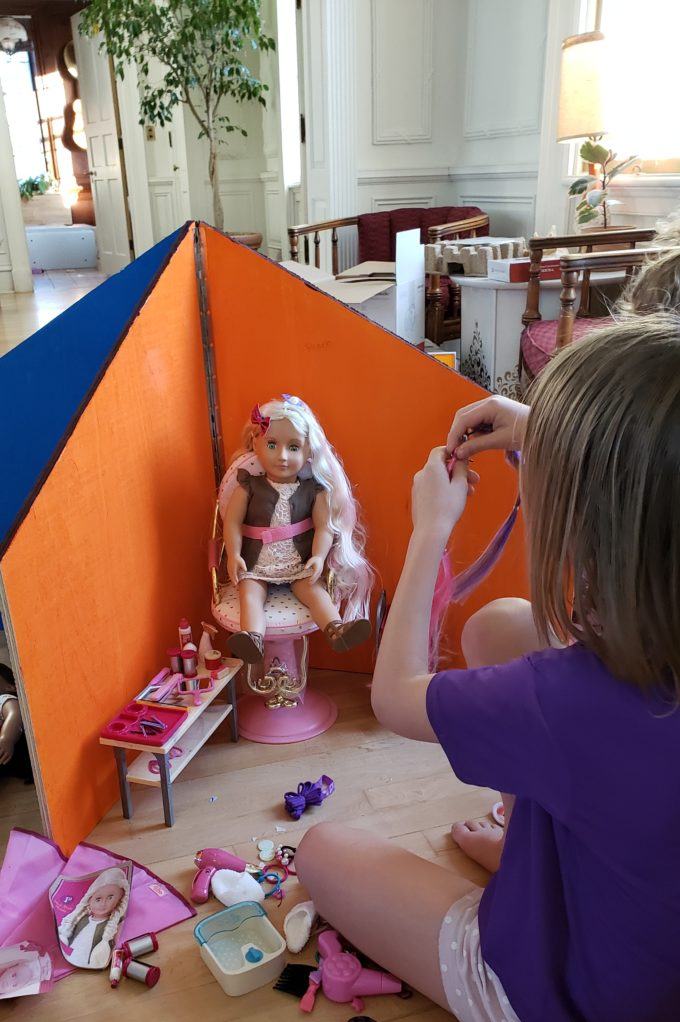
Each of our 3 girls got a knock-off American Girl 18″ doll and a ‘set’ to go with it. This means that currently we have a room with a salon, a vet clinic, and garage for Cypress’ scooter.
It’s brilliant and my kids are obsessed with it.

I added felt furniture pads on the bottom of each edge so the wood won’t scratch our floors. Easy Peasy!

The girls already plan to add hooks for hanging things on the walls, and maybe a little mirror on the wall in the salon. It’s so fun to see their creative wheels turning!
And it was so fun for ME to build this for them and be able to watch them enjoy it. I have a sneaking suspicion that there will be MANY hours spent playing together with this collapsible dollhouse. And it makes my mama-heart so happy!

If your kiddos love dolls as much as mine do, I hope you’re inspired to make one of these fold-up dollhouses too! It was so much fun to make, and pretty simple too!
As always, if you try one of our tutorials, please tag us on social media! We’re @RealityDaydream on Instagram and Facebook!
~Bethany
Be sure to check out our master list of DIY Handmade Gift Ideas!

~~~~~~~~~~~~~~~~~~~
Thank you for pinning!
Related:
-

My kids are getting to the age where they want to tape pictures, cards, notes...…
-

It's been awhile since I've done a sewing project, and as weird as it sounds,…
-

These DIY Planters are perfect for cascading Wave Petunias, and it will be so fun…
Made this for my granddaughter’s birthday! my only addition was to paint on a mirror frame and add a stick on piece of plastic mirror.
She absolutely loves it and all the little girls wanted to start playing with it right away when we set it up!
Thanks so much for this great tutorial!
Can you tell me what thickness of plywood you used for this project?
Thans
Yes! It was 1/2 Inch thickness.
thank you.
So excited to make this for my granddaughter 🙂
Love this. Wondering if you could add more rooms at least 1 or 2 more. Looking at doing this for my oldest daughter this Christmas.
Just discovered this pin and literally threw clothes on and dragged my 4 kids to the hardware store for the wood and hinges 😍 I’m OBSESSED 😍 Taking my 2 oldest girls to the American Girl store in LA for the first time next week. This is the perfect birthday present 🥰
Love the dollhouse. I have searched and searched four s reasonably sized one for 18-in dolls. I only heave so much space and there is already a Barbie house and an LOL house. This will be perfect. Thanks
Thankyou so much. My grand daughter is going to love this! ???
I hope so! I’d love to see pics when you’re done!
Very great idea. I can see my daughter playing with this.
Love it!