Do you know how long it’s been since we had a mirror in our bathroom?
Let’s just say I gained and lost 50 lbs since then. As far as I’m concerned, my collar bones were visible the whole time.
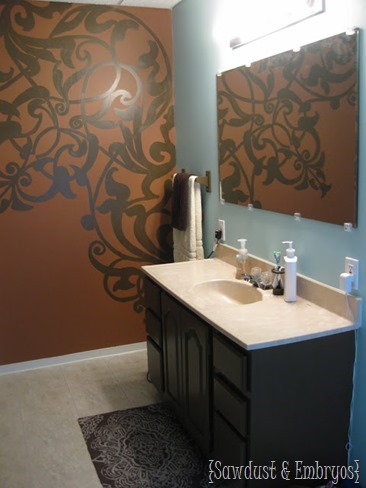
Remember when the bathroom looked like this?
I know that pic isn’t altogether hideous. I actually loved that mural I painted for a period of time. But it was just dark and icky-feeling. And that burnt orange made my eyeballs dry-heave.
BUT AT LEAST THERE WAS A MIRROR… right? AT LEAST I didn’t need to use my phone camera on reverse to check for food in my teeth.
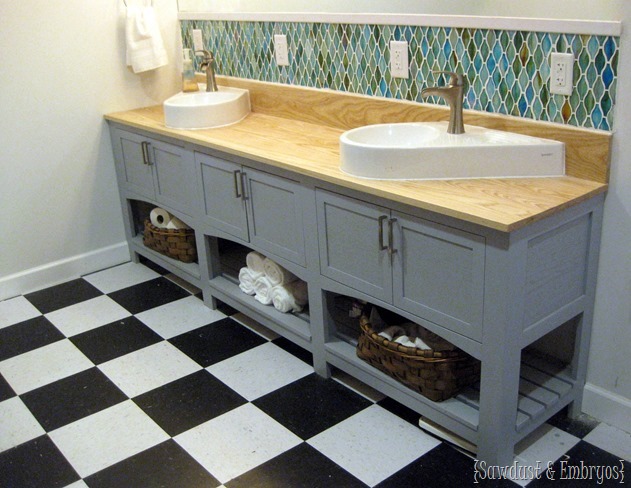
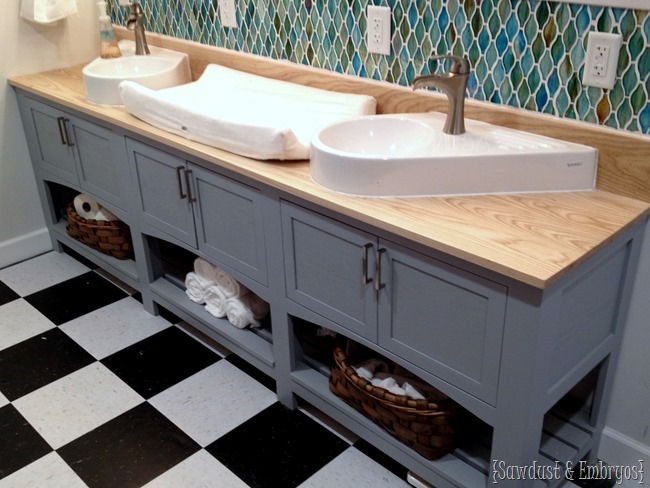
Well so after some demo, wiring/plumbing, flooring, lighting, building a new vanity, and installing the backsplash, we left you with this goodness. No biggie.
Isn’t it amazing what 10 GA-ZILLION HOURS OF LABOR can do? High fives!
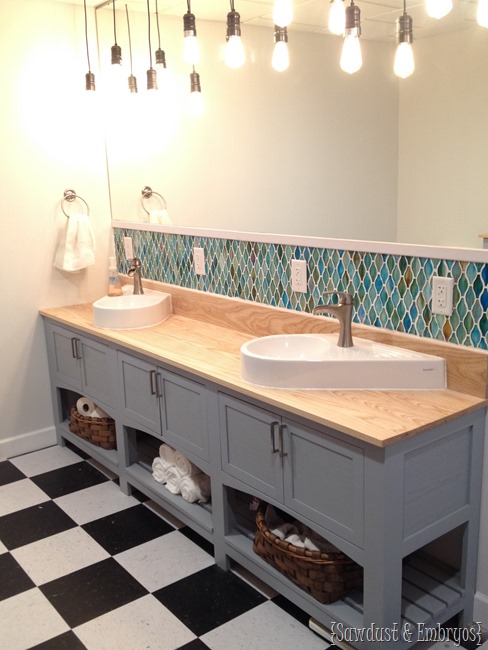
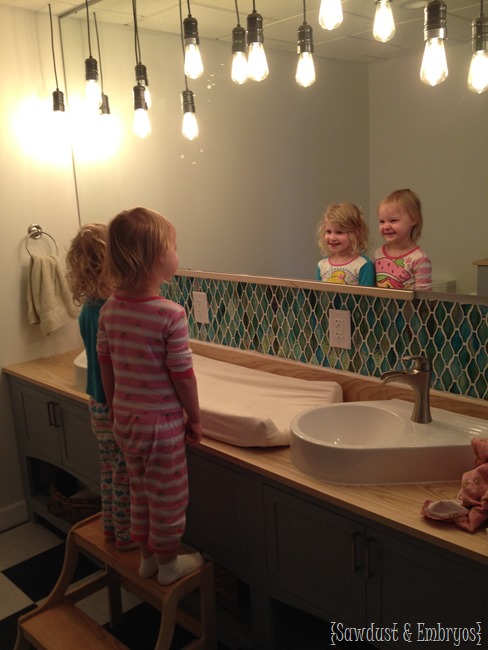
The next logical thing to do was add a mirror. I had my heart set on doing a giant frameless mirror that extends the whole length of the vanity, AND from backsplash to ceiling. I just wanted it to feel grand. But it turns out that giant frameless custom mirrors are essspensive. Like pushing $200 bucks essspensive. So we had to save our pennies… cause ain’t nobody got that kinda money just laying around.
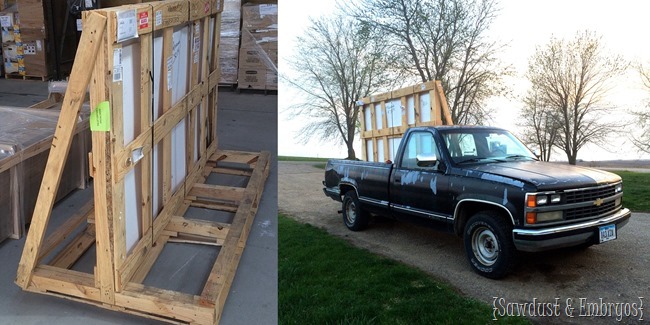
We ordered ours from Menards (home improvement store in the Midwest), and it came snuggly packed in this crate-ish thing. My knight in shining armor picked it up and brought it home on his Black Stallion (yes we name our vehicles).
I don’t consider myself to be frail by any means, but #ohmygosh this thing was so heavy. Somehow the two of us managed to heave that thing into the house and up onto the wall. We used these mirror brackets to hold it into place, then Nick routed a strip of wood to act as a trim piece to bridge the ugly gap between mirror and backsplash.
I suppose we should discuss the elephant in the room. THOSE LIGHTS! Amiright? We purchased individual pendant lights (complete with Edison bulbs!) for about $20 bucks a pop. These are now discontinued where we bought them, but I found some that are almost identical here on Amazon if you’re interested. We installed 8, but with the mirror… well you could say it’s almost like two for the price of one. BOGO for the win!
Isn’t that the stuff of dreams?
The girls disappear into the bathroom frequently to make faces at themselves in the mirror.
We didn’t plan it this way, but a baby changing pad fits perfectly between those two sinks. Obviously our diaper-changing-station isn’t magazine worthy or anything… but this is real life folks. You’re lucky I moved the poopy diaper out of the pic.
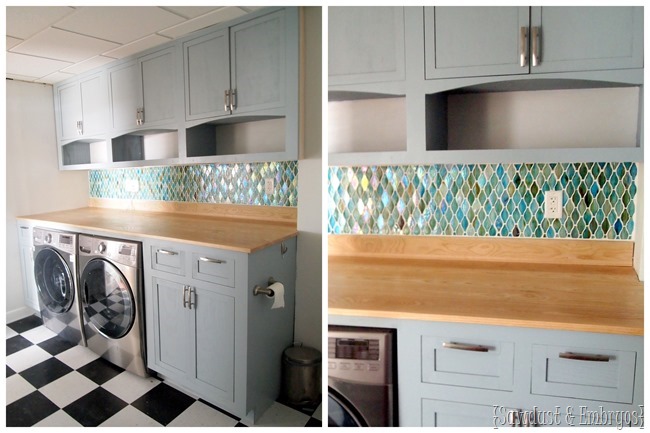
If you’re new here, this is what the other side of the room looks like.
Now that our giant mirror is in place, the room feels E-NORmous. I never dreamed I would have such a swanky laundry room! I know this may sound like a stretch… but doing laundry is a lot more fun now. And it’s a good THING, but cause there is a lot of it.
Nick still plans to put in some under-cabinet lighting above the washer/dryer, and I still plan to figure out some artwork for the big white wall by the toilet… but we’re loving that this room is usable and gorgeous. It’s been SO much work, but it turned out better than we ever hoped!



Love the entire project and the finished look. Kudos to the models.
PS: Check this outI think you’ll like 40W 220V Home LED Light Edison Bulb Filament Light Bulbs Vintage Retro Antique Industrial Style Lamp Bulb T30-185 Tungsten Bulb E27 Globe Edison Light. Add it to your wishlist!
http://www.wish.com/c/56557870f3dae6143a4d31ff
This turned out amazing! Well done! I really like how light and open the room looks now. I’m sure the mirror makes it even better. Great choice on the Edison bulbs as well.
Woohoo for the ginormous mirror! It looks gorgeous in there. And I absolutely love that tile and vanity. Oh and the sinks too. And the lights. Ok, the entire thing.
Okay, nice laundry room…BUT those two munchkins make the room beautiful! Vikki in VA.
Very nice! Hard to believe that is the same farm house. You both have truly made a home! Really like the backsplash!
I love it! So wonderful I love how the lights look! and from 8 to 16 is Kickin’ Backsplash is increadable as well! GREAT JOB!! “High Fives” all around, And I like the Black Stallion, Penelope would like to meet him! THAT would be My CAR! lol
Beautiful, as always……We have one of those gia-normus mirrors on our bathroom. And you are right, it does help to make the room look much bigger. I framed our mirror out with wood to dress it up. It was pretty bare looking before that. I had forgotten just how beautiful your vanity and backsplash were. Thanks for reminding me that I need to do something in our bathroom to “jazz it up” a little bit! More work……sigh………