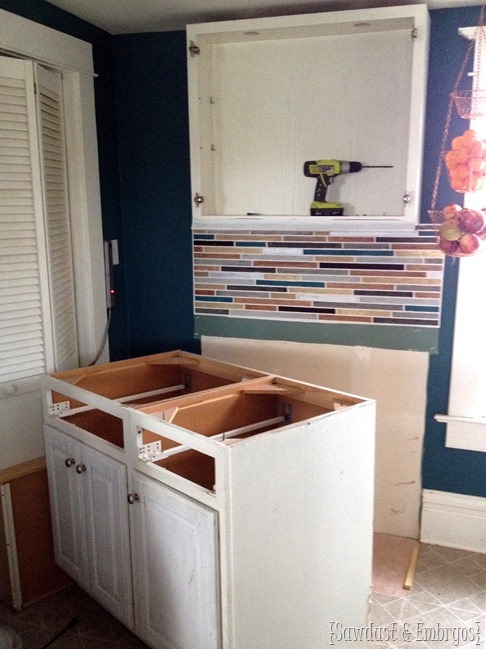
So the layout of our kitchen is a little strange. This random little piece of cabinetry next to the pantry… it just looks out of place. All of it.
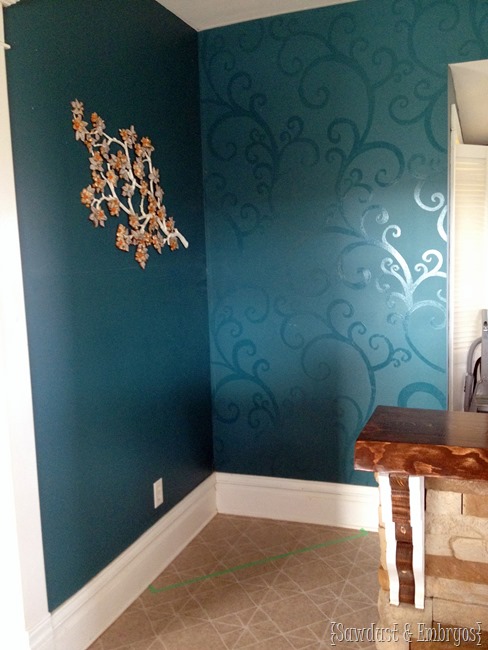
Another thing that looks out of place is this random little corner of the kitchen.
Here’s another view. Something needs to go there, right?
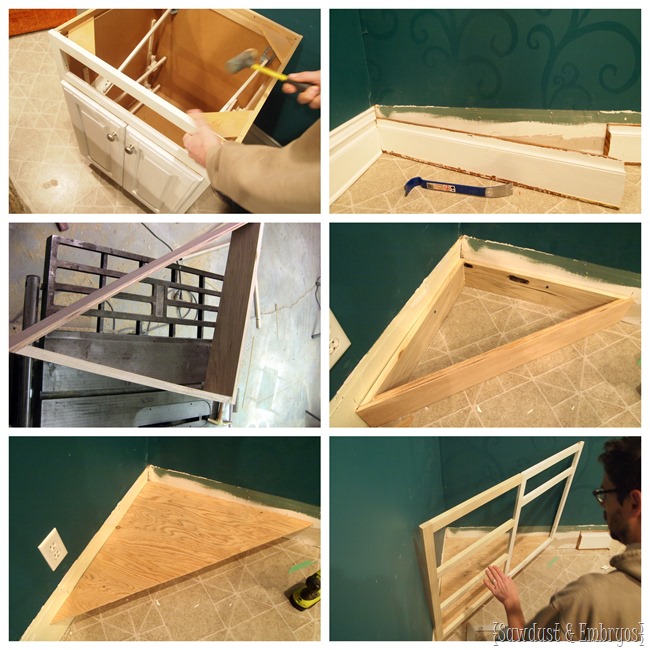
So one fine day, whilst Nick was innocently at work, I took a crowbar and my cordless drill, and started removing some cabinetry. I honestly thought that I could modify these cabinets to be built-in corner cabinets.
As it turns out, I was wrong about that. I couldn’t do it by myself. Nick just shook his head at my ambitiousness, and the unexpected project that lay ahead.
I reminded him that I was the mother of his children and we got to work.
Had I known that an entirely new base and frame would need to be built, I would have consulted the carpenter.
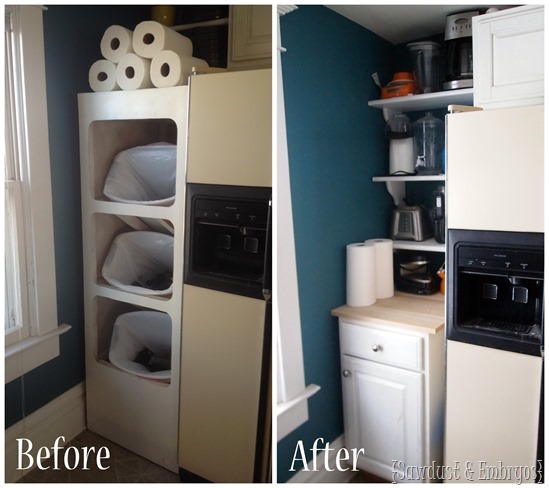
We collectively decided to put the smaller of the two cabinets over by the fridge since it’s a dark hole after removing our recycling station
That particular corner is nothing special, but we put up a few shelves for small appliances and such. I like that it’s out of the way, yet still super functional.
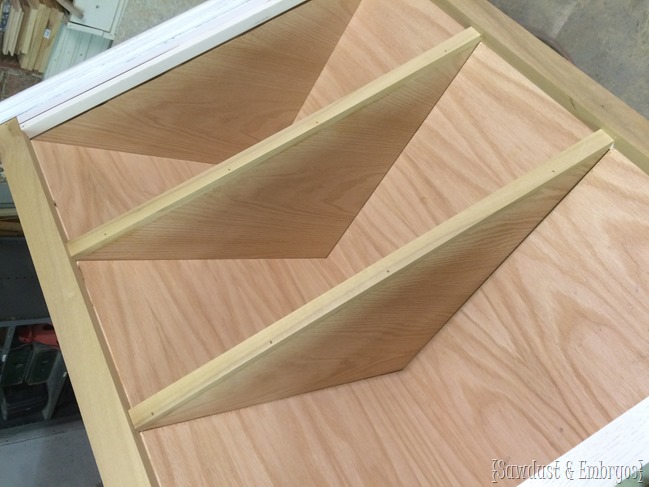
I’m sure you can tell by now that this is NO TUTORIAL. It’s such a specific project that that would be impossible. Basically all the parts of the previous cabinet were unusable and he had to build a new cabinet from the floor up (literally).
We decided to add in some little corner shelving in that extra space, as well as reconstructing the top cabinets (along with the window-doors).
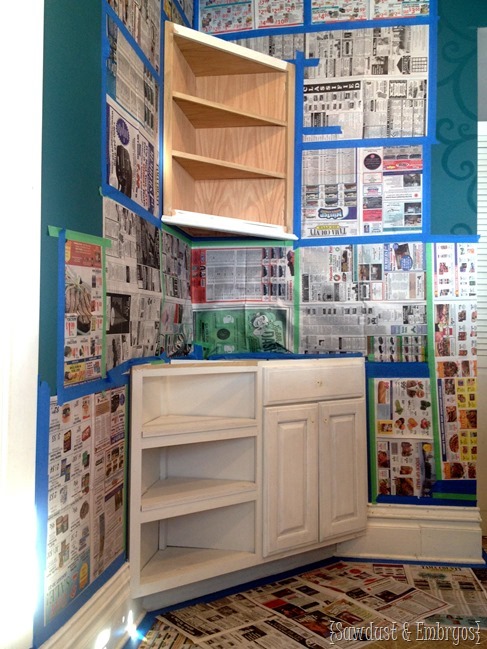
Then we prepped to paint! Nick thought it would be quicker to tape/newspaper everything off and use the paint gun, but I’m not sure that was the case when it was all said and done. I do know that I didn’t have to meticulously had-brush it… and for that I’m thankful.
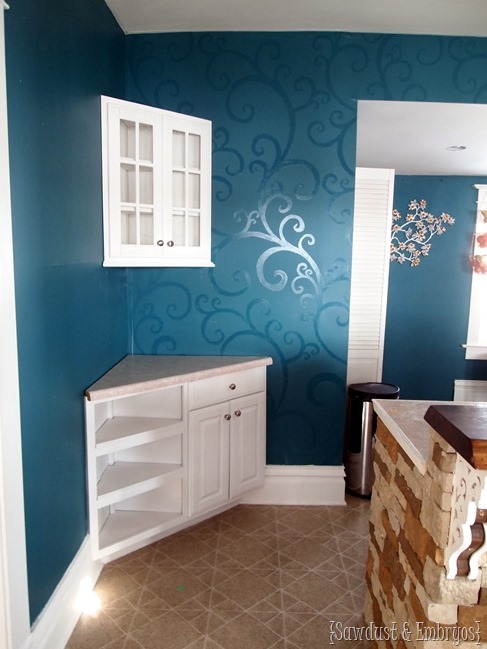
Gah! I love it! It feels so custom and purposeful! Not like an afterthought. Isn’t my hubs a dear?
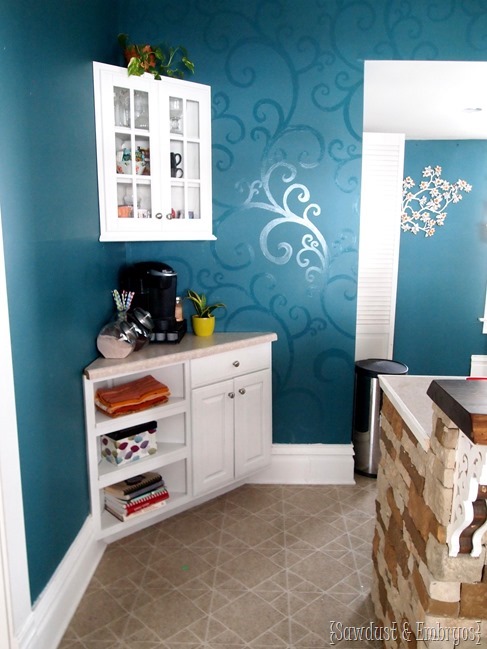
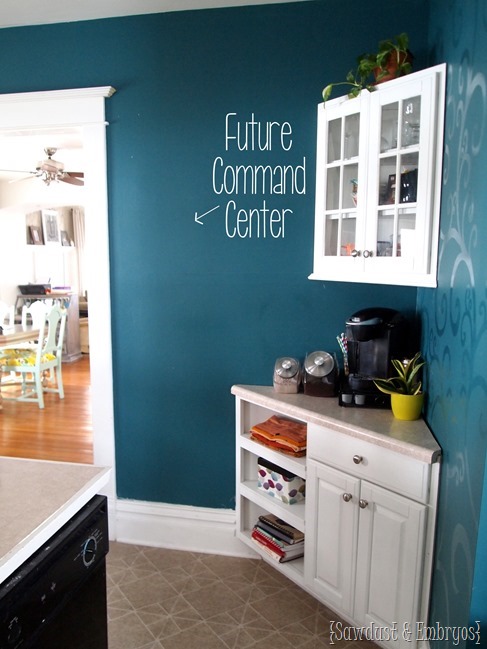
Here she is all loaded up with our coffee shtuff.
If I show you from this angle, you can see the blank wall space where I plan to eventually put a floor-to-(almost)-ceiling Command Center area, with a chalkboard at the bottom for the littles to draw on. They’re always wanting to contribute to my chalkboard calendar… and that ain’t happenin.
There will also be a painted backsplash at some point too… but we’re planning to do a whole new backsplash in the entire kitchen, so we’ll wait until those shenanigans start. Let’s just say POST PREGNANCY. Amen.
The part of the kitchen where these cabinets USED to be is bare for now, but I will be building a rolling kitchen island that will sit there… maybe some live-edge floating shelves above it to coordinate with the breakfast bar? And don’t worry, we’ll be patching the trim.
So this is our little kitchen switcheroo. I love change, and am constantly looking for ways to make things feel more cohesive and organized to work best for our family. I may just put a little more thought into how it may affect my spouse next time I get all ambitious-like with a crowbar.
Be sure to click here to see our MANNNNY other kitchen updates!
And, because I know some of you will ask… here’s the tutorial for the glossy swirls on the wall. We painted it like this several years ago, and that post is what really put our itty-bitty blog on the ‘map’ of design blogs. It’s been pinned over 700,000 times (!!!!!!!!!!!!)







Love it, but I too thought it needed furniture feet
Y’all are so ambitious. Difference level between your abilities and mine is in the exponent level.
Seriously. I want to hire Nick for a week at my house. It’s not THAT far away. 🙂
Looks great!
I really like the appliance nook! Its looking great!
Nice job! I would add some tulip furniture feet from Lowes so that it looks like a piece of furniture.
It looks like it was always meant to be there! Beautiful!
Huge improvement! I love it.
What a great spouse! Nice job y’all!
It looks amazing! There were times when I felt like taking a sledge hammer to things in my kitchen but then remembered my brothers would have had to fix it. Great job to both of you!
It was your glossy swirl accent wall that first led me to your blog. I’ve been following ever since. Blessings to you and your growing family from Phx, AZ.
You have a great husband, he got to work on that right away…!! I love your wall too..!!