This has been ONE OF THOSE PROJECTS. The kind where on multiple occasions, we look wearily at each other and telepathically say ‘what were we thinking?’ …because we don’t have the energy to actually say it out loud.
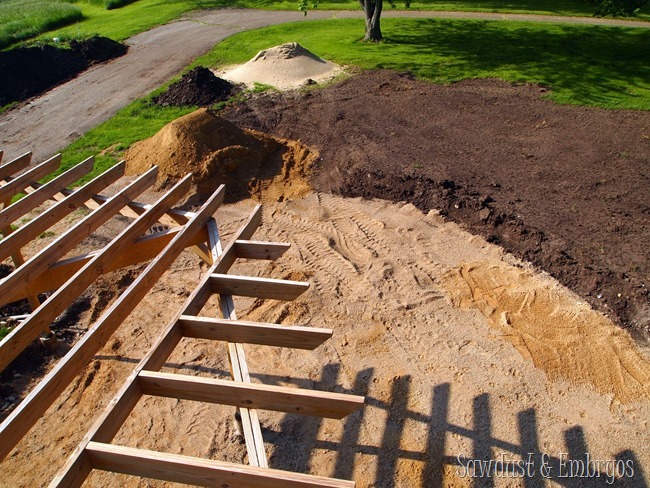
We left you last time at this point:
Nick is such a hard worker… and actually ENJOYS this kind of stuff (to a degree), so I lucked out there for sure.
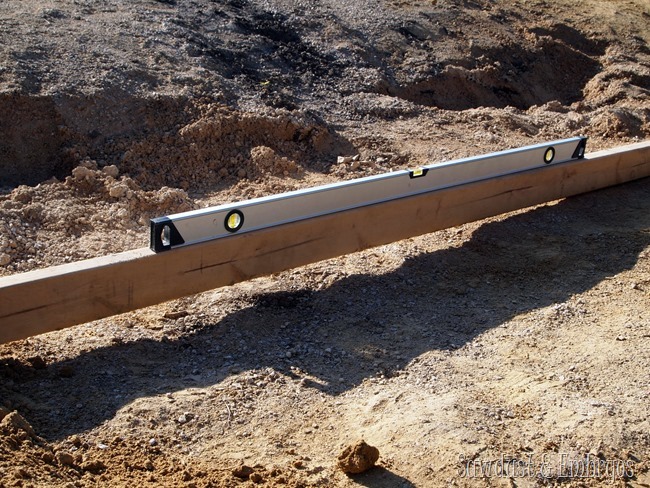
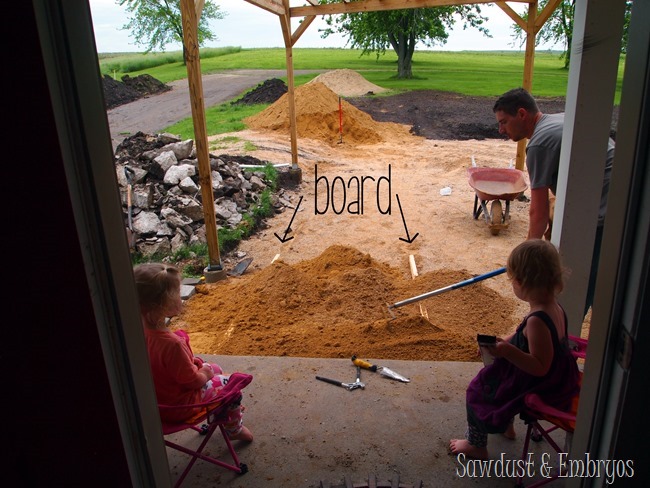
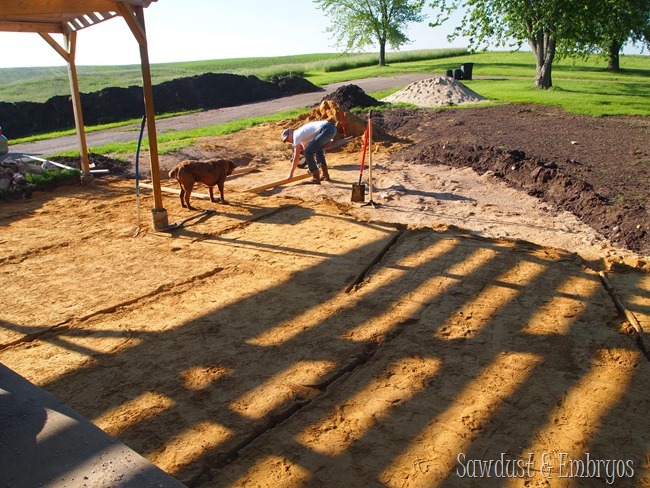
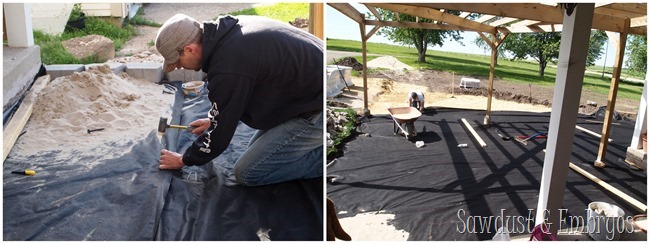
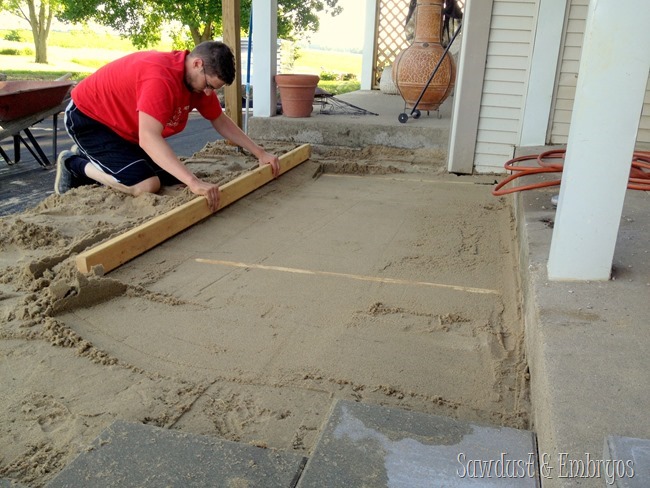
Since we already had the base level gravel laid, the next step was to lay the medium gravel. This layer needs to be LEVEL… with a slight grade for water run-off. This process is accomplished by doing small sections at a time… laying out two 2×4 pieces of wood parallel to each other. We used a level to make sure they were both perfect. If they weren’t, we used a rubber mallet to tap ‘er into place.
One the two boards were in place and level, we just began filling with the sand! This involved filling the wheel barrow with sand and hauling it to the site and dumping it. Then just rake the sand till it’s somewhat level.
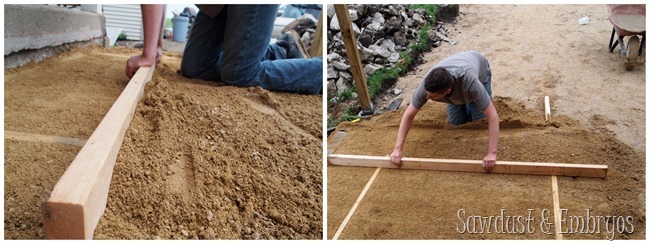
Now that we have this area filled with sand, we take a 3rd 2×4 piece of wood, and slide it along the other two pieces to flatten out the sand and pull off any excess.
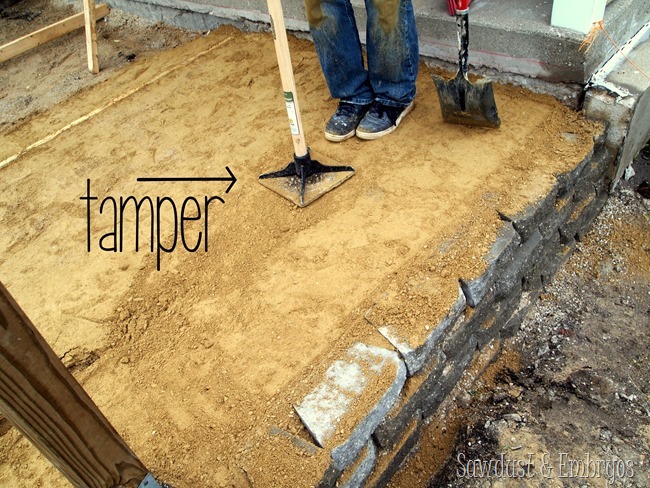
The next step is to ‘tamp’ the sand down. A Tamper is basically just a heavy weight to pack the sand down. Once it’s packed down, we add more sand and then repeat until the sand is very pack and perfectly leveled with the 2×4’s.
Now that one section is done, we simply pull out the 2×4’s and move to the next section! And repeat, repeat, repeat, repeat.
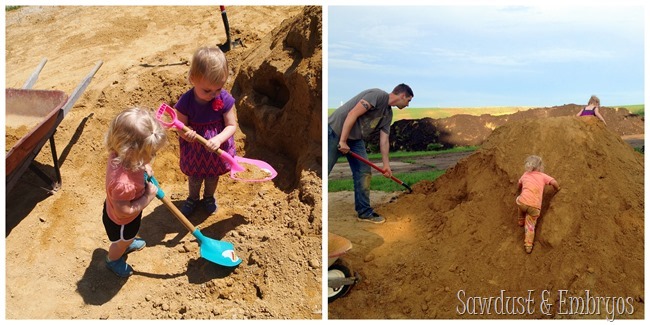
The girls were a HUGE help. (not)
One that ENTIRE LAYER of sand is done, it’s time to roll out the landscaping fabric.
Guess what’s next?! PUT 3 MORE INCHES OF LEVEL SAND ON EVERYTHING. People… this is when it started getting old.
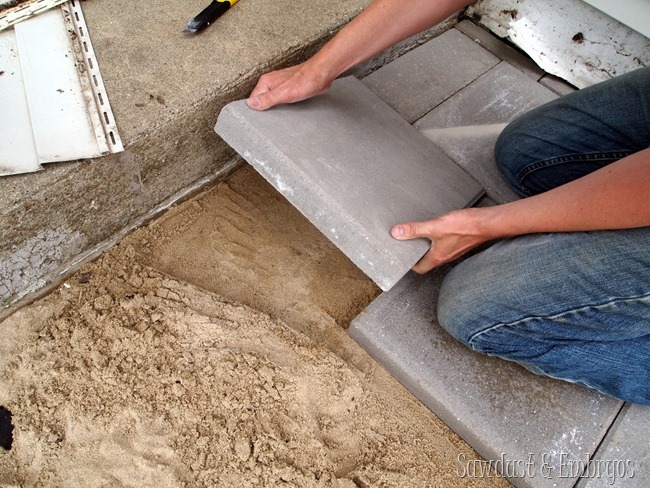
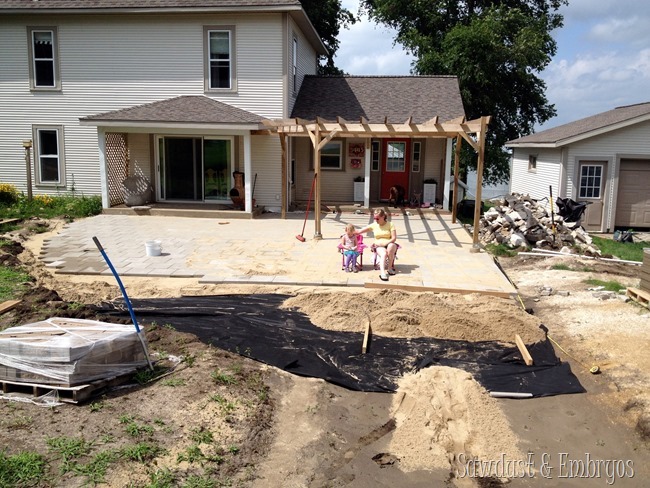
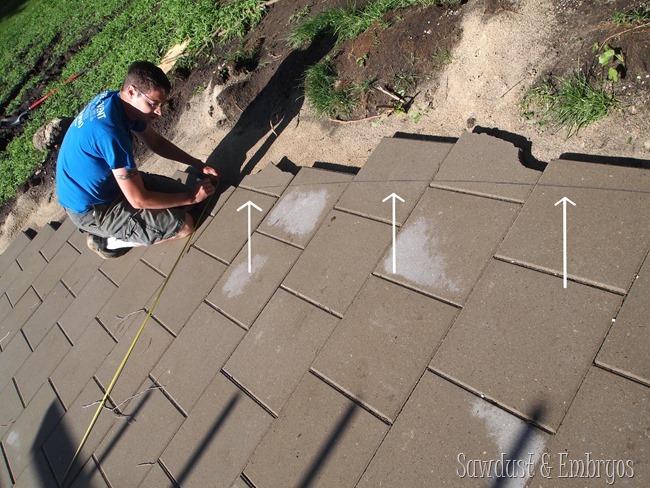
We found that once the sand was level and tamped, it was nearly impossible to keep the children and animals from generously offering their footprints. So with each section of sand, we would slap on the pavers afterwards. This also helped make it feel like the end was near!
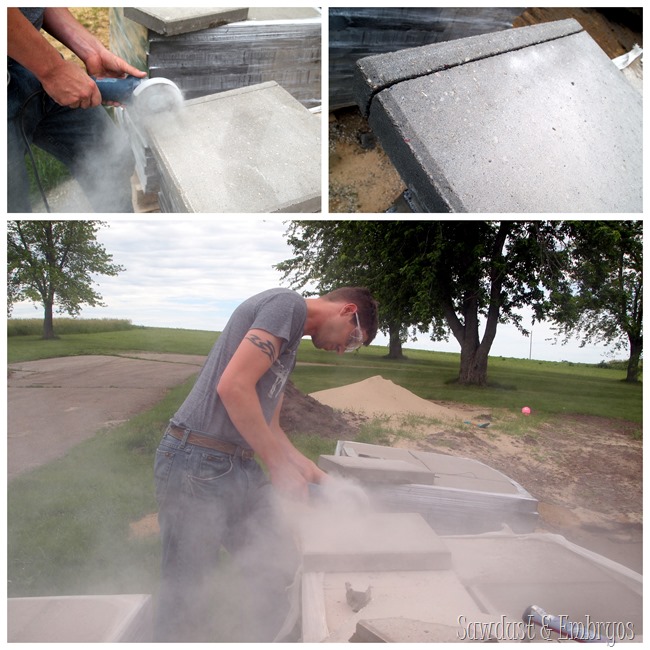
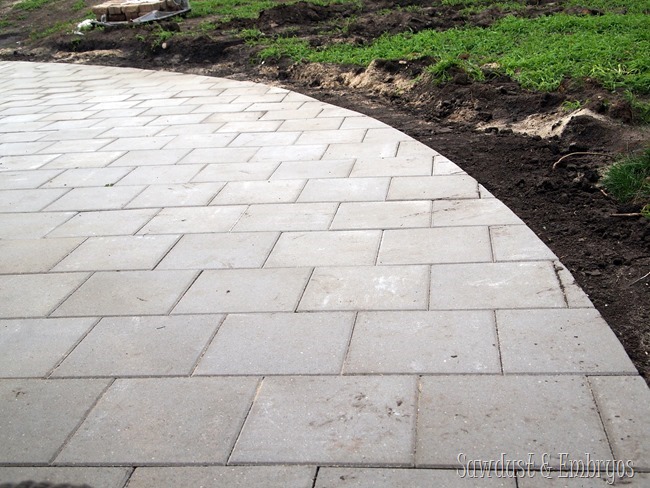
Since our patio is so giant, we went with simple 16”x16” square pavers and alternated them (like bricks) for a little interest. Inevitably, there were pavers that needed to be cut to size along the edges and around the pergola posts. We accomplished this by using a grinder and scoring all the way around the paver. Then it was only attached by a very thin strip in the middle, and we could just tap off the chunk with a rubber mallet. It’s a fool-proof method!
After over a month of this madness, it was exciting to see the pavers go in and begin to picture the finished product.
Now that all the sections are complete, the final step is to round off all the edges of the pavers… since our patio is a ‘half-circle’ just like the pergola. I held one end of a tape measure at the corner of the patio while Nick held the other and dragged it along the rounded edge, drawing with a pencil.
Then we just used the same method to cut them with the grinder. This process actually went pretty fast!
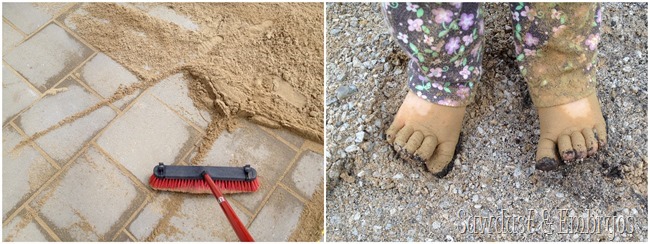
We swept some sand across the patio to fill in all those little cracks and crevices… and then proceeded to clean all the sand OUT of the cracks and crevices of our offspring-children.
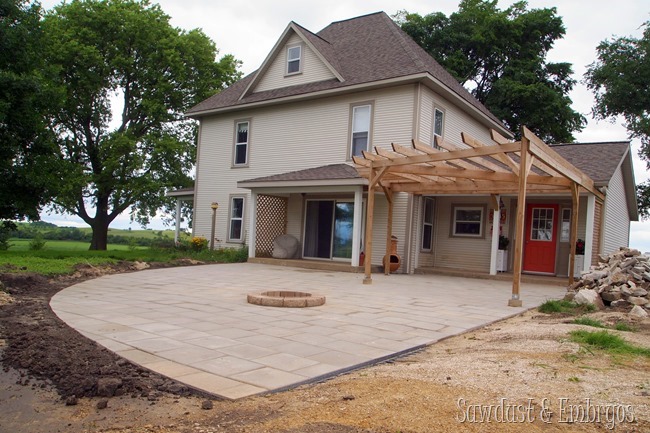
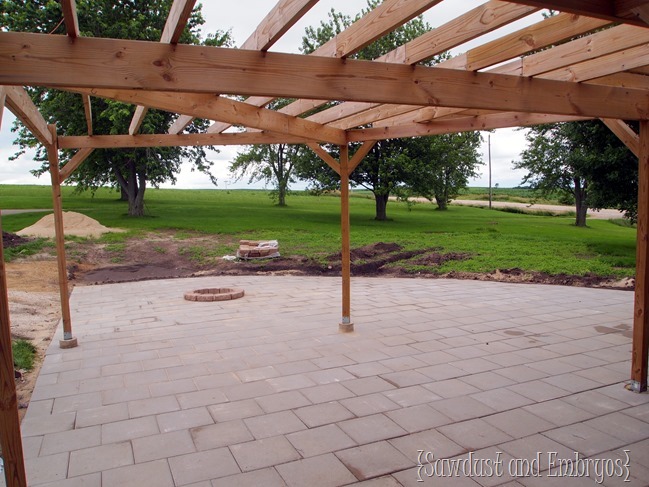
And the patio is FINISHED! Hallelujah! The following pic is hardly an ‘after pic’… because we still have a LOT of other things we plan to do. But you get the idea. We even laid out where the fire-pit is going to be!
Things we still need/want to accomplish are:
- remove giant pile of cement debris
- re-seed the grass
- build planter boxes around the pergola posts
- build fire pit
- build planter box/benches for along outside of patio (and around fire pit)
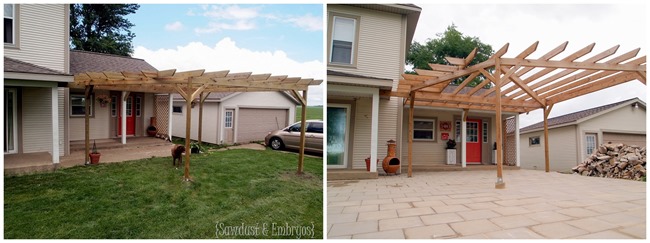
But for now, we’re just basking in the glory of the hard part being done. And rest assured… we’ll be taking a BREAK before doing another damn thing. Check out this before/after shot!
And for reference… here’s a VERY ‘before’ shot.
It would be an epic understatement to say that this project was more work than we thought it would be. But now that it’s done, it feels soooo worth it. Can’t wait to start accessorizing and make it feel all homey and welcoming!
Who’s up for a potluck?!
Be sure to check out all the other projects we’ve done to spice up our entry and improve curb appeal!
Disclosure! we’re SUPER HONORED to have been chosen as a “Lowes Creator”, and were provided with a Lowes gift card to HELP with the cost of supplies… but as always, all ideas, thoughts and opinions are 100% our own. Because that’s how we roll yo.
You can also sign up to receive a free Creative Ideas Magazine, which is loaded with inspiration! There’s also a magazine app so you can have inspiration on the go!
![Our house BEFORE the pergola {Sawdust and Embryos}_thumb[1] Our house BEFORE the pergola {Sawdust and Embryos}_thumb[1]](https://realitydaydream.com/wp-content/uploads/2014/07/Our-house-BEFORE-the-pergola-Sawdust-and-Embryos_thumb1_thumb.jpg)




It looks so nice! I love the rounded edges of the tile. Looks like the perfect place for summer nights! 🙂
What a beautiful job. So much work but the reward will be even greater as you enjoy it together with family and friends. Many memories in the making for that patio! : )
Looks great, and yes, like a ton of work.
I have been thinking about how you have been progressing on this project. Good job Nick and Beth. This looks beautiful.
oh my word!!! IT’s huge!!! I’ll come for a potluck! Love the planters everywhere idea! Especially around the pillars of the pergola!
Wow! It looks great, I can’t even imagine how much work that must have been. Can’t wait to see how you personalize it!
That is huge and AWESOME!
Us Iowa bloggers are up for a potluck! Looks beautiful!
I love that the girls have their own shovels!
It looks amazing!! So much work but so much reward! We’re working on getting our backyard “finished” (i.e. grass in, bark in, etc.) before our first baby arrives in late August, so I feel your pain. Hope you’re feeling well!
Man oh man that is awesome!!! Way to go Nick. That guy needs a massage! That is a lot of work!! I am impressed.
Wow that looks amazing!
Incredible! You two are amazingly talented and hard working!
Maybe we can now reschedule that Iowa blogger meet up… 🙂
Holy (expletive)! That is one big (expletive) patio! What a lot of work you guys did! (That includes the girls). You will not believe how much use you will get out of that patio: grilling, playing, chalk talk, bubbles, etc, etc, etc. You will never be sorry for all the work you put into it. Hope you get to use it this weekend to enjoy the 4th!
Love, Love, Love! Can’t wait to see it in person 🙂
That looks so nice and I love how the girls were helping with their little shovels…so cute!
At some point we will be doing this in our backyard (or giving in and just building a wood deck), only we also have the joy of leveling out the yard since it slopes behind our house (hince the wood deck idea). We have been doing a great deal of research (including pinning your posts), so I might suggest that you look into a patio sealer if you haven’t already, just to save some heartache/work later. It looks great! Hope I can get my husband motivated soon.
Amazing job! Your wheel barrel looks like it’s been beaten! Enjoy your patio!
Love it! Isn’t it amazing how are great ideas seem so easy and then once you get started reality hits? So impressed with your follow through.