• Home
  • About
  • Tutorials
  • Recipes
  • Furniture
  • Our Home
  • Contact
    • Contact
    • Infertility
    • Disclosure
    • Privacy Policy
    • Facebook
    • Instagram
    • Pinterest

Reality Daydream

The Dream is Free, The Hustle Sold Separately

  • Home
  • About
  • Tutorials
  • Recipes
  • Furniture
  • Our Home
  • Contact
    • Contact
    • Infertility
    • Disclosure
    • Privacy Policy

Rocky Road Brownies {Cupcakes w/ Sprinkles}

July 1, 2014 by Meghan Bishop

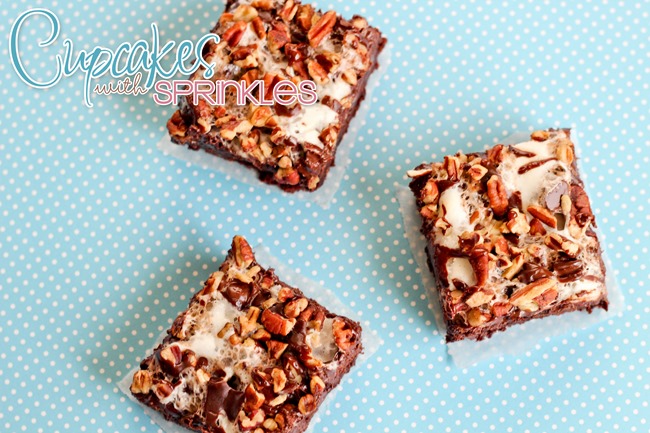
Hey! Its Meghan from Cupcakes with Sprinkles back to share something amazing with you. Perfect for your 4th of July celebrations!! Its a soft, chewy, rich, gooey, and chocolatey brownie that’s topped with more chocolate, marshmallows, and walnuts. You should make them and only share them if you have to, cause they are so good!!

Rocky Road Brownies {by Cupcakes with Sprinkles}

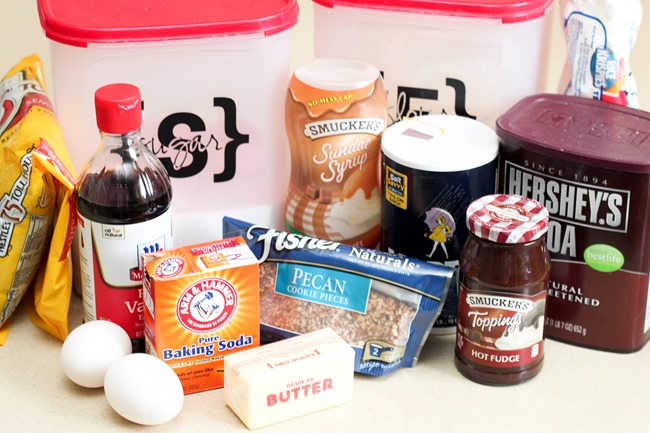
So lets get all the things we need, grease a 9×13 pan, and preheat your oven to 350 degrees…

Rocky Road Brownies1


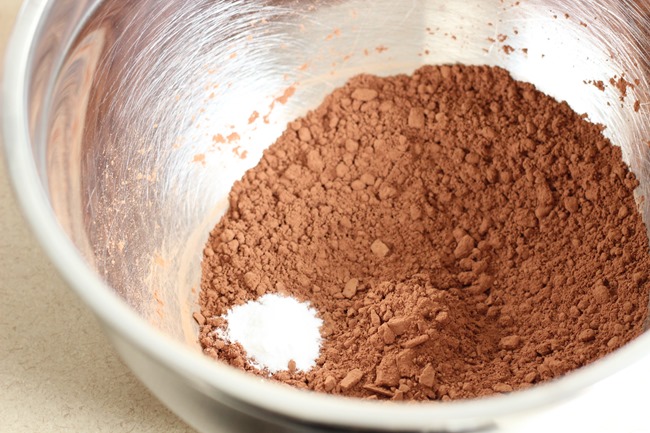
In a large bowl whisk together the cocoa and baking soda…

Rocky Road Brownies2


Add in 1/3 cup of the butter and boiling water and stir until combined…

Rocky Road Brownies3


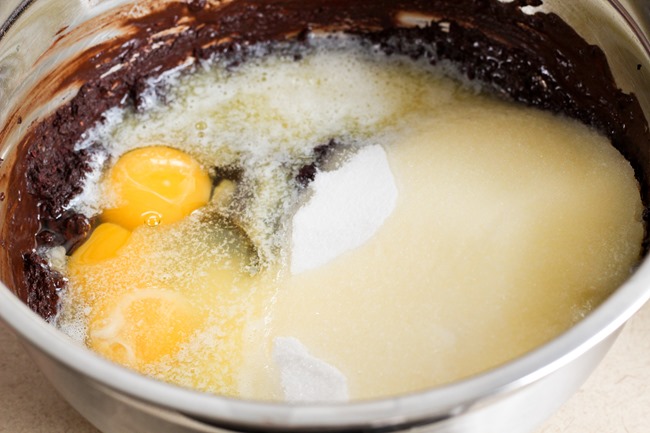
Mix in the sugar, eggs, and the rest of the butter…

Rocky Road Brownies4

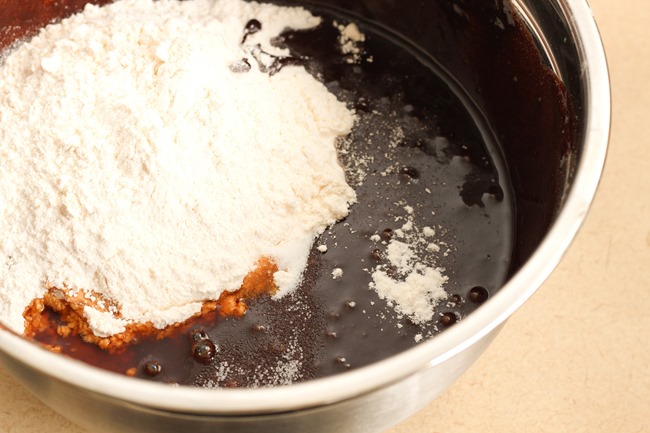
Add in the flour, vanilla, and salt and stir until just combined. Then add in the chocolate chips and mix until they are mixed through…

Rocky Road Brownies5

Pour into your prepared pan and bake for about 35 minutes. Top with the chocolate chips, marshmallows, and walnuts. Put back in the oven and bake until the marshmallows puff up. About 5 minutes. Watch it though cause they will burn quickly. Let cool and enjoy!

Rocky Road Brownies... (by Cupcakes with Sprinkles)

Rocky Road Brownies
Recipe Adapted from:
MoneySavingMom.com

3/4 cup Cocoa
1/2 teaspoon Baking Soda
2/3 cup Butter, melted
1/2 cup Boiling Water
2 cups Granulated Sugar
2 Eggs
1 1/3 cups All-Purpose Flour
1 teaspoon Pure Vanilla Extract
1/4 teaspoon Salt
2 cups Semi-Sweet Chocolate Chips

Top of Brownies
1 cup Walnuts, chopped
1 1/2 cups Milk Chocolate Chips
3 cups Mini Marshmallows
Hot Fudge for drizzling

1. Grease a 9×13 dish and preheat the oven to 350 degrees.
2. In a large bowl whisk together the cocoa and baking soda… Add in 1/3 cup of the butter and boiling water and stir until combined… Mix in the sugar, eggs, and the rest of the butter…
3. Add in the flour, vanilla, and salt and stir until just combined. Then add in the chocolate chips and mix until they are mixed through…
4. Pour into your prepared pan and bake for about 35 minutes. Top with the chocolate chips, marshmallows, and walnuts. Put back in the oven and bake until the marshmallows puff up. About 5 minutes. Watch it though cause they will burn quickly. Let cool and enjoy!


More from my site

  • Biscoff Cream Pie
  • Strawberry Pretzel Jell-O Dessert
  • Lava Flow {Guest Post by Cupcakes with Sprinkles}
  • Cinnamon Churro Ice Cream Sandwiches
« Little dresser turned ‘LITTER’ Dresser
Patio Installation {Part 2} »

Comments

  1. 1

    Nicole says

    July 4, 2014 at 1:24 pm

    I just made these! I didn’t have enough flour so I did half the recipe and it looks amazing! Thanks for the recipe!

    Reply

Leave a Reply Cancel reply

Your email address will not be published. Required fields are marked *

  • Facebook
  • Google+
  • Instagram
  • Pinterest
  • RSS
  • Twitter

Subscribe by Email

My Latest Videos

Please feel free to share or pin my posts! You're welcome to use ONE of my images (no collages or pinnables) with a link back to the corresponding post. Please do not edit or crop that single image in any way. Improper use of my photos, ideas or words is a violation of copyright. Thank you!

Instafeed

Follow

Categories

Attention: Almost any do-it-yourself project involves risk of some sort. Your tools, materials, and skills will vary, as will the conditions at your project site. Reality Daydream has made every effort to be complete and accurate in the instructions of the plans on this website. Reality Daydream will not assume any responsibility or liability for damages or losses sustained or incurred in the course of your project or in the use of the item you create. Always follow the manufacturer's operating instructions in the use of tools, check and follow your local building codes, and observe all commonly accepted safety precautions.

Copyright © 2019 · Modern Blogger Pro On Genesis Framework · Customizations by Sweet Theory Designs · Log in