• Home
  • About
  • Tutorials
  • Recipes
  • Furniture
  • Contact
    • Contact
    • Infertility
    • Disclosure
    • Privacy Policy
  • Shop
    • Facebook
    • Instagram
    • Pinterest

Reality Daydream

The Dream is Free, The Hustle Sold Separately

  • Home
  • About
  • Tutorials
  • Recipes
  • Furniture
  • Contact
    • Contact
    • Infertility
    • Disclosure
    • Privacy Policy
  • Shop

Patio Installation {Part 1}

June 6, 2014 by Bethany Sy

We can do this ourselves… he said.

It’ll be a quick weekend project… he said.

Our Patio Saga {Sawdust and Embryos}

Don’t get me wrong, I’m VERY excited to have a giant patio. And ever since we built the pergola, it’s been screaming for a patio beneath it. Plus, Nick needed to take a break from the confines of the laundry room transformation. And I don’t blame him… seeing as there are no windows in there, and it’s GORGEOUS outside.

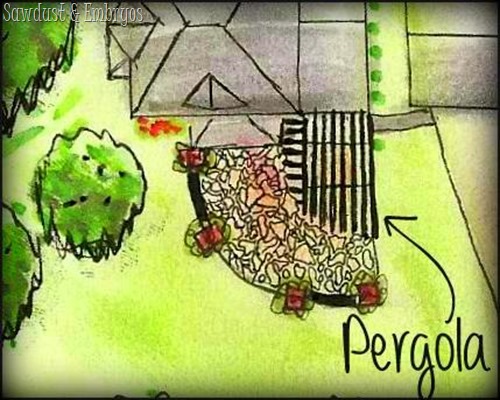
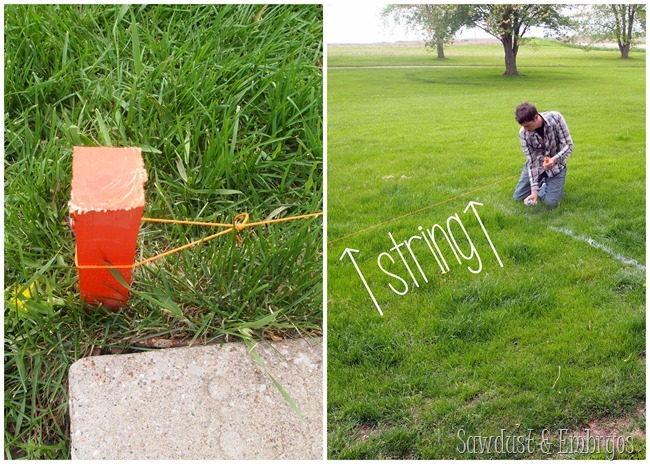
We used stakes, nylon string, and spray paint to map out our future patio, which we wanted to have the same ‘quarter circle’ shape as the pergola… only larger.

patio

Rendering of our Property 'Someday' {Sawdust and Embryos}

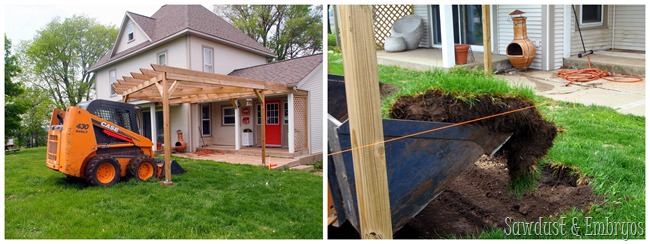
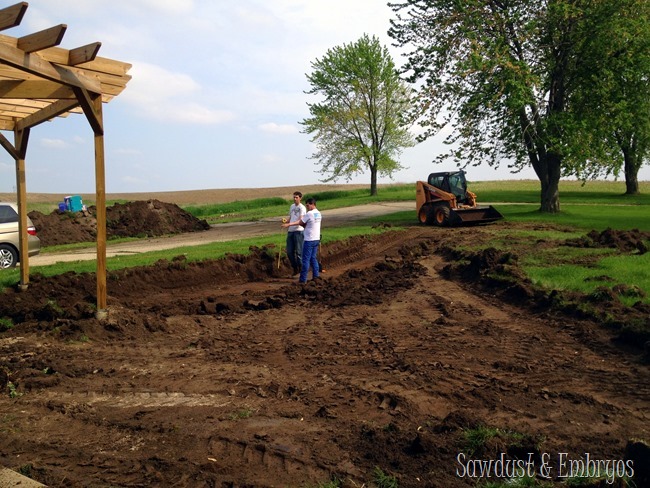
Nick’s buddy lives nearby and has an end-loader, so we had him come by and tear up the sod, level things out, and help grade the yard in such a way that the rain water drains away from the house.

patio1

may14 160

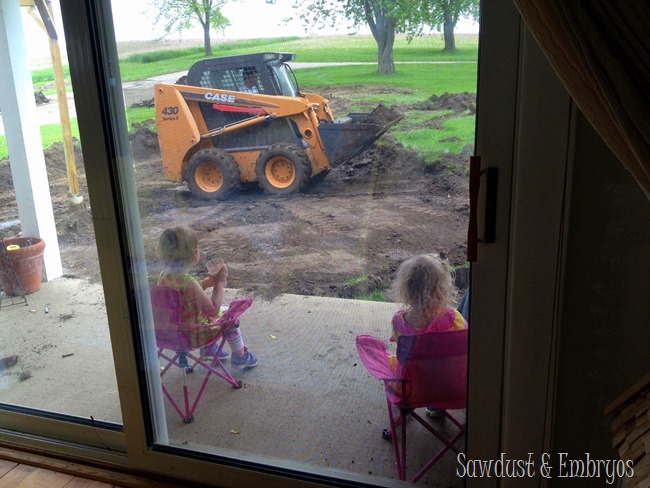
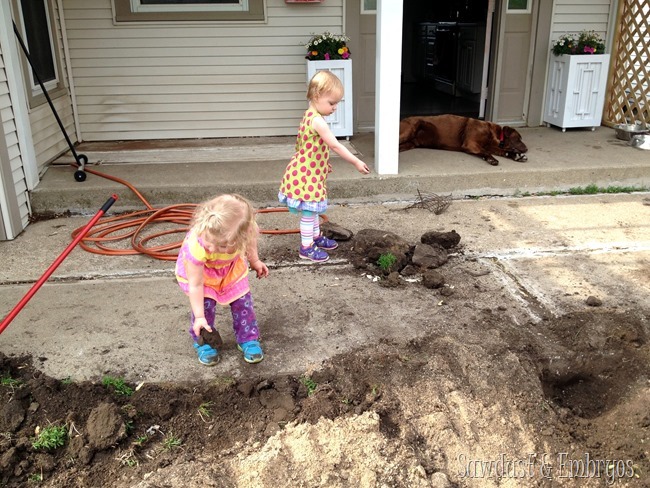
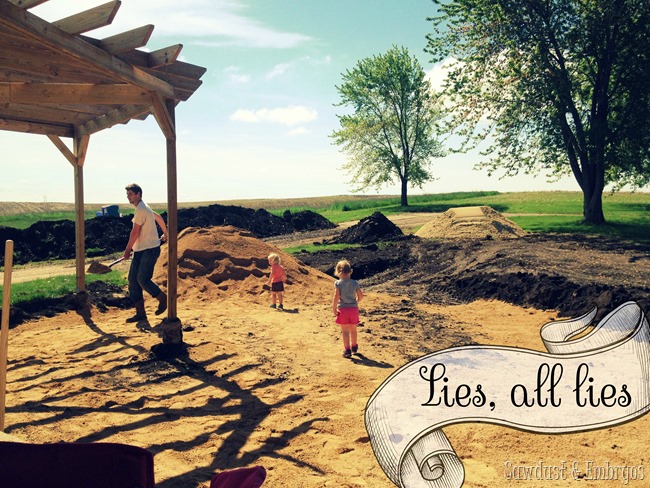
The girls had so much fun watching ‘the little tractor’.

may14 164

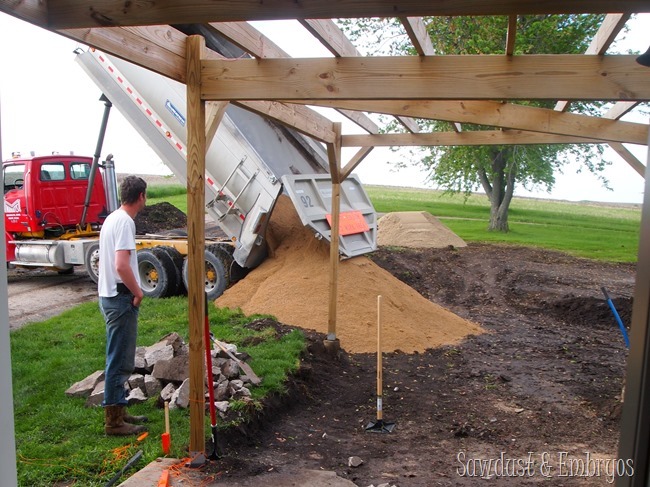
Once our ‘quarter circle’ area had been de-sodded and dug about 8 inches deep, we called our local quarry and had them deliver a load of rock, and two different consistencies of sand. If we had neighbors, they would probably start staring about now.

P5260131

may14 245

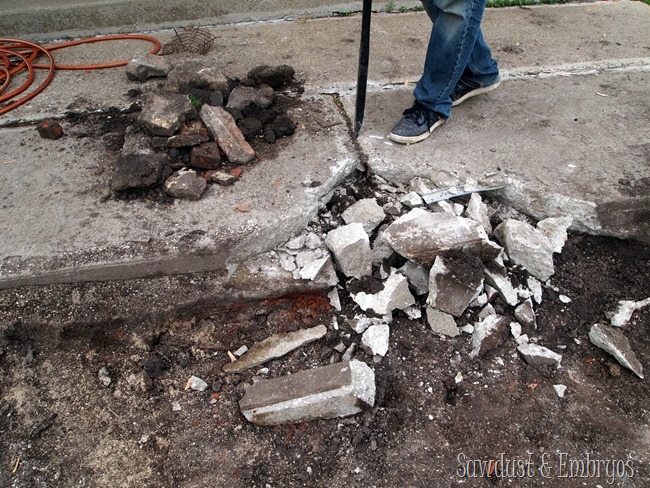
The next step was to tear out the existing little cement patio-thing. I hesitate to even call it a patio… because let’s be honest. NO.

may14 170

But I have to give it a little credit, because dirt would have been a lot easier to remove. The following photo demonstrates what several hours wielding a 12lb sledge hammer looks like. No bueno.

P5260122

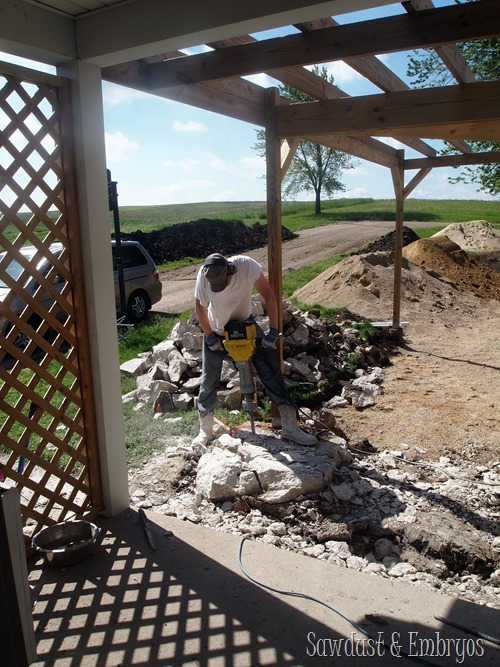
It only took a few sweaty hours before we realized we would need reinforcement… in the form of a rental jack hammer.

P5310250

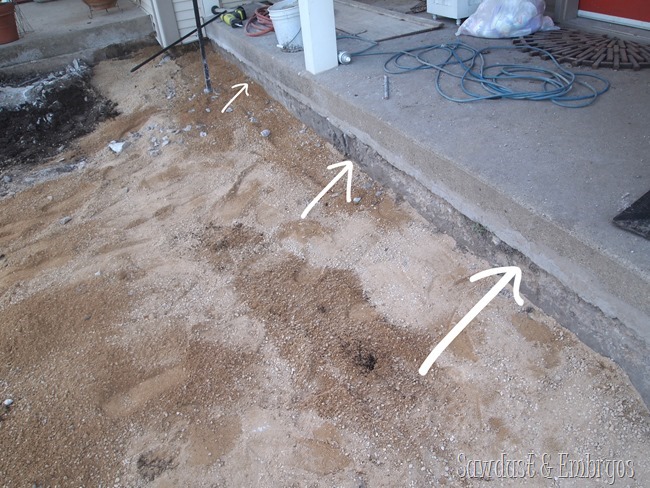
For two days, the jack hammer got passed between myself, Nick, my brother Josh, and Nick’s friend Adam… it wasn’t easy, but we got it all out! Now the new patio pavers can come right up to here!

P6010254

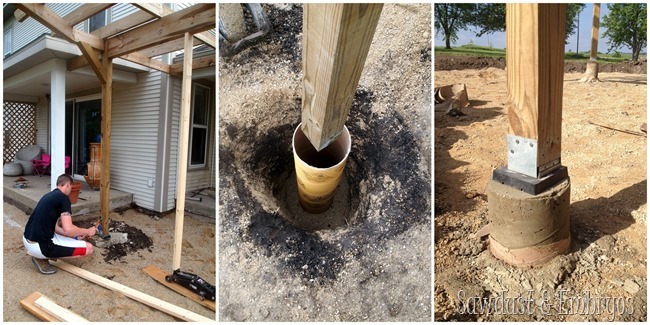
Nick jacked up the pergola with a couple 2×4’s and a car jack. This supported the pergola while he tore out the remaining concrete that the posts were affixed to. He re-poured cement supports for both posts (details on that process here), and reaffixed them  and the anchors to the new support.

Installing a patio and re-pouring supports for pergola {Sawdust and Embryos}

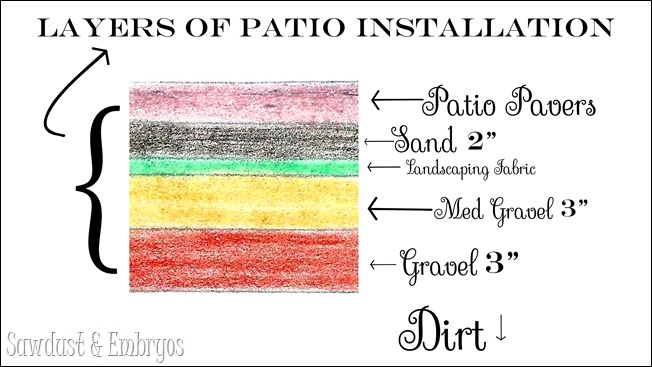
The layers for patio installation are as follows:

Layers for Patio Installation {Sawdust & Embryos}

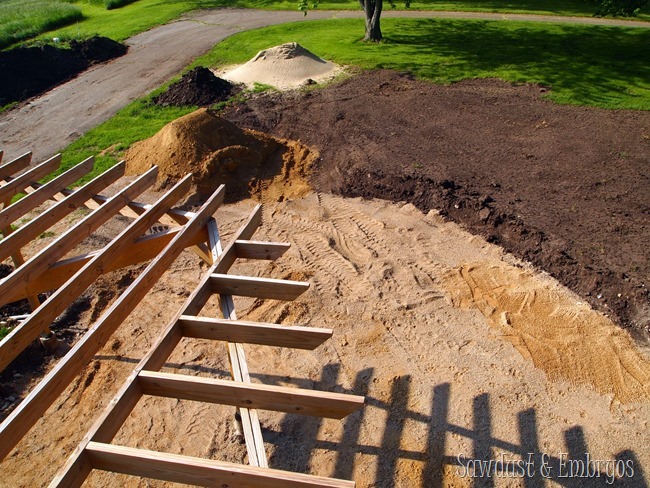
We got our first layer of gravel down and leveled! We’ll be busy adding layers of medium gravel, landscaping fabric, sand and patio pavers over the next couple weeks.

Rounded Pergola and Rouded Patio going in to match! {Sawdust and Embryos}

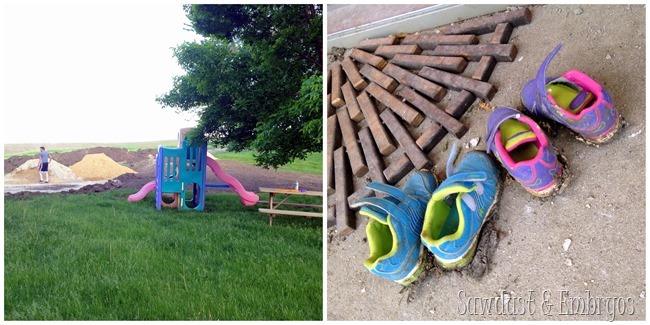
We moved the playground and picnic table over by the swings, so the girls still have a little grassy area to play. It’s still not ideal, because corralling two 2-year-olds is nearly impossible when there’s so much mud and sand luring them away. But we’ll live. #firstworldproblems

Sawdust and Embryos

I’m so glad we’re getting this over with before the heat of the summer sets in! We’ve been blessed with amazing weather! Stay tuned for part two! Hopefully sooner than later.

UPDATE! The patio is FINISHED! Click Here for Part 2 and the big reveal of this project!

Sawdust & Embryos

Disclosure! we’re SUPER HONORED to have been chosen as a “Lowes Creator”, and were provided with a Lowes gift card to help with the cost of supplies… but as always, all ideas, thoughts and opinions are 100% our own. Because that’s how we roll yo.

Summer Blogger Badge Subscribe Banner

You can also sign up to receive a free Creative Ideas Magazine, which is loaded with inspiration! There’s also a magazine app so you can have inspiration on the go!
Related:

  • Garden Bed Redefining

    We're always in awe of how spending a little extra time redefining our garden beds…

  • Outdoor Spring Cleaning

    It never fails! Each spring, when the snow melts, we're always itching to get out…

  • Filling Sidewalk Cracks with Caulk

    Hello there! Nick here! Earlier this spring, Beth and I needed to leave town for…

About Bethany Sy

Nick and Bethany Sy are the creative free-spirits behind DIY/Lifestyle blog, Reality Daydream. They recently purchased a historic mansion and have been documenting the ups and downs of renovation and making this home their own... all while sharing tips and tutorials along the way! When they found themselves in the trenches of infertility, they started a journey that would prove to be their most important DIY project ever, and have 3 beautiful girls to show for it. <3

« Turtle Cheesecake… (YES PLEASE!)
Easy Wrap-Around Toddler Blouse (or Dress!) »

Comments

  1. 8

    Julie says

    August 24, 2017 at 2:39 am

    Wow. I love your blog. Love the woodstaining and the topography art. Patio looks awesome!. Just a tip for saving money at Lowes for your home improvement projects: I buy a coupon at https://myjibe.com/. I separate my purchases into $100 transactions so i can use 1 coupon per transaction ($20 off $100). This way I am saving 20% just with the coupon alone. Then i go to Raise or Paypal digital gifts and buy a lowes gift card. This can save another 10% depending on the discount at the time and I use the giftcard to pay for the purchases.

    Reply
  2. 9

    Vikki says

    June 6, 2014 at 7:23 pm

    I love you two…can’t sit still…my kind of people. Wish I had just 1/2 of your genius.

    Anxious to see how this turns out. God bless! Vikki in VA.

    Reply
  3. 10

    Alysia Webster says

    June 6, 2014 at 1:22 pm

    Dude! That is going to look amazing! I can’t wait to see the finished patio! ! You guys are insane! And I love it!!!!

    Reply
  4. 11

    Diane says

    June 6, 2014 at 1:22 pm

    How is this going to stand up while they did up your old basement and put in your new one (this summer)?

    Reply
    • 12

      Bethany @ Sawdust and Embryos says

      June 6, 2014 at 1:57 pm

      Diane, Nick decided he’s going to reinforce our foundation without having to dig a new basement. It was just too expensive for us to pull off. At least for awhile.

      Reply
  5. 13

    sandy says

    June 6, 2014 at 11:58 am

    You kids are such hard workers. The patio will be fabulous.

    Reply

Trackbacks

  1. Garden Patio Layers – Flarget.com says:
    December 8, 2019 at 12:41 am

    […] Download Image More @ realitydaydream.com […]

    Reply
  2. A Tour of our Homestead! - Sawdust and Embryos says:
    May 28, 2015 at 7:35 am

    […] seems only natural to start our home tour at our doorstep. We put in this giant rounded patio and pergola last summer… and absolutely LOVE it. We’ve added a firepit and picnic table and […]

    Reply
  3. seo rotterdam netherlands says:
    May 19, 2015 at 10:04 pm

    seo rotterdam netherlands

    Patio Installation Part 1 – Sawdust and Embryos

    Reply

Leave a Reply Cancel reply

Your email address will not be published. Required fields are marked *

Recipe Rating


  • Facebook
  • Instagram
  • Pinterest
  • RSS
  • YouTube
We are Nick and Bethany! Welcome to our blog, Reality Daydream where we share our DIY adventures!
Click here for lots of art projects using only wood stain on furniture!!
Please feel free to share or pin my posts! You're welcome to use ONE of my images (no collages or pinnables) with a link back to the corresponding post. Please do not edit or crop that single image in any way. Improper use of my photos, ideas or words is a violation of copyright. Thank you!

Categories

Attention: Almost any do-it-yourself project involves risk of some sort. Your tools, materials, and skills will vary, as will the conditions at your project site. Reality Daydream has made every effort to be complete and accurate in the instructions of the plans on this website. Reality Daydream will not assume any responsibility or liability for damages or losses sustained or incurred in the course of your project or in the use of the item you create. Always follow the manufacturer’s operating instructions in the use of tools, check and follow your local building codes, and observe all commonly accepted safety precautions.


Copyright © 2025 · Modern Blogger Pro On Genesis Framework · Customizations by Sweet Theory Designs · Privacy Policy · Log in