Recently, one of my dear friends started a business selling beautiful, handmade children’s clothing and hand-picked antiques. She calls it Wild Petunia, and I love everything about it.
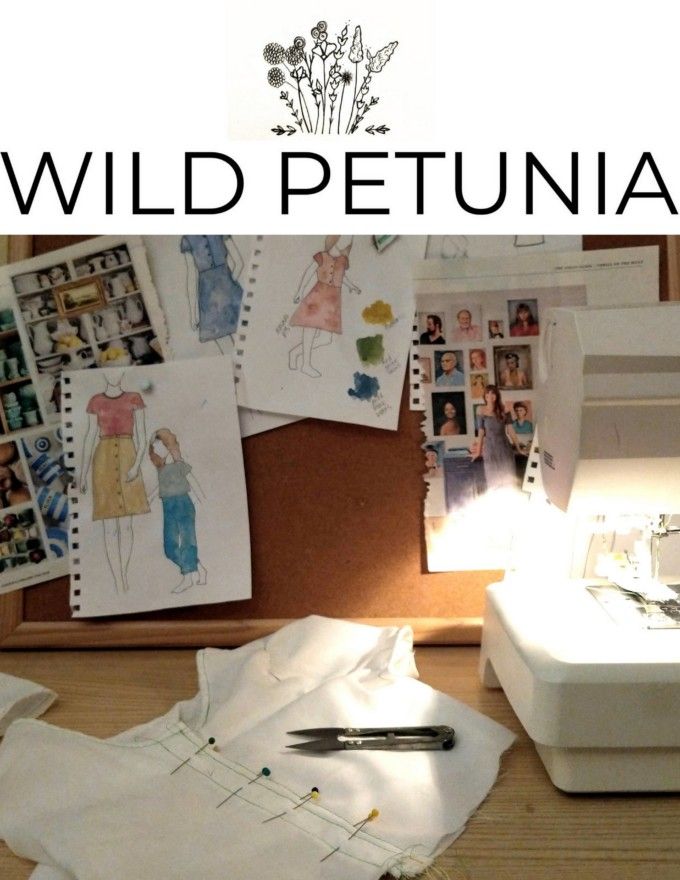
I’m obsessed with her logo of wildflowers (which she hand-drew herself!), and I wanted to show my support and excitement for her new business, so I decided to make a sign for her with her logo and business name!
I’m not mad about the opportunity to rock my scroll saw either, sooo…
*This post is sponsored by our friends at DAP. Thank you for supporting the fabulous brands that make Reality Daydream possible! This post contains affiliate links.*
I’m going to show you how to make your own logo sign for your business today (or any design you want)! And let’s be honest, Katie’s logo is pretty complicated… so if I can do this one, you can do anything!
Wooden Logo Scroll Saw Sign
Supply List
- Slab of pine big enough for the size you want your logo
- 1/2″ plywood for your backer board
- Scroll saw (this is the one I have)
- Vinyl decal of your design (ordered here)
- 220 grit sandpaper
- Needle File Set
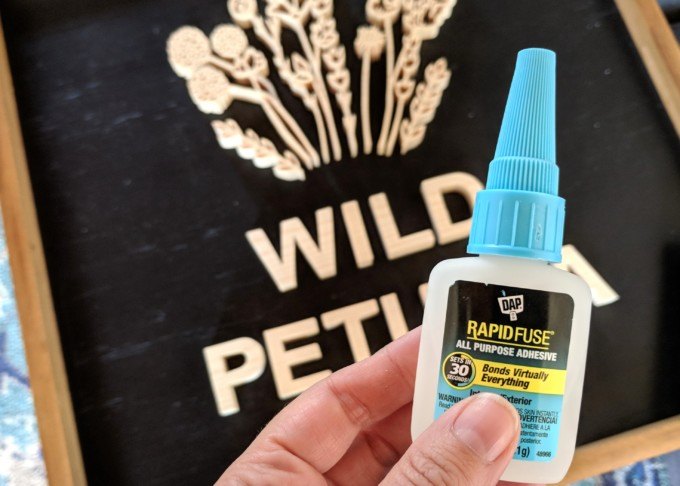
- DAP Rapid Fuse All-Purpose Adhesive
- French Cleat for hanging heavy things!
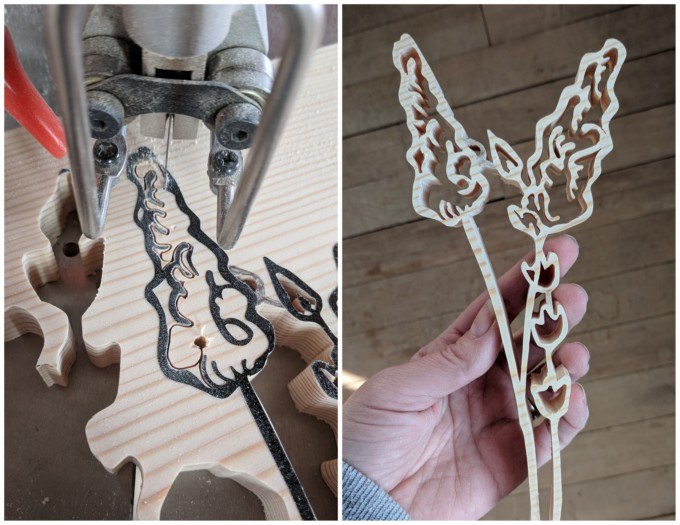
I’ve discovered the beauty of having my Vinyl Ninja friend cut a decal for me to use as a scroll saw template. Up until this point, I’ve used this method or an overhead projector when appropriate. But having a vinyl decal of your exact design cut in the exact dimensions is a total game-changer. (Just go to her Etsy Shop and send her a message with what you want, and she’ll whip you up a custom listing to purchase!)


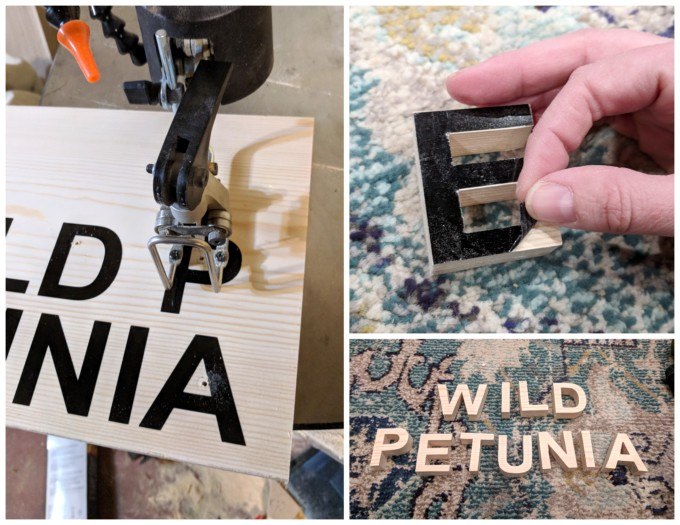
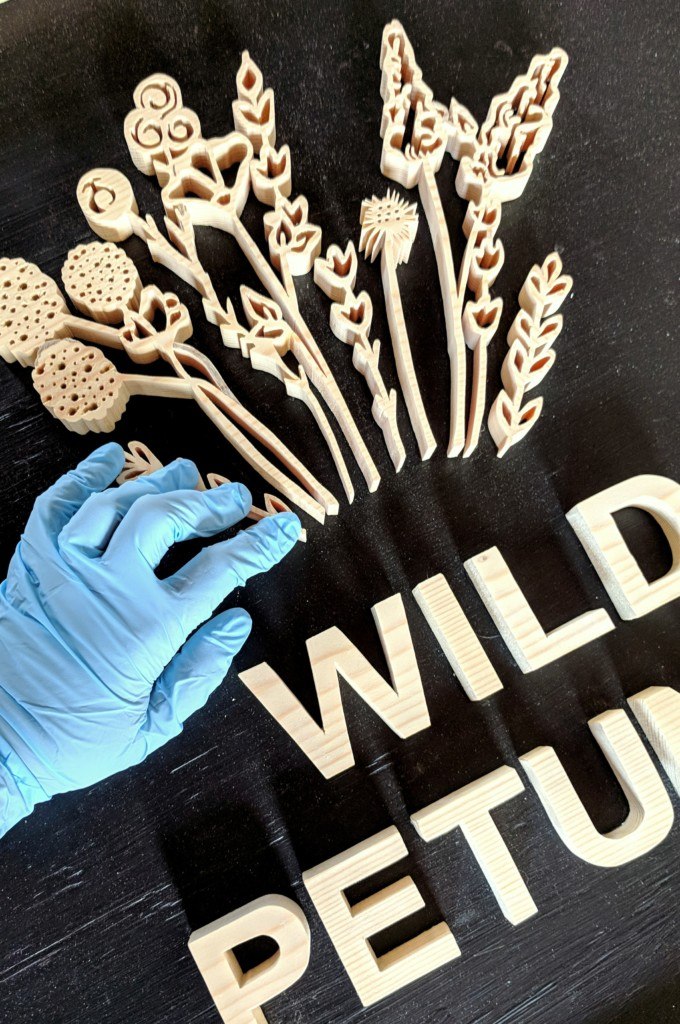
I used the vinyl for the letters too!
The cutting of the wild flowers took a lot of time, but I just did an hour here and an hour there… and it was FUN, so that helped!
I laid these out on my newly refinished hardwood floors to get a feel for how this bad boy would look! LOVE!!!!
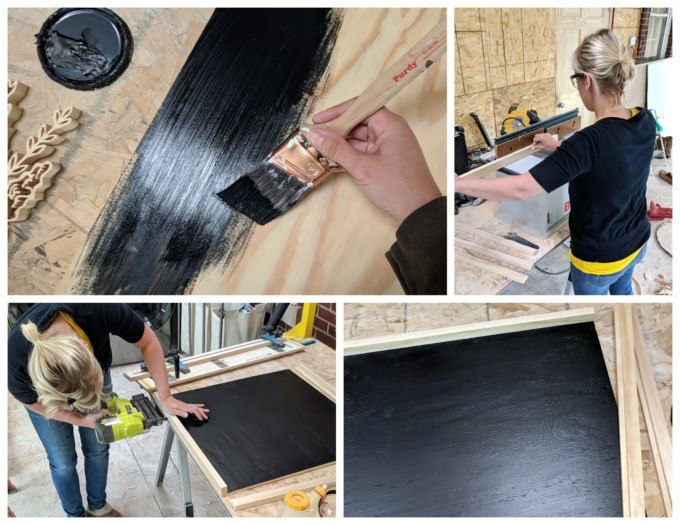
Since I had these laid out, I took the opportunity to figure out how large I wanted my backer board to be cut. I decided I wanted to go with a square orientation, and gave the hubs the dimensions I wanted and he cut it for me on the table saw (the only power tool I’m still not entirely comfortable using).
I sanded with my orbital sander, and painted with a flat black paint/primer-in-one. I built a quick and simple frame using the router and my nail gun.
Time to get these glorious and delicate wooden pieces glued into place on this sign! This fast-drying adhesive is called Rapid Fuse, and it’s AMAZING. It dries within 30 seconds which is PERFECT in my opinion. You still have enough time to set the pieces exactly where you want them, but don’t have to hold it in place forevvvver while it dries. Win!
I used a ruler to line up my words perfectly, and made sure they were centered before gluing into place.
The Rapid Fuse applicator tip makes it easy to put the glue exactly where you want it (and NOT where you DON’T want it).
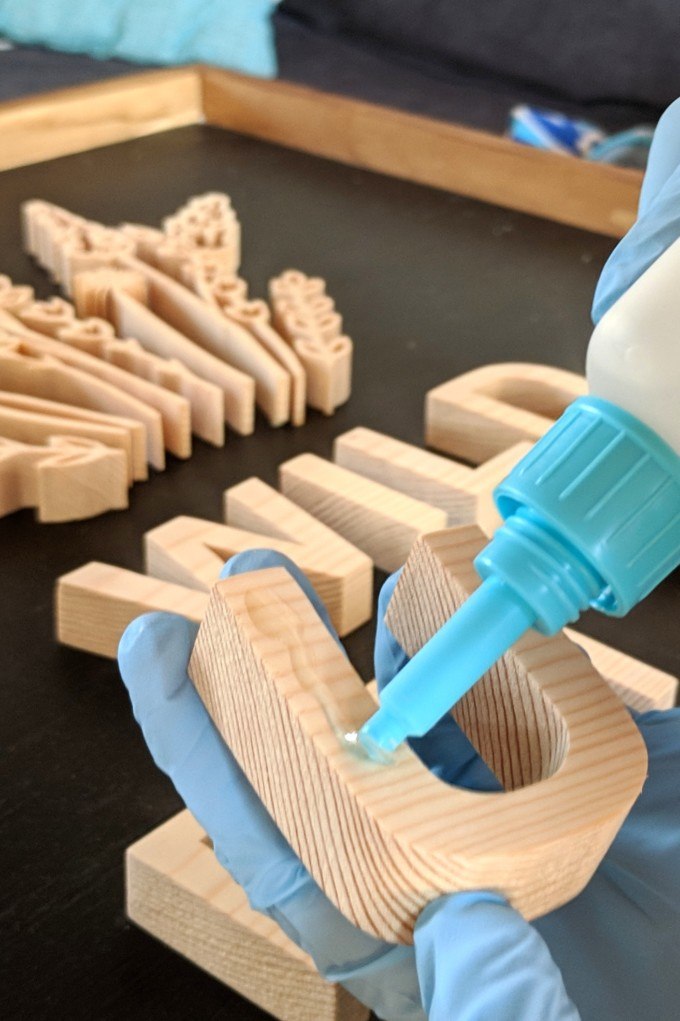
I love that the applicator tip is small enough that you can be very precise and get super thin beads of glue on these small/intricate pieces.
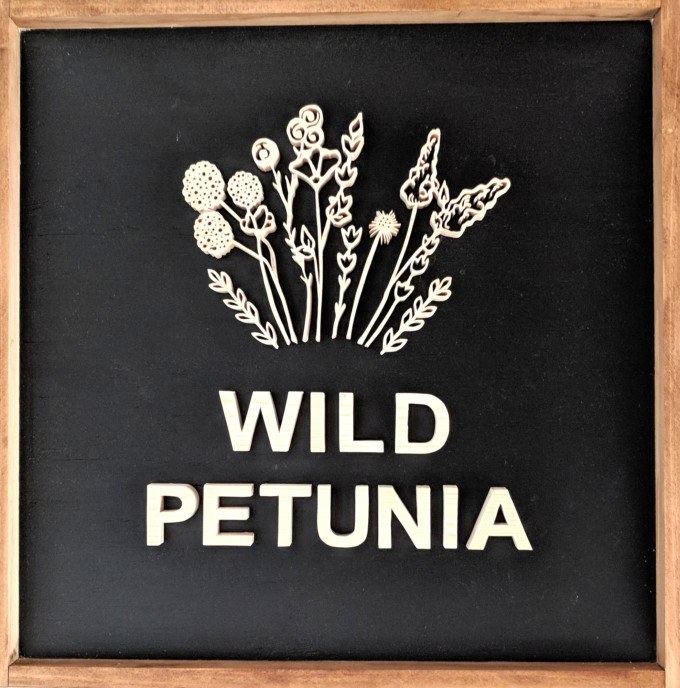
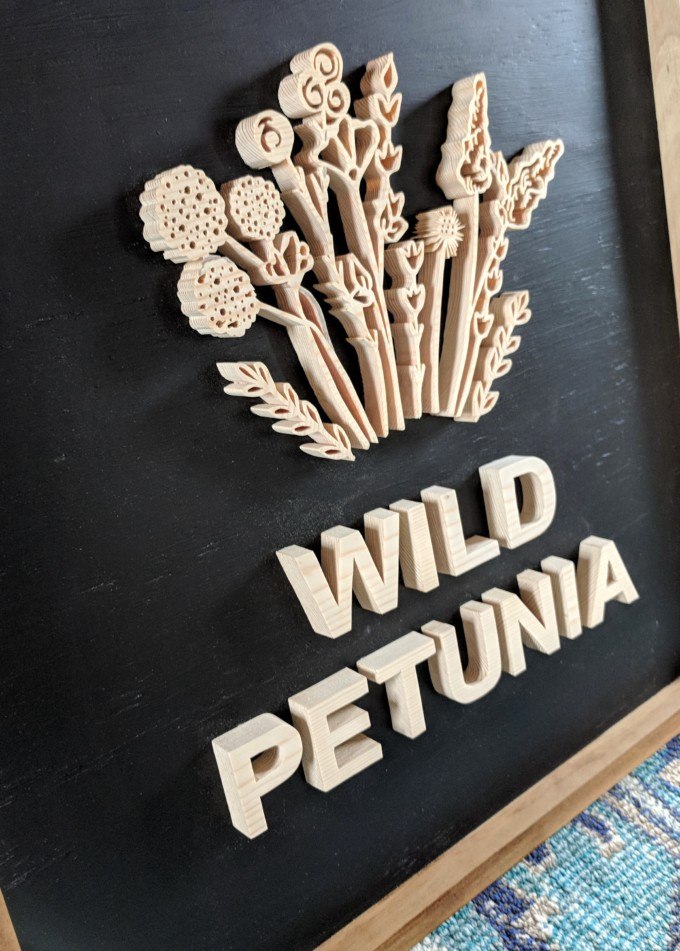
And 30 seconds after placing that last piece, I hung this sucker up on the wall and took pics!!
My friend Katie is launching her first handmade dress on Wild Petunia today, so go check it out and give her some love! She’s an amazing seamstress with a beautiful heart. And her model is pretty darling too. 😉


She makes these linen dresses to order, and they’re reversible… so the buttons can be in the back or the front! I’m obsessed.
She’s working on one in an oatmeal-colored linen right now, so keep an eye out for that! And be sure to follow her on Instagram (@WildPetunia.Shop) for updates!
~Bethany
~~~~~~~~~~~~~~~~~~~~~~~~~~
Thank you for pinning!
Related:
-

Hello hello friends! Things have been wild as we've been navigating the holiday season, schedules,…
-

We're in the dog days of summer, and it seems like my kids are always…
-

I have a fun and easy building project for you! And while I do end…
EEEEEEEKKKKKK GOOSEBUMPS!!!! HEAD TO TOE AWESOME JOB!!!!!
Love the sign!
love the sign you made for your friend it is beautiful…fantastic…i would love to be able to do something like that …we have a saw but i haven’t used very much makes me really nervous … i guess i need to get to it again…thank you for sharing this on your page ,it is just beautiful…
Extraordinary doesn’t begin to describe this work of art!!! Fantastic job. Wouldn’t it be kind of neat for YOU to open an Etsy shop and sell these! I’ll be you could succeed because most people don’t have a $900 scroll saw or the time to do it. A lot of people would invest in some this well done and different.