I have some exciting news! My baby brother is getting married this summer, and my new sister-in-law is the most precious human being. Like, basically, I can’t wait to hang out with her for the rest of my life.

She called me up the other day and asked me if I would help her do a project to surprise Josh for their dating anniversary. Since I’ve been in a creative slump and don’t have any projects in the works (apart from renovating a historic home), I jumped at this opportunity to DIY and hang out with my new sis!
She wanted to make him some wall art that has the Chicago Bears logo on it, because alllllll my brothers are Bears fans. (who remembers this?) I’m going to show you our process, but know that you could use these techniques to make any logo… NFL or otherwise!
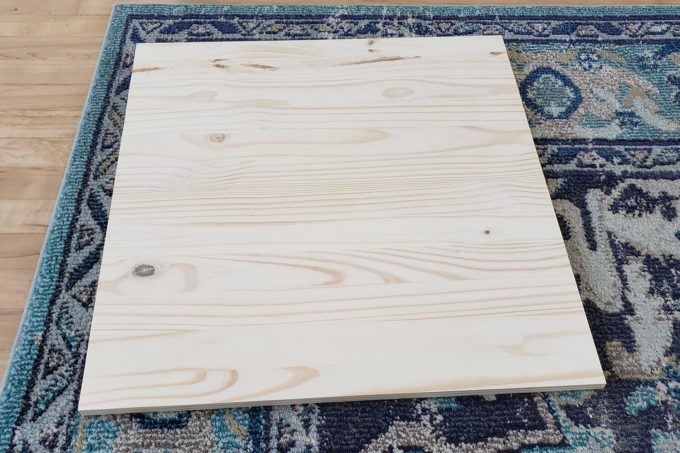
Here’s our board we started out with. It’s a 2’x2′ board with a 1″ thickness.
*This post contains affiliate links*
We did some Google-image-searching until we found just what we wanted for our logo. Just the simple bear face without any words or anything else at all.
NOTE! If you’re going to make a plaque like this where you’re using a logo that is trademarked (in this case, by the NFL), you cannot sell the finished product. But it’s totally fine to make it for yourself or a friend! As long as you aren’t making money. 🙂
We downloaded the image, made it black and white, and printed it onto a transparency.
Using my old school projector, we projected the image onto the board and traced just the outer edge with a pencil.
If you don’t have an old school projector, they might have them at your local library for you to borrow. Or you could get this digital projector that hooks up to your phone! I need to get one of these to try it out!
Anyway, once we traced the outside line of our bear face, it looked like this. Can you see that pencil line?

Now we’re going to cover the whole surface of the bear outline with painters tape (we used this stuff)! I know this sounds crazy, but don’t leave!

You’ll still be able to see the pencil outline of the bear face through the tape, so turn your projector back on, and trace the bear again… this time doing the whoooolllle thing!

Now, using a sharp craft knife, gently slice all those lines! You really only want to cut through the tape… not into the wood. And it takes less pressure than you might think! Notice how we put Xs on the parts that we want to remove so we don’t get confused.
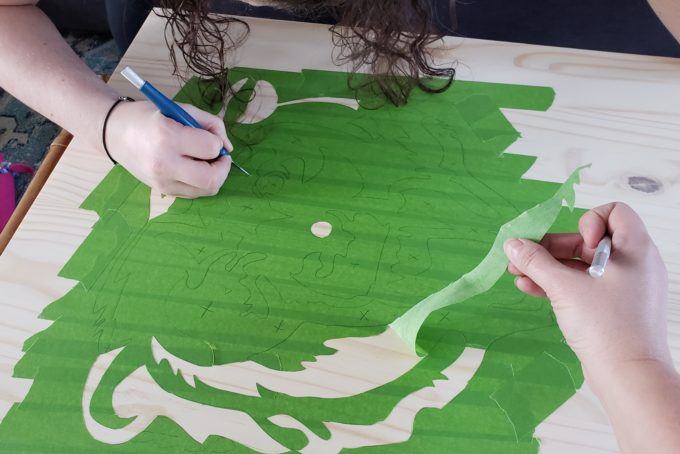
Essentially, we’re using painters tape to make a stencil. Is it starting to make sense??
Now for the fun part! We’re going to use wood stain!!!
I had a little pot of this stain lying around, and it was the perfect shade for this.
With gloved hands, we wrapped a cotton cloth around our finger, and dipped just the tip of it into the stain. Rub off most of the stain onto a scrap piece of wood, and then when there isn’t much left on your finger, go ahead and take it to the board!
The reason we want SO LITTLE stain on our finger, is because stain is very thin and will soak into the wood grain… right under the tape! So you only want your cloth to be barely damp. That’s why it helps to rub most of it off on a scrap piece of wood!
You can always come back and add 2nd and 3rd coats of stain if you want to deepen the color! Follow the dry-times for recoating on your can of stain.
Then you can peel off the tape! This part is SO SATISFYING!
HELLO! Look how crisp those lines are!
We routed the edges to be curvy and look ‘finished’, and then Emily took this baby home to wrap up for Josh. She told my not to post this tutorial until after the 13th, so Josh wouldn’t see it and ruin the surprise.
I wish I had taken a picture of it with the routed edges. This ‘after pic’ will have to do until Emily sends me pictures of it up on the wall!

I love how the two shades of wood make up the design, rather than adding color and/or paint. Something about it looks so high-end and classy!!
If you give this technique a try, be sure to tag us on social media (we’re @RealityDaydream on Instagram), or email me pics at beth@realitydaydream.com. I can’t wait to see what you come up with!!
~Bethany
~~~~~~~~~~~~~~~~~~~
Psssst! This isn’t my first rodeo with ‘Logo Plaques’ …I made this plaque for my friend’s small business and used my scroll saw to cut allll the little pieces out! Click HERE for the tutorial!
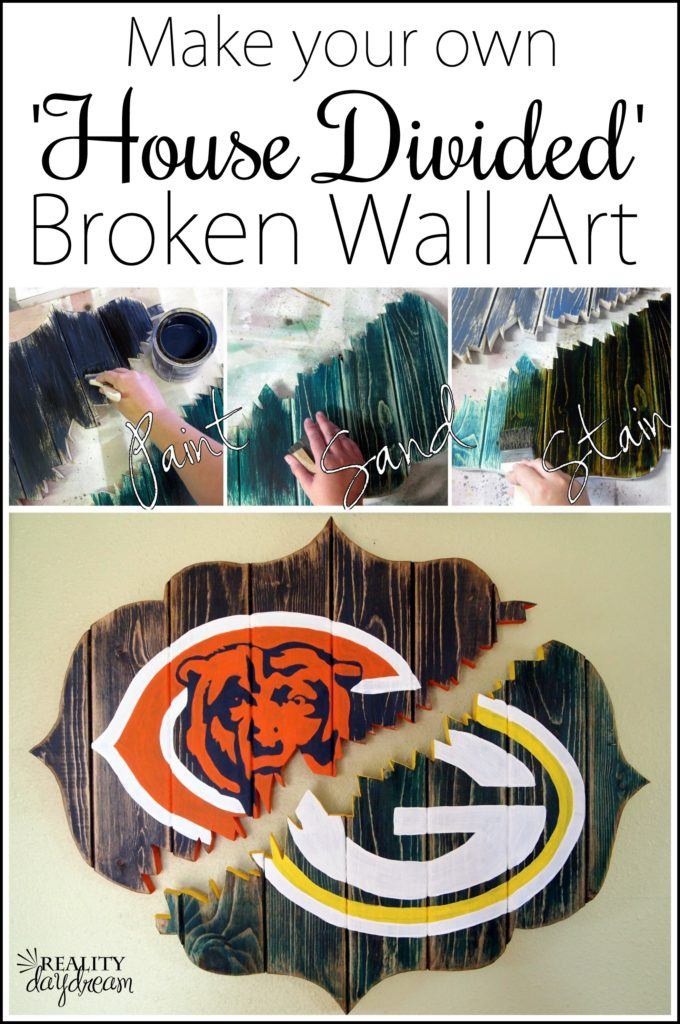
AND, this Broken Bracket NFL Plaque I made for my other brother. 😉
Be sure to check out our master list of DIY Handmade Gift Ideas!

THANK YOU for pinning!
Related:
-

We're in the dog days of summer, and it seems like my kids are always…
-

Hello hello friends! Things have been wild as we've been navigating the holiday season, schedules,…
-

We love the original wood of our library, and wanted to find a desk that…
I am glad you explained why you need to have very little stain on the rag. I would have had a bleeding issue for sure.
Oh my gosh , how cool ! Our son and his family live in Chicago so we are Bears fans too! ( We live in South Carolina.) By the way I “ found” one of those overhead projectors. Can you tell me how to make it work? Thanks , I’m tired of messing with it?
Haha! What trouble are you having with it?? You can email me – beth@realitydaydream.com