Phewf! Whatta crazy weekend! We visited Nick’s fam in SE Iowa, and had a total blast. But we’re also exhausted. The girls woke up for their bottle this morning, and then immediately fell back asleep on the living room floor. That’s where they’re at right now actually. Sweet little things I tell you.
You’ll be delighted to know that, as promised (this time), we finally took photos of Marcy’s dining set. And so here’s the story:
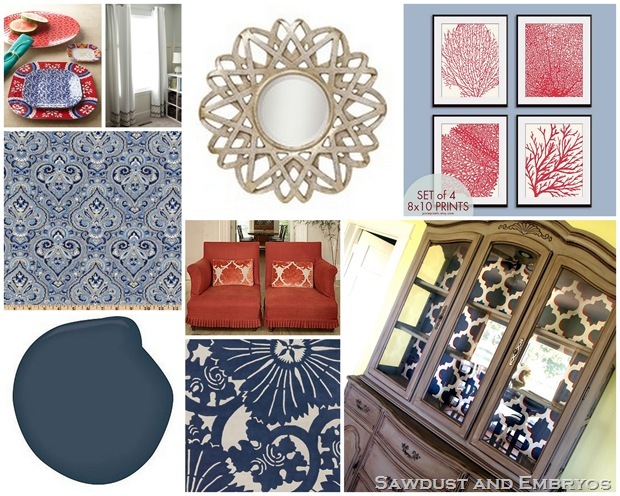
We know from the post about her china cabinet that Marcy has a gray/Navy thing going on in her dining room… with a pop of red as an accent color.
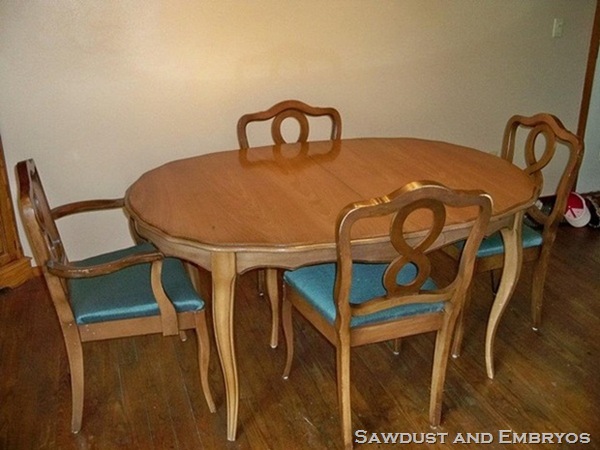
Marcy had this quaint and lovely dining set. It seems small-ish, but there are 3 leaves… making this thing a bit monstrous when it’s all assembled.
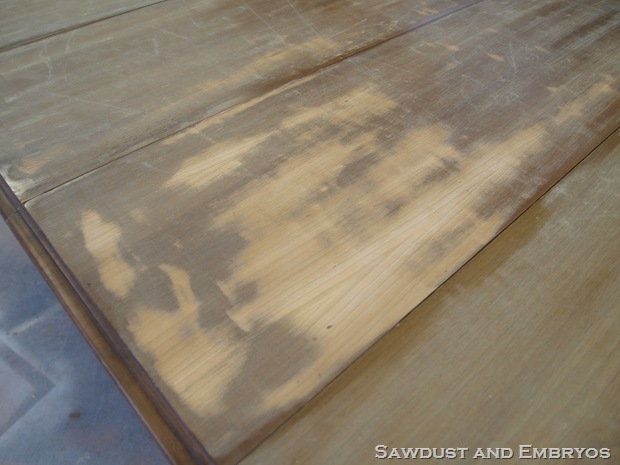
She wanted us to use the same gray/glaze finish we used on the china cabinet for the table legs and chairs, only sand/stain the top surface a dark DARK stain. We begun by taking the belt sander to the top to remove the glossy finish and existing stain.
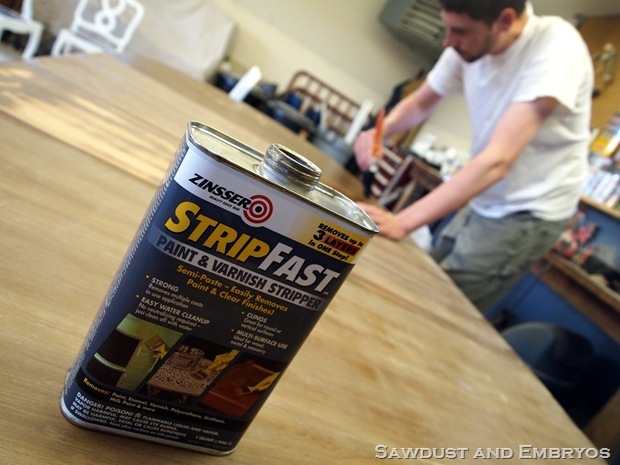
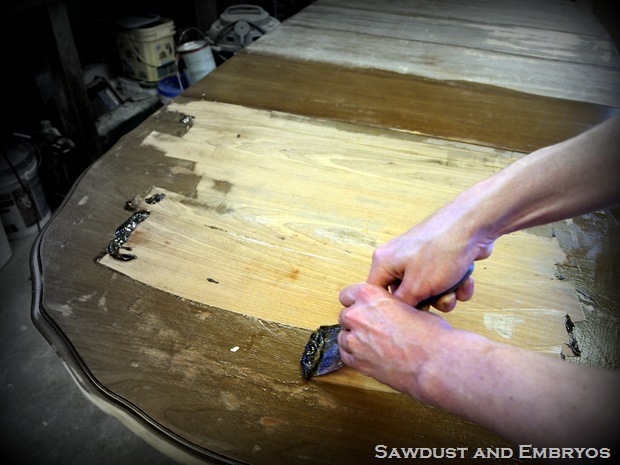
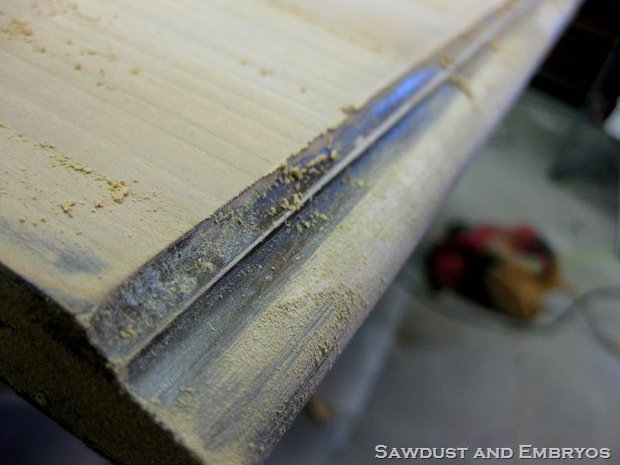
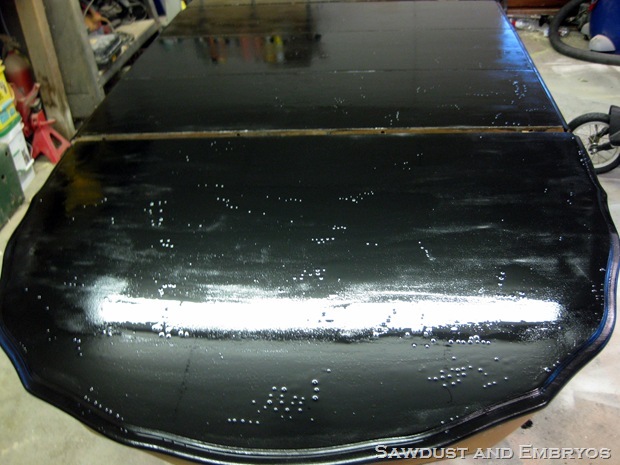
BUT we learnt quickly that this wouldn’t do. The sandpaper kept getting caked up, and because it was a veneer, we worried the belt sander would sand too deep. So we aquired some Zinsser Strip Fast Paint and Varnish stripper. We have no experience with this product, and weren’t excited at the thought of using Marcy’s dining table as a guinea pig, but we didn’t really have a choice.
The stuff was messy, smelly, and globby… but it got the job done. If you know a better product to use, we’re open to suggestions.
Once we had finished with the nasty stuff, we still had a significant amount of sanding to do, especially on the edges where the varnish remover didn’t get.
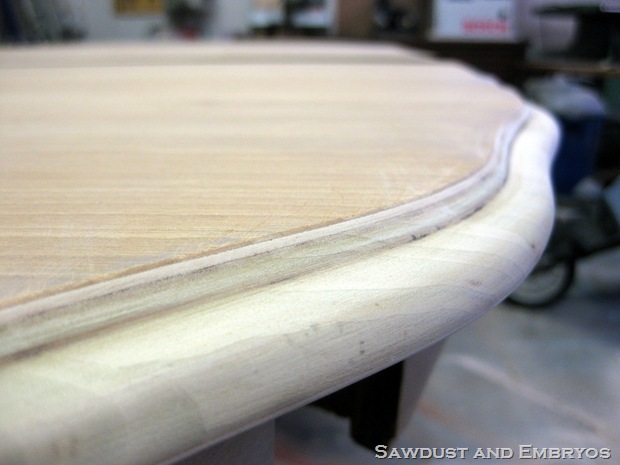
FINALLY, we had finished sanding and were left with this beautiful raw wood that we worked so hard for!
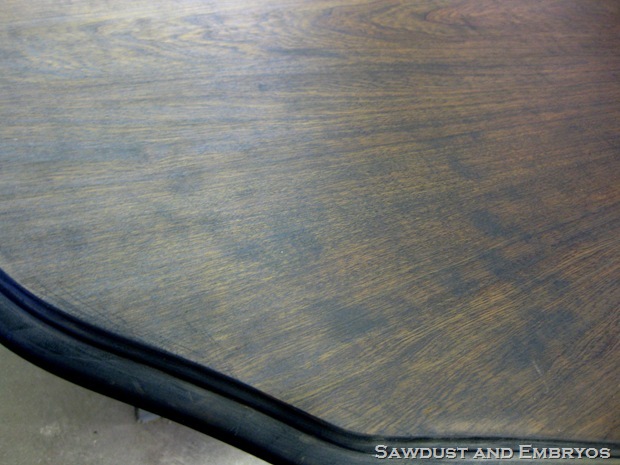
Next, naturally, we slapped on some Minwax Ebony stain, and let ‘er sit for quite awhile. Marcy wanted it DARK!
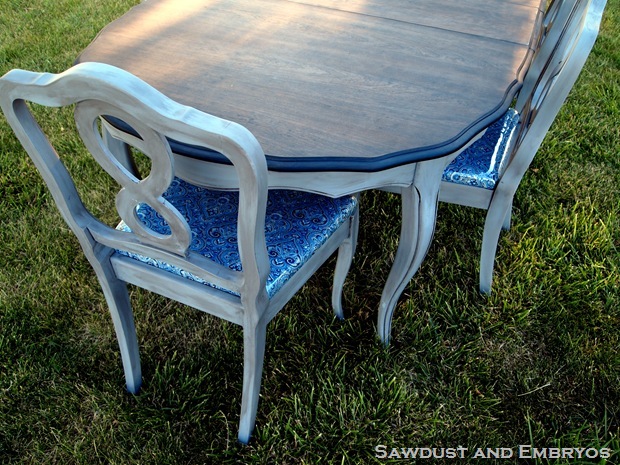
And after wiping away with a clean dry cloth, we were left with this rich amazing finish. HELLO.
Now that we had finished the table top, we flipped it over and taped off along the edge so that we could paint that little ledge without getting any on our new stained surface.
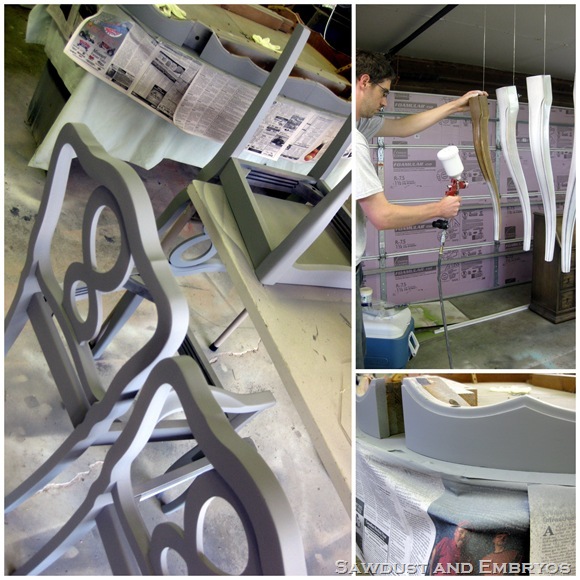
This area, as well as the legs and chairs got primed with Kilz and painted Glidden Seal Gray (just like the china cabinet).
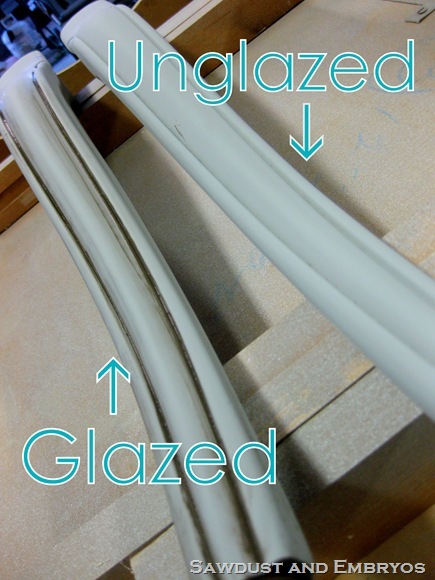
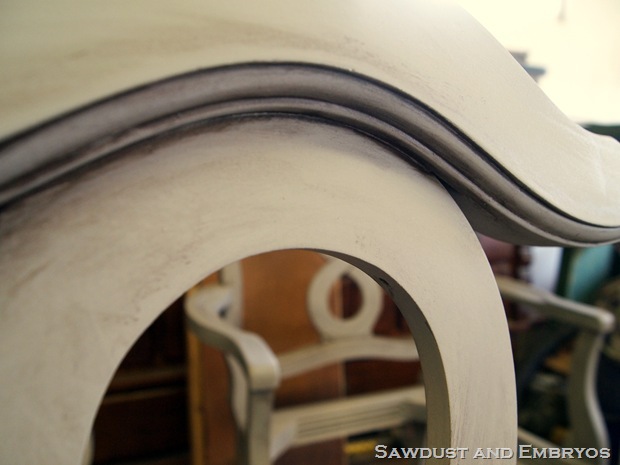
Then we glazed everything that was gray (glazing tutorial here). We used a black/brown mixture of paint in our glaze.
All that remained was to poly everything down to seal it real good and make it uber durable YO. Marcy wanted a matte surface (which I totally dig), and even hunted down some FLAT Poly for us! YES! They make FLAT POLY! It’s by Rustoleum. And she found it at Lowe’s if you’re wondering.
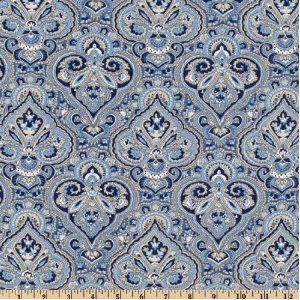
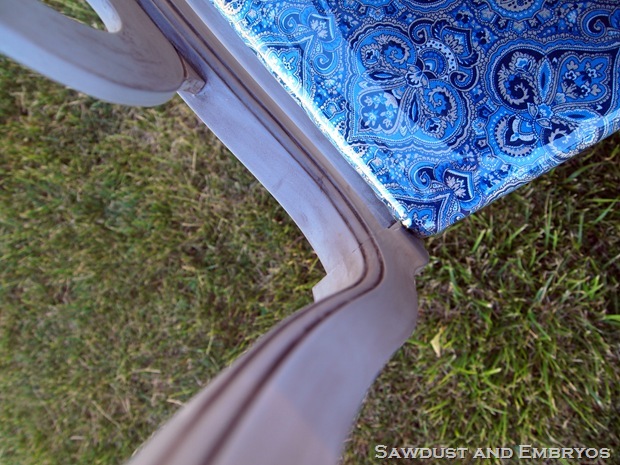
Using the same technique as I did on our own dining chairs, I upholstered the chair cushions using this fabric Marcy had chosen (and applied the same clear plastic to make them kid-proof!).
The plastic is totally removable, so when her kids are a little older, or she just gets tired of the plastic, she can just rip it off and have her perfectly immaculate fabric to enjoy!!!
You better believe we took final pics of this bad boy outside in the yard. We weren’t about to clear out our dining room just to set this up for pictures! Plus, what could be a better backdrop than Mother Nature herself!
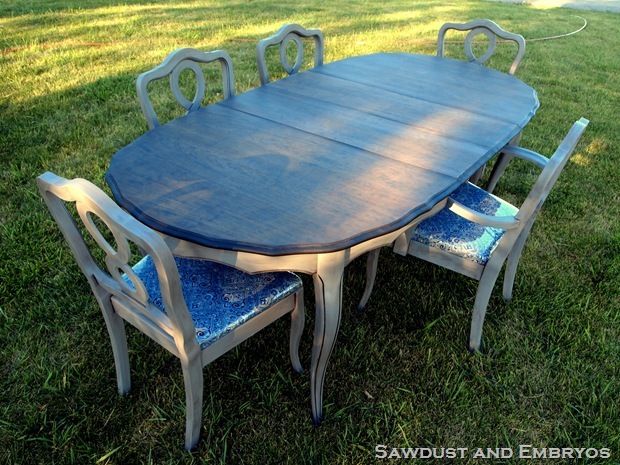
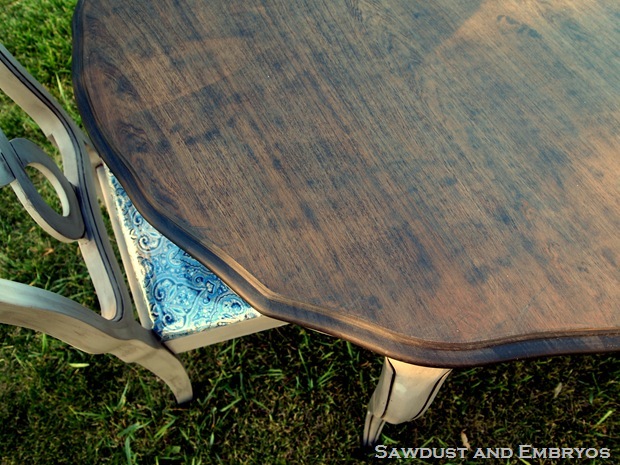
We hope it’s just what Marcy had in mind!
If you have any questions at all about our process or the products we used, we’ll be happy to answer questions in the comment section!



I am just floored! This whole set is AMAZING! Finding a hutch that goes so seamlessly with the buffet; the gorgeous way the ebony wood stain turned out, and the grey! with the glaze! Ah! I want to redo my whole living room/dining room area. I was curious about the paint sprayer too, but guess I will just stay tuned!
Hi Sonya… good eye! It’s still a little new to us, but we’re planning on writing a detailed post about it once we’re familiar enough to decide if we truly love it or not. Stay tuned! 🙂
That’s gorgeous, really! I do have a question, I noticed your hubs using a paint sprayer, what brand do you guys own and do you like it? I want one sooo bad, but have heard not so good things about some because of spackling or clogging. Recommendations??
I have alwarys used a product called Citristrip. much less toxic than some of the other products. It is really thick and adheres to the routed edges well. Use a putty knife on the top and steel wool or green scotch scrubber pads on the edges.
Table looks gorgeous!
Thank you for the tips Renee! VERY helpful!
Elizabeth, if it’s a wood veneer, you can absolutely stain it. A wood veneer is just a very thin slice of wood, glued on top of a thicker piece of wood. You just want to be careful not to sand through it. LAMINATE is a totally different story though. It’s a thin PLASTIC layer, that… while it can be painted over (when prepared properly) it cannot be stained. Because it’s not wood! Does this answer your question??
Looks Amazing!
I always get very confused with veneer. You can stain it? Or should it be removed?
-Elizabeth
Beautiful – wonderful job as usual!
I have worked with a lot of stripper products. I have found that the thicker the product, the easier it is to work with. I slop the stuff on thick and let it set. The longer the better. Initially, I use a putty knife to remove the “goop” but I have a little trick that I use to get into grooves. I make a net “ball” out of netting (like the scrubbies for the shower only rougher netting) and use a little water and scrub the grooves with that. I rinse the net ball with warm water. I found that it is much easier to use than a putty knife. It does make the grain in the wood pop out a little more because of the water but I always sand anyway so it really doesn’t matter!
Awesome Job! 🙂
Very nice! You are amazing! Mary in NY
Lovely!