We’ve lived in our house long enough that I’m finding myself itching to re-decorate things that have already been ‘decorated’. This is extremely counterproductive, considering our mile-long to-do list. But when an idea strikes, and we already have everything on hand… I just like to think that IT DOESN’T HURT ANYTHING. Except maybe my marriage.
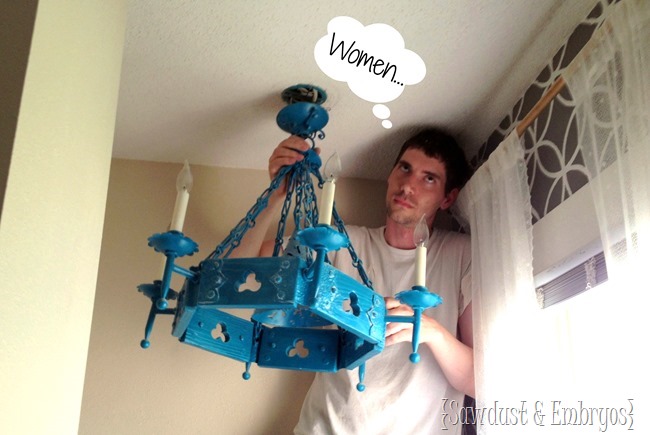
That is the look I get when I ask him to take down the chandelier that he put up a couple years ago. It’s served it’s purpose… I loved it’s ‘uniqueness’ and it added a nice pop of color for a time. But the thing is just so heavy and medieval looking, it just didn’t fit my vision for our home.
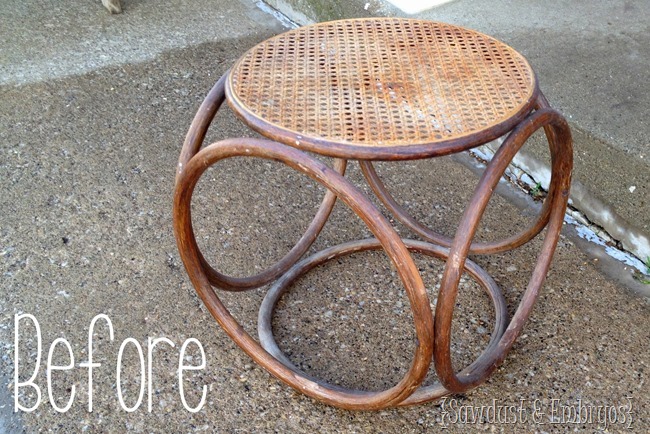
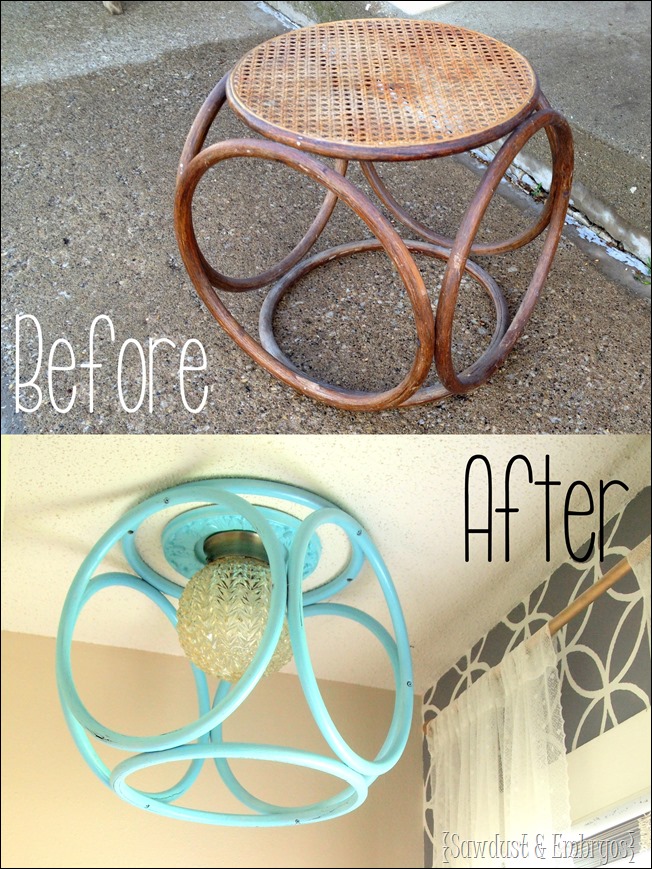
But I didn’t act on these desires until I had the BRILLIANT idea to use this little end table that I snagged at a garage sale for 2 bucks. These end tables are everywhere. Just keep your eye out for them at thrift stores and the like. You know I’m no stranger to making old end tables into light fixtures…
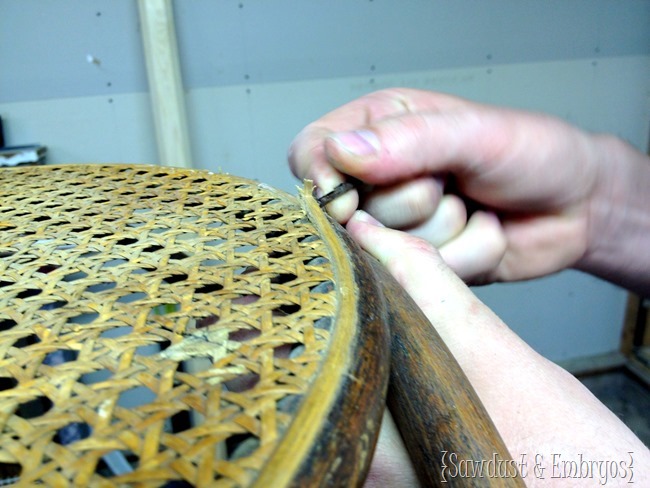
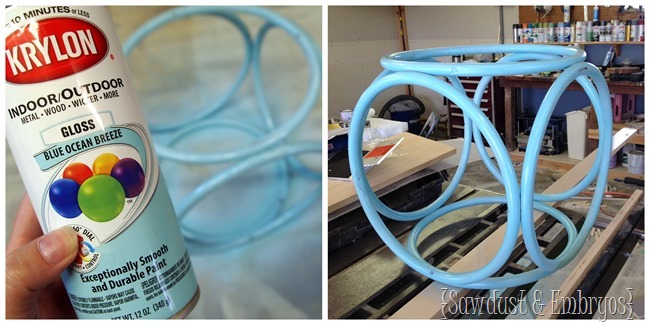
We pried out the edging with a flat-head screwdriver, and ripped out the canning.
I primed and painted with Krylon Blue Ocean Breeze. This is a fave of mine… remember Eloise the Vanity?
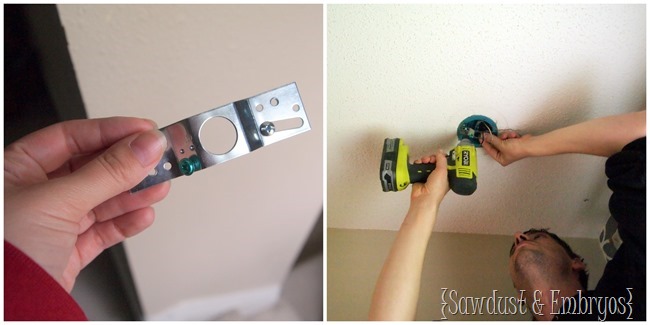
After graciously removing the previous shandy, my lover got the mounting kit out of the 4” light kit out and screwed the grounding screw (green screw) to it. Then he affixed it to the ceiling receptacle with the the screws provided in the lighting kit.
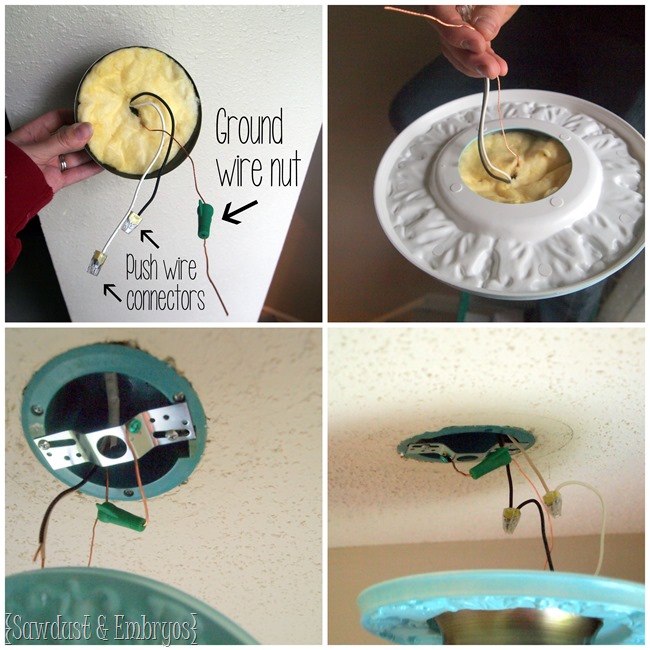
Then, he stripped the black and white wires insulation back 1/2” and used two, 2-terminal push wire connectors. Pushing one on the neutral wire (white) and one on the common (black wire). He then grabbed a grounding wire nut and threaded the ground wire (Copper) through it. Next we grabbed the decorative ceiling medallion (that I painted earlier to match the end table) and placed it on top of the light fixture. Nick then twisted the grounding nut on both copper wires, leaving enough through to loop and tighten to the grounding screw (green screw). All that is left for the wiring is to push the white wire and black wire into there corresponding terminals.
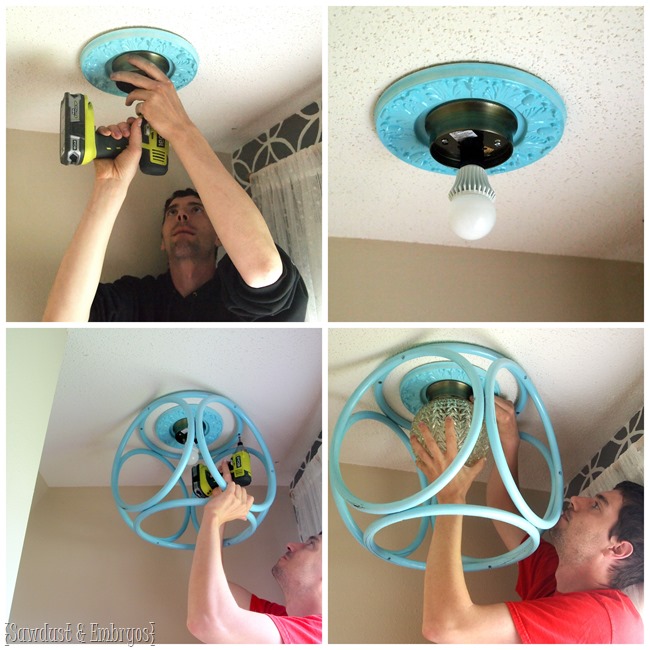
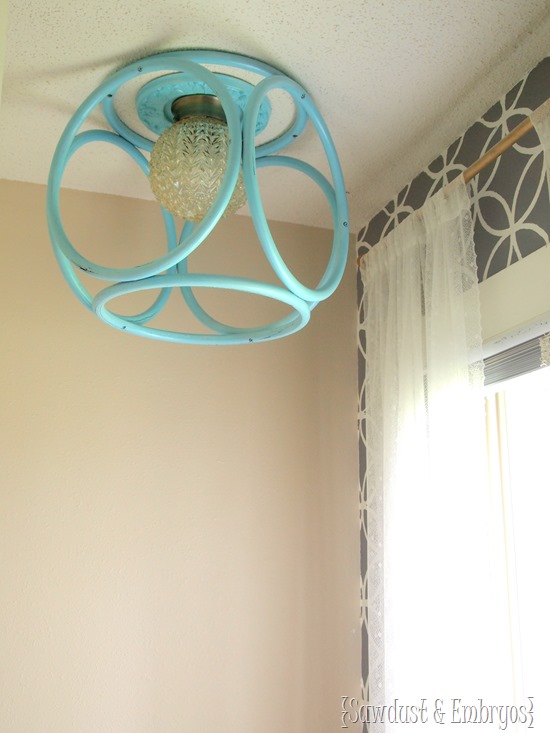
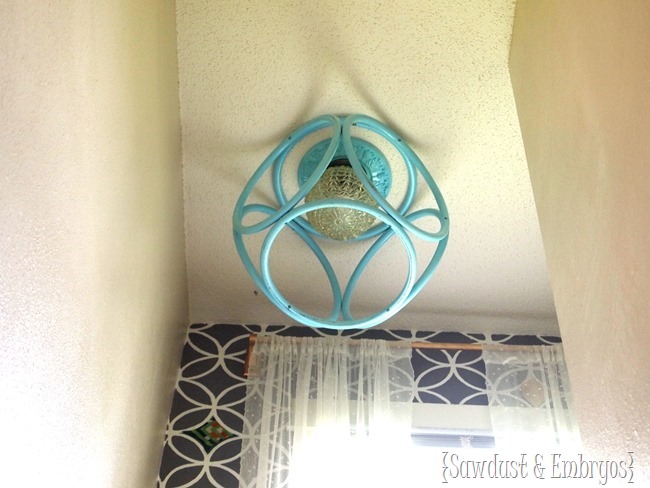
Then, we just mounted the light fixture to the ceiling receptacle with the last two screws provided, screwed in the light bulb, end table, and dome.
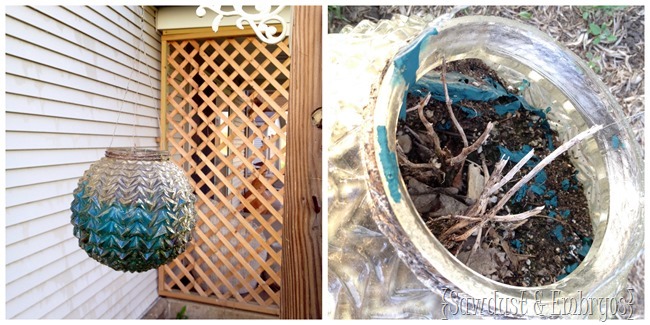
Do you recognize that globe? It’s something we already had on hand (and had previously repurposed into a planter). It’s seen some pretty wicked winters, and the latex paint had seen better days… so we cleaned it out, and scraped out the stubborn pieces of paint.
I love how antique-y it is, and how much character it has! This is what we call FULL CIRCLE DESIGN!
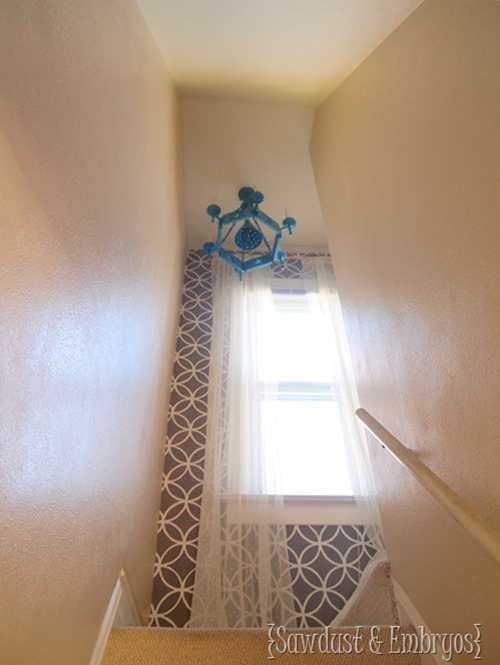
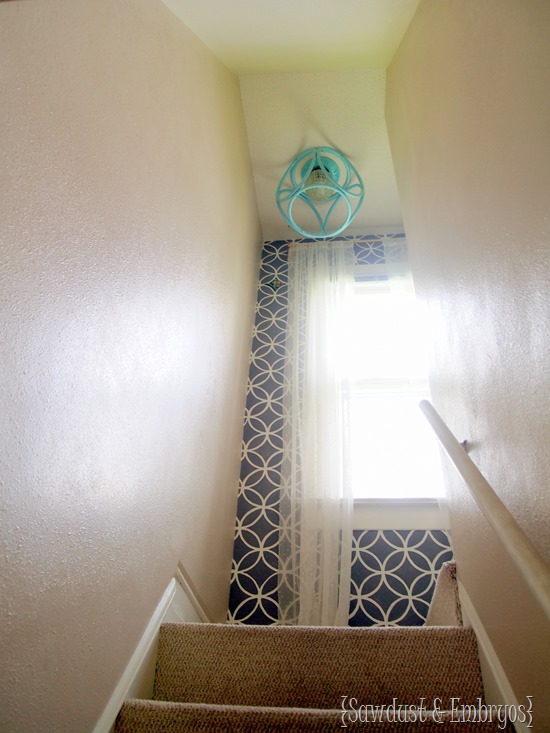
I also love how the circles of the ‘end table’ echo the circles in the stencil on that accent wall. Such a happy little greeting after walking of our steep farmhouse stairs! Here’s the view from the bottom of the stairs. Fun, right?
My hubby is such a trooper for accommodating all of my ideas… even if it means undoing something we’ve already done. He’s a keeper!
*this post contains affiliate links


So doing this, I bought a similar table at Goodwill for re doing it as a side table without the canning. Thanks for the tutorial.
So uh, what are your plans for the old one? I might know a bedroom that could use a new chandelier… 😉
love the new light!
It’s yours if you want it! HAHA! That sucker is heavy though, so you’d have to pay shipping. Where do you live?
I love the shape of it! It definitely goes with the pattern of the stencil a lot better. I’m grateful we have good men who humor us by changing light fixtures like we change our shoes.
aaah! I’m sure Nick was happy once it was up! I know how frustrating lighting can be sometimes…. standing on a ladder, holding up something heavy while you wire, (fans are the worst!)
This was totally worth it, while I loved your old one as well – you’re new one is better! I love the circles against the circle wall (Didn’t you stencil that wall? Rings a bell…) This stairway is looking great!
OK – what a fabulous idea!! I tend to get the same looks from my hubby when I come up with something that he doesn’t really want to do…he’s learned to just go with it!! Congrats!
now that’s using the old noodle and thinking out of the box too very nifty xx
Bethany- I love the light! I just love this blog and tell all my friends & family who read DIY blogs to check it out. You are so creative and innovative. I hope you get more readers soon : )
Also- your girls are SO cute!! I’m sending good vibes your way that this next IVF process goes really well : )
No that you don’t have a lot of readers… You know what I mean!
Wow I really like that, It really adds to the wall stencil. and it still has the element of a pop of color.
That’s amazing! I cannot believe this was previously a table!
Mpravo!