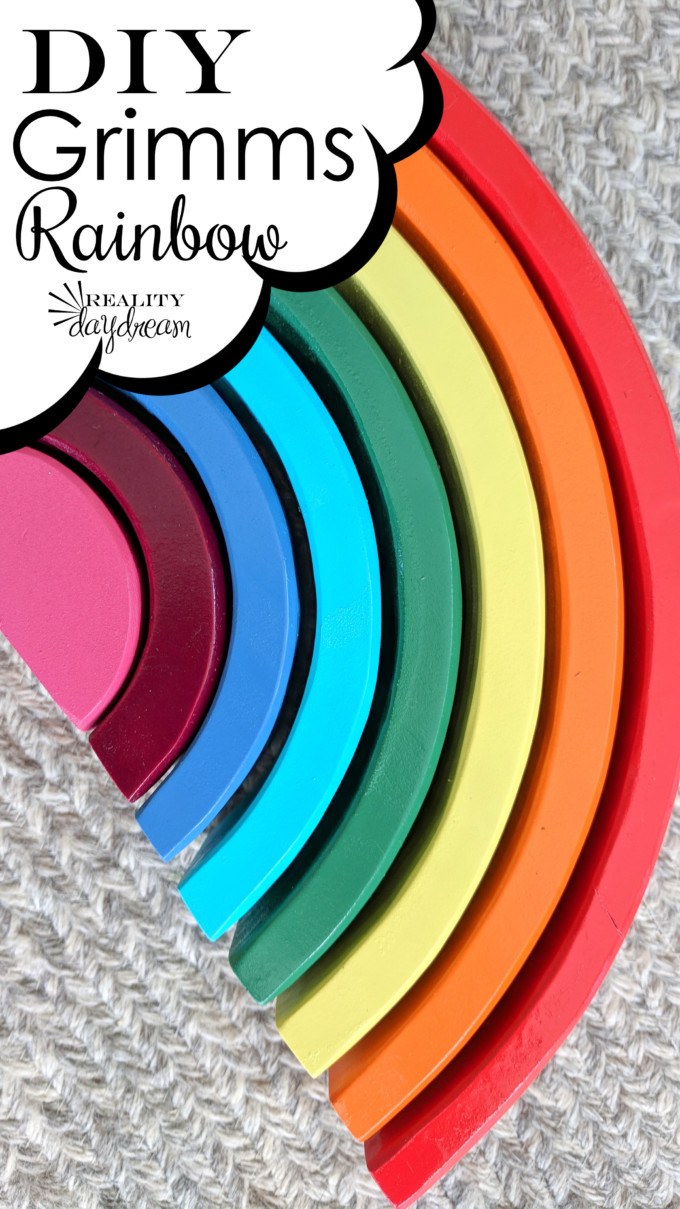
I’ve silently drooled over the wooden Grimm’s Rainbow toys for years. There’s just something about wooden toys that just feels so organic and RIGHT. Pair that with vibrant colors and curves, and I’m so far gone.
If you’re not familiar, or don’t understand the draw, click here to see some of the fun things you can do with this toy!
*This post contains affiliate links*
However, to own one of these toys (you can see the original here), you have to be well above the upper middle class, or have a very rich uncle. They cost a pretty penny, and I’ve never even considered dropping that kind of money.
BUT. I did “consider” MAKING IT. And it turned out far better than I could have imagined!
DIY Grimm’s Rainbow Supplies
- Pine Board (5/4 x 6)
- Wood Glue
- Random Orbital Sander
- My PRINTABLE TEMPLATE
- Scroll Saw (this one is mine, but you don’t need one this fancy)
- Oscillating belt sander
- Spray Paint
Start out by cutting 4 lengths of 15″ from your pine board. I used my miter saw, but you could use any saw you have on hand. Then glue the long sides together to make two rectangles like so…

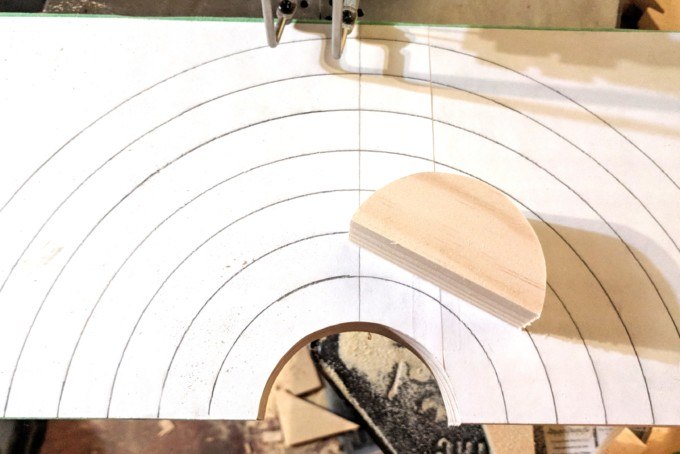
After you’ve sanded these free of glue and completely smooth, we’re going to trace on our rainbow! I made myself a template by drilling evenly spaced holes in a paint stick, securing the base with a nail, and tracing each hole into a half-circle with a pencil.

You don’t have to do all of this, because I made my template a free printable for you! And it is the same exact dimension as the original Grimm’s Rainbow.

Print out the two pages, and tape them together along the seam. There’s a chance that your printer will print them with a border that will make it slightly smaller than mine (which is to scale with the original Grimms Rainbow)… if that’s the case, I would go to your local printery and have them print it so that the outside rainbow edges are a length of 13.5″.
After you tape your pages along the seam, cut off the excess paper at the top so the paper and your board are the same dimensions.

Use the same technique from this post to affix the template to the wood… and we’re ready to cut!!

Even if you’re very familiar with scroll-sawing, this part takes some time because the wood is so thick. And you want to be very careful to stay on the line and not veer to the left or right of it since we’re using both sides. Does that make sense??
Make your way through all the ‘bows’, and then repeat the whole template process on your second board.
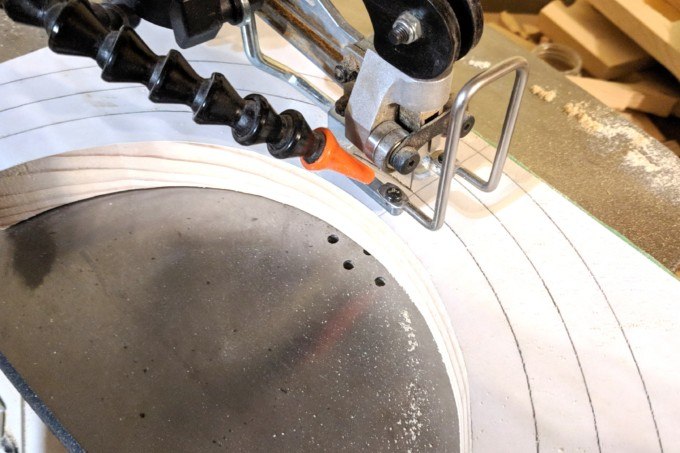
The reason we’re doing this twice is so that we can glue them together and have the thickness of the original Grimm’s Rainbow.
Now that we have two sets of rainbows cut (and the template peeled off), we’re going to glue them together and clamp them. We only had enough clamps to do about 3 bows at a time.

Time to sand! Our Oscillating Belt Sander came in so handy for this. Even though I was as precise as I could be on my scroll sawing, the bows still didn’t line up perfectly… so I sanded them until they lined up just right!

Not only did I sand both the inside and outside of each bow, I also chamfered the edges by changing the angle of the sanding table. This makes the edges less rough and gives it a more finished, kid-friendly look and feel. Then hand-sand everything with 220 grit to smooth them out in preparation for painting.

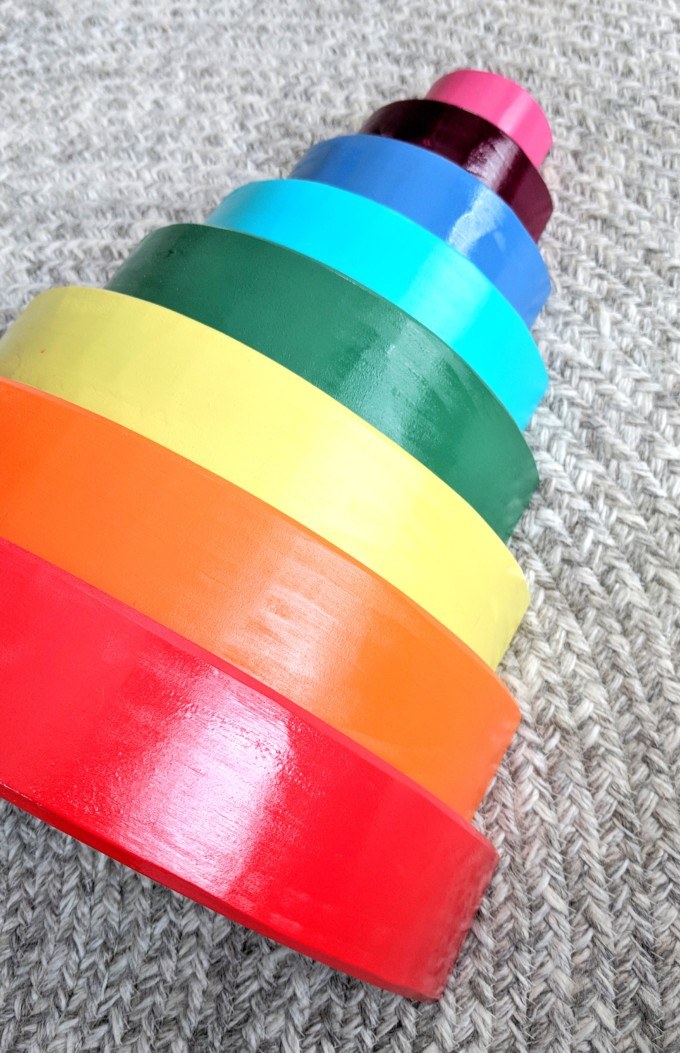
I honestly love this raw version of Grimm’s Rainbow, and had a half a mind to leave it this way. But I was dead set on making this thing as close a knockoff as I could…

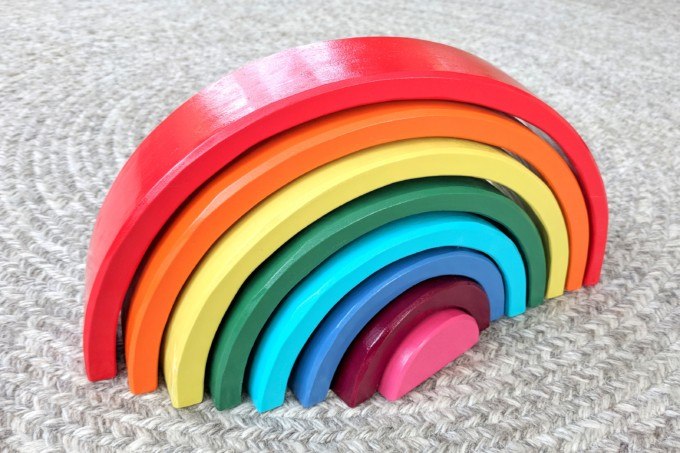
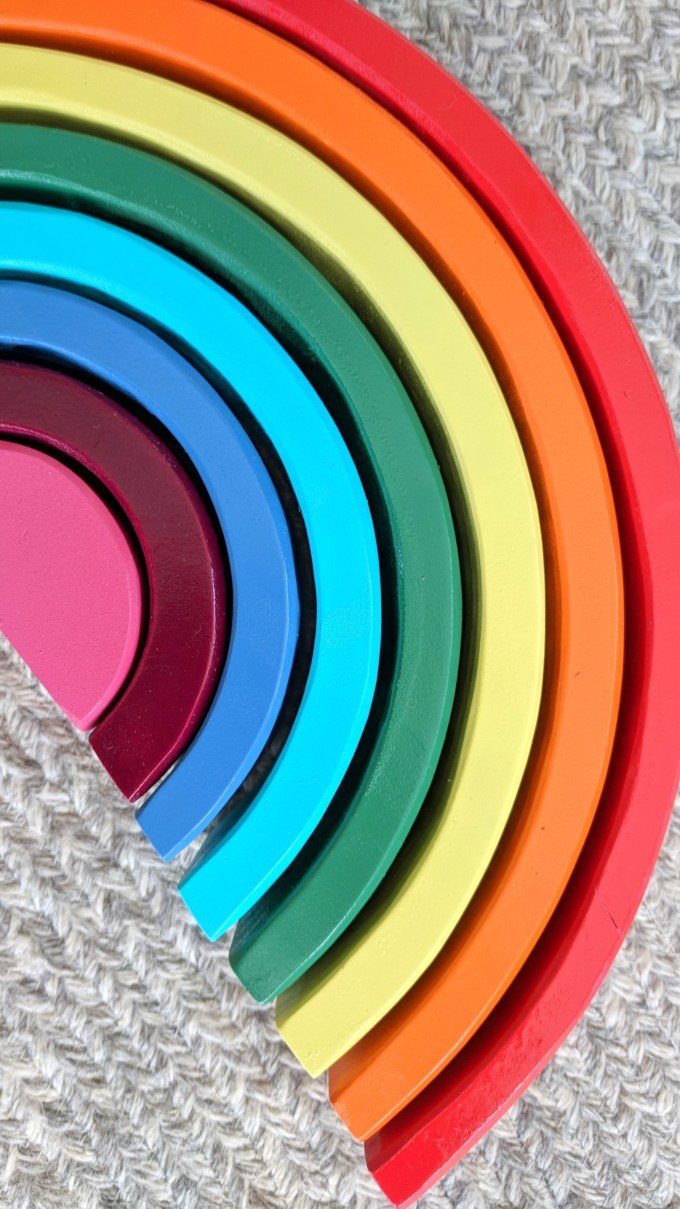
Are we ready to paint? I gathered up some rainbow colors from my stash of spray paint, and got started! I sprayed one side of all 8 bows, then waited a day and flipped them to spray the other side. There were a few that needed a second coat or touch-ups.

We wanted to give these a coat of non-toxic sealer to make them super safe for kiddos, so we used this eco-friendly sealer.
And WE ARE DONE!

I had way too much fun with this project. And Cypress (and the twins too!) have tons and tonnnnnns of fun with it. There are so many possibilities!

We always try to make a homemade gift for each of our kiddos for birthdays and Christmas, and this was the gift we made for Cypress’ Birthday this year! (She turned FOUR last week *tears*)
Next week I’m going to share a gender neutral gift guide for 4-year-olds, so stay tuned!
~Bethany
Be sure to check out our master list of DIY Handmade Gift Ideas!
Related:
-

Hello hello friends! Things have been wild as we've been navigating the holiday season, schedules,…
-

My kids are getting to the age where they want to tape pictures, cards, notes...…
-

I got a brilliant idea to make my girls a little something for Christmas (totally…
I started this project and so far everything looks great! Was wondering what angle you set you belt sander to when chamfering the edges?
What was your spacing in between each arch. I noticed you had a paint stirring stock and holes so was wondering the measurements on spacing
Hi,
Do you have a template for Grimms’s 12 piece rainbow stacker?
Hi! I know this post is almost a year old but I’m hoping you see and don’t mind responding. I got my pine board from Home Depot and am running into a ton of issues with it, starting with the fact that the edges are rounded. I’m on attempt two of trying to glue the long sides together to make the 12×15 pieces and losing hope that this board will work. Yours looks beautiful and squared so I’m hoping you can share where you got it. Thank you for sharing this process!
You can run it through a table saw and cut of the rounded sides
Instead of doing all the gluing couldn’t you just by a 2X12? Just curious about to embark on this project.
I don’t see why not! We were just using wood we had on hand.
This is awesome and I’m impressed you made this.
There is a more inexpensive one on amazon now that isn’t the price of Grimms
I’ve ordered one and I love it. There is also a plastic version that is offered at Walmart and it’s neat as well.
https://www.amazon.com/Lewo-Rainbow-Stacker-Educational-Toddlers/dp/B07QV769D2/ref=sr_1_12?keywords=stacking+rainbow&qid=1566327155&s=toys-and-games&sr=1-12
https://www.walmart.com/ip/Spark-Create-Imagine-7-Piece-Rainbow-Stacker-Building-Toy/148666786
These are options for people who don’t have the skill to make one or the money to purchase a Grimm’s.
Oh my gosh! I am so freaking excited to see this! I just figured we’d never get to have a Grimms Rainbow since we couldn’t afford it! The only thing is – I don’t have a stash of spray paint in rainbow colours… buying one of each might cost me as much as a premade Rainbow! Any other ideas for colouring it that might cost less? Thank you sooooo much!!
That’s true, spray paint can really add up when you need so many colors. Maybe you could post to your facebook page and see if any of your friends have a can or two you could borrow. Maybe you could end up with all the colors of the rainbow!!
Hello,
I live in an very far island in Honduras. And I want to try to make this by hand without any wood electric machine (I can’t afford to buy that). Would you like to give me some advice?
Thanks for share this,
Julia
Hey Julia! You could try using a coping saw for this project. It will be a lot of work, but I’m sure it’ll be worth it! Please send pics when you’re done!!
This is great! I’m wondering how is held up with use considering it’s got glue joins? I always assumed they wouldn’t be strong enough for a toddler to use without the joins splitting!? ?
It’s held up beautifully!
Fun :0 x
This DIY grimms rainbow tutorial came out so nice! I love that you included suggestions for the non toxic sealer too because that was my first concern! So pretty and fun.
Is this still safe for toddlers even though the spray paint is toxic? I know you used a non-toxic sealer but is there a chance of the paint chipping /peeling and potentially being ingested by your toddler? I want to make one for my daughter but want to make sure first.
Oh wow! That is beautiful!
I love this! And what’s more, I might even make it! I had never seen this toy before but it’s so interesting to see all the things people make with it! Maybe, since I have boys, I will try different stains instead of colors. The wood is so pretty.
Bethany,
This would so awesome with the unicorn spit stain so that the wood grain shows through. Kind of like the bowl you turned with the blue stain. What do you think?
Maureen
Yes that’s true! Maybe I’ll do that for the next one I make!
Very Cool!