If you don’t already, you should subscribe to our blog so you get an email every time we publish a new blog post (not more than 2 times a week… TOPS)! You can also follow us on Facebook and Instagram so you don’t miss ANY of this madness!
I just spent the past 5 minutes of my life Googling whether ‘Graywash’ is one word or two (gray wash?), with inconclusive results. WHAT THE! I guess I just need to pick one?
Anyway, I’m sure some of you are far more taken a’back by the word ‘farmhouse’ in this post title than the fact that I used ‘graywash’ as one word.
It’s no secret that I’m not a shabby farmhouse girl. I love color and pattern! But even though I wouldn’t consider my style to be farmhouse, I still definitely have an appreciation for it and think it can be SO BEAUTIFUL in other peoples’ houses!
So when my childhood friend, Lindsey (you might remember her from this post) was chatting with me about her desire to makeover her dining table to go better with her farmhouse decor, I begged her to let me come and help her.
Because FUN!
Also, any excuse to hang out with a friend that I’ve had since 3rd grade is a special treat. And we both have twin girls, soooooo.
How to Graywash a Dining Table
*This post contains affiliate links*
Supplies
- Piece of furniture with a wooden (not painted!) finish
- Random Orbital Sander
- 220 grit sandpaper discs
- Water-based primer (1 quart)
- Medium gray toned paint (1 quart)
- Painters Tape
- Cotton rags
- Latex gloves
- 4″ chip brushes or foam brushes
- Small paint tray or container for mixing
- Water based sealant (we use this stuff)
Here’s a before pic of the offending dining table.
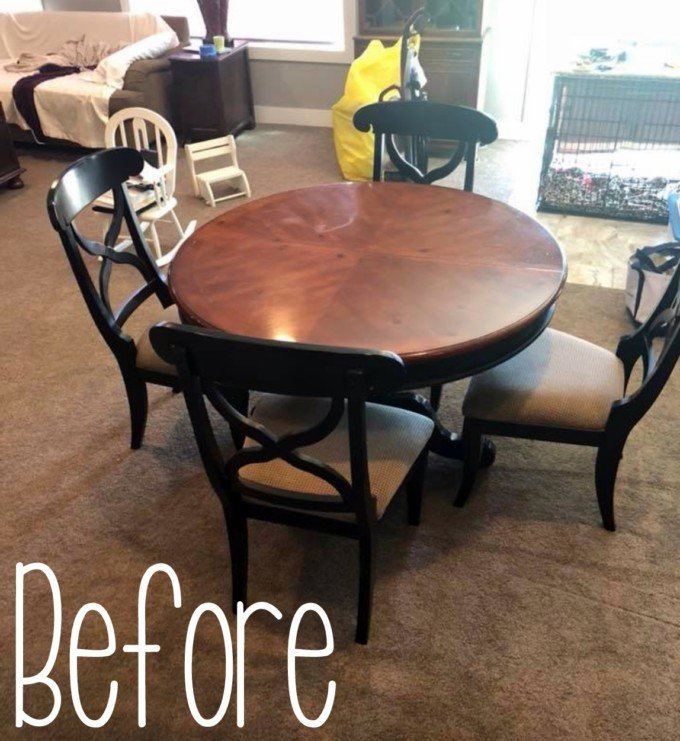
It’s not altogether unattractive, and it has good bones. It just isn’t the look Lindsey’s going for. She wanted it to flow more seamlessly with her white kitchen and adjacent farmhouse style family room.
You can see that it has a deep orangey-toned top with a glossy finish. Lindsey wanted to keep the black base though, so this will be an easy job!
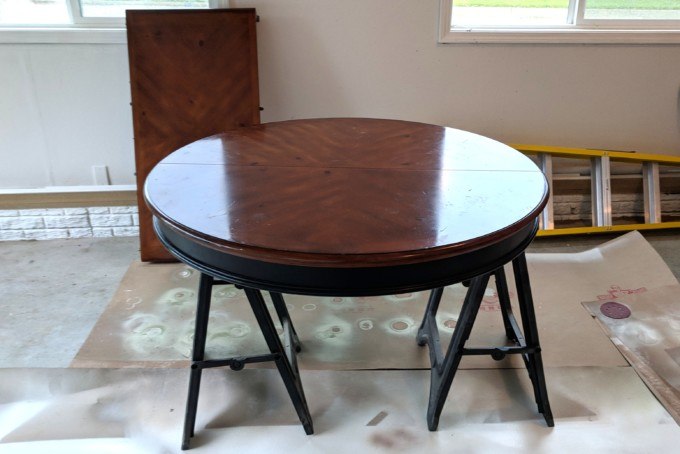
Lindsey had this sucker all prepped and disassembled and set on sawhorses when I arrived!
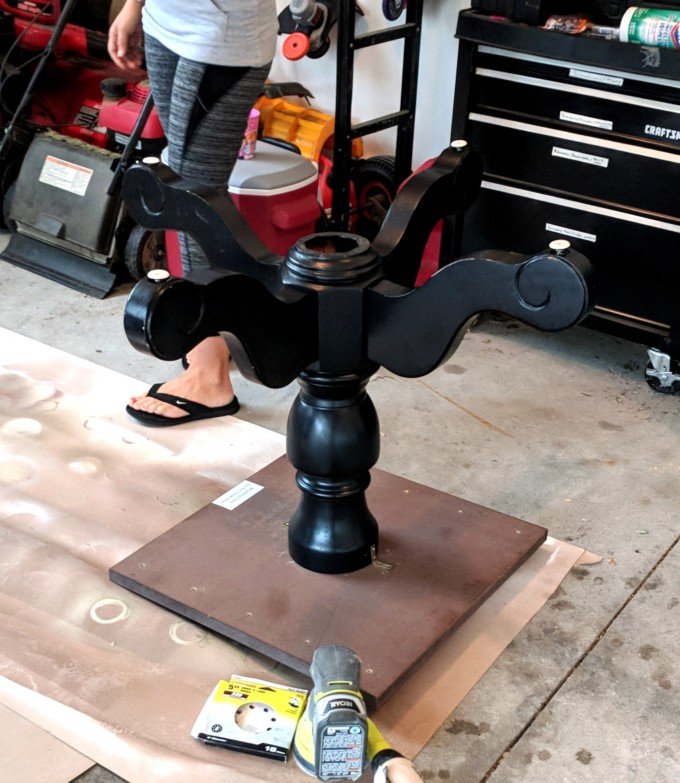
Here’s a pic of the base of the table so you can see how cute it is.
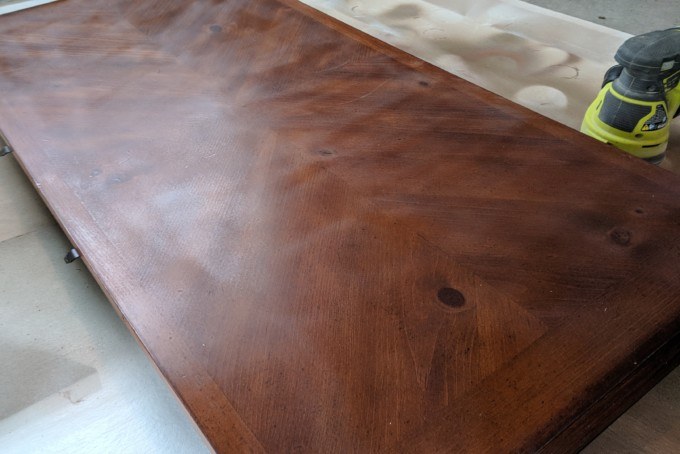
So we got to work sanding down that table top! The goal here isn’t to sand all the way through the existing finish to the raw wood. We’re just trying to cut down that glossy sheen and give it a flat ‘matte’ finish that will allow the primer/paint to stick and be super durable. You know?

Don’t forget to do the leaf too!
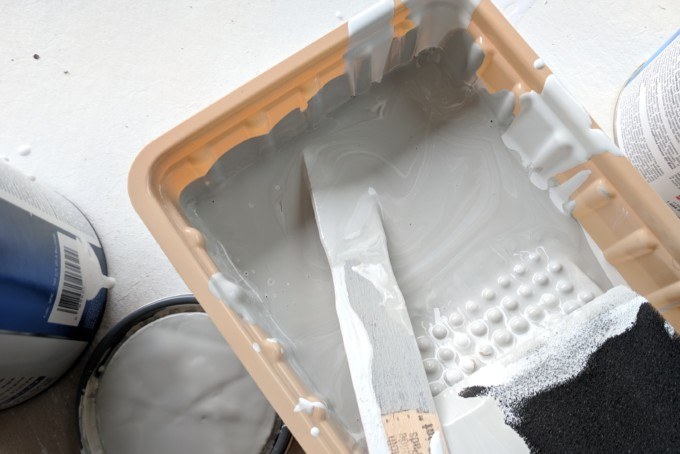
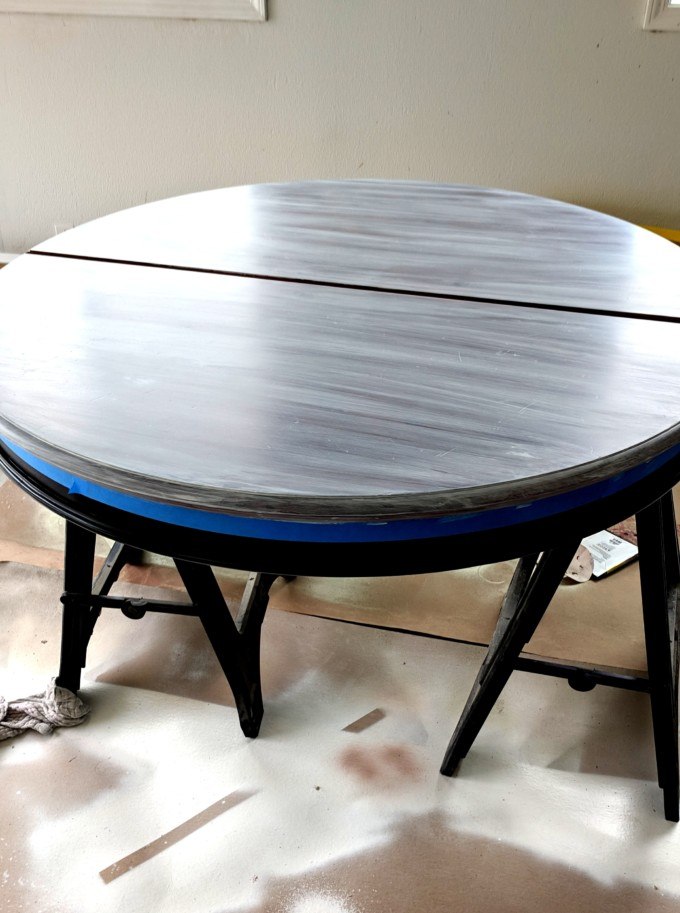
We used painters tape to tape off the ‘apron’ of the table so we wouldn’t get any graywash on the black painted part. And now it’s time to do a little mixology!
There’s no science to this part. Pour your primer into your container or paint tray first, then add the gray paint until it’s about the shade you’re going for. Our ratio was about half and half.
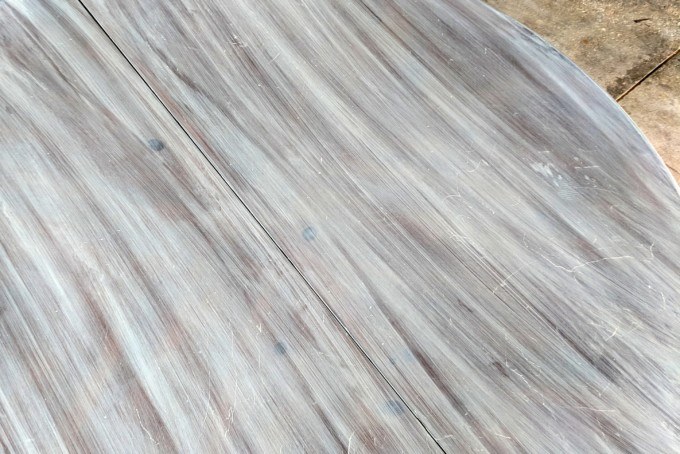
If there’s a ‘direction of wood grain’ on your table top, start brushing on the primer/paint combo in that direction. But if your table is like Lindsey’s where there’s a subtle starburst pattern of wood coming out from the center, JUST PICK A DIRECTION and stick with it. We went with the same direction of the crack of the table.

You want to brush on the paint with reckless abandon, and wipe it off with a cotton cloth before the paint dries. There are a couple important things that you want to keep in mind while you’re doing this.
- Your brush strokes should be as straight as possible. It’s really easy to accidentally have an ‘arc shape’ because that’s the natural motion of your arm as you’re wiping. So make a conscious effort to wipe perfectly straight in long sweeping motions, both when you’re brushing it on AND wiping it off.
- You have about 30 seconds before the paint will be too set to effectively wipe off. So I recommend doing one ‘stripe’ all the way across the table, and promptly wiping it with your cloth to smear it and take the majority of the primer/paint off.
- Try not to get any primer/paint on the rounded edge of the table. We will do this part last! Feel free to tape it off if it’s easier for you.
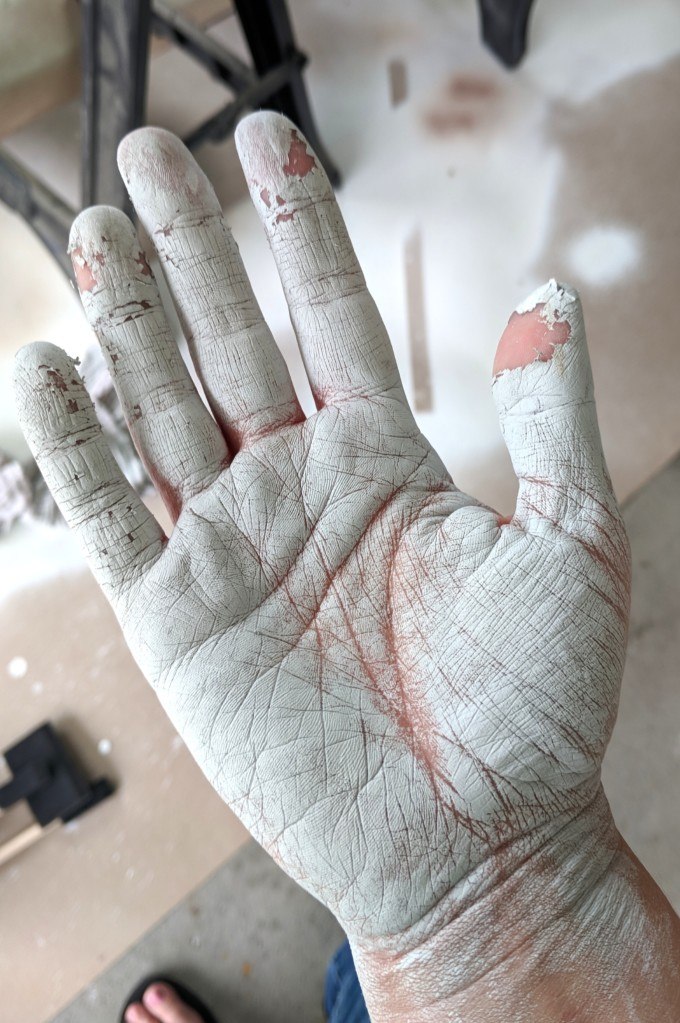
I didn’t get a single picture of us WIPING, because we were in a bit of a race against the clock to get that paint wiped off before it dried. Also, I couldn’t really touch my camera because I forgot to wear gloves.
The first layer will go on light, but resist the urge to leave it thick and do only one coat. We ended up doing 3 coats to get the look Lindsey was going for.
Go ahead and brush on some paint around that outer lip and wipe it off using the same technique. Then just let everything dry before sealing!

It goes so much better with the farmhouse vibe of her home now! And this was such an easy process, wasn’t it?!

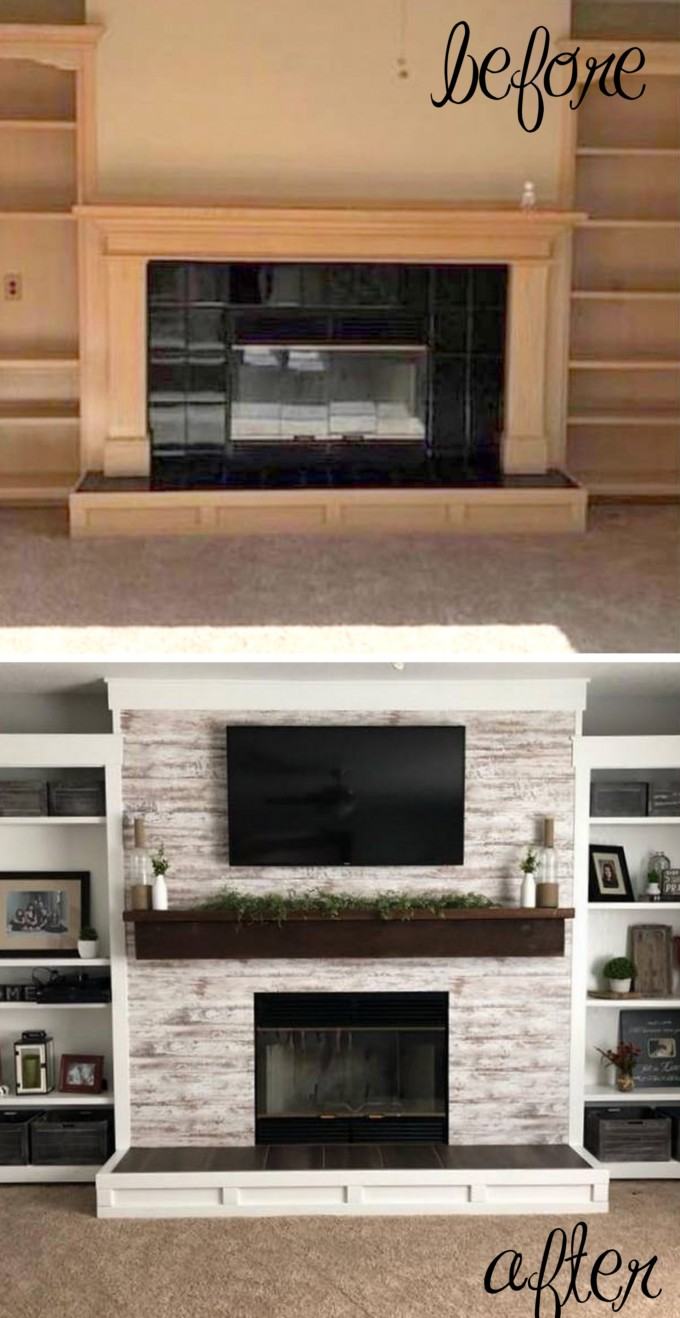
Check out how perfectly this graywashed table flows with the adjacent family room fireplace situation!
Lindsey has such great taste, and I’m so happy that her family will be able to enjoy this table and have many good conversations over a meal!
If you have a piece of furniture in your home that could use a little graywash treatment, I hope this gives you the confidence to GO FOR IT! It really is a simple technique, and makes such a big difference on those orangey-wood-toned- pieces of furniture out there.
You’ll look twice at that dated furniture at the thrift store now, won’t you!
I’m guessing if you love the ‘worn/shabby’ look, you might also love this technique I found to make new pine boards look like old barn wood. If this doesn’t scream farmhouse, I don’t know what does. 😉

Oh! And lots of other painting techniques from our archives here!

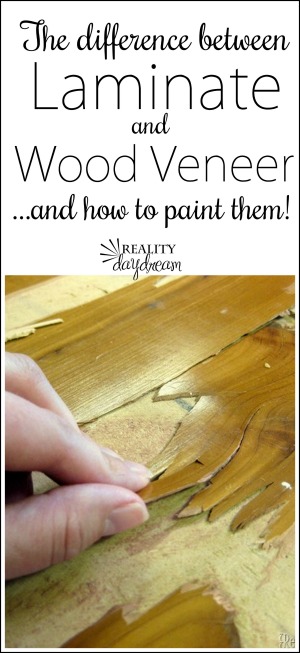
We also have a post that helps you determine whether your furniture is Laminate or Wood Veneer (and what the difference is!)

.~~~~~~~~~~~~~~~~
~~~~~~~~~~~~~~~~~~~~
Be sure to check out all the other furniture transformations we’ve done over the years by clicking the image below!

Thanks for pinning!

Related:
-

We've been needing to update our coffee table situation in the living room for awhile…
-

We love the original wood of our library, and wanted to find a desk that…
-

I've had this idea in the back of my mind for quite awhile... why not…
Just love this table. I have a table that is a light colored wood. Would it work with that or should I stain it dark first. Thanks.
No I think you can do it right over the light wood!
Did you wipe I. Between each coat?
Hi, I really love this gray wash effect and I was curious, if my furniture is already stained i don’t need to strip that? Or what if it is a very old table should i stain it then do the gray wash? I’m new to the refinishing side of furniture!!
No need to strip! Just sand first!
Hi! I’m a brand new DIYer and have a few questions 🙂 I’m reading your blog now after my first coat of white wash, recognizing I may have made some mistakes
-Did you use a damp cloth to wipe off the paint, or dry? I’ve read some use damp, some dry. What would the difference be between the two?
-If there are some splotchy areas from the first coat of whitewash (there are on mine), can we use sand paper to try to make the “too white” areas more transparent? Or are we shit out of luck? We also restained the table the day before starting to whitewash.
-My table is round so has round edges. At my first pass of paint, the edges don’t look great, as I did the table top and the edges in one sweep of a paint brush. Should I try to sand down the edges with paint on them to fix them? or what is the best way to do the table edges?
Thanks!!
Maggie
Hi, I saw the picture of the fireplace, did you do that too? My fireplace is like your before picture and would love to try to do it like yours. Do you have the instructions somewhere in your website?
Thank you
Nope, my friend had a team of dudes do the fireplace. It does look amazing! Sorry I can’t help.
I white washed my fireplace and loved the way it looked. The brick was reddish brown. I wanted it lighter because it made the whole room look dark. I took white and gray paint and added water to make it pretty thin. I brushed it on the brick and wiped it off with a dry rag as I went , including the drips. I wanted the grout to show so I applied a thin coat. If you want more coverage, apply more coats. Don’t be afraid of doing this… it’ll look wonderful…
Did you use grey latex paint for this and what kind of finish please?
Yes gray latex with a matte finish!
Do you necessarily need a sander to get the glossy finish off? Is there another way? If so where can I get a sander?
You could hand-sand, but that would be a lot of work. You could find a friend to borrow one from, or see if your local home improvement store rents them out!
Get a deglosser from a hardware store
I have found Keud Kutter will strip some varnishes.
I love the table! I just picked up a table that someone painted and the paint is pealing off. My question is do I have to remove the old paint before repainting?
I would remove any chipping/peeling paint, and sand everything down real good before priming and painting.
What did you deal the gray washed table with?
We used water-based poly called PolyCrylic by Minwax.
I love you. Every blog or post I read the women go on and on trying to be funny or talking about themselves. Great for them but I prefer your explanation and pics. Most important I saw the pic with you and husband (man friend?) and that to me had me. I look forward to trying this and I will follow. Thx
You’re so sweet!!
I have a golden oak bathroom vanity, would you suggest this process or just gray paint?
It totally depends on the look you’re going for! If you’re a farmhouse girl, I would totally use this graywash technique. 😉
I really like it but is there a sealer to put on so paint does not wear off..
Yes we used PolyCrylic by Minwax to seal it. Any water-based sealer should be fine. RustOleum make a good one too.
Instructions say to pick white primer and medium gray paint then pour into tray. Why not just pick a light gray paint? It doesn’t say to mix colors or to not mix colors.
Sorry, yes you are to mix the colors. White and gray to make a very light gray.
Can you recommend a brand and color of gray paint?
It really doesn’t matter as long as it’s water based like your primer. Unless you’re using an oil-based primer, in which case you should use an oil-based paint as well! I almost always use Sherwin Williams pains for my projects though. I love the coverage and color selection.
I have dark wood kitchen cabinet of the 70’s style. My question is, would this work for my kitchen cabinets without the expense of buying new ones.?
If your cabinets are still in good shape, and you’re just wanting to update the look, this would be such a great option!
very pretty like this idea!
I love the outcome. Gorgeous!
I DON’T KNOW WHY PEOPLE WITH DIFFERENT TASTES FEEL THE NEED TO SAY SOMETHING NEGATIVE ABOUT THIS PROJECT WHICH I ABSOLUTELY LOVE AND CAN’T WAIT TO USE IT. OTHER SUGGESTIONS WAS NOT MY TASTE. GEEZ, ADULTS STILL DON’T KNOW HOW TO SHOW RESPECT.
Haha Jeanlynn, I agree! I just shrug it off these days. 😉
I think it’s actually gorgeous and have been wanting to do this to my end tables to match with my new furntiure and newly painted walls. I think I might have to make a weekend project out of it. Thank you for sharing
Appreciate the post. Your explanation is far better than most post I’ve seen. Thanks .
Bethany, do you wipe off the paint after each coat. I see you did for first layer. Did you for the next two layers? I’m assuming you did. Just need to be clear before I jump in!
Thanks
Yes! Wipe after each coat! 🙂
What do you wipe with and how many coats?
Just use a cotton cloth or old cut up t-shirt. We did two coats, but you should do as many as you want to get the look you’re going for!
Wow! I have seen the table and it is beautifull, plus it fits in with their decor. What a Great find Lindsey and what Great talent Bethany to transform it. I love it.
Why? Why would you do this?
Hey different strokes (no pun intended) for diff folks. Shaming no necessito!
That is explained in the post. The original look of the table did not flow with her decor, so instead of going out and unnecessarily buying a new one, she made this one fit in better.
Why? because obviously she likes it that way 🙂
Agreed. This is not my favorite project of yours. It looks unfinished.
Personally, the color black is comtemporary. I would have left the table top alone and painted the black a farmhouse blue to make it more traditional.
I’m glad your friend likes it.
I was thinking the exact same thing…..