This DIY jewelry idea came straight from my crafty Mama. Remember how she sends the twins a craft each month like a subscription box (see more kids craft ideas)? Well this is one of those! My girls ended up needing help with parts of it, so I deemed this more of an ‘older child craft’, or a straight-up adult craft that would be perfect for a mom’s night out or girlfriends crafternoon!

*This post contain affiliate links.*
Layered Paper DIY Jewelry Craft Supplies
- Construction Paper (various colors)
- Glue
- Craft paint brush
- Belt Sander
- Clear Nail Polish
- 7.7mm Jump Rings
- Necklaces
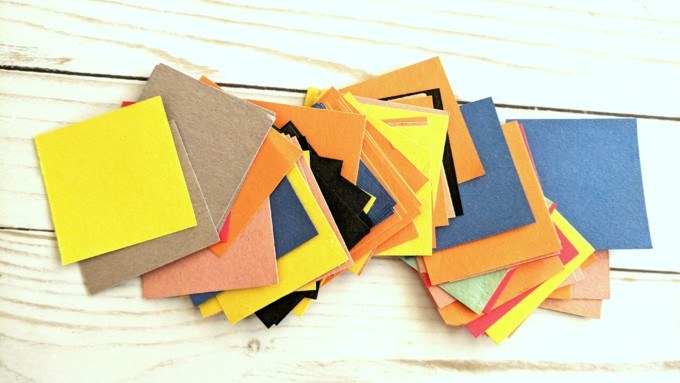
Start out by cutting a TON of 2″x2″ squares of construction paper in alllll different colors.
Glue it
Squeeze a big glob of glue out onto a paper plate for easy access, and start brushing on a nice thick coat of paint onto your first square. Using too much glue is better than using too little! Press another square firmly onto it, and repeat… about 30 times! Or to the thickness desired for the look you’re going for.

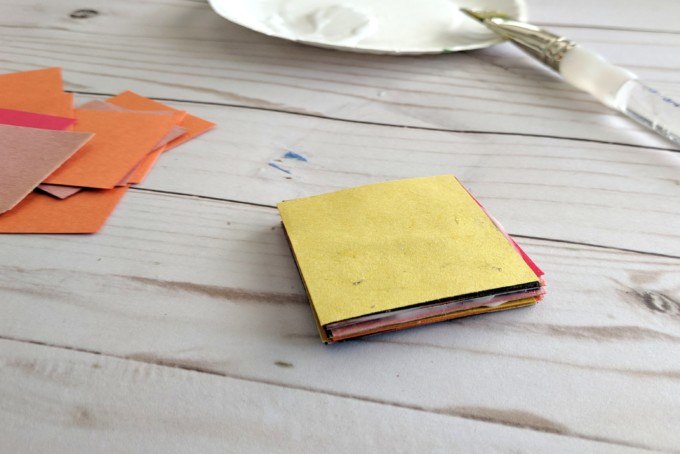
Give it a good squeeze, and set it somewhere to dry where you won’t forget about it. Because there are so many layers of glue, it will take 4-5 days to fully dry and be ready for the next step. This is not an instant gratification DIY jewelry project!
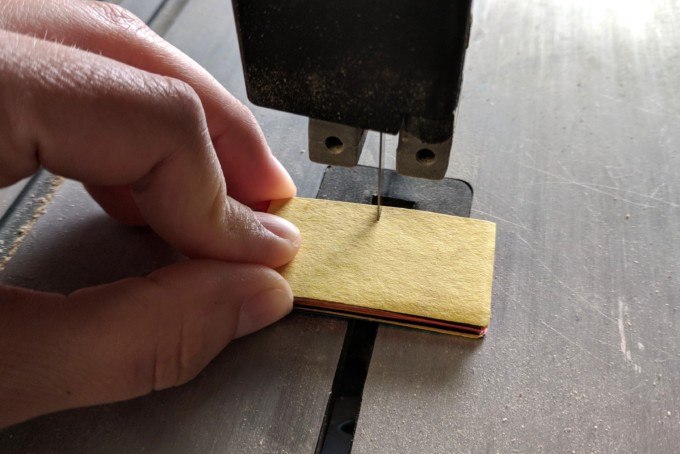
Slice it
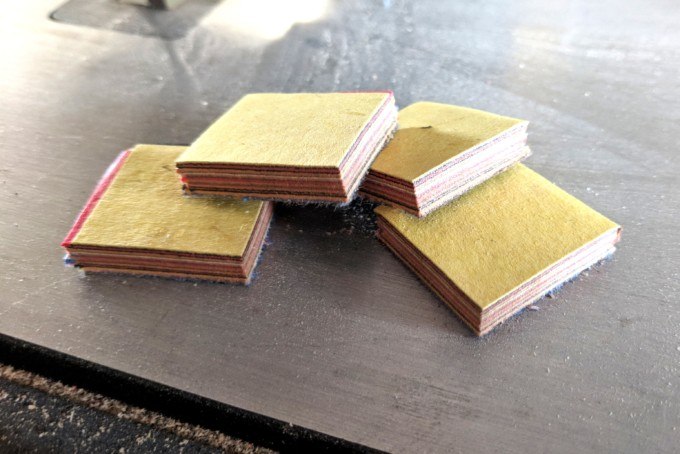
This part is optional. I used the band saw to cut down my hunk o’paper into fourths to make smaller pieces of jewelry so I could experiment with different shapes. You can do this, or leave it the larger 2″ square for a chunky necklace or big dangly earrings.
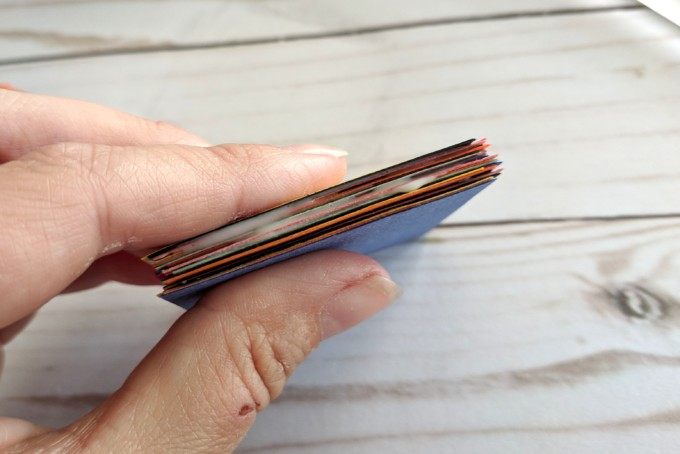
Just look at those layers!
Sand
It’s time to give these babies some shape and rounded edges to really bring out the beauty of the colorful layers. The easiest way to do this is on a belt sander.
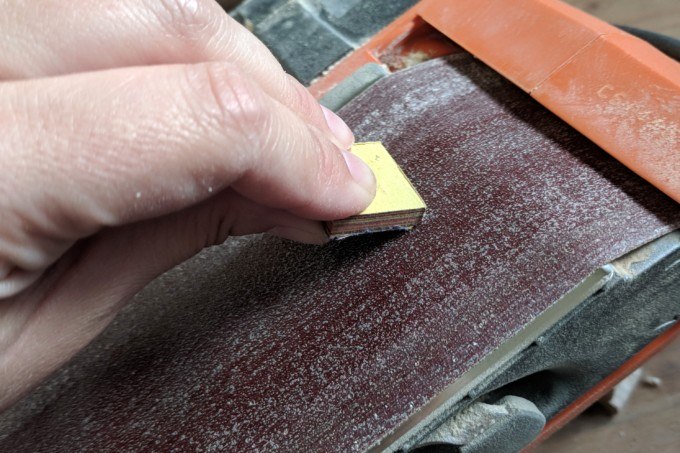
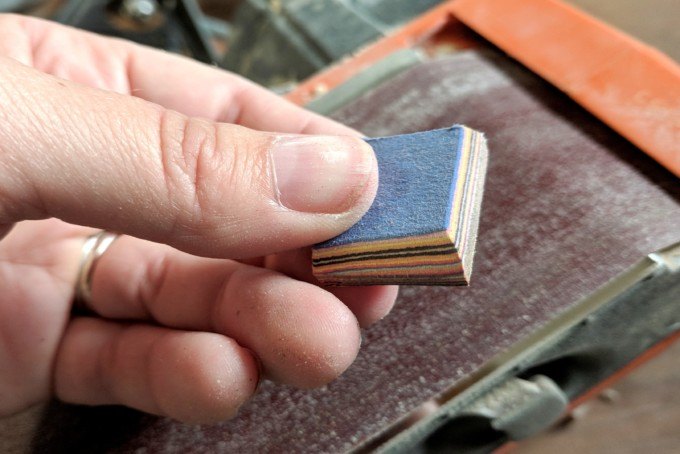
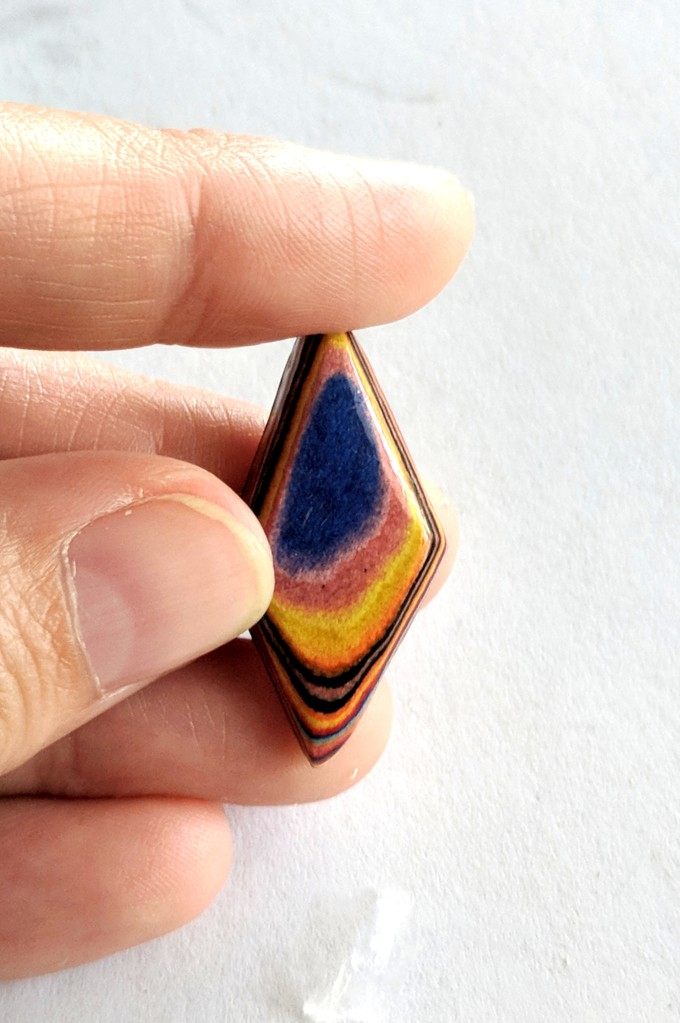
This part is SO FUN! You can make it any shape you want! Play around with different angles on the sander, and you’ll see those layers come to life!
The beauty of using a belt sander is that you don’t have to scrub it with sandpaper… you literally just turn on the belt sander hold it stationary on the belt while it does all the work for you!

I played around with several different shapes. It’s SO FUN!
Before we seal these, do you see how the top layer(s) of paper are a little fuzzy from the sanding process? I used a little corner of 220 grit sand paper and hand-sanded these real quick to cut down the fuzziness factor so they would be ready for their glossy coat of sealant.
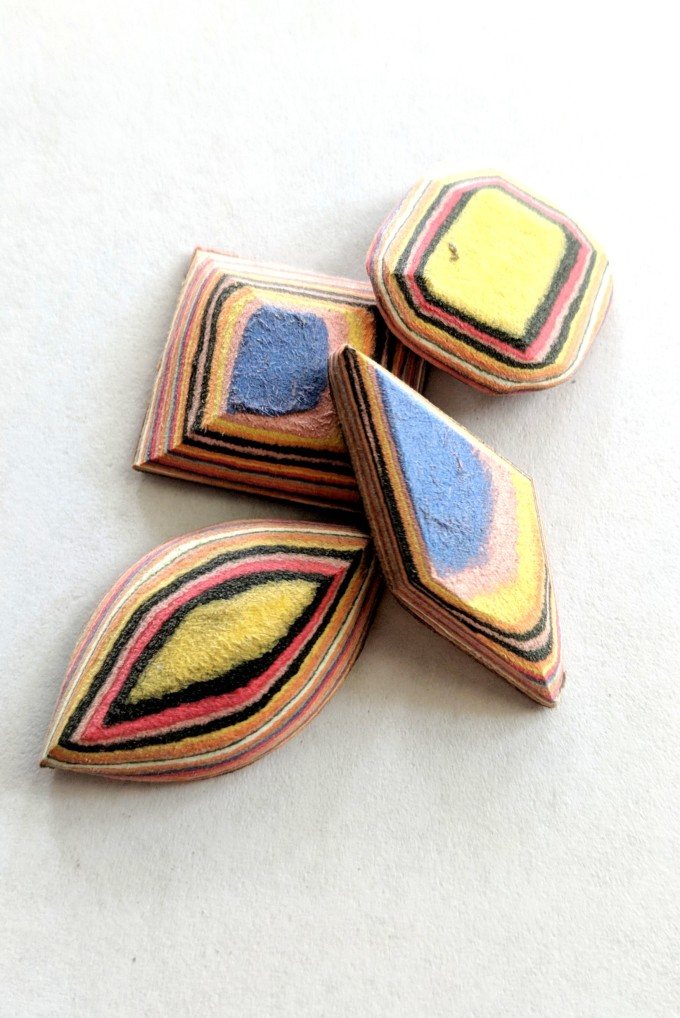
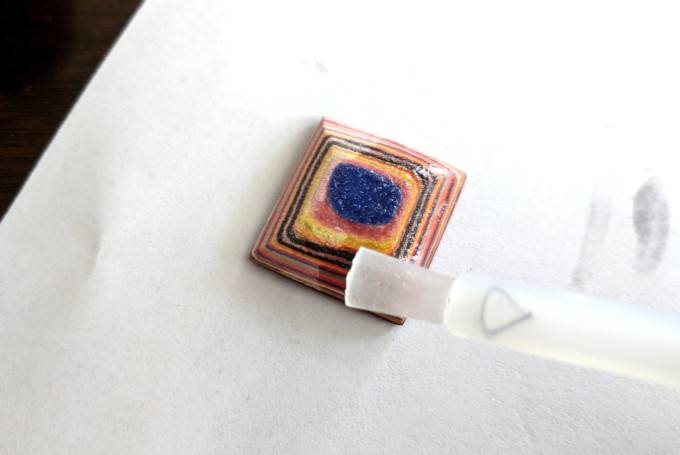
Seal
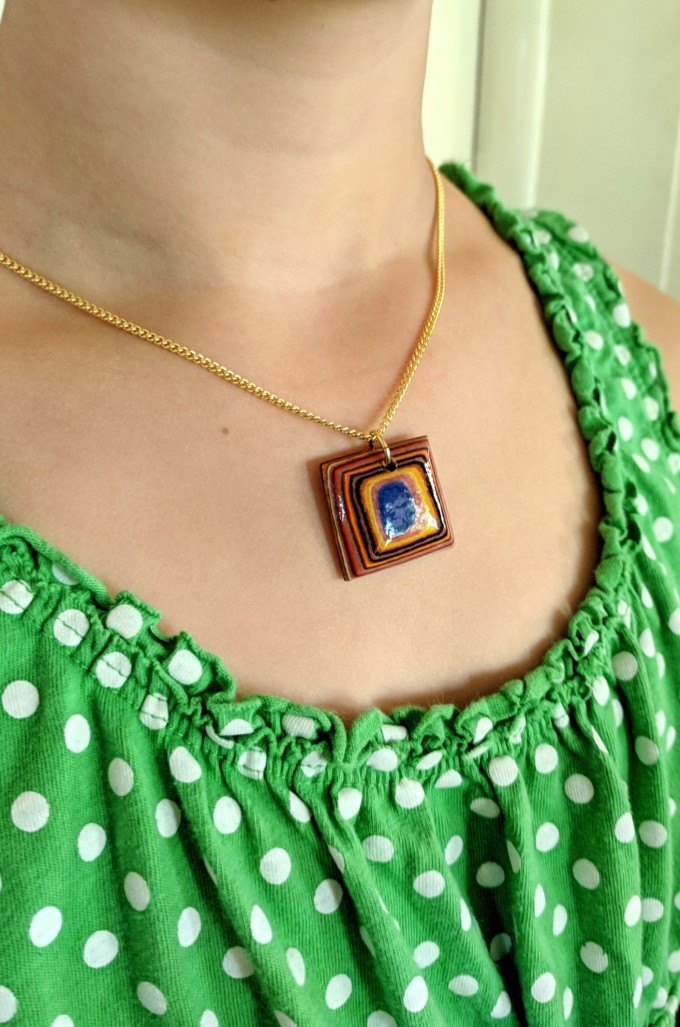
Brushing on that clear nail polish / top coat really brings out the colors! And at first it won’t be as smooth as you want it. But we will lightly sand between coats until it’s so smooth and glossy!
I recommend sealing the back sides first, and letting it dry completely before starting the front side. That way if it gets any scratches or dents, it’s just the back side. Try to put on as smooth a coat as possible. Then let dry for 10 minutes, lightly sand, and repeat. I probably put about 10 coats on mine to get the ultimate glossy smooth finish.
Using a drill press and a 3/16 drill bit, we drilled tiny holes.
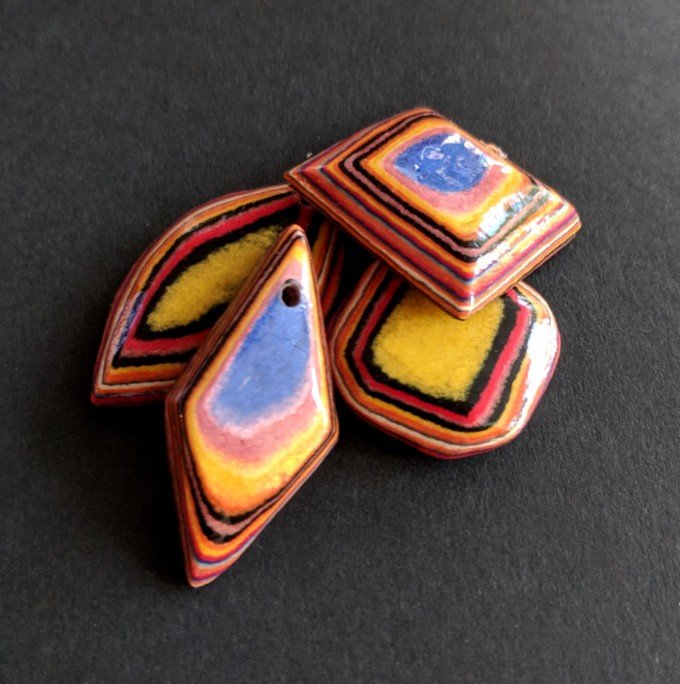
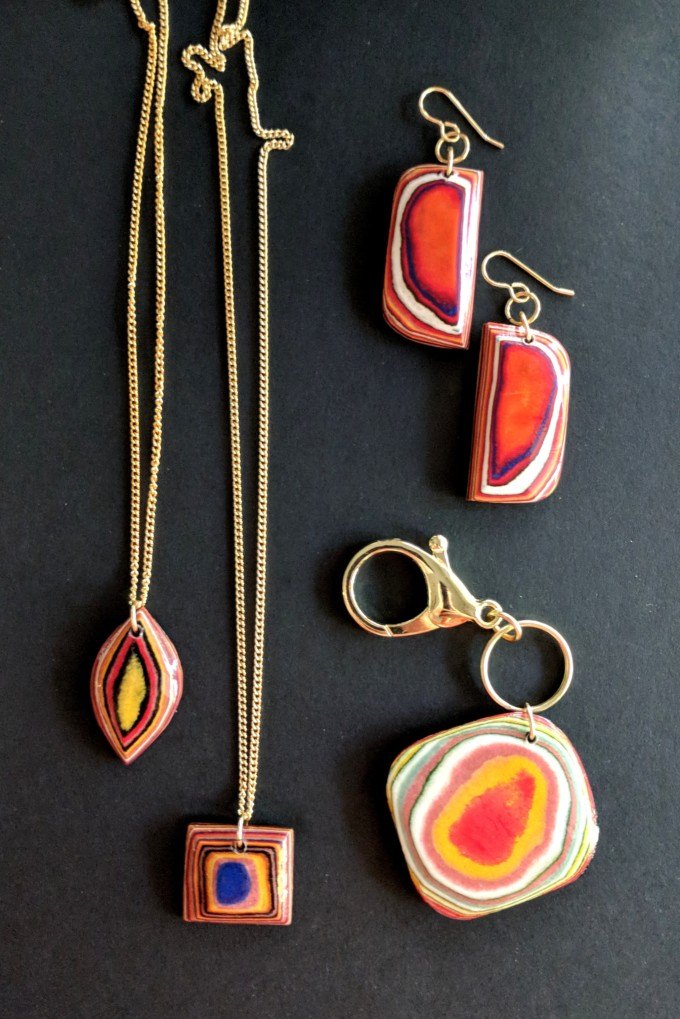
Throw in a couple that the kiddos made, and we have a whole pile of ‘precious stones’ and agate!

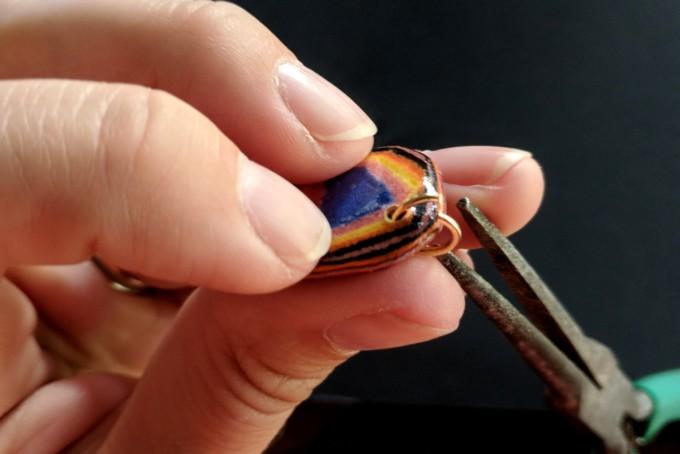
I picked up some 7.7mm jump rings (you can also order them here) and used a needle nose pliers to bend them enough to slide in!


Look at all this fun stuff! I could totally open an Etsy shop! (but I’m not)

So fun, right? And there are so many different ways that you could spin this or customize to make your own DIY jewelry! If you decide to make these (or any version inspired by them!), please tag us on social media in your photos! We’re @RealityDaydream on both Facebook and Instagram. And if you don’t already follow us there, what are you waiting for?!
~Bethany
Related:
-

My kids are getting to the age where they want to tape pictures, cards, notes...…
-

It's been awhile since I've done a sewing project, and as weird as it sounds,…
-

These DIY Planters are perfect for cascading Wave Petunias, and it will be so fun…
Band saw, Belt sander, drill press. While I love the look of these the large power tool requirements were a little steep. I’m going to fiddle around some & see if I can come up with a version that uses the more common hand power tools. I’ll let you know if I have any success. Thanks for the inspiration!
I made these using only a Dremel tool. It might take a little longer, but it works. I also used 3 coats of JudiKins Diamond Glaza to get a high gloss effect. It’s really good stuff. I found that after a while nail polish yellows a bit.
Hey Bethany this is such a cool idea! Thanks for putting it out there! I’m an MS teacher without a belt sander. I’m still really interested in doing this project with my kids. Any good alternatives that you know of?
Great job! These are so beautiful!
Thank you for sharing I like paper Art and can wait to make this . Nice
I love the “Agate” rocks. I will most definitely be making some of these. Thank you.
Very neat! What a fun project.
EXCELLENT!!!!!!! SO PRETTY!!!
Great idea! I could see adding a thin gold or silver tape around the edge, that I’ve notice some jewelry makers are doing.
I was thinking the same thing only using gold leaf around the edges than sealing it!
These are SO pretty! Thank you for the inspiration!
I love this! I am going to do this when my granddaughter comes to visit this summer. We won’t get the project done but I can finish it for her and give her a gift that she started herself! Thanks for sharing Bethany!
I love this!! I’ve been trying to decide what to do with a giant stack of construction paper – and this project will be a perfect way to use some of it up.
Thanks for the fantastic idea!
I love these! I am going to try a couple of these when my granddaughter comes this summer. They won’t be done when she leaves but that way I can finish them and surprise her with a gift that she made for herself! Love it!