*FREE PATTERN and tutorial to show you how to sew a simple dress for girls! This darling wrap dress, pinafore, or blouse is SO EASY! Pinky promise.*
I may be a ‘creative-type’, but nobody ever accused me of being a skilled sewist. Sewer? Seamstress? yes seamstress.
Here’s a screenshot of me texting Nick while trying to thread my bobbin.
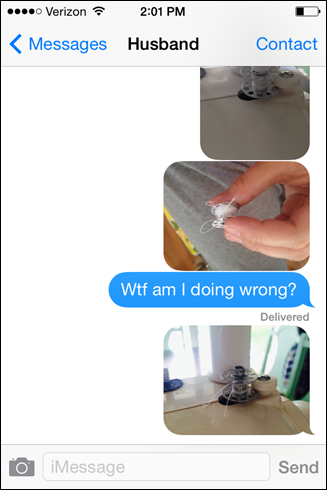
Yet somehow, miraculously, this post has been wildly popular. Ima show you how to sew a simple dress for girls with these Easy Wrap Dresses (or blouses) with a FREE pattern!
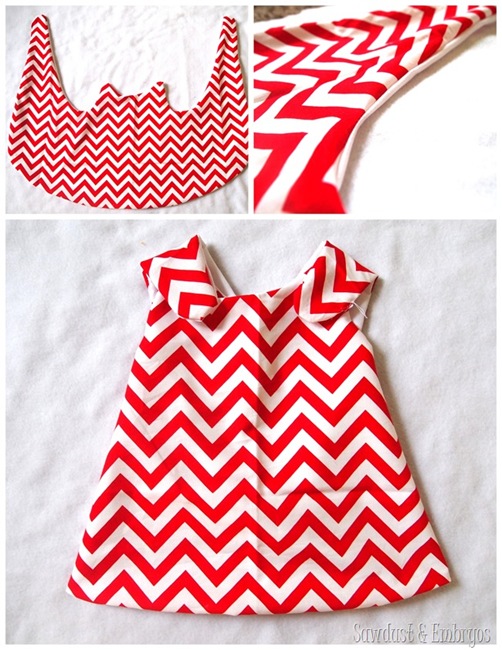
At least a couple times a week, I get an email from someone asking for the PDF pattern… which of course doesn’t exist. I was just proud of myself for sewing these unsupervised, and YOU WANT A PATTERN?!
Ok that’s legit, because they’re super cute. And easy. And I can see how it would be difficult to just whip one out without having something to trace.
Literally? This is what I’ve been sending people:
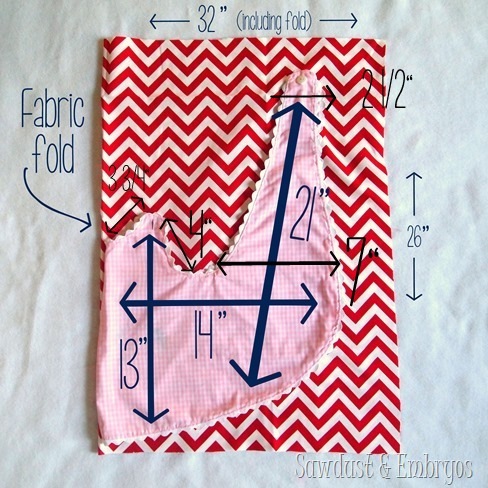
One of my AMAZING readers (Hi Rediane!) drew up the pattern all professional-like so I could share it with you all.
How to sew a simple dress for girls
Now that you’ve printed your pattern out, lay out your fabric, folded in half, inside-out.
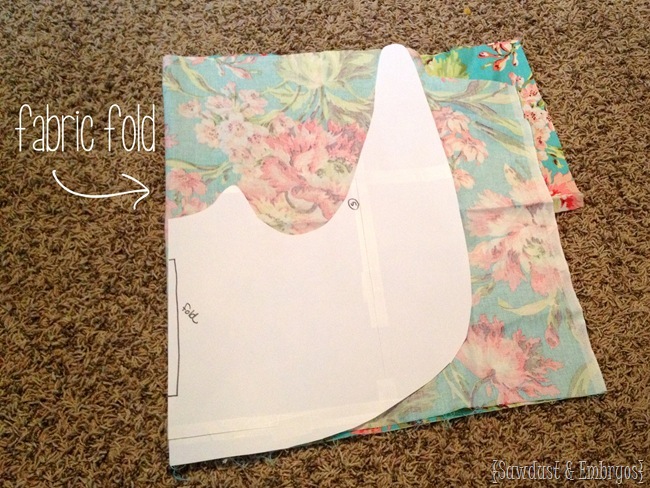
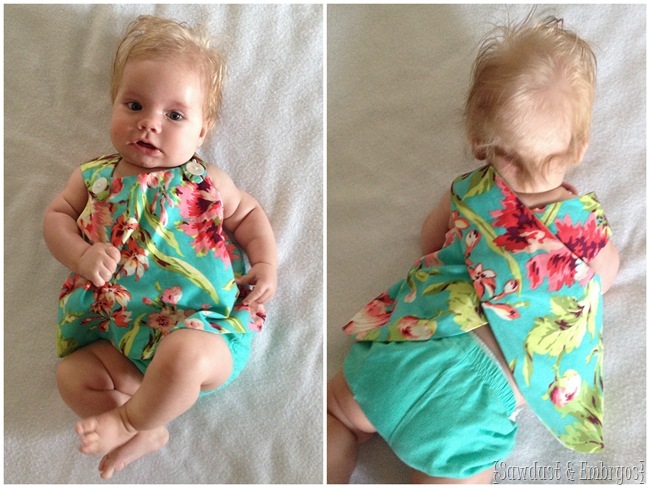
I recently made the twins dresses, but when I went to start blogging about it, I realized that I missed photographing some steps… so I whipped out another one JUST THIS MORNING. This time for baby Cypress! That’s how fast and easy these are to make! I used the blouse pattern and cut about an inch inside of the size 2t option so it would be more like 9-12 months.
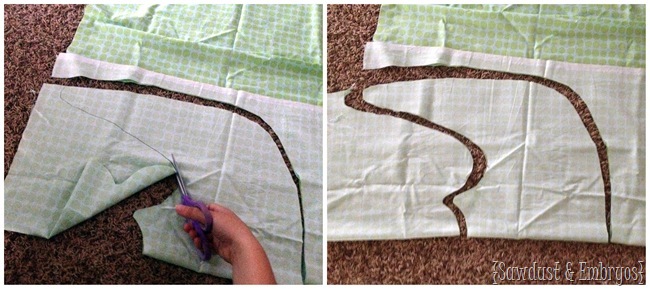
Using a fabric pen, I traced the pattern onto the fabric, and cut out with fabric scissors. I did this for the liner fabric too. Actually, my liner fabric is just as cute, so this one could totally be reversible! I love having that as an option!
Then I laid the two separate fabric pieces facing toward each other, and pinned them together.
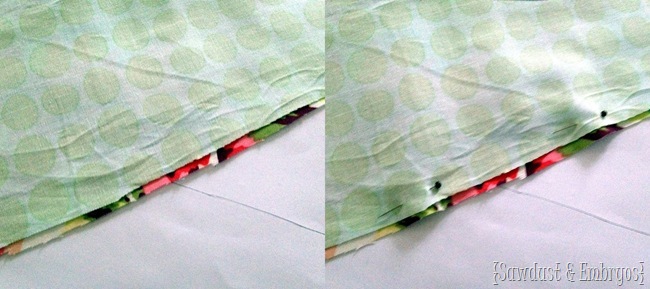
NOTE: if you want to add some eyelet lace or ric rac around the border, put it between the layers facing IN before pinning in the above step. I’m not adding it for this example, but at the end of this post, you’ll see pics of this cuteness on my little models!
Here’s the dress all pinned up and ready for sewing!
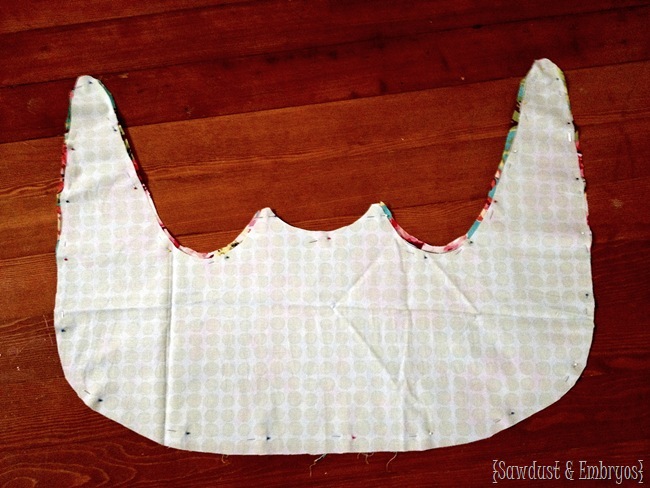
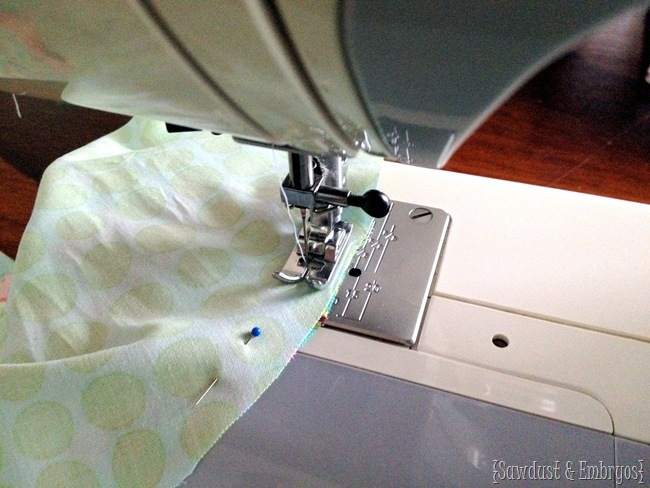
Just sew around the perimeter of the dress/blouse, using a half inch seam allowance. Be sure to leave about a 4” opening along one of the outside edges.
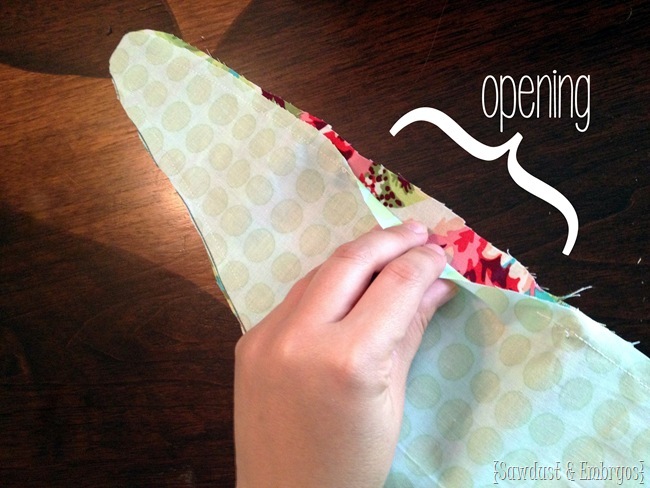
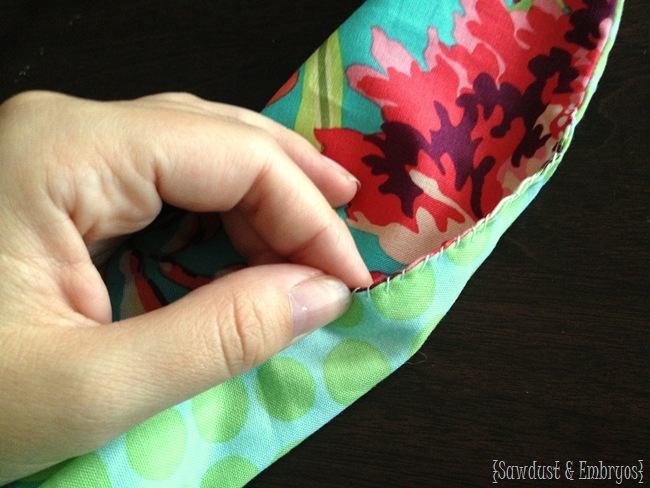
Then reach your hand in there and pull the inside of the dress right-side-out, and then stitch up the opening by hand.
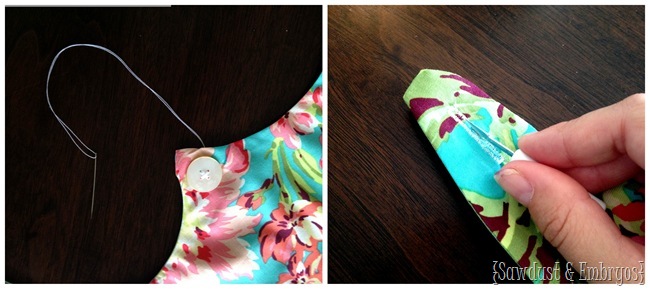
Next, I ironed the whole thing, and the girls helped me pick out two matching buttons. Nick sewed the button holes for me because I was feeling intimidated. You probably already know how, but if you need an excellent video tutorial, click here!
All done!
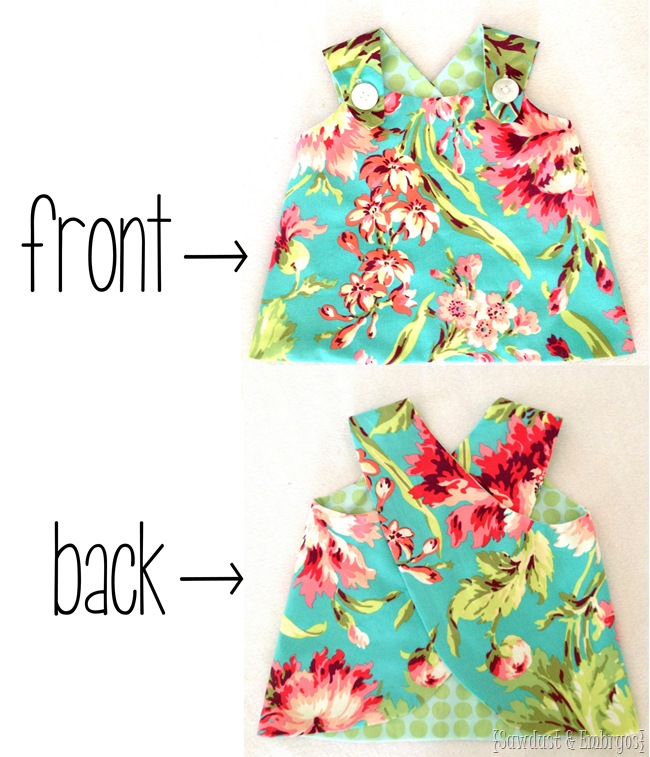
This is the flowery Amy Butler fabric I used, and this is the polkadot fabric I used. They complement each other so well!
I’m thinking about digging up a pattern online somewhere for a ruffle-y diaper cover using the coordinating liner fabric. Wouldn’t that be so cute?!
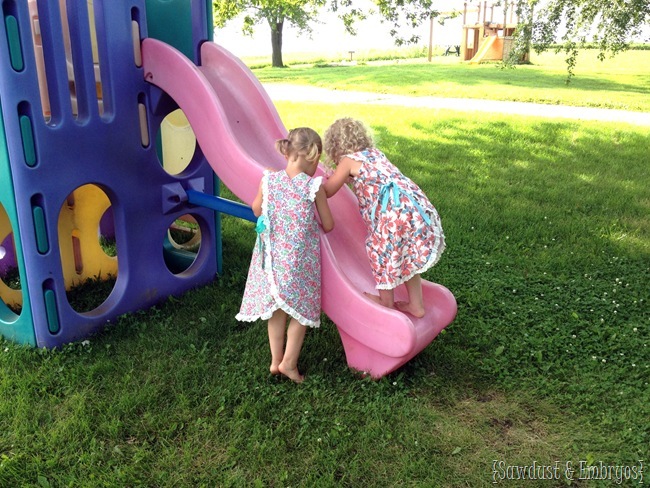
And here are a few pics of the twins wearing their dresses I made a few weeks ago!
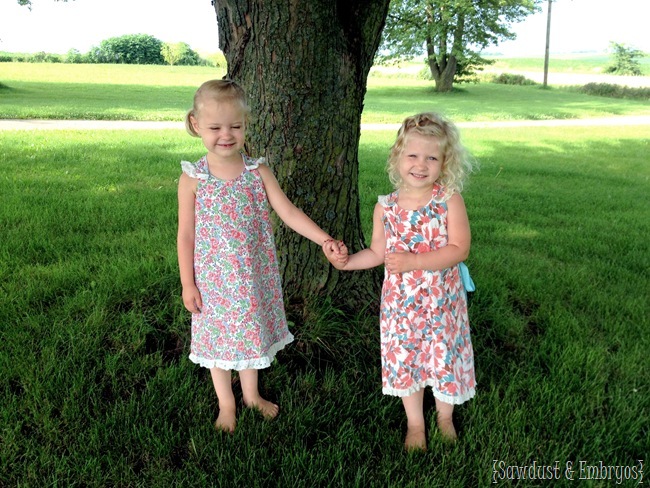
The fabric is from feed sacks I found at an antique store. I hand-sewed ribbons on the side to tie together and keep the back flap from ‘opening up’ when they bend over or play rough. I still usually make them wear leggings with these just to ensure modesty. Heh!
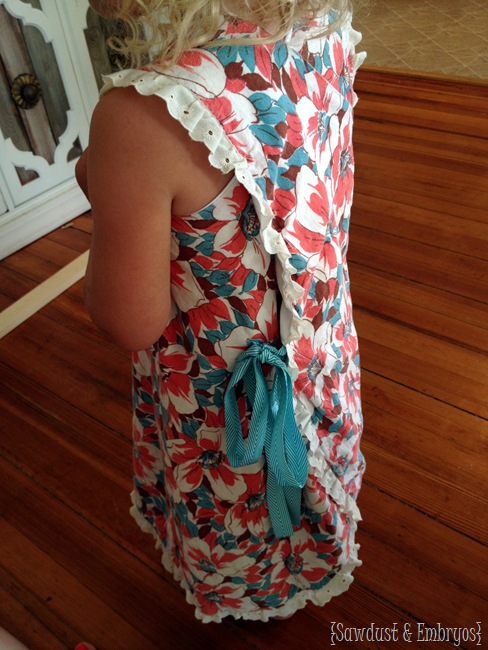
You can see that I started the lace at the peak of the ‘shoulder strap’, and continued it down the front/bottom of the dress and up to the other strap.
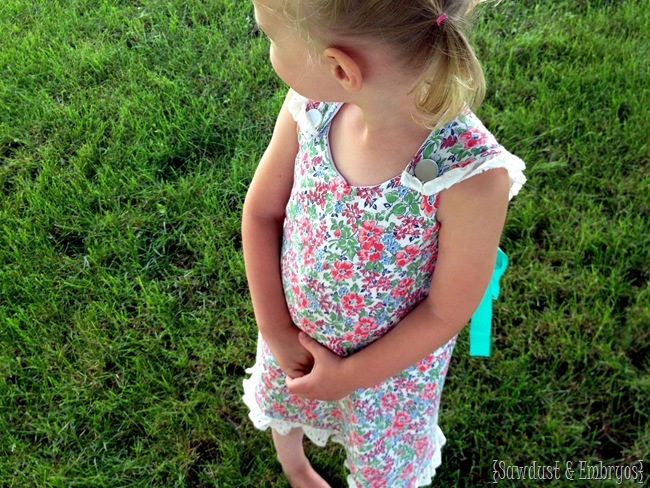
I love the simplicity of the pattern, and how light and breezy they are for these hot summer days. And I don’t care if the girls play in them, because they’re so easy… I can always whip up more!
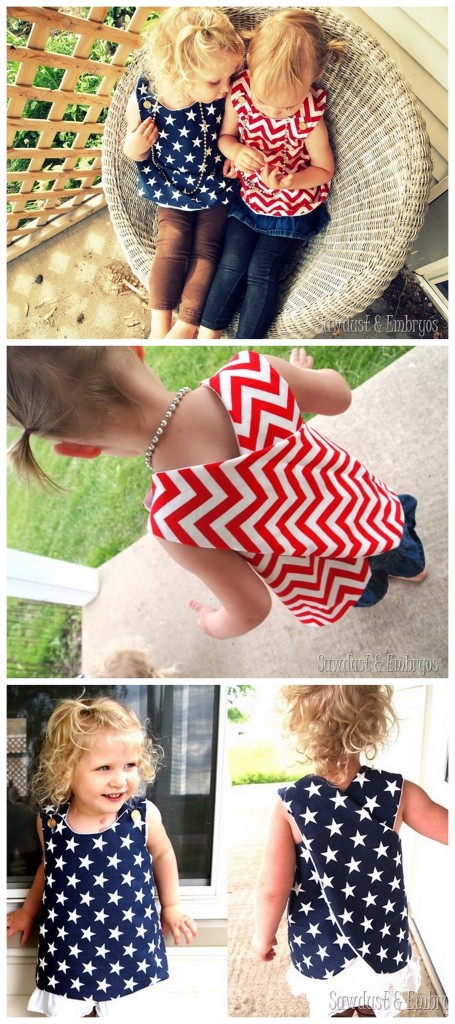
And for fun, here’s a few pics of the twinzies wearing the first ones I ever made. I can’t believe how much the girls have grown in just one year.
If you have a little girl in your life… I hope you give it a go! Even if your sewing skills aren’t the best! Believe me- if I can teach myself how to sew a simple dress for girls, SO CAN YOU!

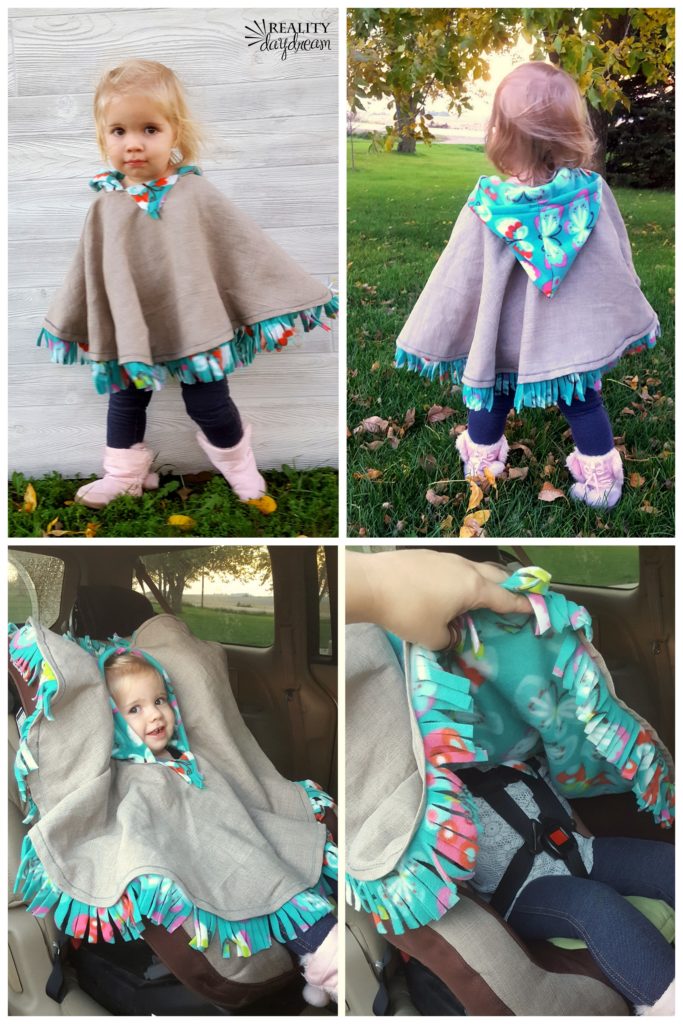
UPDATE! I recently made our newest little toddler this Fleece-Lined Hooded Poncho, and it’s suuuuper simple. And convenient for getting littles in and out of 5-point harness carseats!
*this post contains affiliate links


I love this dress. My grandmother’s 90 year old neighbor made one for my oldest 23 years or so ago. Now I have a sweet little niece, I’ve thought about it several times. My cousin shared a picture of my daughter wearing the dress today, so I went to see if I could find an actual pattern. I made several copies of this dress for both of my girls, but once they out grew them I got rid of the original dress I had used as a pattern. Bless you I’m so excited now.
I’m so happy about this!
is it possible to sew shoulders together rather than using buttons and then just slip over head. Thanks
I haven’t tried that, but in theory it should work!
I obviously did something wrong, because the neck opening is not nearly large enough for my 5-year old. I printed the drawn pattern at 100%. Has anyone else encountered that issue?
That’s so weird, I haven’t had anyone else comment with this problem. I wish you could post a picture so I could help troubleshoot.
Yes the sizing was a little small for my 2 year old too.
Its a beautiful pattern though and I will make her another one at some point but just size it up a bit. 🙂
I’m so sorry it was a little small! I’ll make a note of that in the tutorial so others will know. Thank you for the feedback!
This pattern was so simple! I love it! I added top stitching and a little piece-meal on the shoulders ( since my fabric wasn’t quite long enough), and LOVE how it turned out. Thanks for sharing the pattern! Also, your girls are ADORABLE!! Im sure you hear that all the time, but such is life.
Hi is there a way to make this a 03 months? How much would I need to reduce it? and inch? inch and half?
Thanks for your help
This is such a blessing. When my granddaughter was young I made her and her AG Bitty Baby this pattern and she loved it. to this day she still says it was the most comfortable top she ever had. Now she has a child of her own and asked me to make one for Sophie. I can find the AG pattern, but lost the child pattern. How kind of yo to share.
I’m so glad! I’d love to see pics of the one(s) you made, if you have any. 🙂
beth@realitydaydream.com
HI BETHANY
THANK YOU SO MUCH FOR THIS WONDERFUL PATTERN
I AM A BEGINNER SEWER AND CAN’T WAIT TO TRY IT OUT
I AM LOOKING FOR A PATTERN
I AM LOOKING FOR A PATTERN TO MAKE THEM IN SIZES 3-6MONTHS 9 -12 MONTH
ANY HELP WILL BE DEEPLY APPRECIATED
THANKS ONECE AGAIN
Dicovered this patten yesterday and it took just half an hour from printing pattern to sewing on the buttons! Can’t beleive how easy it is. I sewed a button on each side so it is reversible, Haven’t sewn in years and not great at it so this boosted my confidence.
I love this! Thanks for taking the time to leave a comment!
I have made matching bloomers or fancy panties for my granddaughter. To ear with some of her dresses. I love the easy cute patern. Would make a nice night gown.
I made these dresses for my twin nieces last year for their birthday party and made them reversible (birthday theme on one side and another fun print on the other. This year they are wearing them as summer tops and I have been asked to make the dress again for this years birthday party too. I loved wearing this dress type when I was little and my mom loved she could sew it and have not only a dress but later a top, so happy my nieces like them too.
I love that! I would love to see pics if you have any? beth@realitydaydream.com
Can you indicate for me please how much fabric is required for a size 2 please.
A yard of each. The 2T is just a couple inches more than a half yard. I was kicking myself because all my cutest fabrics were just a half a yard and just shy of being the right size.
I made these jumpers in two colours of corduroy 36 years ago when my lasses were small. Now my granddaughter will get some too. how wonderful.
Thank-you for this.. Kate
The blouses are cute, but I love the dresses. Do you just extend the bottom? Or are other adjustments necessary to make a dress from the blouse pattern?
I just make em longer!
Thanks, it turned out adorable! Now I”ll have to make one that actually fits my very petite 2 year old for the summer, as the first 2T attempt fits true to size. I used two adorable fabrics and I will just switch the buttons to the opposite side when the first outside gets too stained, as is inevitable with my little sweet pea.
Regards,
Liz
Just wondering if the patterns are just for the blouses? Or is there a dress one that I am missing? To make a 2T dress, could I just make the distance from the neckline to 20 inches and curve around for the wraps? Or do the widths of the sides and wrap around back portion also need to be significantly wider? Any help would be awesome…this is my second sewing project ever… I still have much to learn.
Hey Liz! The only adjustment to make is to make them longer to be a dress! You could always cut it out of some scrap fabric just to see if it’s the right length before cutting it out of your nice fabric. 😉
How would you size this for 3 to 6 months.
I used two pretty patterned fabrics, thinking thqt way it will be reversible, but I can’t figure out what to do about fastening the straps. Button would be on inside against skin if I use buttons and reverse the top. I think that would really irritate the skin. Any suggestions?
That’s true, you’d want to use a smooth/flat button for sure.
maybe fabric-covered buttons will do……..
I am using KAM Snaps, they make it easy to do reversible outfits!
I use poppers
Oh, I am so glad I found this pattern – AGAIN! I also mad this for my daughter when she was a baby (she, too, is 47 yea=rs old). When she outgrew the pattern, I tossed it and have regretted ever since. Thank you so much for offering it again. I have a 21/2-year-old Grandaughter I would love to make this for! Yah Hoo!
Yay! I’m so glad I could resurrect this pattern for you! It’s such a cute and simple design!
I absolutely adore this!
Thank you so much for taking the time to share and you respond to comments!
I made a size 6 right away for my grand daughter. I think it’s gonna be small for a size 6. But that’s ok. If it is I have a 1 year old granddaughter that will fit in it soon enough:)
Thank you again
Hi, I made the 2T size. When putting the straps around to fasten them in place, the dress does not lay right. If you get this please email or msg me so hopefully we can figure it out.
That’s so strange Colleen! It’s hard to troubleshoot without seeing it. Can you send pics to my email? beth@realitydaydream.com
Cute dress!!! However, when I print out the PDF it is huge! What is the scale I need to use to get the correct sizes.
Thanks bunches!!
Hi Suzy! It’s really hard to help when I’m not there with you to see what the issue is. You should have your printer settings to print the full size of the 8.5×11 paper, and then lay out the pattern on the floor, lining up the dots as instructed in the tutorial.
If you topstitch the whole dress you won’t have to hand stitch the opening closed!
Wonderful pattern, thank you.
Yes handstitching would be the proper way to finish it. Hehe!
Oh wait! I get what you’re saying! I thought you were asking a question… but you’re RIGHT that you could top stitch the whole thing! I hadn’t thought about that.
Hi Bethany,
This is actually an old Simplicity pattern. I made this for my daughter (now 47 yrs. old) when she was little. I don’t know exactly when the pattern was first introduced, but Simplicity released the pattern #5052 in 1972 for sizes ½, 1, 2 Toddlers and size 3, 4 and 5 Child sizes. The second time they released the pattern was in 1976 and changed the pattern number to #7407 and dropped the size 5. Both patterns had panties, too.
I just made 4 (size 1/2) dresses and matching panties for my 9-month old great-granddaughter. To preserve the patterns, I’ve traced them onto pattern paper. I used snaps instead of buttons and buttonholes, because I never liked making buttonholes, either.
My daughter wore these during the summer and as she grew, they became pinafores and were worn over long-sleeved t-shirts and pants.
I’ve always thought this pattern was the sweetest design and is so easy to make!
That’s amazing! I love knowing that! Maybe I’ll do some looking and see if I can find the old original pattern! My girls LOVE these!
Thank you (3x). Such a pretty dress. Made 1 for my niece..will email you the picture.
hi!
thank you so much for the pattern! i’ll print it right now and go upstairs to sew 😉
i’m exciting!
thanks!
YAY Melli! How did it turn out? I’d love to see pictures!
beth@realitydaydream.com
hi, love the dress and i made one for my little girl but she has chunky arms so i think that may be why the arm holes on mine seem a bit tight on her. (i mean it fits and she loves it but i would like them a bit bigger) how could i make just the arm hole a bit bigger on the pattern?
Page 4 & 5 do not indicate which is size 2 , etc. Help! I think outside is the 5/6 but I,m not sure. Can you tell me which is which for neckline? This is for the blouse.
Great pattern. It was easy to put the sheets of paper together. I just made one from the smallest size. Too cute. Thanks for sharing.
love your pattern! if i wanted to make larger than a 5/6, how many inches would i add around?
OMG, You are so hilarious!!! Bobbins….LOL, patterns…LMAO!
That is a super cute dress and your little girls are sooo cute!!!
You are way beyond me. I have tried clothes, even simple stuff like bibs, shorts and
I can just FORGET IT. I’m lucky I can sew straight lines for my quilts.
Thanks for making me laugh out loud!
Buttonholes are easy if you use a tight zigzag stitch. Just zigzag two straight lines side by side (no overlap as you will have to cut between these)a little longer than the width of your button. Then two short zigzags at each end. All you need to do is cut a slice in the center of this rectangle.
Yay! I was too intimidated to try to make these from the photo you shared on the origional post, but I am totally using the patterns! Thank you!